I've just received 2 of these that I'm yet to power on, so can't help, I'm afraid, but would be very interested in any advice about these devices. There should be a way to set the "control output" function to "auto adjustment" (the other 2 choices being "ON/OFF" and "PID"). So maybe you'll have to manually kick off the process that way.
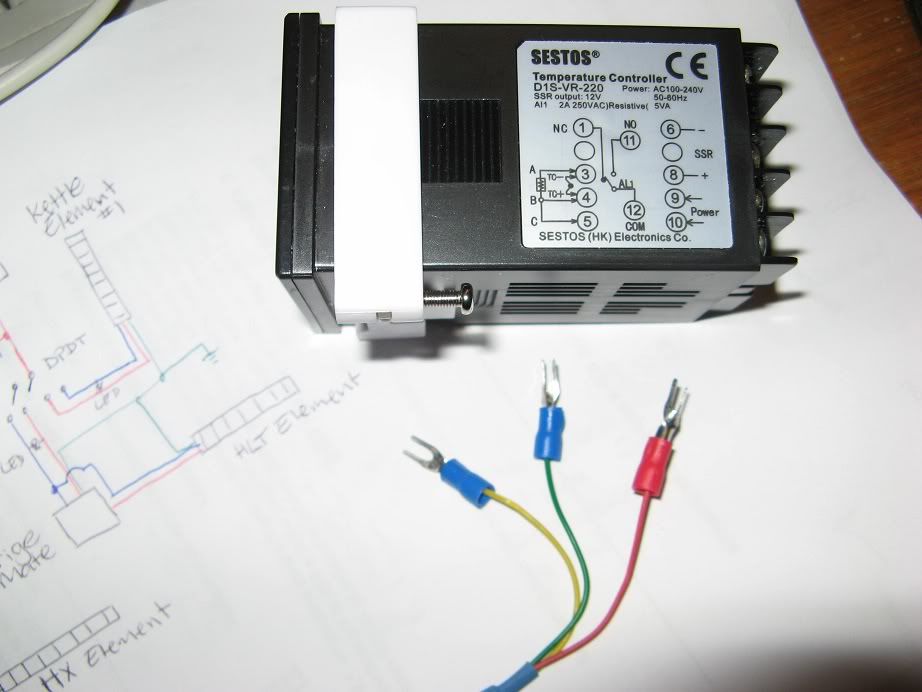
A few folks have reported that these units are so similar internally to the Auber ones that the
manual is more or less interchangeable (although the contact layout is completely different).
")