Hey Cocko, I've beaten Jonathon to the punch mate, here are the details.
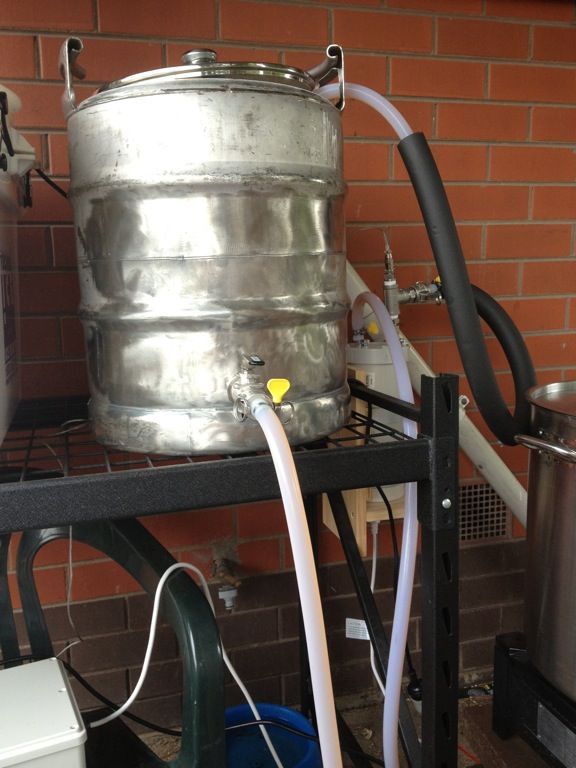
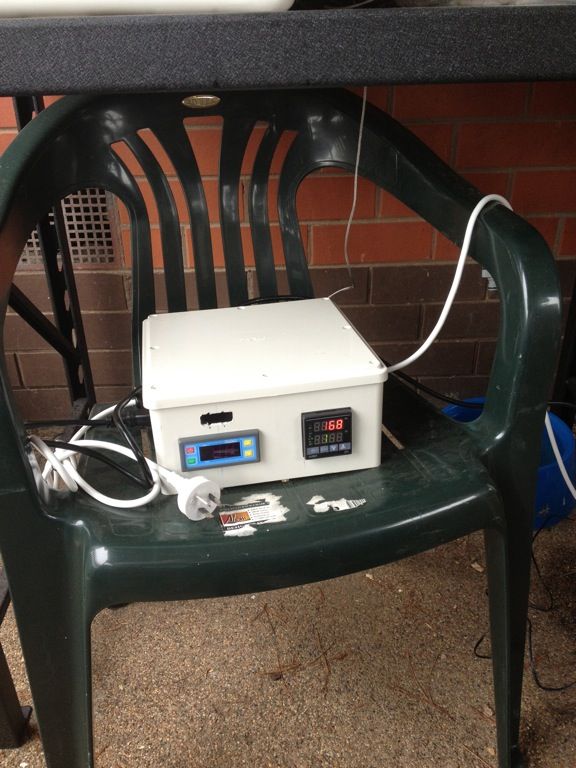
It is a 3V single tier all electric rig. The 80L HLT has a PID controlled 2400W element with a low water warning light and buzzer. The 45L mash tun has a PID with a sensor located in the center of the mash that is used to set the mash temperature. This PID energises a second PID that has a sensor in the outflow of the heat exchanger. Why do it this way? I can set the temperature of the heat exchanger to what ever temp I choose so that I know the wort exiting the heat exchanger will never be hot enough to denature any enzymes. The Heat exchanger is powered by a 2400W element. The 80L kettle has two 2400W elements controlled by two burst fire controllers. Both the mash tun and kettle have false bottoms to filter particulates. Chilling is achieved with an inline 30 plate, plate chiller. All the plumbing and fittings are stainless steel. The vessels are removable from the stand via barrel unions. The march pump has two modes, automatic when it is being controlled by the mash PID and manual for transfering liquids vessel to vessel. I've been building this thing a bloody long time and only finished it as I have sold up old faithful....my precious, to go on a trip to the States. You can see the build thread here
build thread.
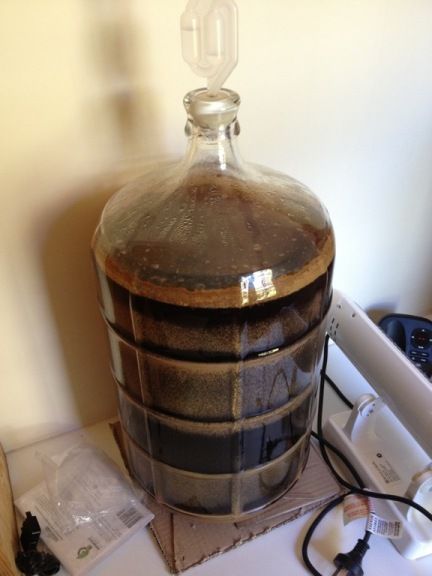
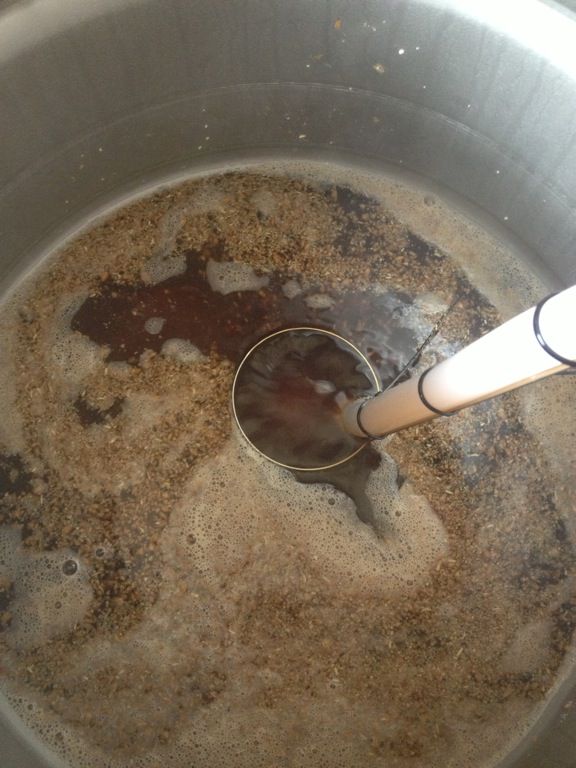
The beer I brewed was an attempt at one of the fine west coast IPAs I drank while over in the States. I used a Pliny the Elder grist with Warrior for bittering, a whack of late Falconers Flight and some Simcoe to finish off, mashed at 66C for a 1070 SG and 100IBUs. The recipe was worked on BrewMate and I pretty well hit all my targets.
Plumbing, you can see where the plate chiller connects on the left.
I left a tap open when I started to chill and ended up with about 7L of wort in the mash tun and lost my cool enough to forget to take photos of the chilling part and I've got about two pages of tweaks, configuration changes and additional items to get before the next brew day.
cheers
Browndog


")


