newguy
To err is human, to arrr is pirate
- Joined
- 8/11/06
- Messages
- 2,225
- Reaction score
- 35
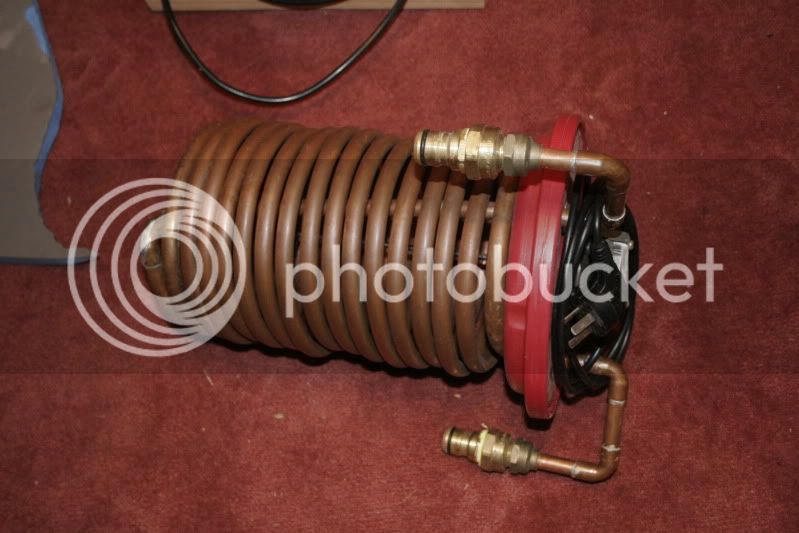
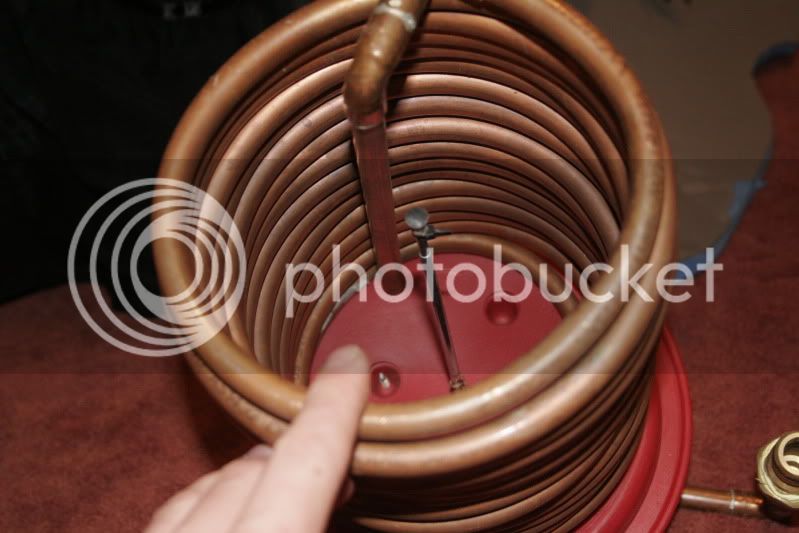
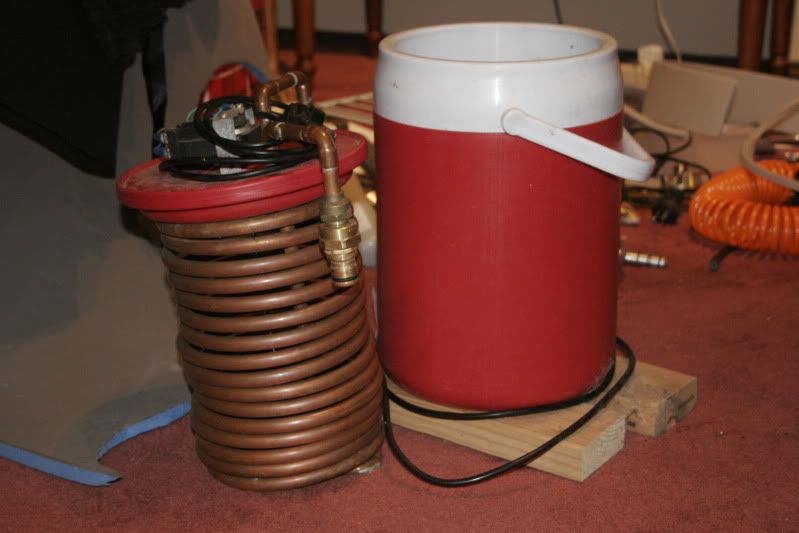
My herms uses a 1500 watt element and experience has shown that it is underpowered. It is proving impossible to find a 2400 watt non screw in type element but I already have a handheld 2400 watt water heater that is no longer used in the brewery. my thoughts are to adapt this heater and use it in addition to the 1500 watt element. I am useing a 19 litre pot with a 6 metre S/S coil this should improve my ramp times considerably. I am aware of the additional power requirements in order to do this safely but before I start down this road is anyone else useing this amont of heating capacity.
Cheers Altstart
I use a 1500W element to brew double batches (~40l finished volume) and it is powerful enough for me but my system is well insulated and uses a copper coil. Check your insulation. If you're hemorrhaging heat, the 1500W element will seem to struggle. Copper vs stainless coil. The thermal conductivity of stainless steel is very poor. The thermal conductivity of copper is approx 14x that of SS. This also influences overall system performance.