Dedicated Grainfather Guide, Problems and Solutions Thread

Australia & New Zealand Homebrewing Forum

Help Support Australia & New Zealand Homebrewing Forum:

This site may earn a commission from merchant affiliate links, including eBay, Amazon, and others.
There's not one single mash profile that works for everything.

Mash profiles depend on your recipe and what you want out of it. Different beer styles are going to have different mash steps.

In BeerSmith it's up to you to decide those mash steps and profiles. (but you can save them and re-use them for similar styled beers if you want).

EDIT:
BeerSmith also has a range of pre-existing default mash profiles that you could choose from.
Yeah I understand that, but I would have thought they would also have a simple grainfather 2 step mash profile that includes the grainfather water calculations. e.g. 66 degree Mash in, 10min 75 degree mash out, 75 degree sparge, all at the correct water levels.

I'm assuming the beer smith mash water/sparge water calculations are derived partly by the mash profile selected or no?
 
There are GF profiles in there but have been inaccurate historically. I understand there is now one added in the latest update that accurately calculates mash and sparge volumes though as well as evap rates, deadspace etc. I haven't looked at it yet to check it out as I had created my own profile for the GF.

As KB said mash profiles are separate to this and you can create your own or select from some preset.
 
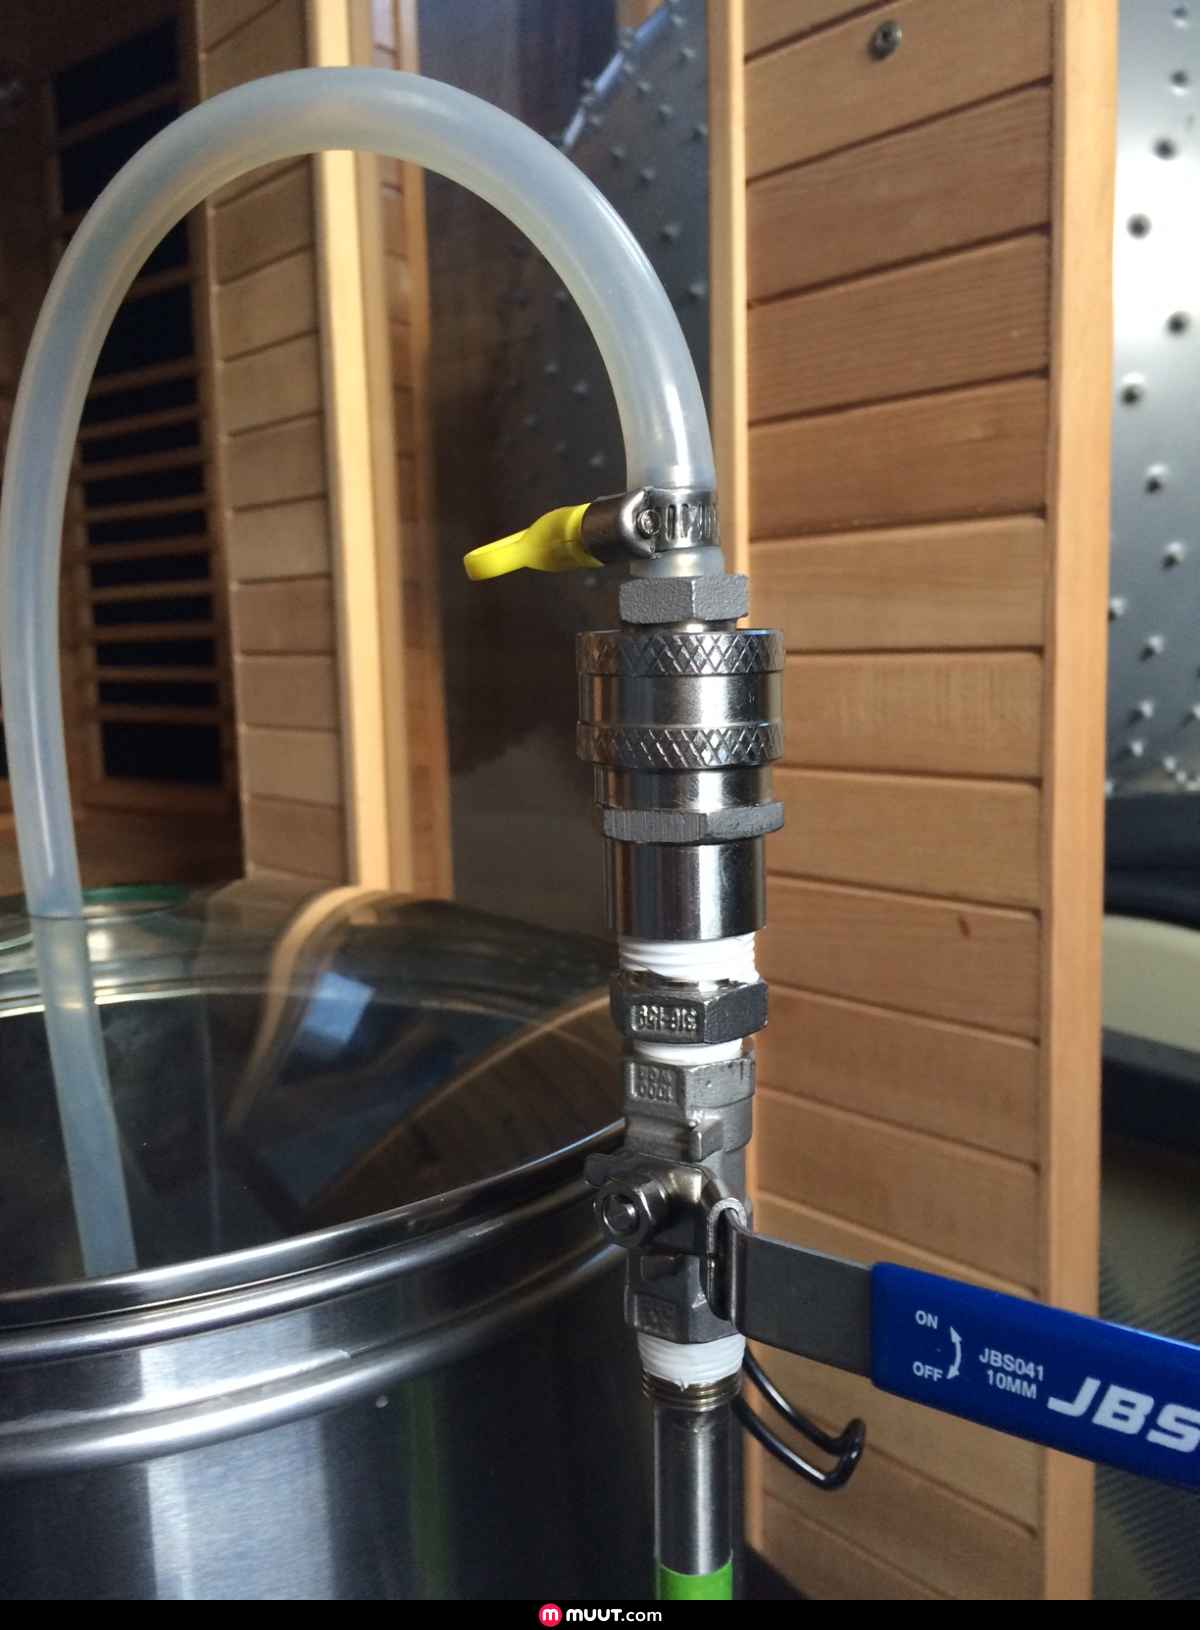
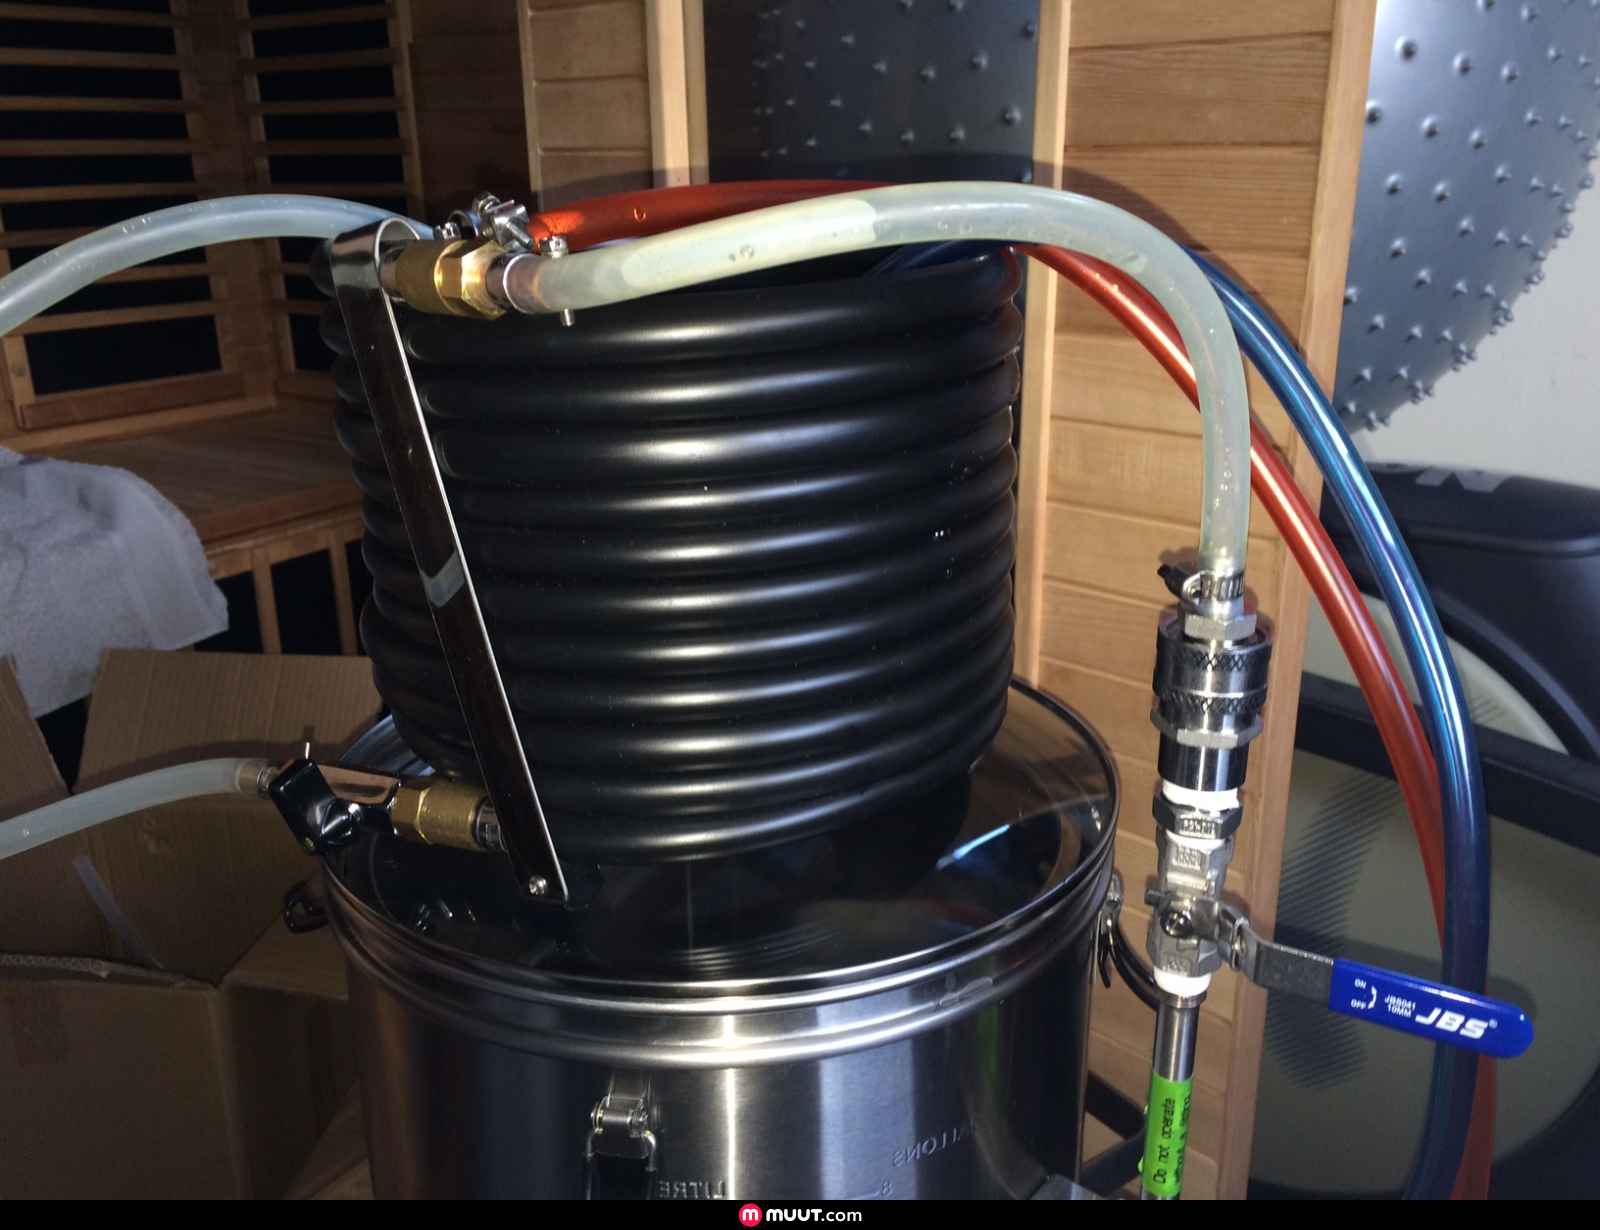
If someone from Grainfather is watching this topic, Please have an option or upgrade it to Quick Disconnects.

:grainfathernz:SGV3:recirculationpipe.jpg.jpg


:grainfathernz:TZeA:chiller.jpg.jpg
 
Exile said:
If someone from Grainfather is watching this topic, Please have an option or upgrade it to Quick Disconnects.
Nice mod.
 
This guy has the mod in this video

https://www.youtube.com/watch?v=7vdLlAITI2Y
 
Looks great. Have scored a bunch of connectors etc that I have to sort through. Will see what I can wrangle together to copy this.
 
I'll play devil's advocate. But why? The sparge arm takes all of 15 seconds to screw in place with less chance of flicking hot wort everywhere than a bendy hose. Never had a problem with th ball-valve clogging as some have done and the red flow-control tap on the upgraded version works fine.
 
This arrived today and I rushed home to set it up.

Pretty impressed, but some bits are a bit flimsier than I expected. The bottom plate seems a little bent and doesn't have a perfect seal, but I'm hoping the weight of the grain holding it down will mean this isn't an issue. In general, the plates seem to be a pita.

Just need a temp controller for my new ferm fridge and I'll be ready for my first brew!

ImageUploadedByAussie Home Brewer1472548218.256211.jpg
 
The plates are abit flexible. Store them flat and they tend to straight out abit. Also when putting the silicone seal on, wet the tube before sliding the plate down tends to seal abit better. If you push too fast or not down on an angle before straightening the plates out the seal tends to pop off.

I'm past 55 brews on mine most are double batched and all is good so far. My temp buttons are starting to wear abit on the stc but so far mines been faultless.

They make good beer once you get it dialed in.
 
Coldspace said:
The plates are abit flexible. Store them flat and they tend to straight out abit. Also when putting the silicone seal on, wet the tube before sliding the plate down tends to seal abit better. If you push too fast or not down on an angle before straightening the plates out the seal tends to pop off.

I'm past 55 brews on mine most are double batched and all is good so far. My temp buttons are starting to wear abit on the stc but so far mines been faultless.

They make good beer once you get it dialed in.
Thanks for the tips.

I did mess around with the top plate when I set it up and found that the angle definitely helps. It also helped to push the seal against the side as it first started slipping, which had to be done slowly and affirms your theory.

Sounds like you'll be ready for the new controller when it arrives. The Grainfather social media team told me that the new control will be a $200 add on, so $200 for the controller or $1350 for the full kit ($1150 + $200). I bought mine from Cheeky Peak Brewery for $995 + $15 shipping.
 
The plates and seals are a PITA. You do learn quickly the best approach to getting them in place though and they do the job.
 
Killer Brew said:
The plates and seals are a PITA. You do learn quickly the best approach to getting them in place though and they do the job.
I don't understand why the bottom plate isn't welded to the malt pipe? I don't really see the benefit in being able to take it out - surely a quick wash with water would get all of the grain out of it.
 

Latest posts

Back
Top