andytork
Well-Known Member
- Joined
- 26/4/08
- Messages
- 443
- Reaction score
- 36
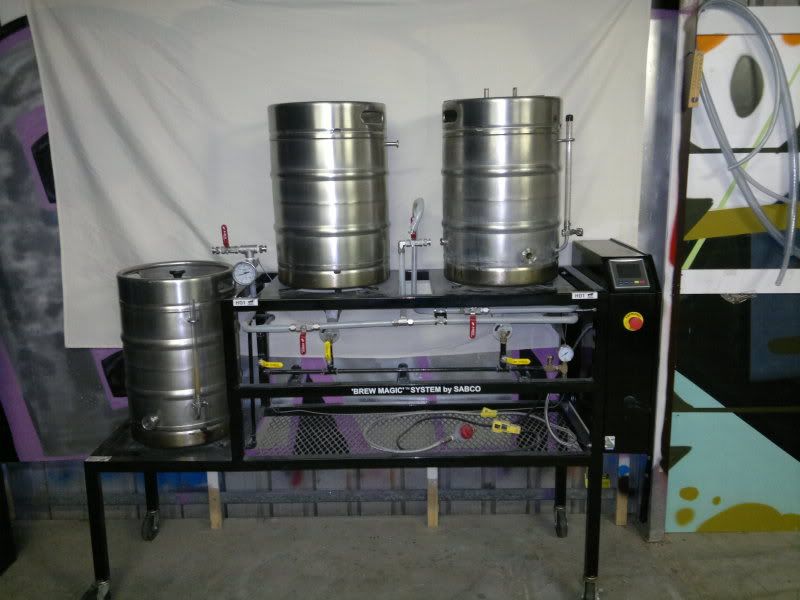
Still a work in progress, bit the bullet yesterday and picked up a couple more pumps to simplify the plumbing. Finished off the plumbing this morning (I think), only issue is the quick disconnects are leaking, I used o-rings instead of the flat washers, either need fatter o-rings or go back to double flat washers (those QD's really give me the s?i#s)
Waiting on my Relay boards and last of the SSRs to arrive before I can hook up the controller.
Once I done the first run, I will figure out what the plumbing should look like and add some uprights / brackets to the stand to tidy things up. The stud wall behing leads directy to my study / PC so wil be running a CAT5 from there