The Brauduino (Matho’s Controller) Build/Advice/Question Thread

Australia & New Zealand Homebrewing Forum

Help Support Australia & New Zealand Homebrewing Forum:

This site may earn a commission from merchant affiliate links, including eBay, Amazon, and others.
Stux said:
Don't really see the point in disconnecting the second element once you get to the boil. The controller will use a PID algorithm right, or at least a duty cycle to maintain the boil.

At a minimum this will mean the pair of elements would work less hard than one solitary element, which can only be good for the wort and the elements? unless you want more malt caramalizing etc ;)
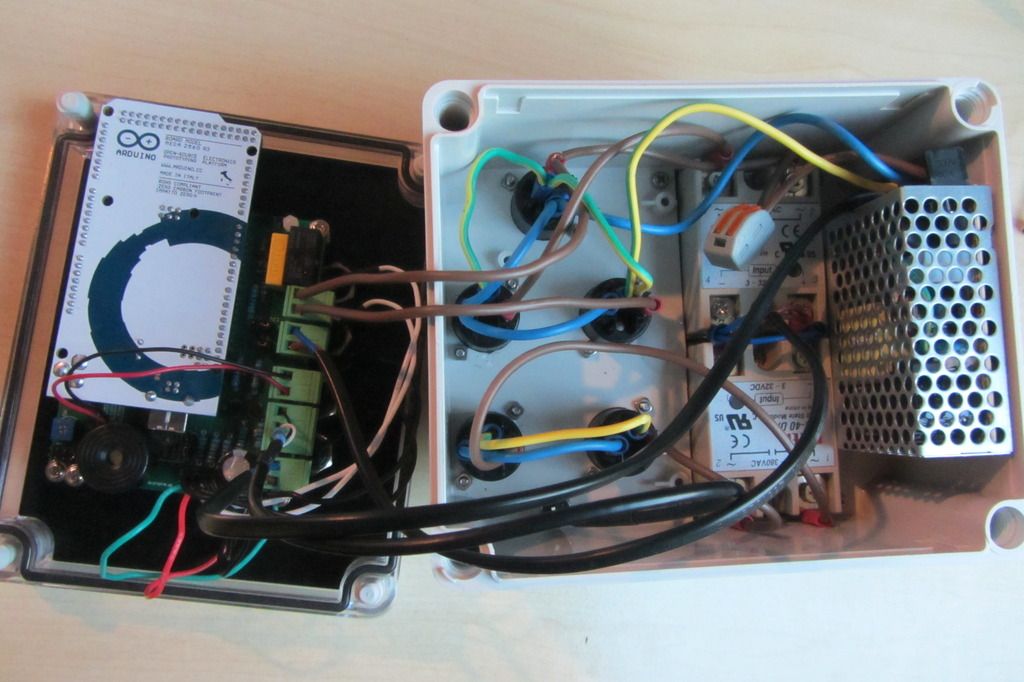
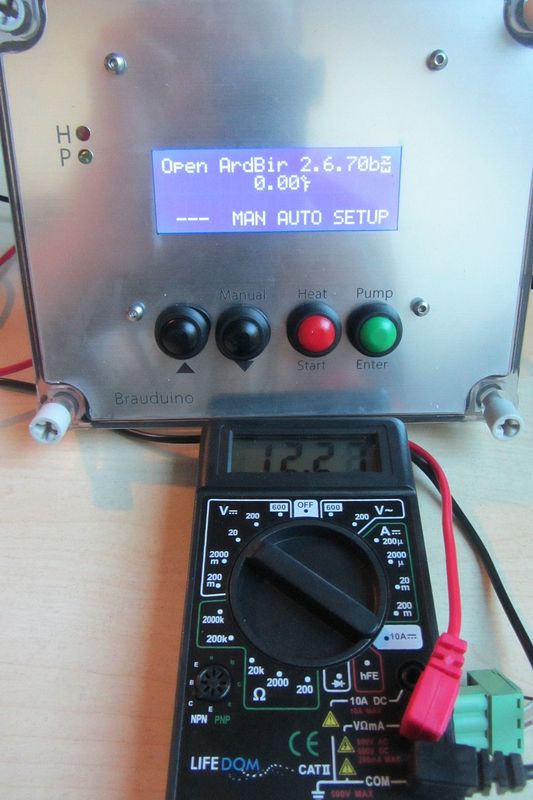
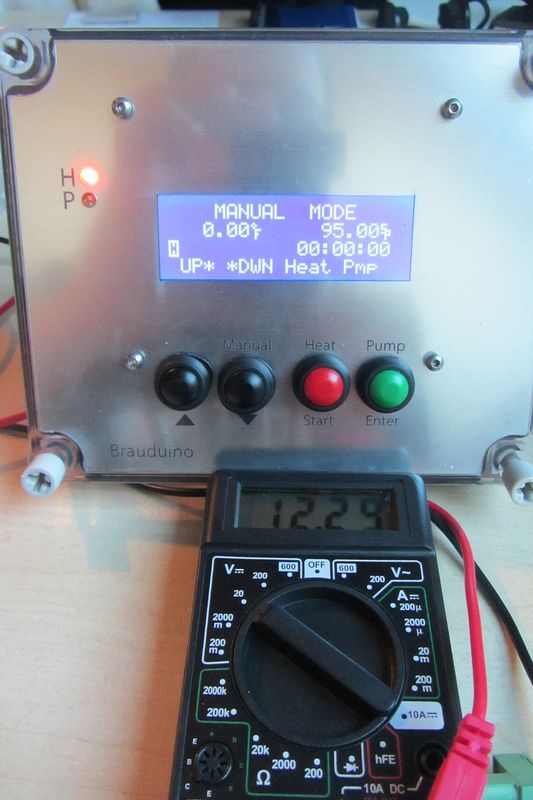
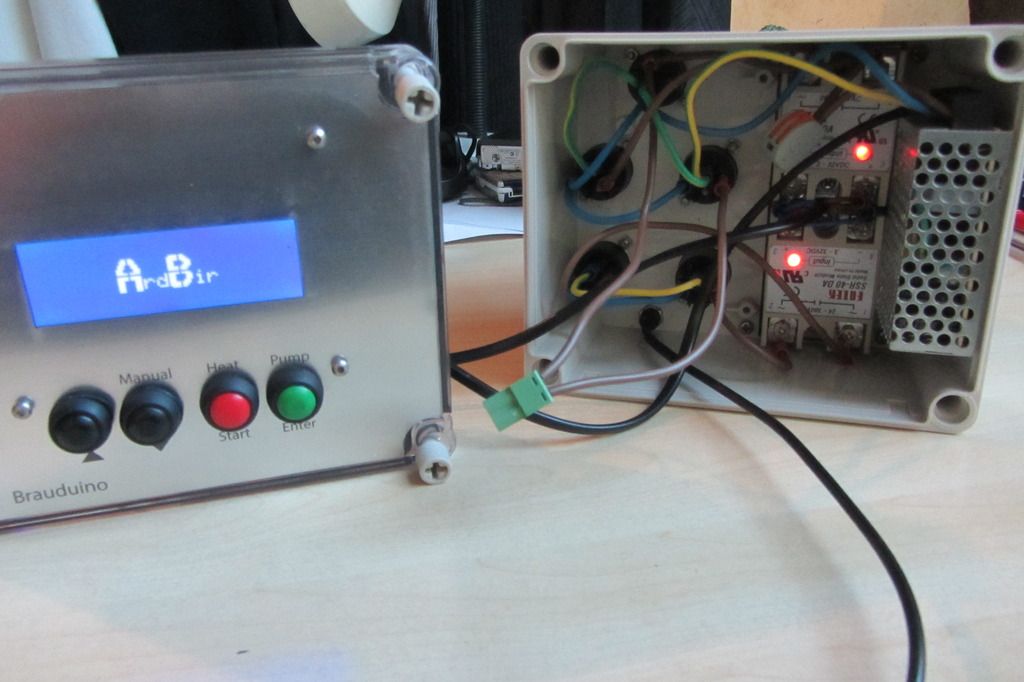
On the control panel what setting do you set boil point at? With an original BM unit I always set mine to 102c knowing full well it would never reach that point, the element then being on all the time during the boil / thus produced a nice rolling boil, this would normally provide a 10% boil off rate.
 
SBOB said:
If you are just cutting the wire make sure it's well isolated/insulated....
Thanks SBOB. I have heatshrunk the ends exposed and made sure its well isolated
 
zwitter said:
Hi Bunglebear

The linking of the neutrals is a bad idea as has been stated. If you live in a house with only one phase and you do not have individual ELCBs / safety switches and if everything is wired up correctly THEN maybe it would all work fine.

BUT the whole reason behind the second power in and out being isolated from the primary is so that you can use 2 phases or different circuits with separate safety switches etc etc.

Not many of us have two 15 or 20 amp circuits nicely positioned for our brew setups. I have some 40a circuits for single phase welders so can run the lot of one circuit but that really is rare.

Better to keep separate just in case you use it somewhere there is multi circuits or phases.

James


Sent from my iPad using Tapatalk HD
Thanks zwitter. I now realise the error of my ways. I think the excitment got the better of me and i didnt think about that particular circuit properly. Lesson learned. Read/Watch then Read/Watch again.
 
Just a general reminder to get your box checked by an electrician before you power it on.

Bungelbear: The joint neutral between the two circuits is bad because modern RCD's check the difference between active and neutral current. If they are joined the current may not return on the same circuit and should trip the RCD. I'm not sure what would happen in panels without RCDs

edited for clarity
 
Merry Christmas guys.

Just got the kit and looking into wiring it.

Got 3 questions if anyone can help out with.

1. I noticed on the power supply next to the connectors there seems to be a regulator screw, what could it be and do I have to do something with it ?

2. Has anyone hooked this up to the Grainfather ? Did the temperature probe fit in the hole or do I need to get some sort of adapter for it ?

3. What PID settings should we be using for the Grainfather?

Thanks in advance guys.
 
1 nothing
2 yes very successfully swap out temp probe apparently easy.
3 can't remember but some have been posted over the last few pages.

Cheers
 
nfragol said:
Merry Christmas guys.

Just got the kit and looking into wiring it.

Got 3 questions if anyone can help out with.

1. I noticed on the power supply next to the connectors there seems to be a regulator screw, what could it be and do I have to do something with it ?

2. Has anyone hooked this up to the Grainfather ? Did the temperature probe fit in the hole or do I need to get some sort of adapter for it ?

3. What PID settings should we be using for the Grainfather?

Thanks in advance guys.
1. The power supply from memory is to make minor voltage regulation changes. You should not need to change it at all.
2. Yep - a few I've heard from. The most notable is bigmacthepunker - prob worth PMing him in case he doesn't read this. I'm pretty certain the answer is yes, same size.
3. Check with bigmac. I think he has brewed with it a couple of times now.
 
Hello,
I encounter some problems with the kit. I think there must be something malfunctioning. Indeed, the SSR is always ON.

Here's the test that I realized:
By connecting only the necessary (usb, sensor, ssr) in manual mode, and the LED indicator on the screen works perfectly ssr but both remain on constantly.
So I check the voltage between pin + and - "heater" and there are constantly 4.5v
I then took the tension between terminal 9 and earth on Arduino and it goes well from 0 to 5V as shown by the LED.
I am unable to identify the source of concern is the same if I enssemble branch of the bos and the fact that I run on 12v ...

For the pump, I also have a concern, the diode and the control works but no start up the pump. I test the pin "pump" and the circuit never closes ...

I have no knowledge in electronics advanced lmost but my connection seem to have been done properly. I would try to take a photo to be sure, but as I explained at the beginning, I found the problem very quickly without having connected all cables, just the minimum to the test ...

In advance thank you for your help.
I hope Google traduction will be understandable...
Tzoon
 
Been trying to work out how to mount the panel to the BM build, I altered a bracket I had +adjusted the profile lengths + panel profile to except a curve. I did try a tilt feature but the unit ended up too far away from the bracket.
IMG_8826.jpg

IMG_8827.jpg

IMG_8828.jpg
 
Hi Tzoon, can you post a photo of your test wiring? The board was tested before it was sent and all functions were working correctly. Do you have the LEDs in place?
 
Hi Tzoon
Some questions
Note these tests can be done with no heaters or pumps etc connected. But the board must be run from the 12 volts not the USB. Do not plug the pump connection to the PCB as that would put 240v on the PCB and may be a little dangerous.

Do the LEDs on the SSRs themselves turn on and off?
Do you realise the -/+ on the board and the -/+ on the SSRs ?
If the 240v ends of the SSRs are at each end of the box the terminals at the centre will have the - connections on one diagonal and the + on the other diagonal.
The + must connect to the + and the - to the -
When the red LED on the brauduino turns on by selecting the heat in Manual Mode the LEDs on the SSRs should turn on. This is regardless of any connection to the high voltage pins. Note the high voltage side is SSR/ Triac and will only switch AC voltage and not DC and will not measure on and off with a multimeter. It must have AC voltage and load connected for it to switch but the LED works regardless as it is powered by the control voltage on the inputs.
Only when the LEDs on the SSRs turn on and off should you consider connecting the 240v side.

For the pump the relay is a physical switch. So when off it is an open circuit and when closed it i a short circuit. There is a snubber connected across the switch but it still can be measured with an ohms meter.
The relay control circuitry runs on 12v so you must have the board power connected to 12v or the relay will not switch.
When the relay does switch on it makes a mechanical click sound and you can feel this with your finger too.
The relay is only rated for about 5 amps so if you try to switch a big load like element you will damage the relay. It is fine for all the standard pumps we generally use. Chugger, march, even the LBP if you switch 12v not 240v.
Only if the relay clicks should you connect the plug with the 240v for the pump.

Does the relay for the pump click when you turn it on and off?

Please connect the 12v and test as above then post answers and some photos please.

Zwitter
James
 
Hey Barneey
Looking good
The Grainfather and brauduino make a cool setup.

That new one from KK is not bad but needs a few options to make it as nice.
Zwitter


Sent from my iPad using Tapatalk HD
 
Hi,

zwitter said:
Do the LEDs on the SSRs themselves turn on and off?
The problem is that they are permanently ON.
They never switch OFF.


zwitter said:
Do you realise the -/+ on the board and the -/+ on the SSRs ?

Yes, absolutely, you should be able to see from the following photos...

IMG_2694_zpsfoddrkkk.jpg


IMG_2705_zpso2ivgst2.jpg
 
Voltage Measure on the Heater Pin:
IMG_2696_zpsadd8oyfy.jpg


On Load:
IMG_2697_zpss1wy0r6g.jpg


Manual mode Off:
IMG_2698_zpspgeh5cqh.jpg


Manual mode On:
IMG_2700_zpsmp2eeeym.jpg


With SSR, the same result, always ON:
IMG_2701_zpsh3yqx1iu.jpg


Don't know where is my mistake....
Thanks for your help.
Tzoon
 
Hi Tzoon

I can not see an earth on the SSRs / heatsink?

As far as the fault.
At any time has the 12v been connected backwards?
If you unplug the SSRs does the load turn off?
If it turns off then the SSRs are ok.
It may be the transistors. But the LEDs word so ?
I think there was some wrong transistors at one time but did not think they made it to the final run.

Where are you located?

Does the pump relay switch?
One output is a possible error but both is a highly unusual posibility.
James


Sent from my iPad using Tapatalk HD
 
zwitter said:
I can not see an earth on the SSRs / heatsink?
I will add an earth on them.

zwitter said:
At any time has the 12v been connected backwards?
Absolutely, My main In Power were plugged on all over my test.

zwitter said:
If you unplug the SSRs does the load turn off?
If it turns off then the SSRs are ok.
Yes, if I unplugged the SSRs, there Leds switch off as when I unplugged the main In Power.

zwitter said:
Does the pump relay switch?
One output is a possible error but both is a highly unusual posibility.
he don't seems to work but i think taht is because of the LED ils breakink. I will try with the Red one to see if that's work.

I'm from France

I will look on the net how to test a transistor, I hope to have the necessary tools.

Thanks a lot for your help.
Tzoon
 
tzoon said:
he don't seems to work but i think taht is because of the LED ils breakink. I will try with the Red one to see if that's work.
As i supposed, with a working LED, the pump's relay seems to work
 
After my test, i'm sure that my Q2 transistor is out of order.
I will replace him and look if the heater works.

Does this reference from Farnel could be replace it....?
P2N2222AG
  • Tension Collecteur-Emetteur V(br)ceo: 40V
  • Courant de collecteur DC: 600mA
  • Gain en courant DC hFE: 300
  • Dissipation de puissance Pd: 625mW
  • Fréquence de transition ft: 300MHz
  • MSL: MSL 1 - Illimité
  • Nombre de broches: 3
  • Température de fonctionnement max..: 150°C
  • Polarité transistor: NPN
  • SVHC: No SVHC (15-Jun-2015)
  • Type de boîtier de transistor: TO-92

http://fr.farnell.com/on-semiconductor/p2n2222ag/transistor/dp/1611371

I will advise you anyway.

Thanks a lot.
Tzoon
 
Hi Tzoon,

PM'd you. Yes that is the correct transistor. We should be able to get you brewing soon! :)
 

Latest posts

Back
Top