Intermediate Stovetop Techniques

Australia & New Zealand Homebrewing Forum

Help Support Australia & New Zealand Homebrewing Forum:

This site may earn a commission from merchant affiliate links, including eBay, Amazon, and others.

Nick JD

Blah Blah Blah
Joined
4/11/08
Messages
7,322
Reaction score
456
Since the Move to All Grain for Thirty Bucks thread has had forty thousand hits I thought it'd be an idea to do a thread about taking it to the next level for those who are still using the technique and haven't moved to bigger vessel BIAB or multi-vessel setups.

Of the other two tutorial threads I've done, I use neither techniques - the 30 Bucks thread was to show the most budget way to trying AG brewing; the 20L tutorial was to show high-gravity brewing and to illustrate a technique where "full sized" batches could be made in the kitchen. So I thought about another thread outlining techniques that over the years I've found work well with StoveTop brewing - especially to those who don't intend to move to a bigger vessel. Most of these methods can easily be scaled up though.

An it's with a heavy heart though that I must inform, there will be no Green Bucket in this thread. Sadly, the Green Bucket has been relegated to vehicle-washing duties and has been tainted with soap residue and as such has been demoted to living in the shed with an old, musty cloth as its only company.

Let's move on.

A Simple Single Decoction Mash for a Bohemian Pilsner.

If you know about decoction mashing then you might as well skip this bit, but if you don't, here's what decoction mashing is:

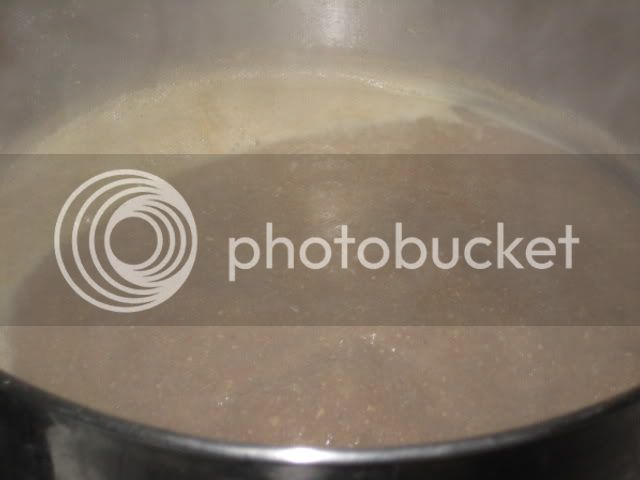
Taking some of the mash out, boiling the shit out of it, and adding it back to the mash.

That's pretty much it. That, and when you return the boiling mash part back into the mash ... it's going to raise the temperature of the mash. This is a handy thing.

There are long, involved decoction mashing techniques, and they would suit a thread called Advanced Stovetop Techniques, but this isn't that thread - so we'll do a single decoction because it's easy, and achieves what we're after - 1. changing the flavour slightly 2. changing the colour slightly 3. creating more head retention and 4. upping our efficiency.

Here's a bloody graph. At least it's not an equation, but it's handy to describe what is being done.

Mash_diagram_single_decoction.gif


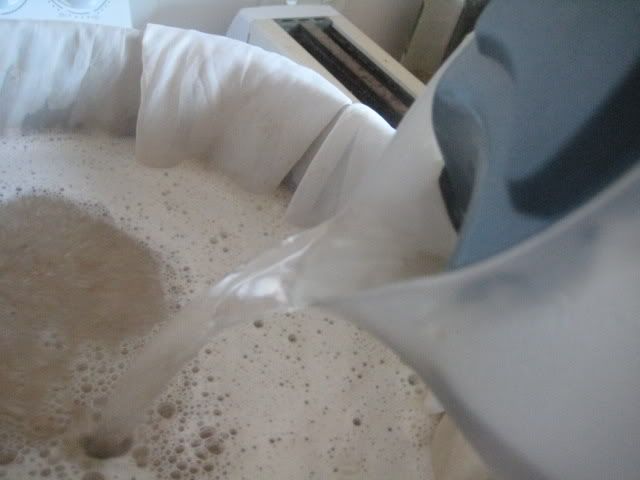
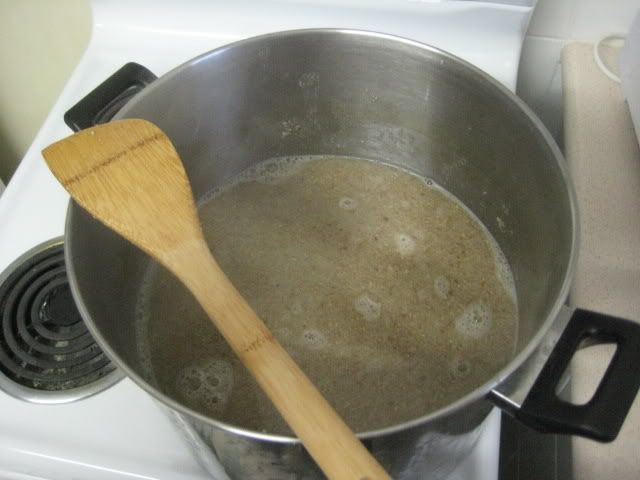
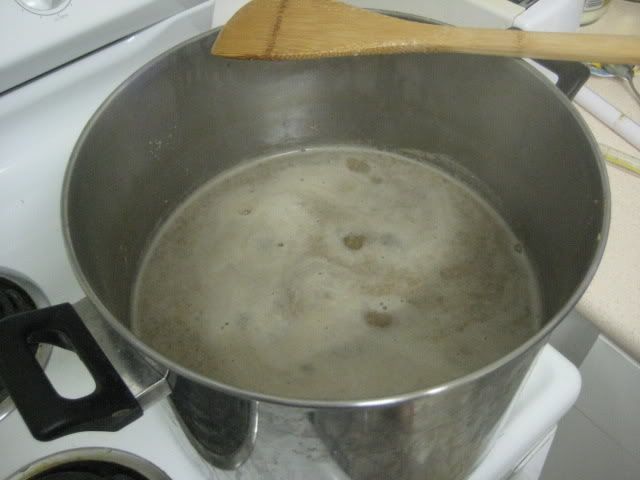
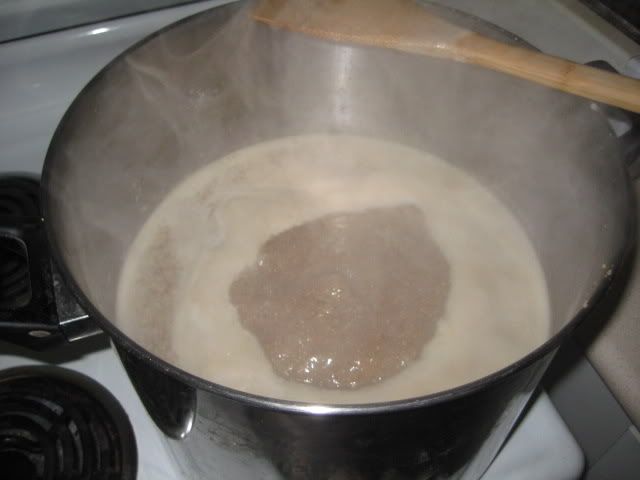
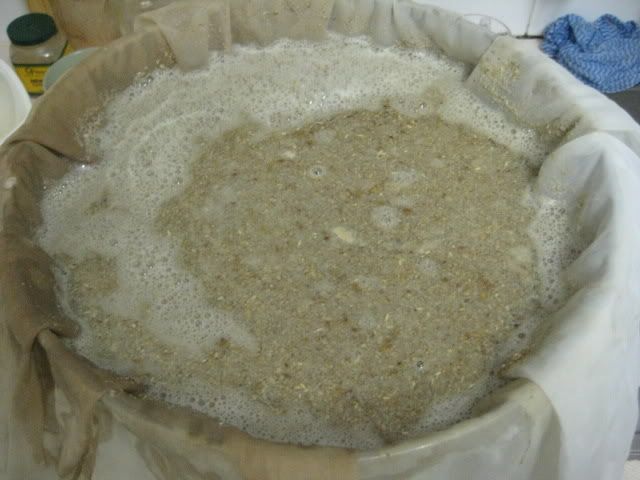
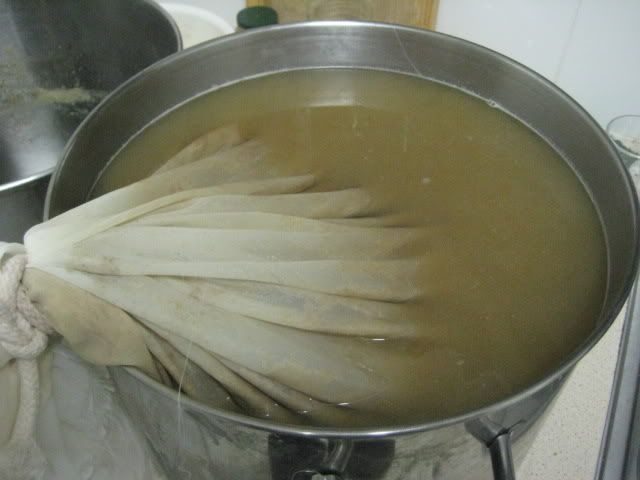
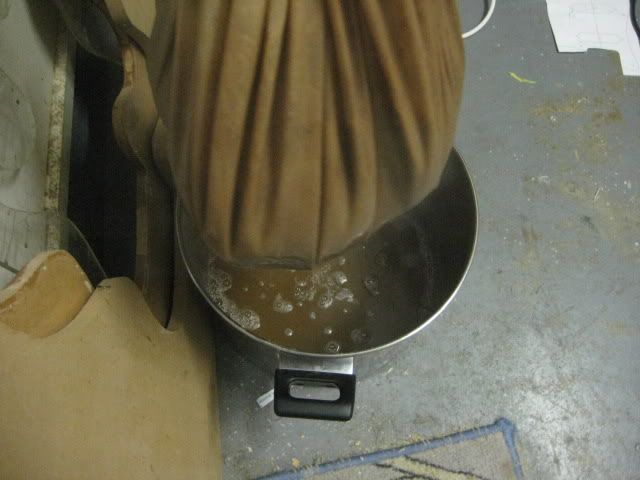
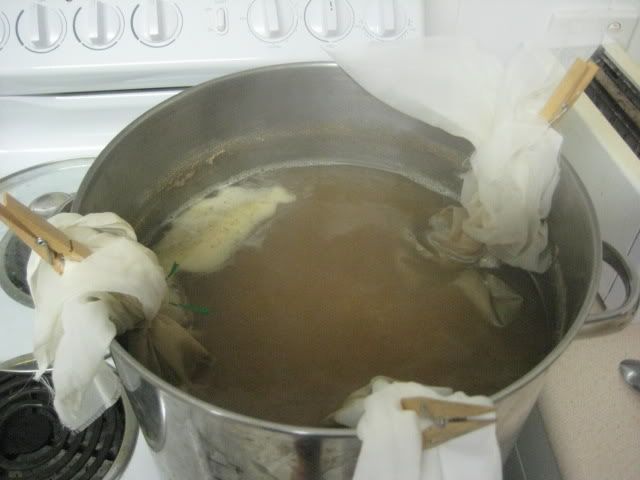
As you can see, at the start we'll have a short protein rest, then we add some boiling water to bring it up to the sacc rest (the normal mash), then after 45 (I do 60) minutes we scoop a bunch of the mash out and boil the crap out of it - pour it back in the pot, and pull the bag out. Easy.

Enough typing. Time for pictures. Here's some grain.

IMG_2552.jpg


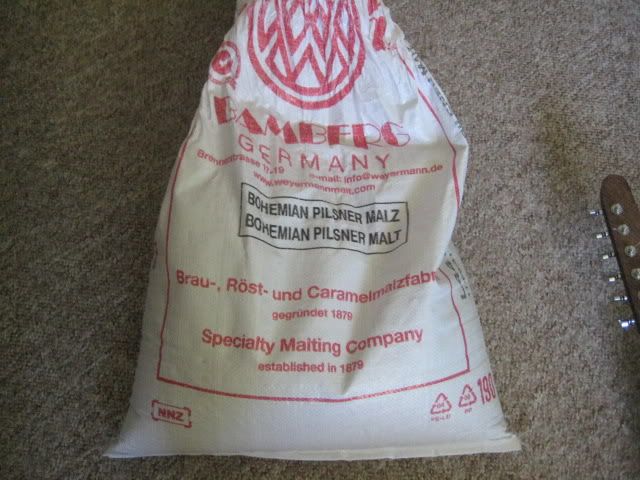
This grain is a slightly different strain of pilsner grain, and you can really tell by it's flavour. When you drink a good Boh Pils, much of that flavour is actually the grain - I've made a few experimental Ales with it and it's quite incredible how strong-tasting this grain is. You need to get some to do this kind of beer justice.

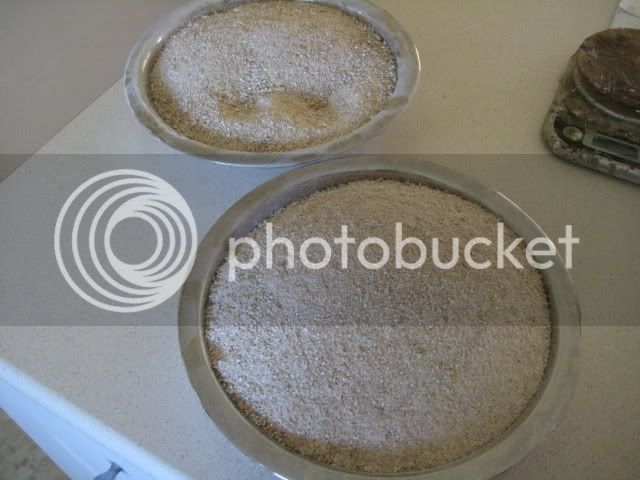
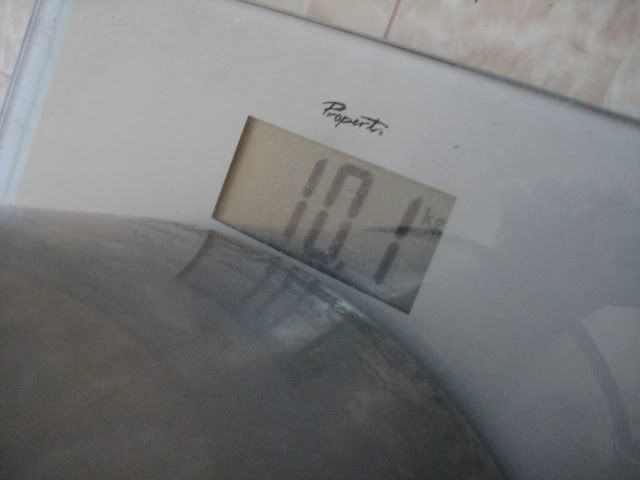
Here's 3.5kg of it. That's the whole grain bill.

IMG_2553.jpg


The recipe is:

19L
3.5kg Weyermann Bohemian Pilsner
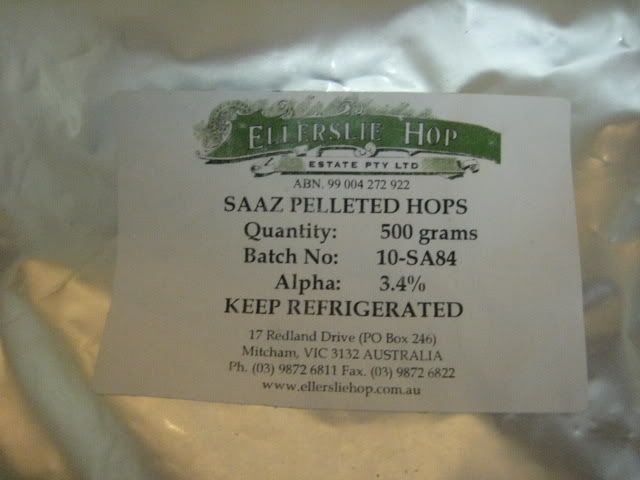
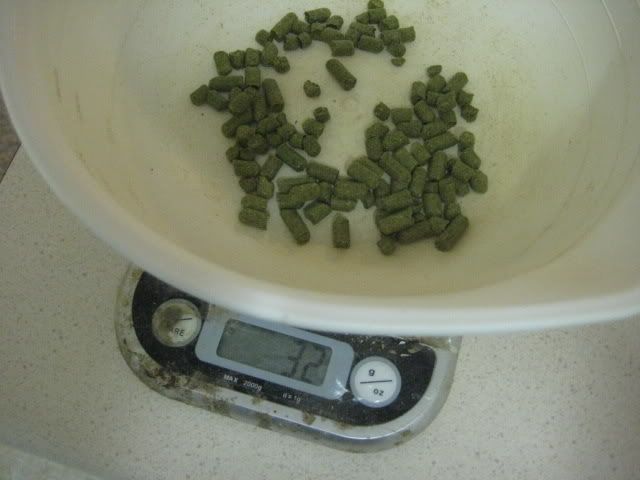
32g Czech Saaz 60min
22g Czech Saaz 30min
17g Czech Saaz 15min
 
Now we have the grain blitzed up, we need some water in the pot for our mash. Aiming for about 2.5L for every kg of grain we need 2.5 times 3.5 (kg), which is just about 9.

So in the 19L pot we need 9L of water.

IMG_2555.jpg


The pot weights about 1.2kg, so I put that much water in it so it get to about 10kg. Those are the bathroom scales I use to monitor my beer belly's gestation period. It's nearly due.

Now, everyone knows about Strike Temperature now, and how to find a calculator online to work it out. When I plug my specifics into an online calculator it says I need 58C water so when I bung the grain in it'll be 52C, like on the graph you ignored. For the Protein Rest.

IMG_2556.jpg


And whatdoyaknow ... chuck the grain in, give it a paddle ... and it worked! (Both those temp readings are slightly off because managing to take a photo with my left hand while trying to stop the lens fogging, and wiping the thermometer to see the red line is freakin' difficult).

IMG_2557.jpg


An Alarm is REALLY HANDY here. Sorry for the shouting, but it takes a big source of error out (wandering off to water the garden with a beer in hand and end up changing the mower's sparkplug).

IMG_2558.jpg


Since this protein rest is such a short rest, I don't worry about insulating the pot.

IMG_2559.jpg
 
I got this Kettle years ago from one of the Mega stores. It was cheap and is bloody great - you can get it to go to any temperature within 5C. Here's it's set to 95C just to show how it works ... but it's set to boiling, I put it to 95 because boiling is a squiggle, and that means shit in the photo.

IMG_2561.jpg


So the protein rest is finished. It was 15 minutes long in the low 50s. Now we need to do the sugaz rest. I want this to be 66C, so the kettle has 2L in it boiling.

We keep adding 2L boiled kettles until it's at 66C. Pretty simple.

IMG_2562.jpg


It took nearly three 2L kettles full to get to 66C. It's important to stir like buggary here as you want the temp readings to come from a well-mixed mash.

IMG_2563.jpg


There.

IMG_2564.jpg


Sleeping bag and towel.

IMG_2565.jpg


Alarm set for 60 minutes.

IMG_2566.jpg


The graph says to mash for 45, but I do it a little more just to make sure it's all sugaz and no flourz.
 
So the saccrification step of the mash at 66C is done. So it's time to scoop out about 1/3 of the mash. Some people only scoop out the really thick grain part, and some people scoop out a bit of the grain and a bit of the liquid ... I get a reasonably sloppy mix, mainly because the thicker it is, the more likely it'll burn ... and you fully don't want that. This way, I hardly have to monitor it when I boil the crap out of it.

Decocted third in another pot being brought to the boil slowly (10 minutes from 66C to 100C).

IMG_2567.jpg


Time for a Citra Ale.

IMG_2568.jpg


Starting to boil (stir stir stir).

IMG_2569.jpg


Boiling. Set the alarm for 25 minutes (the amount of boiling time and the amount of the mash boiled will affect the colour and the flavour - experiment).

IMG_2570.jpg


Time for a Ricey Galena Lager (galena is the world's most underrated hop, but that's another story).

IMG_2572.jpg
 
It's boiled for a fair while and has got a little bit darker - not much, but a little bit. Smells wonderful.

IMG_2574.jpg


Time to return it to the main mash. What we're effectively doing here is a mash out. But since it's at the very end we don't need to aim for any particular temperature - but I guess it'll be a decent mashout temp.

Decoction goes into the mash.

IMG_2575.jpg


Some of the grain is left in there, but no worries. Rinse that out.

IMG_2576.jpg


Main mash with decocted part returned at mash out temperature.

IMG_2577.jpg


Bag tied up, ready to drain.

IMG_2578.jpg
 
The bag is draining (and squeezed) into the same pot that was used for boiling the decoction.

IMG_2581.jpg


I rinsed the bag out with 2L of 75C water and returned it all to the pot. Ready for the boil.

IMG_2582.jpg


We've got 14L of 1.037 at 72C. That's 14L of 1.061 at room temperature. Time for some maths.

14/19 = 0.736

0.736 x 61 = 44.9

So diluted to 19L, we've got 1.045 ... which is bang on for a Boh Pils. With a bit of trub loss it'll be about 1.042. Close enough. It's a keg full.

While the pot is coming to the boil, it's time to sort out the hops.

IMG_2583.jpg


We need 32g for the 60 minutes of the boil (boil time is 60 minutes - many do 90+, but I can't be arsed). Some Boh Pils are quite bitter. I prefer mine a little more tame, IBUs in the 30s not 40s.

IMG_2584.jpg


Note the BIG bag. Bigger the better. The hops when contained this way need to be free to move. Picture the amount of tea in a tea bag.

IMG_2585.jpg


Like this.

IMG_2586.jpg


Boiling.

IMG_2587.jpg


Don't forget to put some whirlfloc on the bench to be added with the 15 minute hop addition. It'll clear up the wort like nobody's business.

IMG_2589.jpg


And here we are at the end of the boil. Lost the requisite amount of liquid to lose the boiled cabbage chemicals.

IMG_2591.jpg


So, the protein rest went in at 3:40 and "flameout" was at 7:15. The wort is no-chilled in the pot and decanted off the break material into the fermenter the next day and diluted at 20C.

IMG_2592.jpg


You can see the flecks of coagulated hot break starting to sink and the resultant clear wort.

Lager yeast is added and the temperature controller is set to 12C. No diacetyl rest is done. It gets gelatine and polyclar at FG and transfer to keg.

Happy brewing. :icon_cheers: There are a few other Stovetop techniques like a Belgian Triple and an IPA that can probably be thrown into this thread when I get round to making them next.
 
Very nice, nick. I have stepped mashed up the temp but never tried decoction before. Will have to score some boh pils malt.

Do you make water adjustments?
 
Do you make water adjustments?

No, but I should. Needs to be a bit softer.

To do a faithful Boh Pils requires so much dicking about I find unless you're trying to win comps, it's a lot of effort to make a great beer into a supurb beer.
 
I just this minute (all that above was yesterday) put it in the fermenter with some yeast.

The yeast is S189 (there are more accurate yeasts, but the yeast H-strain is a pain in the ass and takes ages to ferment out. S189 at 12C is very neutral. The Weihenstephan yeast is also a goer.

It's a 300ml bottle of trub I saved from my last lager (hallertau german-ish pils). Been warming to room temp all morning.

IMG_2593.jpg


Have a bit of a drinkie to make sure all is well. No worries. Mmmm, first taste of this beer (even over the slight truby taste) and I'm looking forward to that keg.

IMG_2594.jpg


Into the ferm fridge at 12C. The wort is currently at 19C, but will be at 12C in about 18 hours - which is great for yeast growth.

IMG_2596.jpg
 
Thanks for another good instructional thread Nick. :)
 
Brilliant walk through Nick, as usual.

Our other forum member RdeVjun in Toowoomba has also been doing all this stuff as well so it's becoming a very "mature" technology around the place. Rde picked up a couple of impressive wins both in the State Comp last year, and was runner up at the Spotted Cow IPA comp. I know Nick's not into comps which is his "thing" but I'd love him to have a go at the State this year and show them where the cow sits in the cabbage patch. :kooi:

I've quaffed many a beer made by variations on the 20L pot "Maxi BIAB" system presented above and I can personally recommend going this route. In fact if I were starting over again I would probably have gone this method if it had been pioneered at that time (or pioneered it myself whatever :rolleyes: ) and not even gone the urn system.

Boring historical speculation: they almost stumbled on all this in the 1970s in the UK when they were using 23L electric bruheat boilers with a grain bag. Almost, so agonisingly close, but they just didn't quite get that Road to Damascus thingo as they were still firmly inside that square thinking "tower brewery system, tower brewery system".

If they had done so, I reckon BIAB in all its forms would have quite simply become the default home AG system.

</end boring historical speculation>
 
SOMEWHAT OFF TOPIC REALLY GRATUITOUS SPECULATION (HENCE SEPARATE POST) SO SKIP THIS POST BY ALL MEANS

:icon_offtopic:

Ok at the risk of seriously rocking a boat or two:
The founding fathers of BIAB quite understandably promoted the system as a simple one pot, full water volume no sparge system. Therein lay its main attraction, as well as producing excellent beers.
A downside of this "keep it as simple as possible and don't mention the S-word" approach was that you needed a serious pot to start off with - either with an equally serious burner or an electric urn, the bigger the better.

This presented a bit of a bar to jump over initially and you can bet that it steered a lot of beginning AG brewers to using the eski they already had in the garage, and building up a 3V system a bit at a time - which you see all the time in the AG beginners threads.

However once it was demonstrated that you can use a smaller pot, do a sparge, (shit I said the S-word :ph34r: )even brew over gravity and adjust the strength down, etc, it was very easy to brew cornie-sized or bigger batches with little extra effort, far less expenditure and as demonstrated, good quality results.

I still love my urns and enjoy the dead simple procedure of full volume BIAB but I wouldn't be at all surprised if many new brewers getting into AG using Nick and Rde's (and others who have posted) methods just not seeing why they should invest more cash and go onto other systems. I reckon we should definitely try to get one of the guys to brew at the system wars day for the upcoming Brisbane Home Brewing conference. :icon_cheers:
 
Yeah BribieG, IMO there's nowt much wrong with the method Nick has laid out here, there's a few ways to slice a Stovetop BIAB decoction (or any decoction for that matter) and this would be one of the simplest. Cheers Nick! :icon_cheers:
I encourage brewers to try 100% base malt and decoction, the results are often superb. One variant would be to decoct from protein rest to saccharification, then again to mashout. However I'd recommend just one decoction step initially to keep it simple, this method demonstrated is probably the least risky in terms of hitting the right temperatures as mashout can land just about anywhere without negative results.
 
Hey Nick or anyone,
I don't have temperature control so what would be the result of using S149 at 18 deg. or changing to US-05?
Thanks ,
wombil.
 
If you mean S-189 then Bacchus Brewing do most if not all of their lagers at 19 using either S-189 or S-23

Actually picking some S-189 up off Ross during the week as my garage is a loverly 18 beer incubator at the moment and hopefully will remain so till September. :)
 
Great guide, Nick.

As BribieG & RdeVjun say, BIAB can be used for mature beers.

I personally have (finally, I must admit) decided to not get an urn. My method is an amended version of the stovetop method, and with Rde's help, I'll make a minor couple of alterations and produce a double batch (yes 45 or so Litres) on the stovetop.

Not an issue to not "progress", so long as the beer is good, and the method you use works for you (and probably that you can improve beer quality by refining, rather than changing methods.

Cheers

GOomba
 

Latest posts

Back
Top