Wolfy's 3v Stainless Home-brewery Build Details

Australia & New Zealand Homebrewing Forum

Help Support Australia & New Zealand Homebrewing Forum:

This site may earn a commission from merchant affiliate links, including eBay, Amazon, and others.
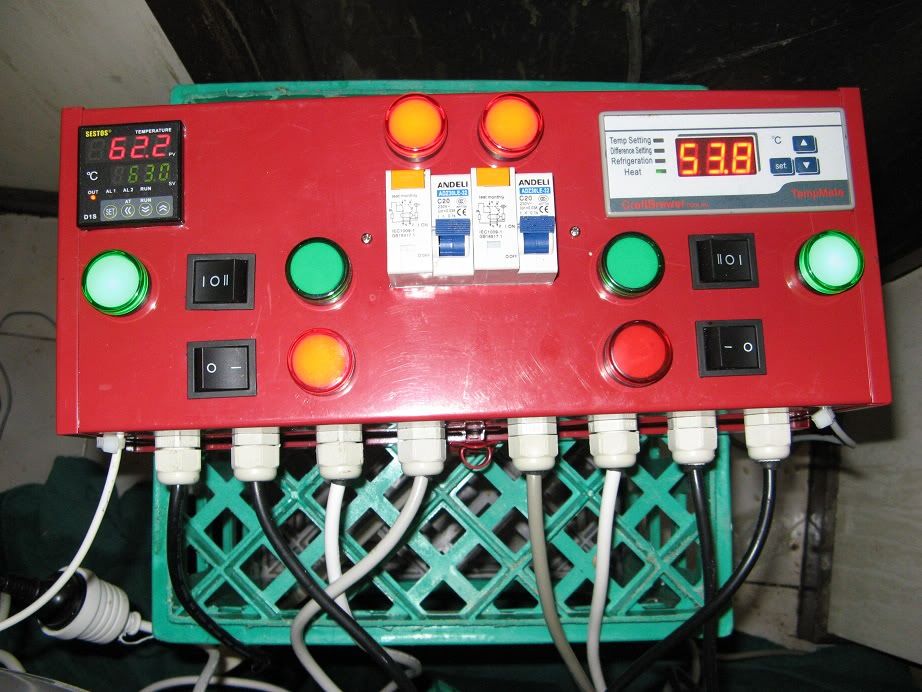
Update #27: New HERMS vessel
More details on blog here.

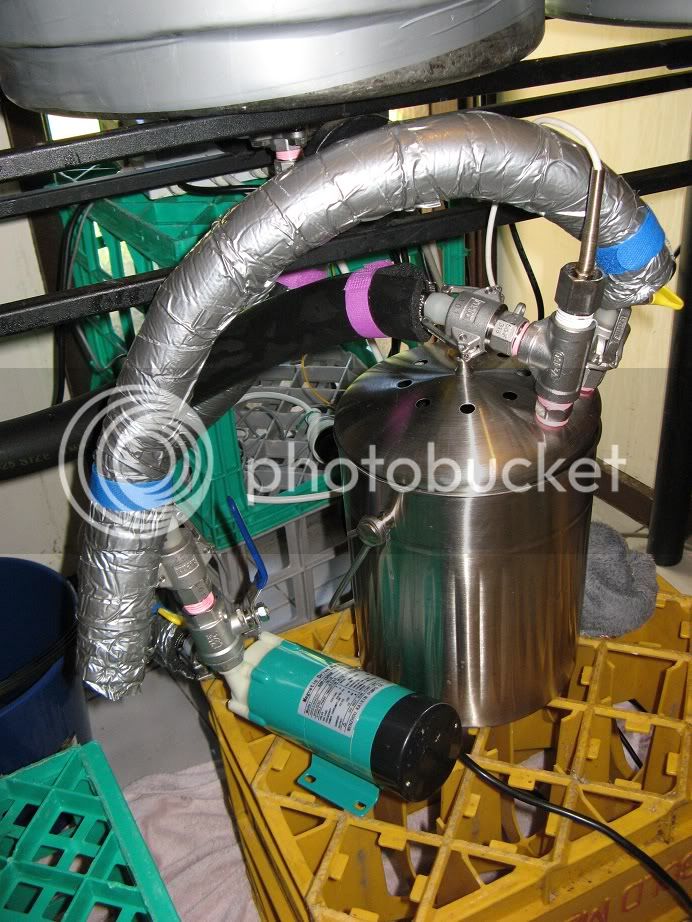
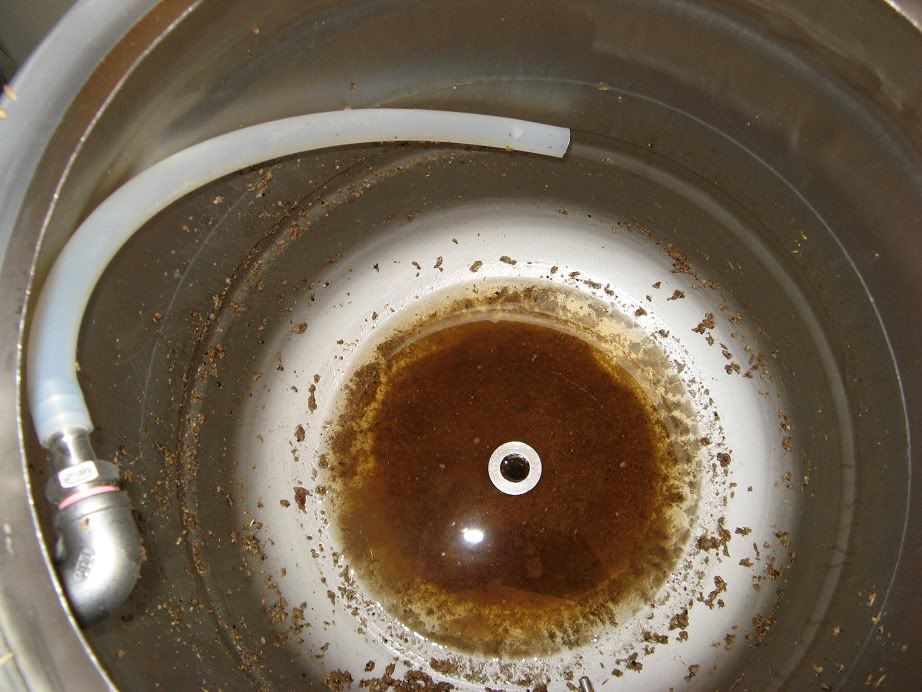
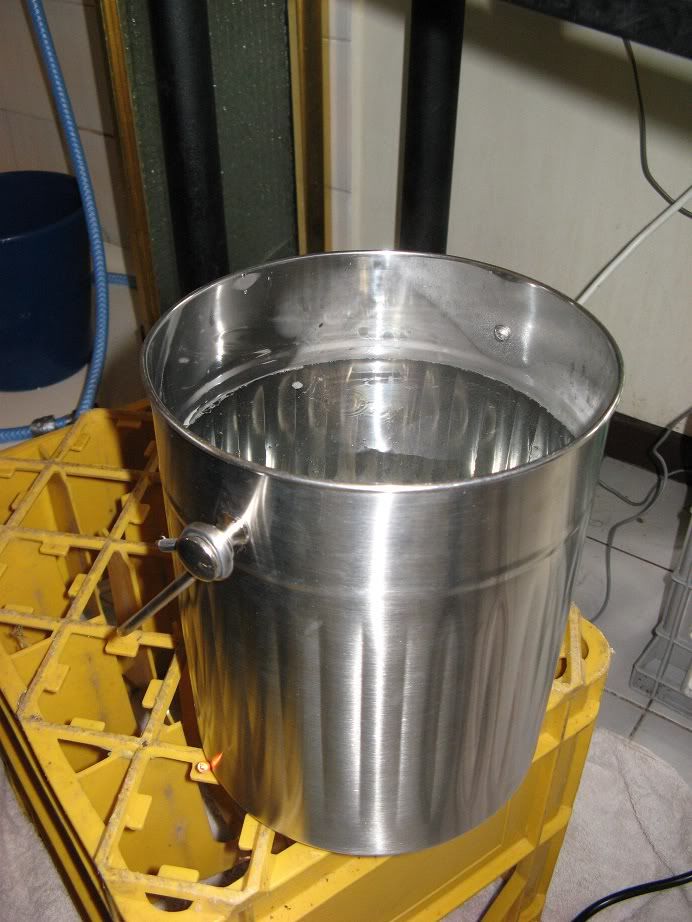
The plastic-cooler HERMS vessel worked OK, but didn't tolerate being (repeatedly) dropped on the floor, so while I was considering what to do about the HERMS container, Aldi had some stainless 'compost buckets' on special.
SS_HERMS1_zps59391ccf.jpg

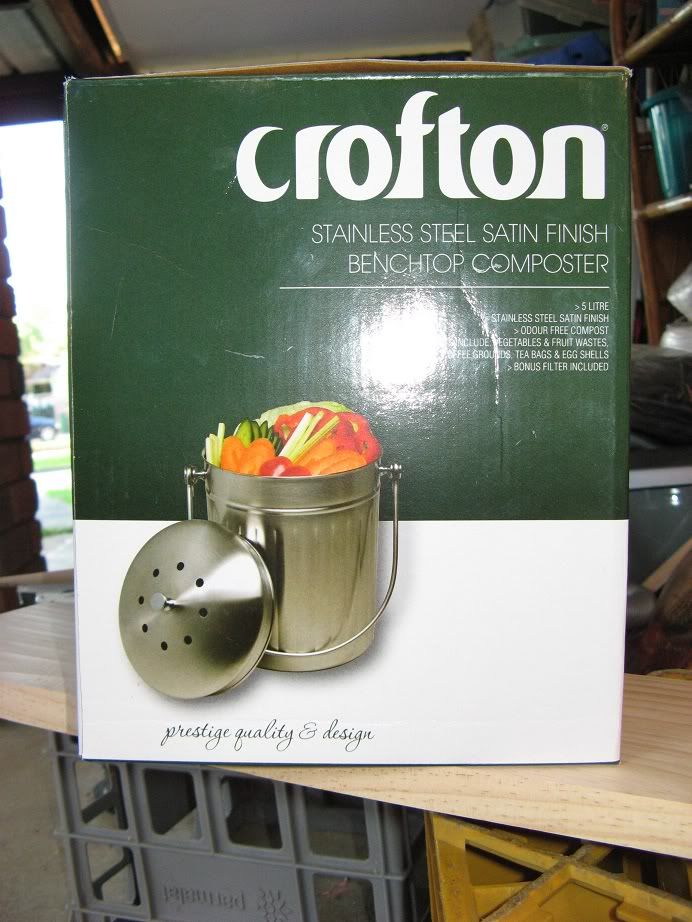
(Local Aldi's still have lots of these in stock, $24 each, so I expect they'll be discounted soon).

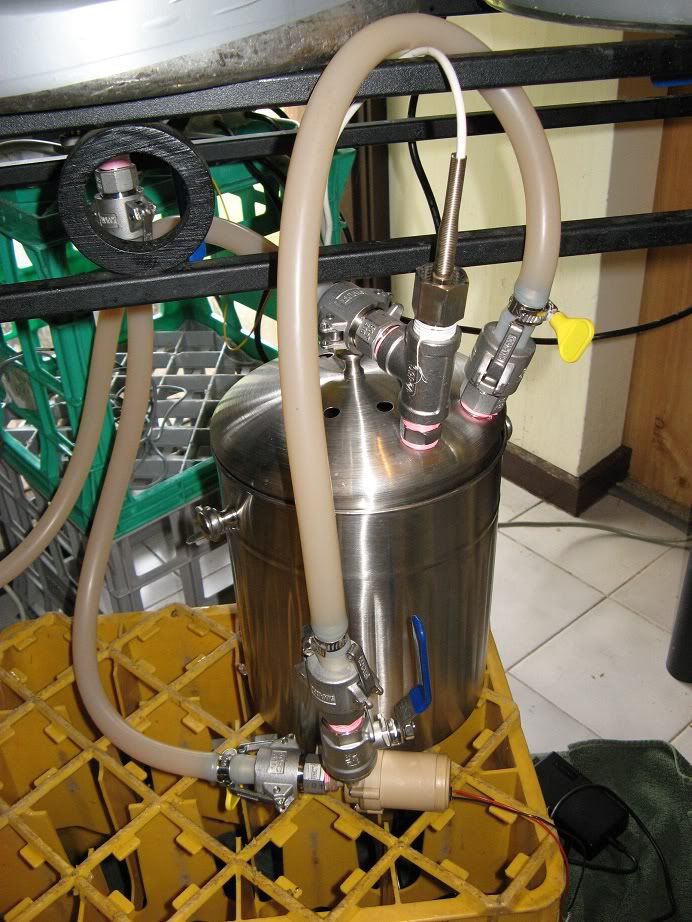
The trusty TCT hole-saw was used to make the hole in the base of the bucket for the element:
SS_HERMS2_zps0c56ec1f.jpg


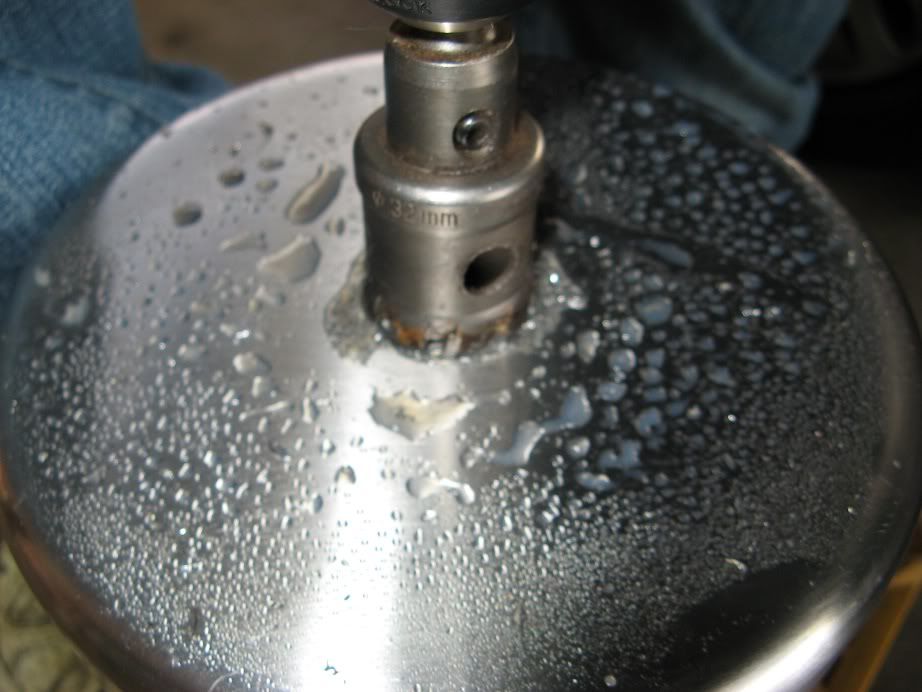
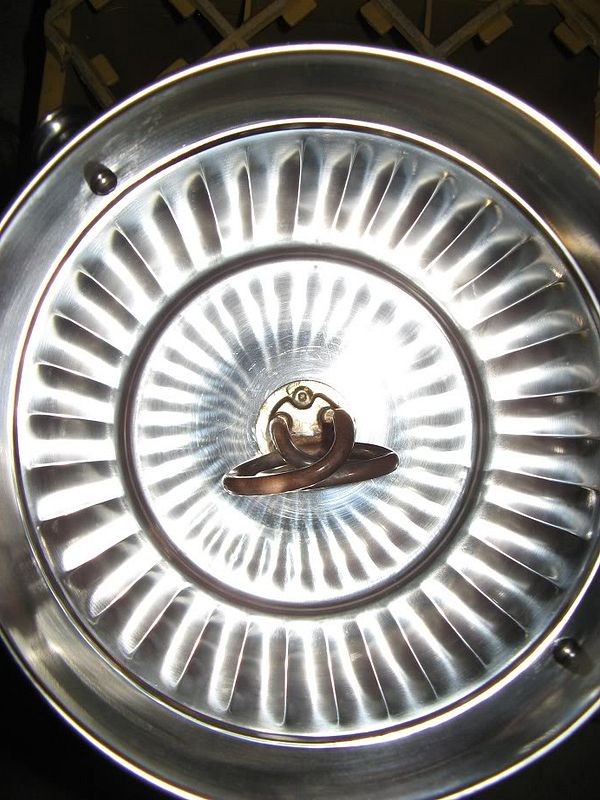
Since the element was a bit larger than the 32mm hole, it needed to be enlarged some:
SS_HERMS3_zps43d4d697.jpg


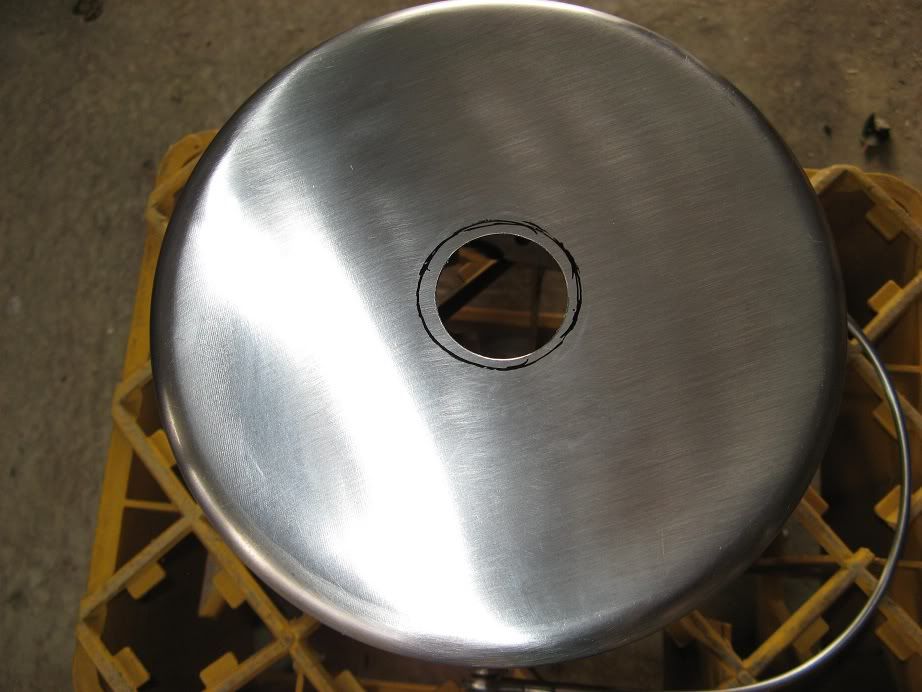
A grinding-stone attached to the cordless drill, which made the process much quicker:
SS_HERMS4_zpsf1818afb.jpg


Element removed from our old kitchen kettle, once it was removed from the kettle-housing and the plastic trimmed down a little:
SS_HERMS5_zps20648105.jpg


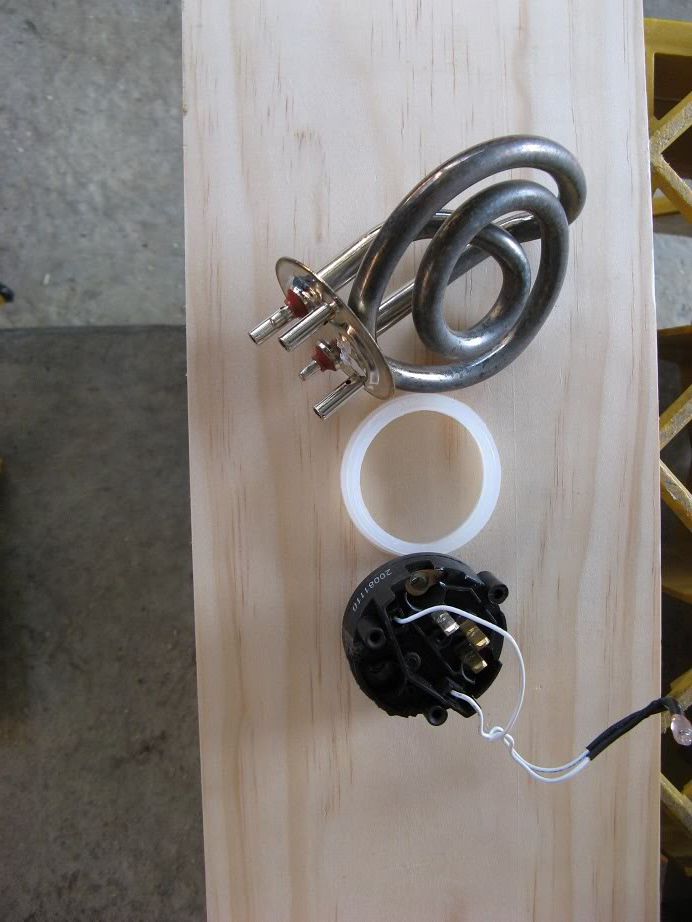
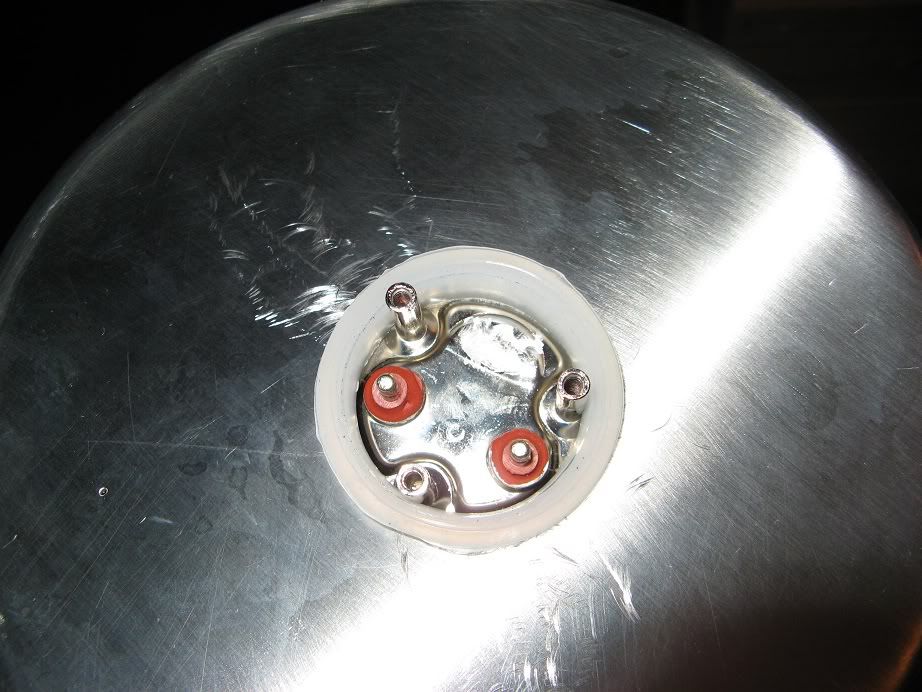
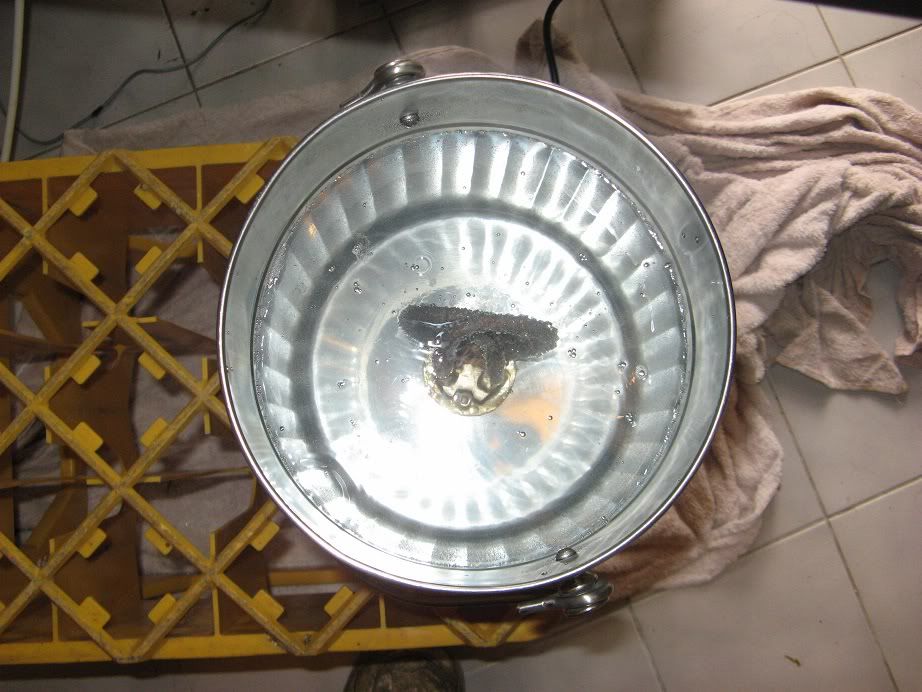
The gasket from the kettle-element was used to measure the hole and hold the element and mount in place:
SS_HERMS6_zpsf22f9da5.jpg
 
However, since the wall of the plastic-kettle was much thicker than the stainless bucket, an insert-gasket was made by cutting out a silicon baking tray:
SS_HERMS7_zps6731bb51.jpg

I thought it might be amusing to keep the little LED light, but not sure it will serve much purpose and might remove it.

The installed element:
SS_HERMS8_zps80fe4dbd.jpg


Leak testing:
SS_HERMS9_zps0c8e536e.jpg


... and checking that it all works when plugged into the PID:
SS_HERMS10_zpsa54c016f.jpg


And finally, with a couple of holes drilled into the lid, and lots of fiddling to get the HERMS-coil attached, in use with the old little brown solar pump:
Brewlywed5_zps1f874e3e.jpg


It looks nicer then the old one, I might wrap it in left-over insulation, but leaving it like this might help the PID control the temperature a little more accurately, since the stainless bucket will act as a heat-sink to dissipate heat if the PID over-shoots. ;)
 
That looks like a really nice option for a HERMS build, might check around and see if I can find one at Aldi.
 
Update #28: Kaixin Pumps

Before I build the brew-stand I'm trialing using 2x Kaixin Pumps for the brewery setup.
As detailed here, Kaixin Pumps are 240v Food Grade Magnetic Drive Pumps. The advantage is they cost $30-40 (when purchased in bulk to save on shipping), but the disadvantage is they are not rated to work with 100degC liquids.

To recirculate the mash, the wort is drained from the mash-tun into the pump then through the HEX-coil and back into the mash (via the temperature probe):
old_brewed3_zps13357a1f.jpg


The second pump is use to fly-sparge from a single-level system, one pump to sparge water into the mash, and the other to drain the mash into the kettle:
MatrimonyMild_4.jpg

(Should look better once I build the brew-stand, but as proof of concept it works fine).

After the boil (for beers with no 0min, hop-back hop additions) the wort is drained from the kettle into the into the pump and through the plate-cooler and into the fermentor:
old_brewed7_zps01cd0ae4.jpg


After a 75min mash, and then draining the mash-tun slowly (approx 1L/min) the pump gets warm to touch, but has worked without problem so far. Each time the kettle has been drained (Kaixin pumps have only been used for 2 batches of beer so far), the pump has pumped the boiling wort without issue for long enough to fill the fermentor. The only issue is that the threaded inlet port is not sized as well as the outlet, so I cross-threaded the plastic thread with the stainless camlock on one of the pumps and so now I need to take some care to 'repair' the thread-malfunction.
 
Update #29: Control Box #2
More details on Blog here.

The (free) plastic fuse-box was a little cramped - inside and out - having to position the PID and HLT controller on the sides of the box made it more difficult to use and and I couldn't work out any brew-stand-design that included that 'feature' in the design. So, I moved everything into a new steel-box:, using solder-less fittings, clips and plugs. The bigger box allowed for a neater and easier to use lay-out both inside and out.

Note: Don't DIY 240V, it's dangerous and likely not legal where you live.

The first step was to make the cut-outs needed for the PID, HLT controller, LED-lights and switches:
control_box_2_1.jpg


From the inside:
control_box_2_2.jpg


Since I need to run 2x 2400W elements at the same time, but are limited to standard domestic 10A circuits with no RCD (Safety Switches), the Control Box has two circuits (left and right side of the box) - each connected to a different house-circuit - and the input connections run directly into the RCDs:
control_box_2_4.jpg


Then the power is split to two double-pole switches, one single throw switch for a pump on each circuit:
control_box_2_5.jpg


... one double throw (center-off) switch on each circuit that runs either a kettle-element or the PID/SSR (on one circuit) or the HLT-controller (on the other).
It's all quite logical and well spaced-out.
control_box_2_6.jpg


In use, while recirculating a step-mash:
control_box_2_7.jpg

The top-red-LED's indicate that both circuits are provided with power, one pump is switched on to recirculate the mash (bottom left), the PID is stepping the temperature up to 63C, and the HLT-controller is heating the sparge water.
 
The DIY mash tun false-bottom works well, even when the mill-gap is set for a fine crush (0.8mm with rice hulls, 0.88mm no rice hulls).
However, the weight of the mash did deform the thinner perforated stainless where it rests on the center-drain stand-off.
To fix the problem I placed a washer above the stand-off and below the false-bottom so that the weight is spread over a wider area than just the edge of the stand-off:
falsebottomstandoff1.jpg

(Looks like this when the mash-tun is drained ready for cleaning).
 
Nice build man!! Do you mind sharing the name of that stainless supplier in Dandy? Im lookin at my own herm build come tax return time :)
Cheers
 
Awesome build, wolfy. Brilliantly documented.
Eagerly awaiting the final stage: building the Grand Brewstand! :lol:

Ps: mods, this should be pinned permanently into the gear section.
 
Havnt seen Wolfy (sadly) on here at all over the last few months. (or much at all since the site changed hands/Rebuild)
 
Yeah, it's v sad to no longer see him on ahb - he's had some highly valuable input into this community over the years.
How's his leg?
Tell the lazy boy to pull out his digit and finish this heroic saga!
Hope to see him at the Xmas swap, but I'm guessing he'll not venture out to idzy's.
 
Yes it's about a year late (Yob is correct as usual), but the SS supplier in Dandenong is GEORGE ARCHER METAL: http://www.archermetals.com.au/ they were there last time I drove past.

Leg is healed as much as I presume it will get (I can walk fine now, just hurts some at times).
But have 4x bikes now (2 the motorized kind) so the statistics are not on my side.

Last time I brewed one of the KK elements decided not to work anymore, luckily the guys at KK replaced it without issue (but they were highly surprised that it was still warm when I took it back - was right in the middle of a brew day, what did they expect!).
Stand is finished, will take a photo next time I brew, but the DPDT ebay switches burned out last time I brewed, so need to re-wire the entire electric side of things - but the safety switches work well!
 
Back
Top