OK... It's time to post up my 4v Herms Rig that I am in the middle of building!
I have all the gear and having its first brew tomorrow in a bodgy set up to see how I want to set it up permanently.
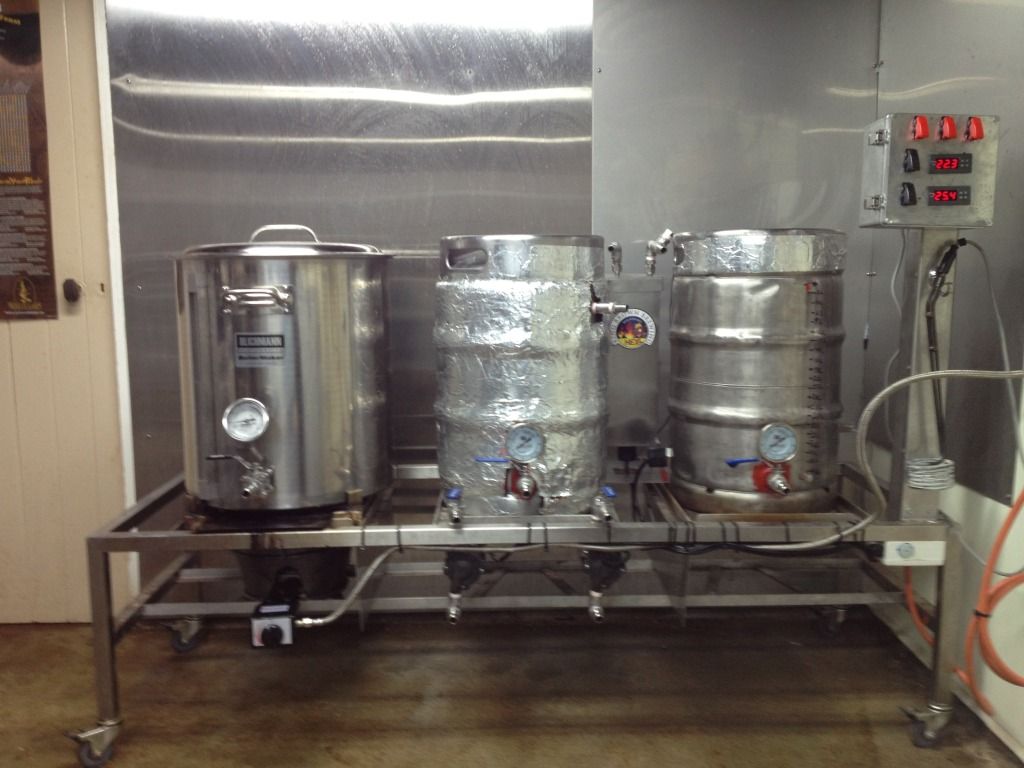
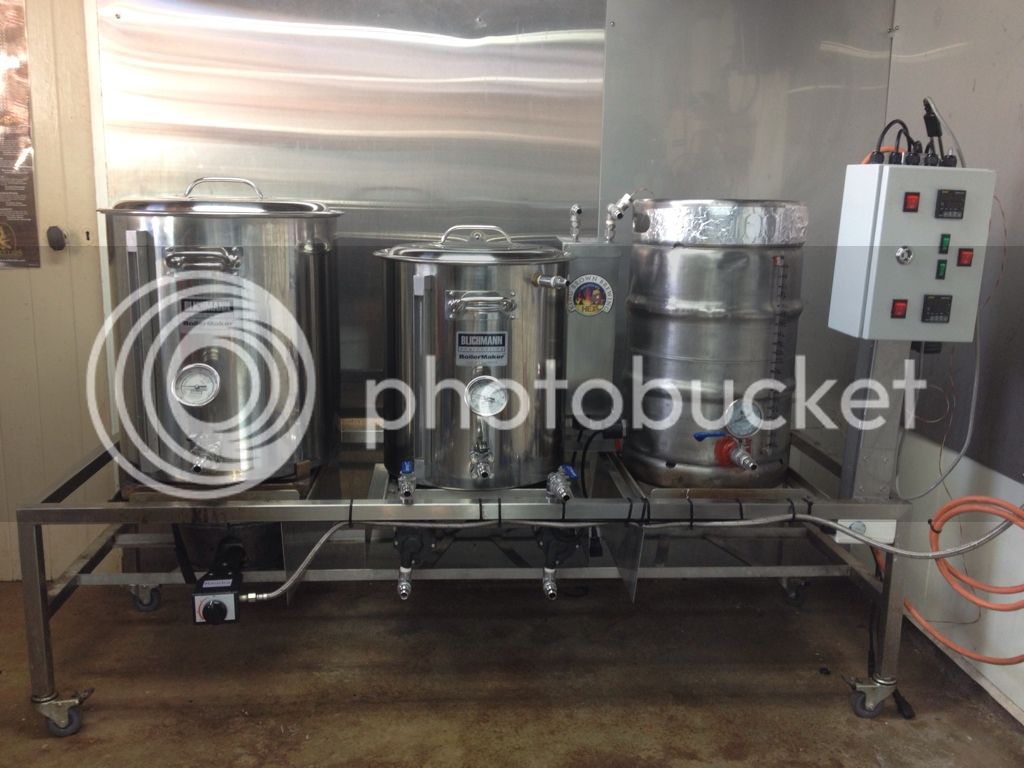
The rig consists of the following gear:
HLT: 100 ltr pot from CB with 2 x 2000W Elements
Mash Tun: 100 ltr Mash Tun from Beer Belly
Herms: 5 ltr Birko Urn with Herm-IT coil from Nev and Herm-IT Controller
Boiler: 100 ltr pot from CB with Itailian Spiral Burner and high pressure reg.
I scored a stainless bench from work so that will be the bench that it will all eventually be mounted on.
At the moment I will just use the boiler on the ground as I havent mounted it to the bench and don't have the pump mounted yet either.
Plenty to fine tune here and mount permanently but plenty of fun ahead.... Here comes bigger batches! (massive step up from my BIAB in an Urn days!)
Gear.jpg
Herms.jpg