My brew controller box

Australia & New Zealand Homebrewing Forum

Help Support Australia & New Zealand Homebrewing Forum:

This site may earn a commission from merchant affiliate links, including eBay, Amazon, and others.
Thanks Kev, would like to know when each step has completed, will need to check the Auber PID programming info to see if this is possible.

Screwy
 
Finally, began the Ver.5 build of my brewery control box today. Most of the front panel complete, only a switch and alarm to mount when they arrive. Now to install the cooling fan, DIN rails, circuit breakers, timer, SSR's and heat sinks then wire it all up.


Screwy

ControlBox1.jpg
 
Looking good Screwy. I know some haven't bothered with fans but I can definitely feel warm air coming out of my vent hole from the fan when it's running so I'm glad I went with a fan.

There is a way you can have your alarm ring when you reach each step as that's the way mine was originally set up. The alarm will sound when the pid moves to the next step because your still below the set temp as you ramp. Not really designed to be an indicator that your step has finished and from what I can see in the pid there is no way to do this.

I think you have to set your low alarm to 1C and set your ramp time to 1 minute. I changed mine because it was annoying hearing the alarm ring every time.

Kev care to help out???

The only thing I don't like about my setup is that at the end of mash when I start to transfer the pid wants to keep the pid at 77C. Because there is no wort flow and therefore the probe cannot measure the temp of the wort, the Herms vessel ends up boiling unless I remember to switch the element off. But then I've often forgot to turn it back on again when I've sparged.

I recently set my last step to 15C at end of mash and end of sparge so the Herms would stay off. So its like this..

C7= 77 T7= -38 ( Set alarm 2 and go to step 8.)

C8 =15 T8 = 1. It's supposed to hold the alarm then go to a pause step after one minute but it sits waiting for the temp to get down to 15C before it will start the 1 minute count.

So I might have to remove the pause step and just manually advance to the next step once I've transferred.

Option 2 is to use a flow control switch which will cut power to the Herms element if the flow stops. This would work well for a stuck mash which is another time I ended up boiling the water in the Herms.
 
Thanks Truman,

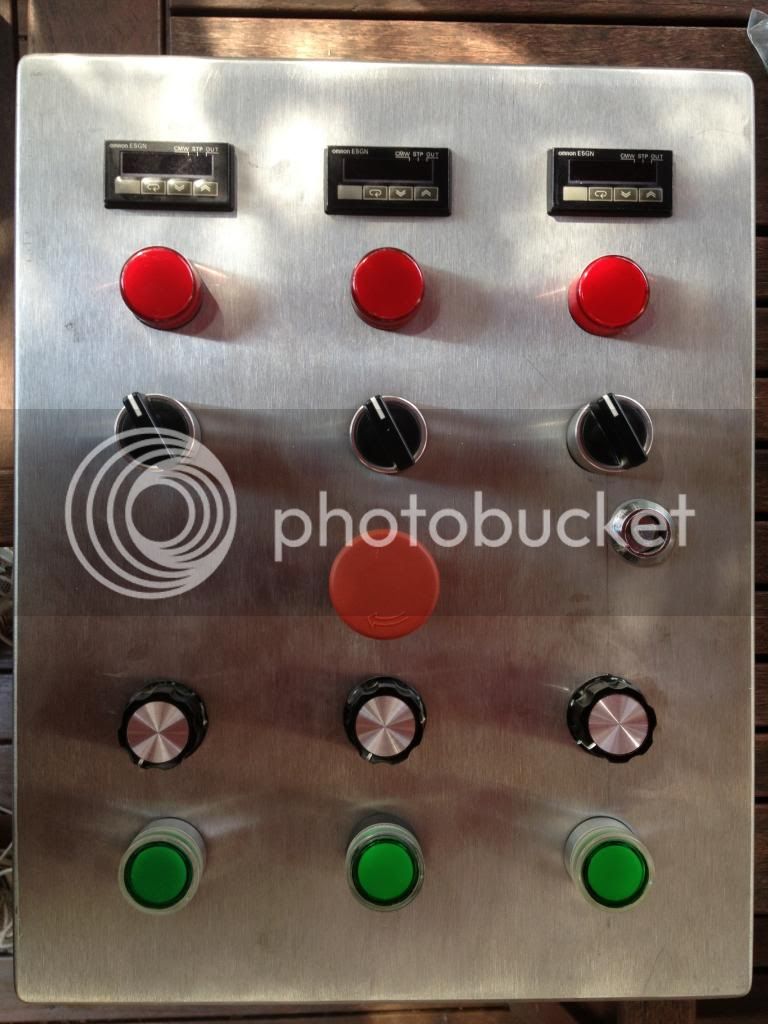
Did some more work on the control box this morning, installed the DIN rails, Breakers, Heat Sinks and SSR's and welded the mounting post to the brew rig. The control box will swing inside the footprint of the brewrig for storage.

Pretty much given up on the idea of step alarms, was going to use a 555 timer circuit to limit the alarm time. Too much stuffing around, and probably over complicating the build.

I pump sparge water via the HEX with the controller still set at 76°C from the mash out rest. Once all of the sparge water has been pumped in the same thing happens, no water to sense and the HEX boils. Going to use an el cheapo DIN mount temp control with the sensor in the HEX so that current to the element is cut if the water rises above 95C.

Also going to use a DIN mount timer instead of having it panel mounted as with the previous control box.

Cheers,

Screwy
 
Continued today until the 39° heat got too much for me in the shed/brewery. Mounted the DIN rails, breakers, heat sinks, SSR's, panel mount connectors for the RTD sensors, cooling fan and power in cable.

Day 2.jpg
 
Some really nice work in this thread. I've been following it for a while, looking for a bunnings box to fit all the gubbins in, when I found this in a scrap bin at work:

IMG_1101_zps1740d0ce.jpg


It already had a few holes in it, but with a bit of judicious punching, everything looks kind of ok, if a little off centre. Probably 75% of the controls and switchgear have come from another redundant machine that no-one wanted to buy, so the sparks salvaged anything useable and donated it to the project, and management have sanctioned the apprentice to wire it all up for me (on condition I host a brew day/piss up)

I can't claim it as a true DIY jobbie as I'm a Fitter/Machinist/Toolmaker/Mech Eng by vocation and keep calling the wires "pipes", but I reckon it looks the biz. 3 sets of controls to run the recirculating HLT/pump the sparge water, the HX/MLT and kettle. Having a PID on the kettle is a little excessive, but if you've got it, you may as well use it, especially if it's only going to get chucked anyway!

All I need is some little engraved plates to show what everything is. Does anyone know where i can get some made for cheap?
 
FB,
name change required...... Lucky Batstard!!!!! nice find mate, I'm sure a bit more detail on the setup is required. ^_^


Ed: bloody typing!
 
Hey mate, go to my website, hope I can help.

If you just want stick on labels, use the BYO Laserlite item.
If you want 1.5mm thick plastic plates, use the BYO Small Signs item

www.eatonlaser.com.au

There area some instructions there for ordering custom control panels if you wanted a complete panel made.

Prices reduce by quantity, you can check them in the shopping cart before you commit to a purchase.

Cheers,
Chris
 
Cheers Chris! Will check it out.
I'll post more details of the build later. Was supposed to be mocking up the stand and vessels today, but it was too damn hot & I was too damn lazy!
 
Truman said:
You can buy the sockets from Lawrence and Hanson for about $15 each.

But I found a powder coated metal power board at work that had about 10 outlets so I just cut it down and connected it to the side of my box.

I have two power lines coming in which will be hard wired direct to the RCDs with 5 metres of lead and male sockets to plug into a GPO.

$15? wow, I'll sell them off cheap for like $4ea, but out minimum order value @ work is $50.
 
Done, a few programming issues to tidy up. V5 build and install complete.

DSCF1003.JPG DSCF1004.JPG

DSCF1005.JPG DSCF1008.JPG

IMAG1041.jpg
 
Yob said:
very tidy indeed..

details on that kettle? Nice kit Screwy :beerbang:
Cheers Yobbie!

82L stainless, originally fabricated for another brewer who upgraded and NASA Burner. Thinish bottom results in slightly darker colour than predicted.

Screwy
 
yeah, thought it looked a bit custom, I like it's slenderness :super:

nuffin wrong with a bit of colour mate :ph34r:
 
The new PID controlled brewery made life easy today. Mowed the lawn and did some gardening while the system made 50L of IPA. So easy just turn up after mash out!!!

Thanks to QldKev for helping me get my head around programming the SYL-2352P.


IMAG1049.jpg IMAG1051.jpg
 
A question: why go for metal enclosures? Surely plastic is easier to work with?
 
Ditchnbeer said:
A question: why go for metal enclosures? Surely plastic is easier to work with?
Previous control box was plastic. Like the strength and that the door is hinged and can be opened using a key.

Screwy
 
Just got my control enclosure in the mail and will start my control box build this year..

Everyone's is looking good! I noticed not many are using Relay's on the selector switches, anyone nerves about frying their elements?

Very jealous you guy have yours up and running already, although I can't wait to start.

Cheers

Gavin
www.BrewRig.com.au
 

Latest posts

Back
Top