Husky's Biab Brew Rig

Australia & New Zealand Homebrewing Forum

Help Support Australia & New Zealand Homebrewing Forum:

This site may earn a commission from merchant affiliate links, including eBay, Amazon, and others.

husky

hop addict
Joined
13/2/09
Messages
868
Reaction score
508
Location
VIC
I have posted these pics in another thread however I thought I would start a new thread now the system has had its maiden run. I would also like to get comments from people on improvments that can be made etc.
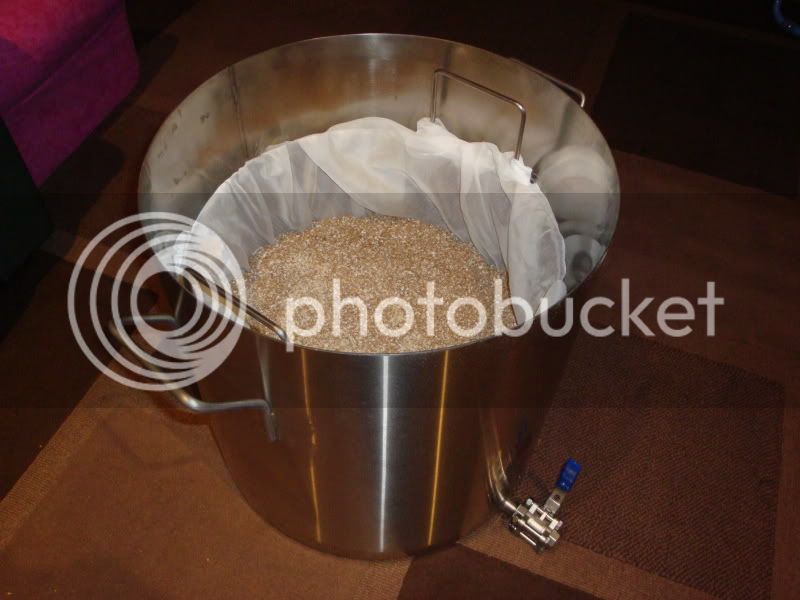
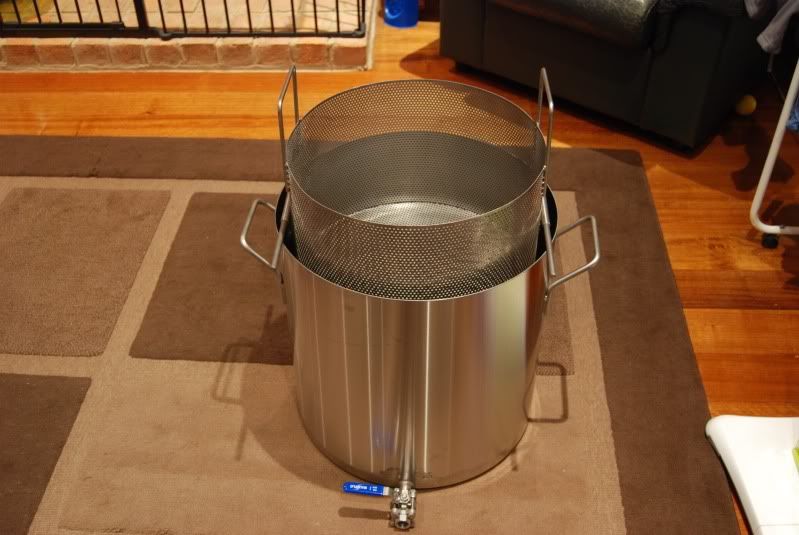
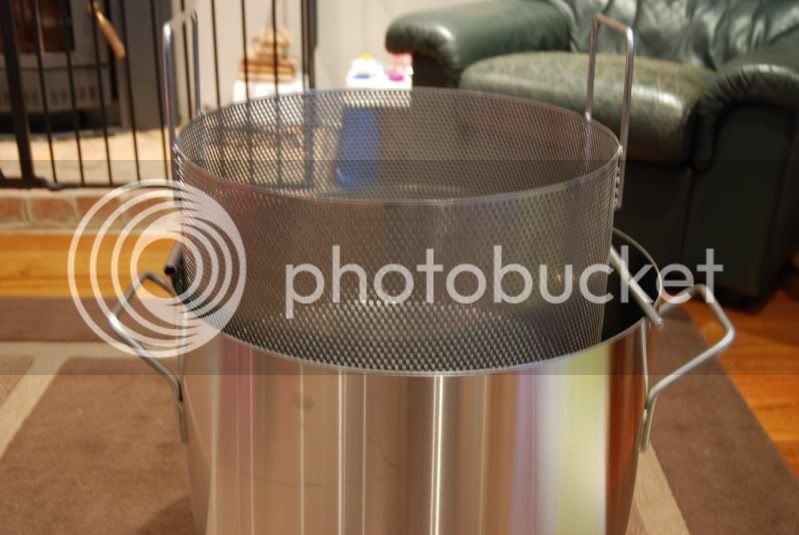
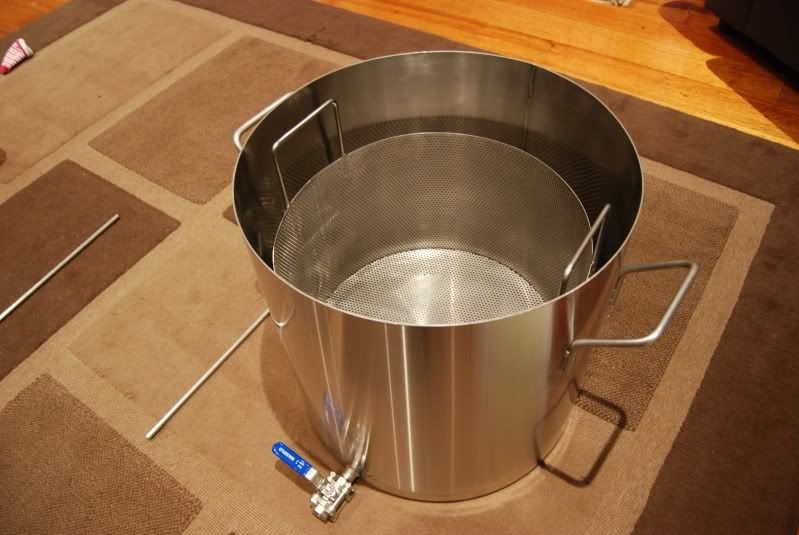
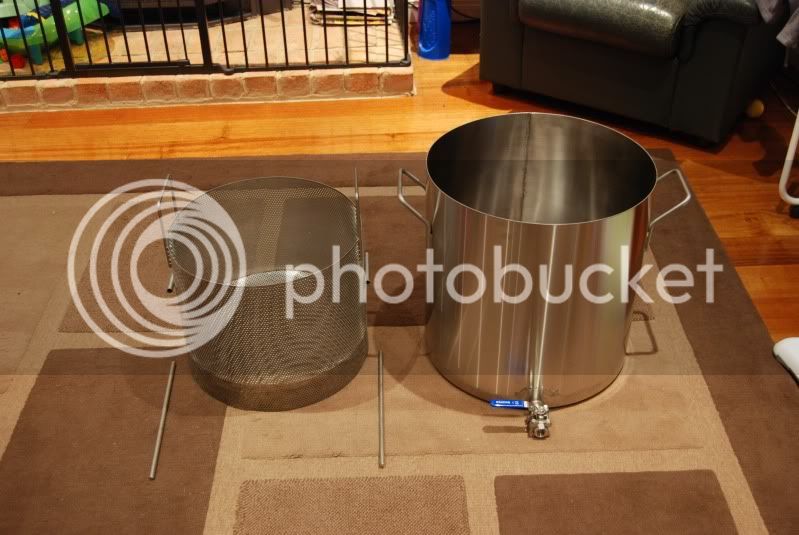
I realise BIAB is supposed to be simple however I like to tinker with things because thats what I enjoy doing. My aim was not to squeeze any more efficiency out of the process but simply make brew day a bit neater. The fact that I like shiny stainless also has alot to do with it.

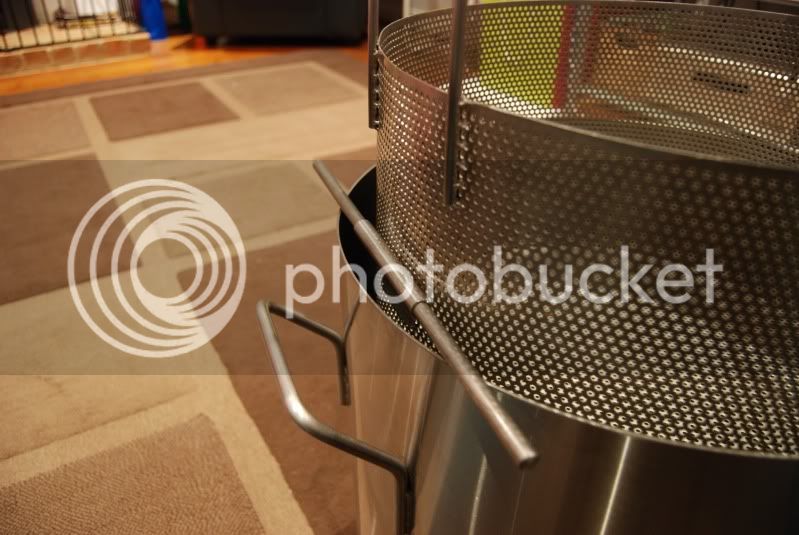
I have the height of my basket set so I can run a double batch and have the grain just above water level, this means the wort will have a little further to drop when running a single batch(99.9% of the time). If this turns out to be an issue I can add additional tubes to the basket to sit it further in the pot. Theres plenty of clearance around the basket to observe the wort height.

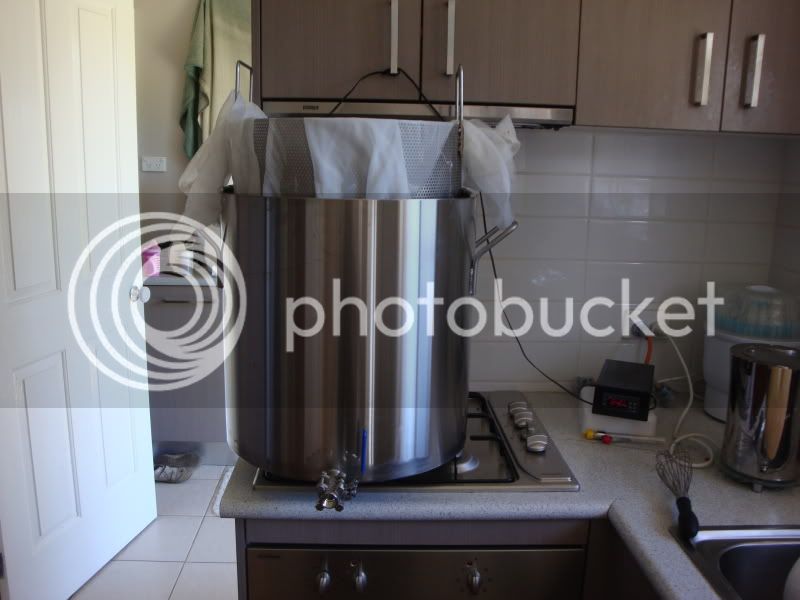
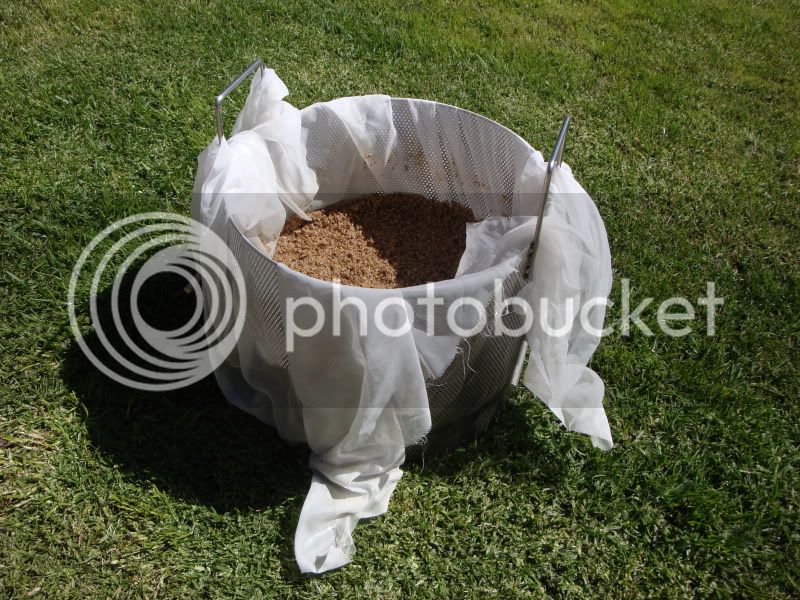
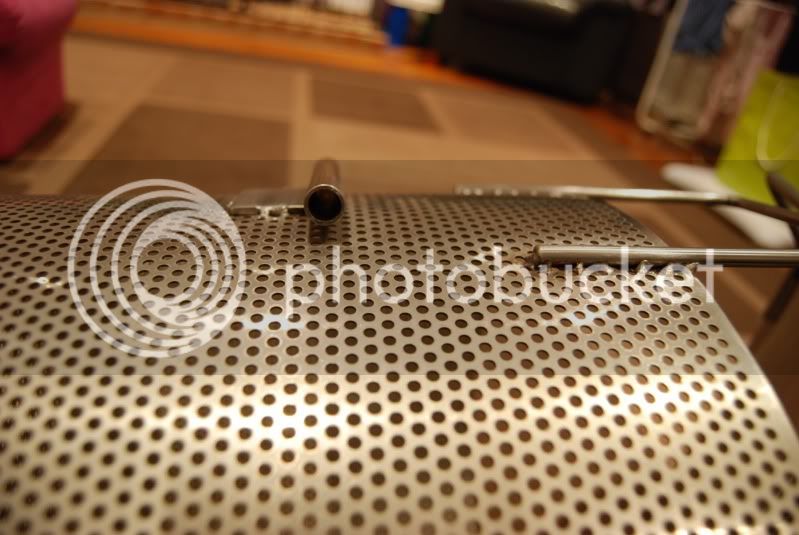
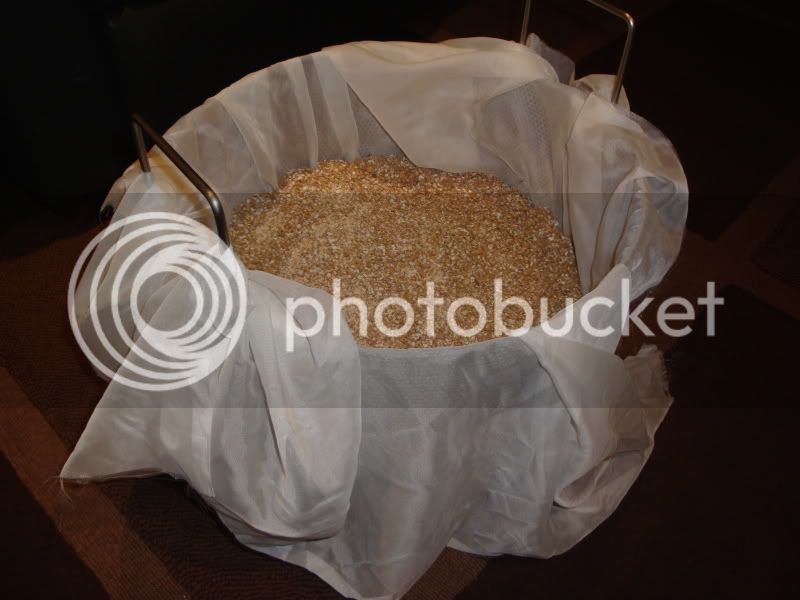
My initial design had a basket made from the same mesh used on all the commercially available false bottoms (2.06mm from memory). However at $1200 a sheet or something rediculous like that I opted for a sheet I had already with 3mm holes. This will get me up and running using the voile bag inside. Down the track I plan to experiment with a solid side basket and a false bottom just to see of it works.
More likly than not I will try it in my current basket with no bag and just see if much grain gets through.

Anyway, heres some pics of my setup.

DSC_0383.jpg


DSC_0377.jpg


DSC_0376.jpg


DSC_0373.jpg


DSC_0372.jpg


DSC_0369.jpg


DSC_0386.jpg


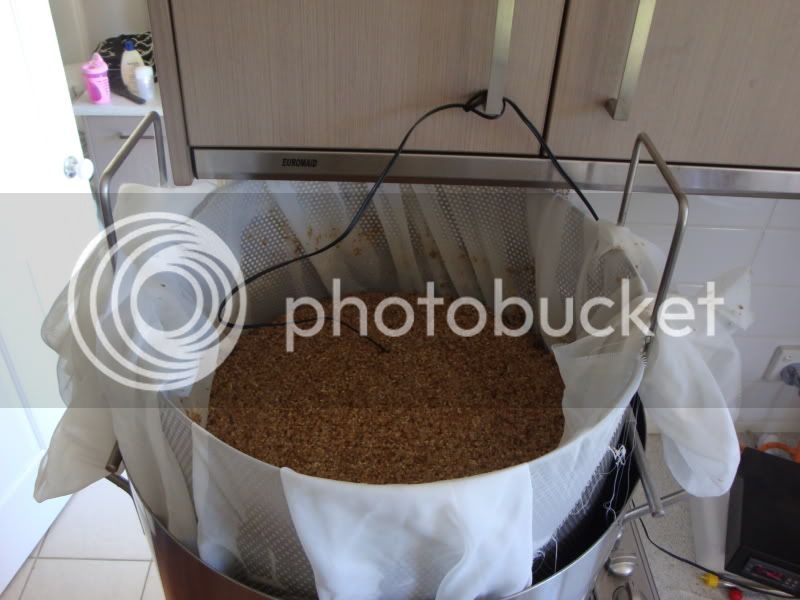
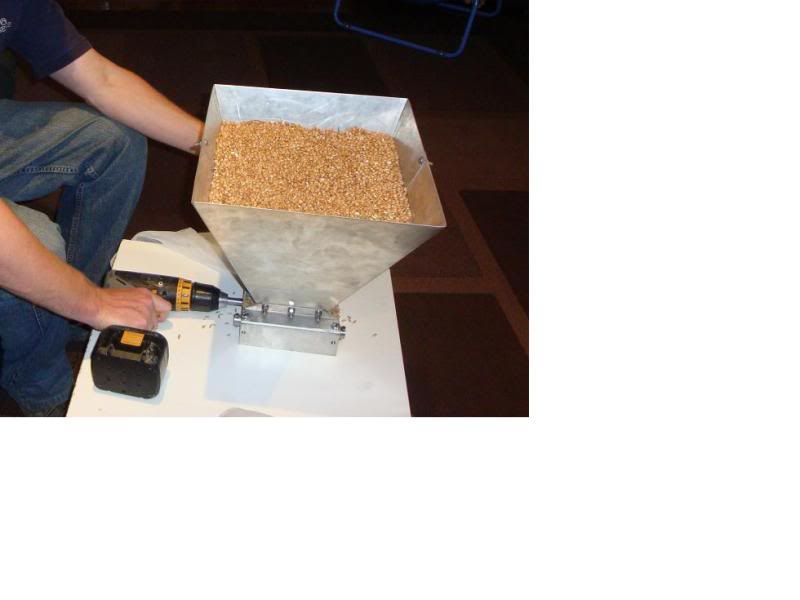
On the weekend I crushed 5kg of grain for a 20L batch(23L kettle 20L into fermenter)
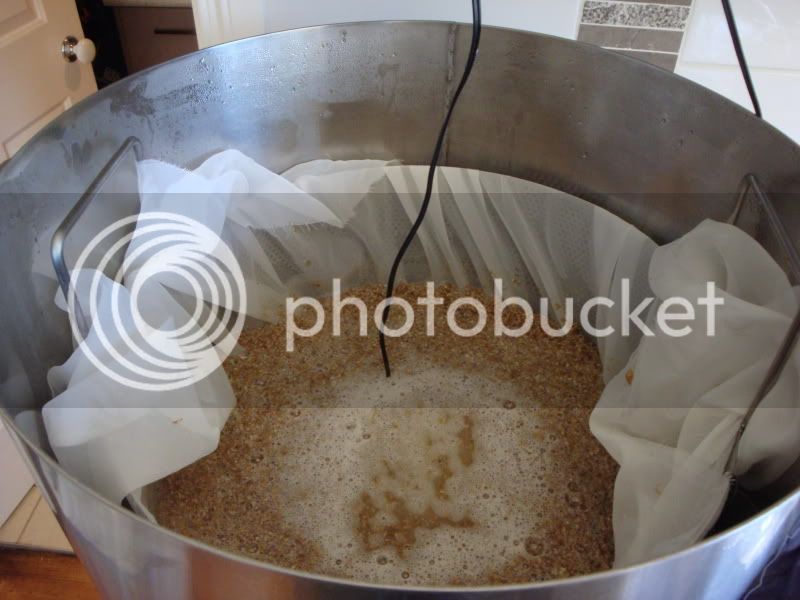
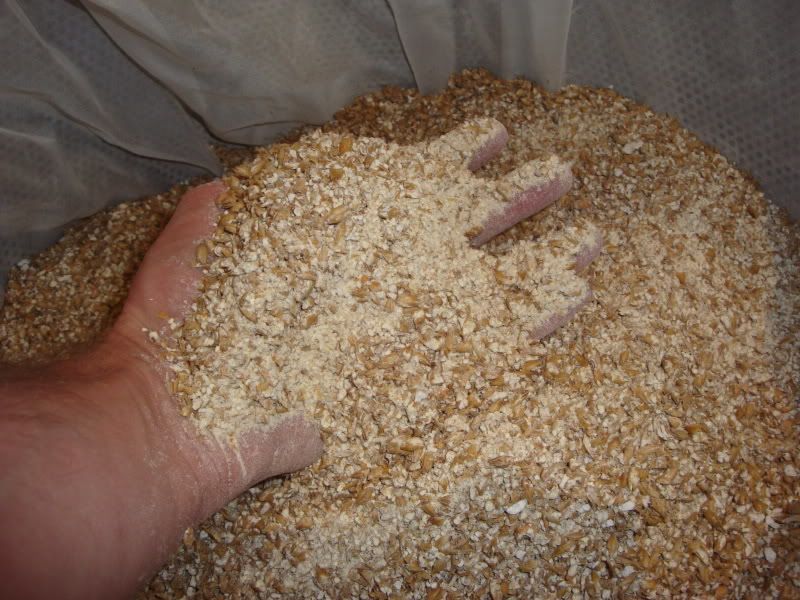
I used 24L of water initially in the pot to allow plenty for a sparge. Tyrns out the mash was very thick so I upped it to 28L and mashed away. Missed mash temp by a few degrees so I added some boiling water to adjust. Had a temp probe in the middle of the grain and there was no temp drop over the first half hour then a 0.6 degree drop over the second half hour.

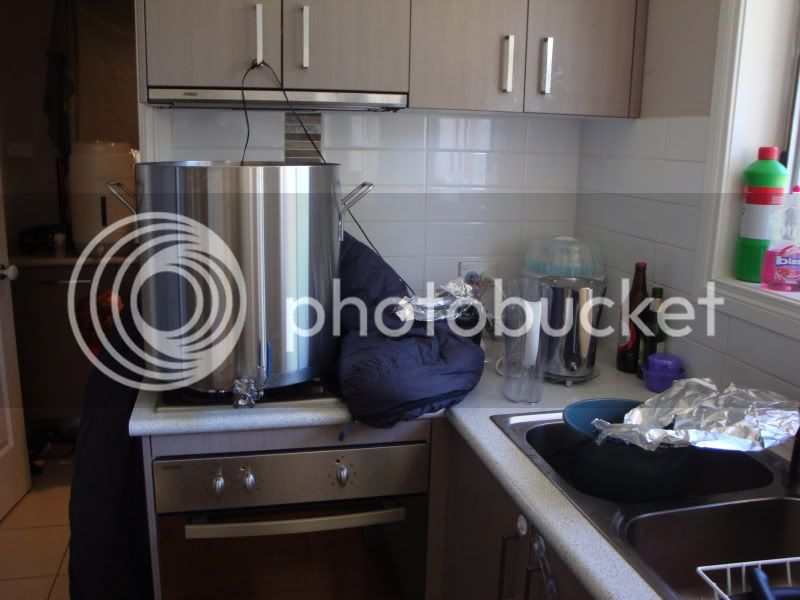
The stove with all four burners going was only just enough to get a boil going. Not as vigorous as I would have liked(4L per hour lost).
Will be installing two 2200W elements shortly.

All done and I got 19L of 1.050 wort into the fermenter. I left 4.5 or so litres behind in the kettle of what I assume was all break and hops.

I dont have a chiller as yet so I no chilled in the pot for 12 hours till the temp dropped to 36 degrees then into fermenter.
One thing I did notice was alot of bitterness. Did not adjust recipe for no chill. the brew day was more about using the new rig than the final product anyways.
Herwes some pics of the brew day.


milling.jpg


DSC04549.jpg


DSC04546.jpg
 
Wow, ve have der Braumeister shaping up here :icon_cheers:

How do you maintain a regular mash temp? do you just heat and stir and keep monitoring it? I'd be inclinded to lid it and lag it.
What is the batch size? Hard to tell but it looks a good sized pot. With solid sides and a false bottom you could try recirculating through a grain bed and heating RIMS style (maybe with a march pump attached to the tap). I get the feeling that with the perforated sides, wort would take the path of least resistance and you wouldn't get a real grain bed happening, could be wrong.

However the current system looks awesome. I take it the stove is up to the job.
 
Husky,

I have no advice or anything to offer but reckon your setup looks sweet mate.

:icon_drunk: Crusty
 
Where did you get a hold of the mesh basket or did you build it yourself?
Have yo tried it without the bag? looks fantastic!
 
:icon_chickcheers: Looks impressive! Garage Braumeister perhaps?! Australians are an ingenious mob! :D

One thought I have had is that the rods used to hold the basket appear to be a fairly tight fit, if you're lifting the basket up you may struggle to lift and secure with the rod with any ease, perhaps something with more margin for error in placement might be helpful. I can visualise holding the basket up with one hand while fiddling around with the other trying to line just one rod up with its tube and swearing plenty. I know it isn't that easy holding a bag of grain up while farting around with the cord, this basket will be heavier and alignment is probably less forgiving. Hmmm, unless you can rest the tube on the rim of the pot while fitting the rod I guess?

Hmm, your stove might be pretty piss poor as far as heat output, I realise that's a big, thicker- walled stockpot with much more mass, but even a $15 camping stove can boil a 19L stockpot. Only just I admit, but it does boil.
 
Wow, ve have der Braumeister shaping up here :icon_cheers:

How do you maintain a regular mash temp? do you just heat and stir and keep monitoring it? I'd be inclinded to lid it and lag it.
What is the batch size? Hard to tell but it looks a good sized pot. With solid sides and a false bottom you could try recirculating through a grain bed and heating RIMS style (maybe with a march pump attached to the tap). I get the feeling that with the perforated sides, wort would take the path of least resistance and you wouldn't get a real grain bed happening, could be wrong.

However the current system looks awesome. I take it the stove is up to the job.

On this occasion I placed foil on the grain bed and over the top of the pot then wrapped in a sleeping bag(seen in one of the pics). Held the temperature better than I expected as theres a fairly large volume of water(thermal mass) there and it held up well.
Waiting to have a lid made and lagging is on the cards, just some clark rubber stuff with velcro straps hopefully.
Its a 75L pot so could potentially do a double one day however this batch and 99% of all batches will be around the 20L mark.
With the AU$ I was hoping to order a march pump for a future recirculation project. Definatly think it could be done but as you say with a rolled cylinder inserted into the basket to give solid sides and a false bottom if the perforations are too large.
Stove was barely up to the task, stainless being a relativly poor conductor tended to heat locally above the burners only. Going electric shortly although craftbrewer keep selling out of elements!
 
Where did you get a hold of the mesh basket or did you build it yourself?
Have yo tried it without the bag? looks fantastic!


Had the basket fabricated as a special at the same time as the pot. Pot is 2mm wall bottom and sides. Basket is 3mm perforations which I feel will be slightly too big to ditch the bag alltogether. A beerbelly false bottom is around 2.06mm from memory.
Inevidably however, I will at some stage try it without the bag. I imagine some flour to get through which can be legt behind in the whirlpol and then a regular grain bed may form, who knows.
 
:icon_chickcheers: Looks impressive! Garage Braumeister perhaps?! Australians are an ingenious mob! :D

One thought I have had is that the rods used to hold the basket appear to be a fairly tight fit, if you're lifting the basket up you may struggle to lift and secure with the rod with any ease, perhaps something with more margin for error in placement might be helpful. I can visualise holding the basket up with one hand while fiddling around with the other trying to line just one rod up with its tube and swearing plenty. I know it isn't that easy holding a bag of grain up while farting around with the cord, this basket will be heavier and alignment is probably less forgiving. Hmmm, unless you can rest the tube on the rim of the pot while fitting the rod I guess?

Hmm, your stove might be pretty piss poor as far as heat output, I realise that's a big, thicker- walled stockpot with much more mass, but even a $15 camping stove can boil a 19L stockpot. Only just I admit, but it does boil.


Exactly, lift basket with two hands, rest one side tube on rim of pot, insert both rods. It was dead easy(see third pic down in first post). I was going to sand the rods to a point if it was difficult but there is no need. They are a tight fit but it works a treat.

This same stove will easily boil a 19L bigW pot, but this has alot more surface area to bleed heat from. It did it but not sure I will do it again. Hoping to source a couple of 2200W stainless steel elements to do the heating.
 
Not sure about the referemces to the Braumeister, which if I understand correctly is quite a different system involving recirculation and monitired heat application.

Regardless, it looks very pretty. Not really sure why you need a bag and a basket ? Will be looking forward to reading about your experiences without the bag. I suspect a lot of shits going to slip through.
 
I don't get the Braumeister thing either, it does look like it will evolve into a good system though, personally, i would've fabbed the basket with a single handle.
 
Well, it looks a lot like the braumeister.

As far as your piss poor boil goes... Too much surface area means your burners will struggle to keep a boil going, even though they might not have trouble with the actual "volume" of liquid if it were in a smaller diameter pot.

Float something on the surface of the wort, this will cut down the effective surface area and increase teh vigor of your boil. Your boil off rate won't change a he'll of a lot.. But you will get more velocity in the liquid movement and more bubble formation - which is what you want in a wort boil.

I'd aim for floating something food grade on the surface of the pot, that would cut down the exposed surface area to say 50 or 60 percent of what it normally is, then tweak up or down from there. I use a lid from a 20L white food grade bucket and it does the job nicely in my 60L kettle.

TB
 
Nice work Husky, looks alot like a crab cooker
 
Correct me if I've misread but you're starting the boil with 23-24 litres and boiled off 4 litres per hour. That seems quite good.
 
Husky ..... that is one of the sexiest pieces of brew porn I have seen in ages !!! love it !!


MMMMMMMMMM ..... s/s !!!!!
 
Not sure about the referemces to the Braumeister, which if I understand correctly is quite a different system involving recirculation and monitired heat application.

Regardless, it looks very pretty. Not really sure why you need a bag and a basket ? Will be looking forward to reading about your experiences without the bag. I suspect a lot of shits going to slip through.


If I could have made the basket from the 2mm perforated sheet then I dont think I would need the bag. As it stands, the basket is there purely to make handling of the voile bag easier and to keep the bag off the sides of the kettle and off the bottom where there will soon be some electric elements.
 
also, I was briefly chatting via PM with user matr who also has some plans in the pipeline. He believes that the specs on voile are 210 micron apeture and a 120 micron thread. Something to keep in mind when designing a fabric-free BIAB vessel. I say its still worth giving yours a go, at worst its going to be a failure that only costs time and about $10 of grain. Please keep us posted.
 
If I could have made the basket from the 2mm perforated sheet then I dont think I would need the bag. As it stands, the basket is there purely to make handling of the voile bag easier and to keep the bag off the sides of the kettle and off the bottom where there will soon be some electric elements.

You could still line the basket with a fine metal mesh. The basket then becomes structural and the mesh does the straining. I suppose there's nothing wrong with voile either way though.
 
You could still line the basket with a fine metal mesh. The basket then becomes structural and the mesh does the straining. I suppose there's nothing wrong with voile either way though.

One of these days Im going to make an automatic agitator/stirrer, so the voile would get caught up in the rudders. An easy fix with a set up like Husky's though would be to have the voile on the outside of the basket, and a cake rack over the element so the fabric doesnt melt. A single basket would be great though, its just finding a fine enough mesh for the job.
 
Back
Top