Husky's Biab Brew Rig

Australia & New Zealand Homebrewing Forum

Help Support Australia & New Zealand Homebrewing Forum:

This site may earn a commission from merchant affiliate links, including eBay, Amazon, and others.
Thanks for the photos husky, im starting something similiar so its good to visualize it.
 
love the dual ss elements. I was just going to add one on top of the other for my kettle. But a little welding by the father in law should sort this out with a much neater solution.

Nice one :beerbang:

I did think about simply putting one above the other,however in my situation I have quite alot of dead space under the basket and on the outside meaning for a 5.5kg grain bill I need 24L of strike water to cover the grain. this does not leave much volume for a sparge(although I'm planing to ditch the sparge all together next brew). And by getting the elements side by side I can cut 30mm off the base of the inner basket so it sits a bit lover in the pot. Side by side also gives a bit of clearance from the top of the elements to the underside of the basket so during mash I can turn the elements on for a short burst just to add a little bit of heat if the temp is dropping.
 
When is the Christening of this beast due?

Nice setup +3 :)
 
Hopefully this weekend but most likley Boxing day. Going to attempt razz's vienna recipe with a stepped mash shcedule so will test the ability of the two elements to quickly ramp up the temp.
 
Finally got this fired up yesterday. Put down the coopers pale ale recipe that Andrew put up on the db.
Firstly I must say that everyone should try electricity in the brewery! so damn easy.
I started with 36L at mash in. Used hot water to fill up then used one element to bring up to 66 degrees. Mashed with a couple of degrees temp drop as i still have vertually no insulation so i fired up one element for a minute and stirred to add a couple of degrees to the mash halfway.
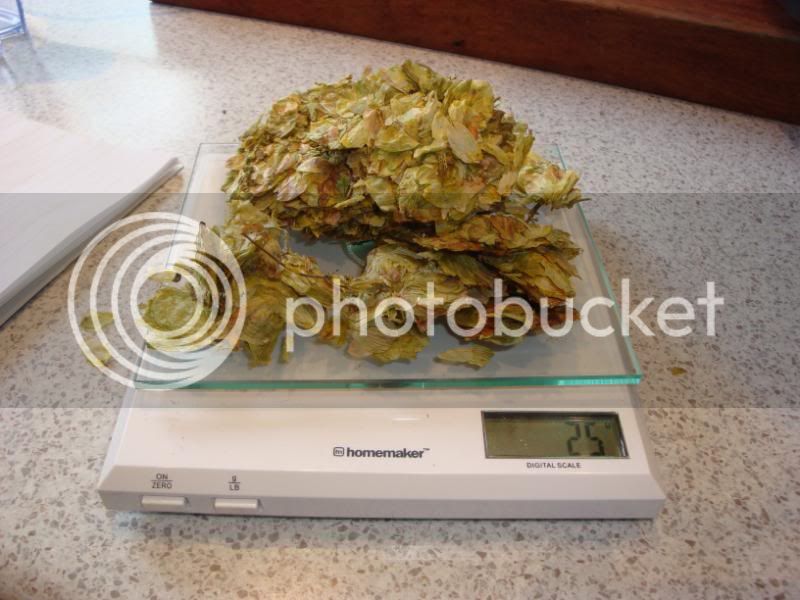
25g POR flowers allowed to free ball in the mesh basket for the 60 minute boil.

I wasnt that impressed with the boil using one element so I used both for the boil (4400W). Quite a vigerous boil. Boiloff was 8.3L over the 60 minutes. Software predicted 6.8L so i was a couple of liters short. I didnt bother to adjust for this loss as the gravity was 1.042 which is what I expected.

Switched elements off at end of boil and allowed to sit for a minute. Attempted a bit of a whirlpool. It worked slightly, a bit of gunk in the middle but it was very half hearted. Next time I will get a propper spoon and give it a better go.

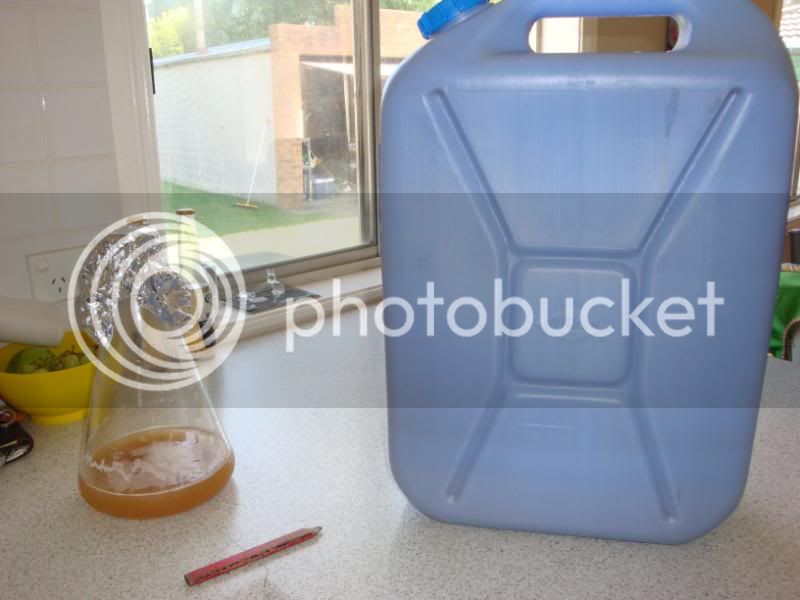
Drained all but a half litre into a cube and cooled over night.
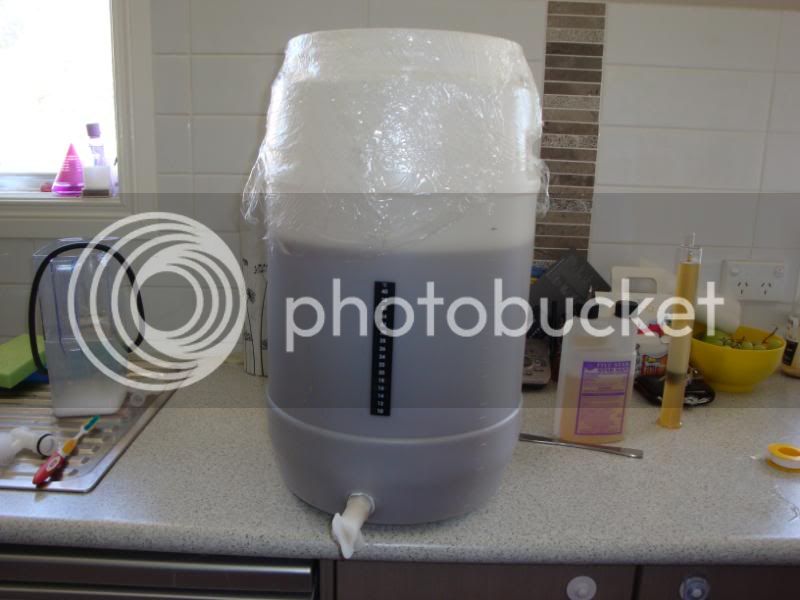
Pitched the yeast from a 2.5L coopers started and waiting for the bubbles to start!

The elements has a slight buildup of crud after the boil but this cleaned easily with a wite of the sponge and did not affest the boil performance. I will upload some boil video later.

Heres a few pics from yesterday.


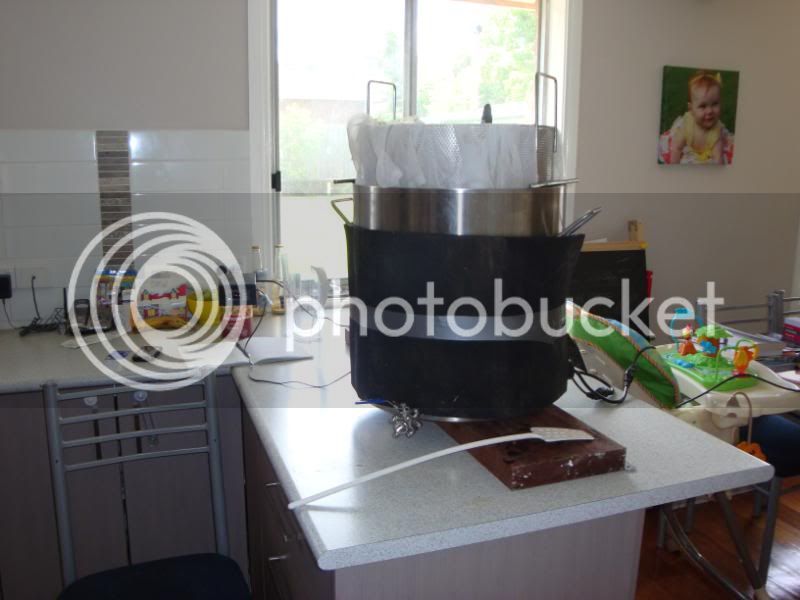
The setup with a short piece of camping mat to attempt a bit of insulation

DSC04674.jpg


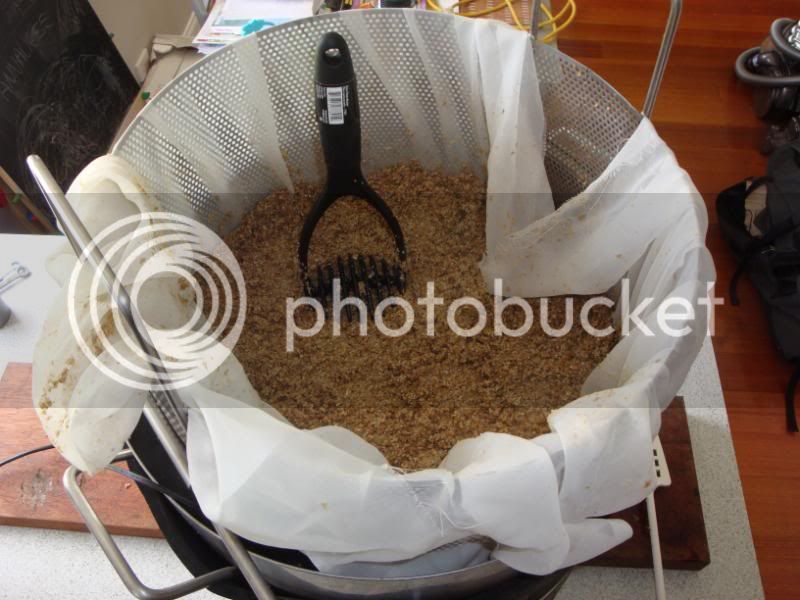
After the mash, basket raised pushing down on the grain bed to drain sugary water

DSC04673.jpg


25g POR ready for the boil

DSC04679.jpg


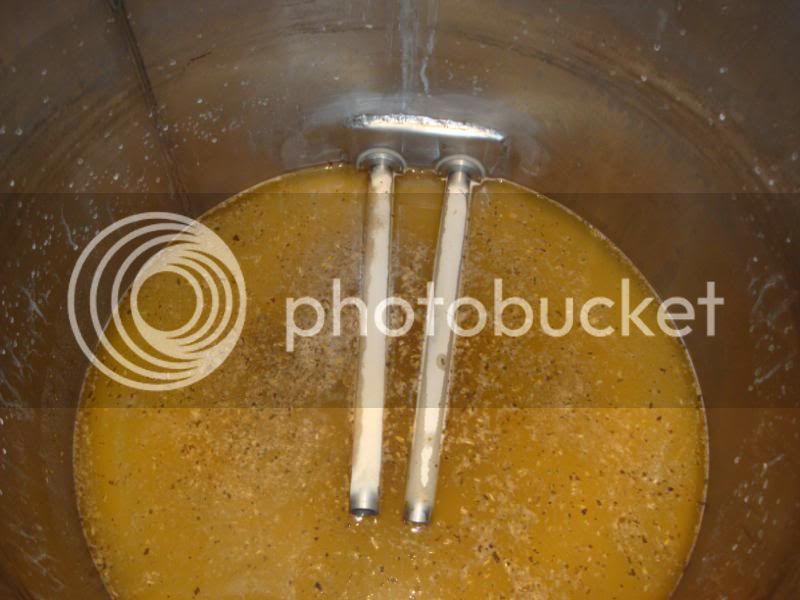
The elements after the boil

DSC04680.jpg


My first time using a cube, so damn easy

DSC04682.jpg


Playing the waiting game

DSC04684.jpg
 
looking good mate!

just watch the starsan on the bench, i recall it can stain/bleach the bench top if you spill it/ ring around the bottle etc.
 
I have heard about starsan bleaching a bench top, I did a test a while ago on the piece we cut out for the sink, couldnt notice any bleaching or staining, it is a white/light coloured top though so it would be hard to notice.

Just doing some calcs on the brew day. I got 74% effieciency into the fermenter with no sparge and no mash out. So that would be somewhere around 80% into kettle I would imagine.

Total electricity cost - $0.75c for the boil and negligable for the heta from 55 degree tap water to 65 degree mash temp. If you had a smaller vessel and use just the one element the obviously the electricity cost would only be around $0.40c for the boil. Certainly cheaper than using 9kg gas bottles. Nice being able to brew on the bench inside and watch some cricket at the same time.

Next on the cards is a brew stand and sort out a stir plate.
 
mate thats nice.

I really want you (and other BIABers) to send your pics to the Amercian Brewing Assoc specificlly the Zymurgy mag. in this months issue its their '5th annual brew gadgets' edition. one of the brew gadgets is someone using a hoist for BIAB. seriously blokes in Oz have been doing that for centires. ok not centries but years, and with your ss basket pics i recon it should be shown to the yanks.
 
Guys,

Here is my BIAB set up. Have done about 4 brews now.

I use an immersion heater to heat and boil the water.

Around the pot I have a collapsable drinks bin I got from Bunnings - its actually called a SMASH - ironic as I use it to mash.

I insulated around the pot with some insulation wadding. Seems to keep the temp well.

Issue: I have just done a wheat beer and a coopers clone. My final gravities were around 1.055 - which is what I was after but my final gravity for my wheat was around 1.025 (not low enough). I think that my thermometer is bit doggy and my mash temp was too high. So I think I ended up with non fermentanle sugars??

IMAG0053.jpg
 
Looks good. Husky, are they those elements that craftbrewer/keg king are selling for ~$40? Are they weldless?
 
CM2 - will look into it although I dont see it as anything really that new since the brau uses a basket within a post as well.

Siborg - Yes these are the same elements. 32mm hole and weldless, very easy to install. I got mine from a store in Mansfield. $120 posted for three elements from memory. Can find the details if you like. You dont need the power supply cable, just grab some off old computers or the llike.
Sorry to keep going OT, but are they stainless? What do you use to clean them? I have some Chinese copper immersions I'm looking at replacing.
 
Heres the link for the ones I ordered:

http://www.aussiebrewmakers.com.au/retail_.../60800_item.htm

Exactly the same as craftbrewer however everytime I went to order from craft brewer they were sold out.
They are 304 grade stainless. I used a sponge to wipe the crud off, it was not baked on at all and being a smooth surface was easy to just wipe cleam.
The chinese stuff scares the hell out of me, I have a spare third one here if you want to borrow or take a look at them before you decide to buy if you want.
Yeah I'm not the biggest fan and I want to stop using them. I know a sparkie who's gonna wire up a couple of 15A circuits in my garage for me. Plan to run one on my HLT with a timer (he suggested a decent one that will be able to handle the load) then two on my boiler. Will use two to get up to the boil, then the one to maintain. Is that what you did, or did you run the two the whole time?
 
have you tried it with out the bag? i'd be interested how much grain gets through..

one thing you could do anyway is put what's left into a bag after wards and drain it that way?
 
Yeah I'm not the biggest fan and I want to stop using them. I know a sparkie who's gonna wire up a couple of 15A circuits in my garage for me. Plan to run one on my HLT with a timer (he suggested a decent one that will be able to handle the load) then two on my boiler. Will use two to get up to the boil, then the one to maintain. Is that what you did, or did you run the two the whole time?


I tried both, was happier with the boil vigor when both were on. I dare say though when its insulated properly that one will be enough.
 
have you tried it with out the bag? i'd be interested how much grain gets through..

one thing you could do anyway is put what's left into a bag after wards and drain it that way?


not yet, I have the same mesh used for false bottome here that I want to dome and put in the bottom of the basket. I already have stainless sheet to use as a solid side. Hoping to be able to test that setup in a month or so.
 
Step mash completed successfully.
55 for 10
63 for 45
72 for 20
76 for 10

Raise basket, apply heat of both elements then drop basket. Temps ramp up very quickly. Didnt bother to raise the basket for the last on, just stieerd with both elements on.
For this size pot I think a 3600W element would be purfect. 2200W definalty not enough without serious insulation and foil on top of the boil. 4400W gives lots of boil off which im not concerned about.
 
Ive mounted two elements within my kettle (70lt Robinox) but I had to mount mine a little higher due to a false bottom and a SS pickup, one is higher than the other..
Will this effect my efficiency of boiling? since its not on the bottom of the pot? if it does that sucks because it too late to change..
 
I wouldn't think so mate, with two of these going theres so much fluid motion that I wouldn't expect to notice any differance.
 

Latest posts

Back
Top