Husky's Biab Brew Rig

Australia & New Zealand Homebrewing Forum

Help Support Australia & New Zealand Homebrewing Forum:

This site may earn a commission from merchant affiliate links, including eBay, Amazon, and others.
here is some pics

med_gallery_9889_427_223810.jpg
.

med_gallery_9889_427_219266.jpg
 
not yet, I have the same mesh used for false bottome here that I want to dome and put in the bottom of the basket. I already have stainless sheet to use as a solid side. Hoping to be able to test that setup in a month or so.


Finally got around to doing this. Made up a false bottom from the same perforated sheet as the beerbelly false bottoms, slightly rolles a section od 1.6mm s/s sheet to use as a solid wall. This should allow me to use the basket as a BIAB basket to hold the voile bag as I have been and also experiment with not using the voile and trying to recirs through the grain bed to improve clarity.
Hopefully I will get a chance to try it out this weekend, just need march pump to arrive.

Next stage: Build a RIMS tube to suit my spare 2200W S/S element.

IMG_0243.jpg


IMG_0244.jpg


IMG_0246.jpg


IMG_0247.jpg


IMG_0249-1.jpg


IMG_0250-1.jpg
 
My latest piece of brewing equipment is a RIMS tube. Have played with the march pump but now have to wire up the PID and give this a go. Its a 1.5" tube with a standard off the shelf S/S 2200W heating element. Had to use a 2" to 1.5" reducer to allow a 2" triclamp blank to house the heating element fitting.
I had the inlet and outlet made tangental and opposite hoping to induce a swirling action across the heating element.
Need to find time to try it out now, and to figure out how to wire the PID and SSR.
Have also has a wort return dish made up hoping to see if I can get some better wort clarity as I run the rims through the grain bed in the BIAB system.

DSC_0690.JPG
DSC_0691.JPG
DSC_0692.JPG
DSC_0700.JPG
 
looks good husky, lots of people on this forum that will be able to help with the pid stuff

p.s. I love shinny stainless steel :p
 
Finally had a chance to test out my new setup. It is now a BIAB with RIMS single vessel system although now the BIAB bag is not required. I did use it for the last brew as it still amkes it easier to handle the spent grain.
Brewed an AIPA with 7.5kg grain bill and mash temp held spot on with only 0.1 degree deviation. With the full volume mash I was able to run almost full flow through the march pump and rims.

Points of note:

GOOD

Beautiful clear wort into kettle. I realise this doesnt nessecerely improve the beer but it was one of my aims with the new setup.

Easily maintained mash temp

Alot less trub in the kettle. Was worried about this going through the plate chiller as I didn't get a good whirlpool going. I guess alot of stuff gets gaught up in the grain bed. Only had 2L kettle trub after the boil of which I used 1.5L in a starter for the next brew.

Absolutly no scorching of the RIMS element

More toys to play with

BAD

Lower efficiency. Down to 74% instead of my usual 79%. Could be because of the high gravity mash as well 1.065 predicted. Only managed 1.060. This could also have been because the mash was overflowing the inner pot for the first half hour without me noticing. I raised the inner slightly to prevent this which ensured all recirc liquor went bach through the grain bed and not over the side. Will know to watch for this next time.

Lots more cleaning


Overall I think I have added a bit more time to brew day. Will ahve to wait and see if the brews benefit. I think the plate chiller will help for my hoppy brews but I think I will still no chill when it is convenient. It was harder trying to sync having yeast starters ready for the end of brew day. Better planning will help this.


Improvments planned:

Really need to make a brew stand

A high volume wort return setup

Higher responce PT100 probe

Perhaps a second pump to ged a really good whirl pool going


DSC_0212.JPG

DSC_0213.JPG

DSC_0214.JPG

DSC_0215.JPG

DSC_0239.JPG

DSC_0244.JPG
 
No scorching on the RIMS element

View attachment 52685

Nice setup husky. Seems as though everything is on track. Just wondering if you could possibly post your setup & info over here just to keep us all together & maybe help those contemplating going for a Rims system. Pictures & detailed info would be beneficial for everyone.
Cheers
 
Done mate, didn't even know about that thread. A LOT less info there than the HERMS one. I actually used the HERMS problem solution thread to setup my RIMS as they are 90% the same. Same method of control etc only RIMS is a direct heat via element and HERMS is indirect via heating water and passing energy to the wort via a coil. Once i was able to see the systems in that way I used the PID info from the HERMS threads. The RIMS thread might benefit from tube design info and places to buy suitable tubes. From what I can gather HERMS users out number RIMS by at least 20 to 1. Perhaps because the HERMS are easier to set up? Pot and a coil and kettle element, done. Seemed that many are worried about scorching with a RIMS however I think it is mostly un-founded or user error causing this issue. Having said that, I wouldnt use a high density element on a RIMS system just in case. In a HERMS it doesnt matter.
My RIMS element is approx 50 w/sqm. You can get them down to 32 w/sqm as a standard.
Happy to help anyone wanting to setup a RIMS system, I did a lot of research before deciding.
 
Nice job Husky, a couple of questions.
Some of your components look similar to products from Brewers Hardware in the US, I take it you had them made up locally?
Sitting on the left of your brew bench is a s/s tube that looks like a trub filter, is it? Or do you use it as a hop back?
 
Awesome husky! Bravo on the build.

Glad to see no scorching too. I am pretty sure mine only scorched due to running the element shortly with no flow (pump wasn't on!)

Edit - look forward to seeing the pics of your rig on its new frame one day.

Edit 2 - re efficiency, I found a slightly longer mash helps with bigger beers, but I still get similar 70% ish numbers whether its on the RIMS or back in the old days using my esky MT. It certainly drops for me down to 55-60% for BIG OG beers.
 
Nice job Husky, a couple of questions.
Some of your components look similar to products from Brewers Hardware in the US, I take it you had them made up locally?
Sitting on the left of your brew bench is a s/s tube that looks like a trub filter, is it? Or do you use it as a hop back?


Yes mate, based my tube on these:

http://www.brewershardware.com/Tri-Clover-RIMS-Tube.html

Made some tweaks to suit what I wanted it to do namely:

Tangental in/out

Smaller triclover fittings for in/out

2" to 1.5" reducer to allow use of an off the shelf 2200W element. Could have welded the element sheath to a 1.5" triclover blank but if the element crapped itself I would need to have another made or keep a spare.

Length to suit my element and probe


The materials were cheap through work so it only really cost me favours to have the welding done. Wanted someone who works with food grade work daily to ensure it was properly purged etc.


The other tube is a hop back. Going to pack it with flowers once I harvest 2011 plants shortly. Hoping it filters nicely before running through the chiller.

Would like to have a mesh screen made up so it can be used as a filter even for brews that dont need the late aroma hit.
 
I'm thinking about a trub filter from brewers Hardware. I will wait until I try out one of these
I pick it up from the post office tomorrow, if it does a good job on break and hops then I'll settle with that.
 
Yes mate, based my tube on these:

http://www.brewershardware.com/Tri-Clover-RIMS-Tube.html

Made some tweaks to suit what I wanted it to do namely:

Tangental in/out

Smaller triclover fittings for in/out

2" to 1.5" reducer to allow use of an off the shelf 2200W element. Could have welded the element sheath to a 1.5" triclover blank but if the element crapped itself I would need to have another made or keep a spare.

Length to suit my element and probe


The materials were cheap through work so it only really cost me favours to have the welding done. Wanted someone who works with food grade work daily to ensure it was properly purged etc.


The other tube is a hop back. Going to pack it with flowers once I harvest 2011 plants shortly. Hoping it filters nicely before running through the chiller.

Would like to have a mesh screen made up so it can be used as a filter even for brews that dont need the late aroma hit.
I forgot to add a comment on your wort return problem you were talking about. I was using a Beerbelly return dish, similar to what you have now. I've now changed to a single piece of silicone tube with a piece of armour flex to help it float. if you use 3-4 lts per kg of grain you will be able to recycle reasonably fast and get a whirlpool going on top of the grain bed.

IMG_0335.jpg
 
Awesome husky! Bravo on the build.

Glad to see no scorching too. I am pretty sure mine only scorched due to running the element shortly with no flow (pump wasn't on!)

Edit - look forward to seeing the pics of your rig on its new frame one day.

Edit 2 - re efficiency, I found a slightly longer mash helps with bigger beers, but I still get similar 70% ish numbers whether its on the RIMS or back in the old days using my esky MT. It certainly drops for me down to 55-60% for BIG OG beers.


Thanks mate. Ideally an interlock between the pump and element should be installed. Its on the list as a very low priority atm.
Hopefully the frame isn't too far away. Would like to do it this year anyway.
 
I'm thinking about a trub filter from brewers Hardware. I will wait until I try out one of these
I pick it up from the post office tomorrow, if it does a good job on break and hops then I'll settle with that.


I just had a look at the brewers hardware ones and they look pretty good. I hadnt seen them before. Same goes for the electric brewery ones. These would be preferable as you dont have the dead space of the tube.

The other ones I have been contemplating are these:

http://www.geordi.com.au/Filters1_files/Inline1h.pdf

Was thinking of a fine mesh version and possibly runnning a filter element as well.

What was postage on the electric brewery variety and what size did you order? Im interested in how this goes as it certainly looks the goods. I have some similar mesh at work however not sure how to join the edges as they have.
 
I forgot to add a comment on your wort return problem you were talking about. I was using a Beerbelly return dish, similar to what you have now. I've now changed to a single piece of silicone tube with a piece of armour flex to help it float. if you use 3-4 lts per kg of grain you will be able to recycle reasonably fast and get a whirlpool going on top of the grain bed.


Is the armour flex the nozzle looking thing in the end of the silicone tube? Might try something similar next brew. I have some half inch annealed stainless tube bent up as my whirlpool attachment. might add a bit of silicone to the end and try that as wort return as well.
 
No, the armourflex is the piece of grey foam siting over the silicone, when the mash is recycling the foam sits closer to the outlet to keep the silicone at the right level. With your return you may be able to use the 90 degree angle pipe to create something similar, but you would have to remove it from the dish.
The small nozzle is from a peristaltic pump kit from Craftbrewer. I use it to increase the velocity of the liquor returning to the mash. It allows me to keep the ball valve on the pump at about 25-30% open.
 
Had an interesting brew day today. Put down the following recipe:


BeerSmith Recipe Printout - http://www.beersmith.com
Recipe: German LAger - Batch 24
Brewer: Braden
Asst Brewer:
Style: German Pilsner (Pils)
TYPE: All Grain
Taste: (35.0)

Recipe Specifications
--------------------------
Batch Size: 30.00 L
Boil Size: 42.90 L
Estimated OG: 1.050 SG
Estimated Color: 6.2 EBC
Estimated IBU: 33.9 IBU
Brewhouse Efficiency: 74.00 %
Boil Time: 90 Minutes

Ingredients:
------------
Amount Item Type % or IBU
6.34 kg Pilsner (Weyermann) (3.3 EBC) Grain 98.45 %
0.10 kg Acidulated (Weyermann) (3.5 EBC) Grain 1.55 %
65.00 gm Hallertauer Mittelfrueh [5.20 %] (60 min)Hops 29.7 IBU
15.00 gm Saaz [3.70 %] (10 min) Hops 1.8 IBU
15.00 gm Hallertauer Mittelfrueh [5.20 %] (10 min)Hops 2.5 IBU
0.50 items Whirlfloc Tablet (Boil 15.0 min) Misc
4.00 gm Calcium Chloride (Mash 60.0 min) Misc
4.00 gm Gypsum (Calcium Sulfate) (Mash 60.0 min) Misc
1 Pkgs Bohemian Lager (Wyeast Labs #2124) [StarteYeast-Lager


Mash Schedule: Lager mash
Total Grain Weight: 6.44 kg
----------------------------
Lager mash
Step Time Name Description Step Temp
10 min Protein rest Heat to 52.0 C over 2 min 52.0 C
45 min Sacc rest Heat to 63.0 C over 2 min 63.0 C
20 min Alpha rest Heat to 72.0 C over 2 min 72.0 C
10 min Mash Out Heat to 76.0 C over 2 min 76.0 C

All my previous mash sequences have always started with a
golden colour wort. This one started white and seemed to have alot of flour. It was the first time using acidulated malt, and also using all pilsner malt. Not sure why but the mash started out white


IMG_1451.JPG


I tried opening the valves to get more flow and see if this cleared it up but ended up with a stuck mash. Stirred the grain and started the pump again. I can get to half valve movment before starting to have mash flow issues.


IMG_1454.JPG


Had Nice clear wort again once the white colour dissappeared afte about 30 minutes of mashing


IMG_1459.JPG

IMG_1461.JPG


Had to improvise on the temperature probe while I wait for my new one (plus three spares!)


IMG_1462.JPG


Some late hopped beers as I was brewing!


IMG_1466.JPG


Anyone had similar issues?
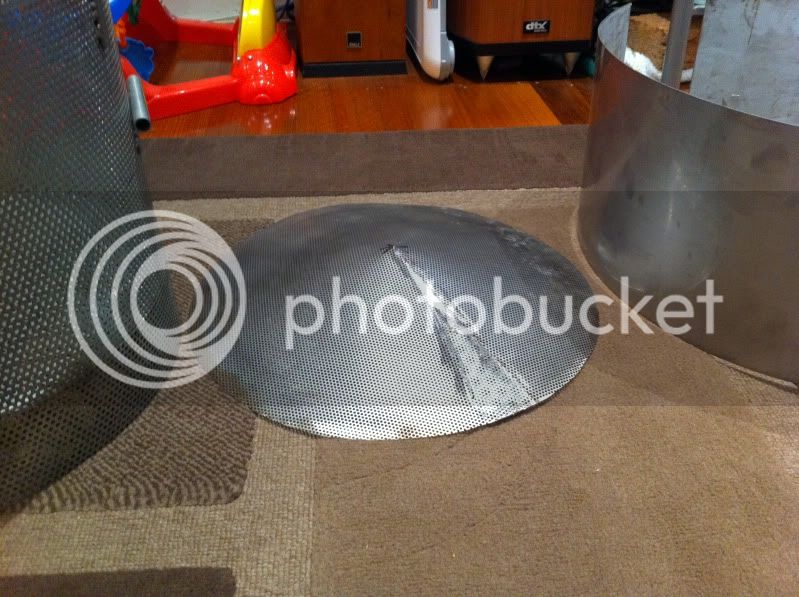
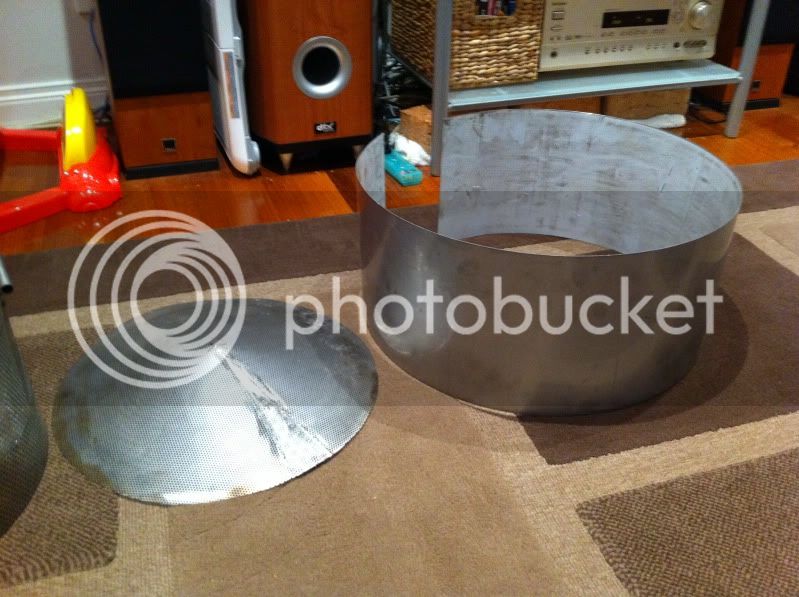
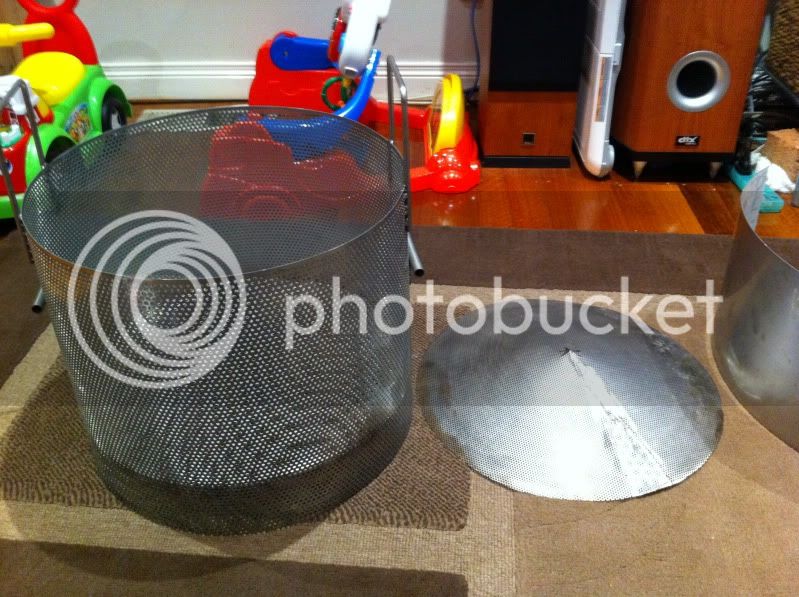
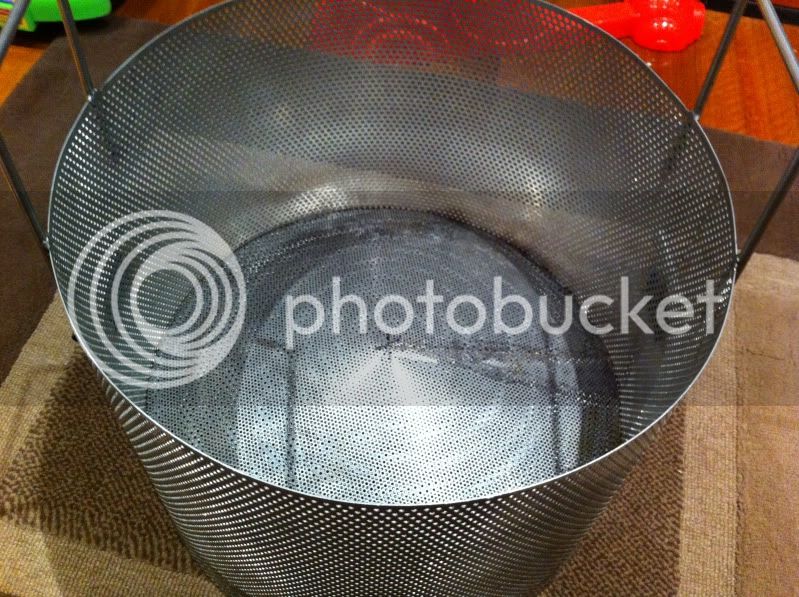
Will find a pic of the element after taking the RIMS tube apart!!!! slightly scary
 
This is what I found after brew day:


IMG_1463.JPG


Wort tastes normal and colour is still like straw. No issues heating through each step either.
Must be due to the material in the wort as It was flowing white.
Have taken to the element with a scourer and not sure if it will clean up.
The elements in the kettle suffered a similar fate although not as bad. Definatly something about this brew. Not had an issue like this before.

Perhaps the low starting mash temp of 52 degrees? Or the acidulated malt? Anyone shed some light?


cheers.
 
Back
Top