Braumeister NEXTGEN Build

Australia & New Zealand Homebrewing Forum

Help Support Australia & New Zealand Homebrewing Forum:

This site may earn a commission from merchant affiliate links, including eBay, Amazon, and others.
I recently had some communication with the manufacturer of the pumps on the BM. I thought they are good because they are very easy to dissassemble in situ and by hand. The manufacturer informs me they have no agents in Australia and that one pump would cost 105.30 Euro plus 86.85 Euro for delivery to Aus (or about $192 AUD today). Similar specs to a March pump perhaps, similar price? Smaller German unit versus larger American unit. Smaller may be easier to incorporate into a build.

The pumps look to be a similar size to the Grunfos UP 15-14 which recirculates hot water for my solar system. The Grunfos is probable cost prohibited but I bet that there is a cheaper knock off version.

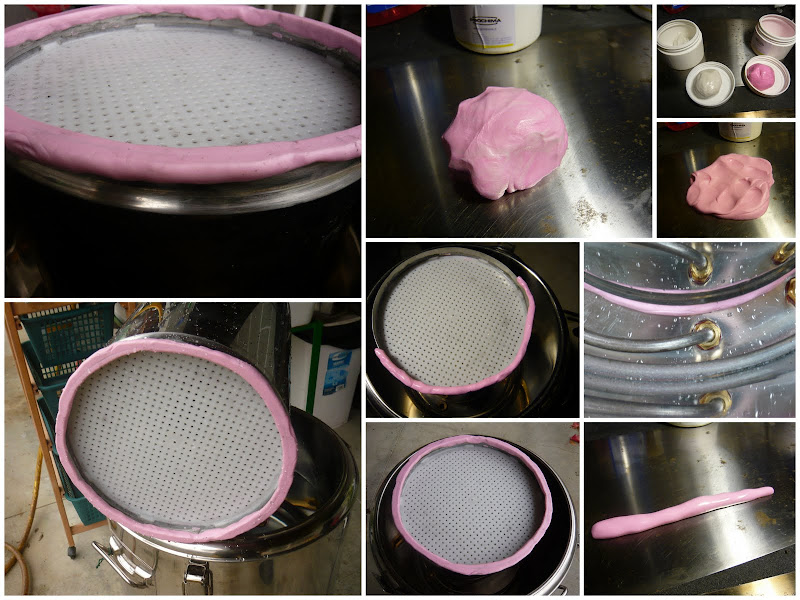
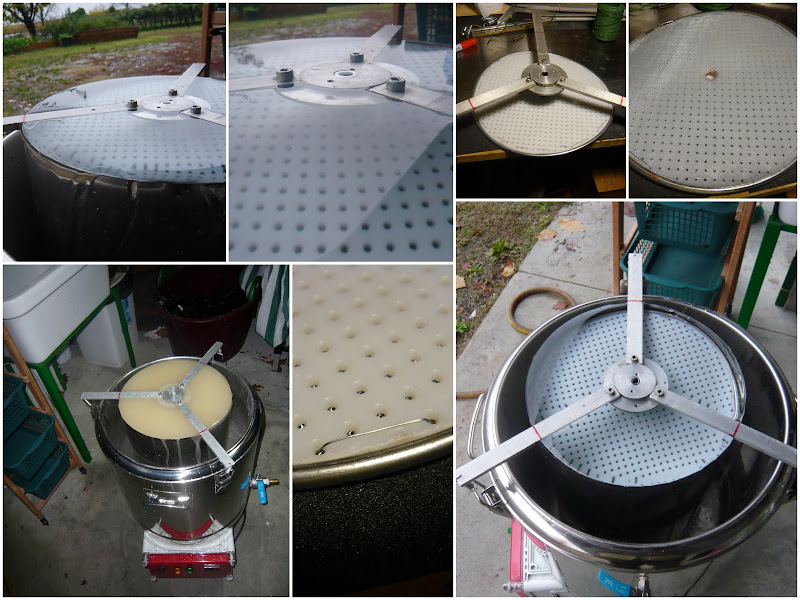
Another alternative is the Laing/Lowara Ecocirc pumps (from what I can tell are owned by ITT, who also owns Vortex). I purchased this Ecocirc E3 delivered for $190AUD 3 months ago. From what I can tell it's basically the same physical size as the BM pump, but has the benefit of having a variable speed. One possibility significant difference between this pump and the BM one is the impeller though. The Ecocirc has enclosed impeller vanes (contrary to pictures on the net) whereas the BM is open and I'm thinking the open impeller may handle bits of grist and hops matter better. Time will tell I guess once I can start my build - just need a few bits of stainless from Geordi's and a Dremel.
Cheers,
Hosko
 
During the raining week end I had time to proceed with the last attempt to seal the malt pipe with the external vessel.Since I was not able to find a proper silicone sealing the idea was to build myself the sealing using silicone rubber mouldable

I say in advance that the result is ok ! at the end of the day I achieved my aim and I'm quite satisfied of this custom solution !The product is provided with two different oaste componentsyou have to mix in equal part and than you can mould very easly in any form.

The main attention is the time to harden in 3-4 minutes the silicone becomes hardso you have not so many time to produce an extrusion and apply to the malt pipe.

I had to repeat the procedure two timesthe first time an excess of pressure has cut the sealingthe second time I produced a thicker extrusion and even if it's not so regular it works well.

Here is the result

Single%2520Vessel12.jpg


The sealing compensate all the errors in the bottom and the pipeit's soft enough an can be easily compressed.

Now the water level can easily reach the top of the malt pipe and even without any pressure just with the malt pipe water weightthe leakage is very low and the flow is stable.

You can see the result with pure water in this video.

VIDEO OF WATER TEST


Finally I have built the top filter with again with a cheese mold bottom and fine grid. The filter is anchored to the top cross and can be easily inserted and removed.

Single%2520Vessel13.jpg

Since everything was ready I have done a final test with 4kg of crushed malt grain just to see if the pump , the filter, the sealing, the heating element is ok in running conditionand everything seems work well as you can see in this last video !

VIDEO OF MALT GRAIN TEST


I have to fine tune some minor issue but I'm ready for the first batchI have to work on the recipe and perform all the calculation for my rigbut the spreadsheet calculator from BIAB forum is a great help !

I will continue update with the first beer resultsfor the moment thank you all for inspiration, suggestions, help, advices

Davide
 
looks awesome davide I'm glad that you sorted the sealing problem

cheers steve
 
arzaman..... your set up looks good but im my books.... wouldnt you get better heat retention and lower power use if you could cover the top of the vessel to hold heat in?

Power is getting very expensive in Aus due to privetisation sell offs of the power grid ,and i want my baby sealed

But it certanly looks like a great idea to ditch the center rod!
 
But it certanly looks like a great idea to ditch the center rod!
Centre rod does a lot to align things; keeps the bottom of the malt pipe at the same distance from the element for instance. Wouldn't want your silcone seal covering one of the inlets or outlets. I see Davide has markings on the hold down device to compensate. Also the filter plates do move up and down during the process. The rod stops them from tilting to one side and letting grain out.
 
I already have my center rod cut........ 12mm 316ss rod....... Center rod is going to be a part of mine....... but i recon i will curse it while stiring.... but i will get used to it.

cheers
 
I already have my center rod cut........ 12mm 316ss rod....... Center rod is going to be a part of mine....... but i recon i will curse it while stiring.... but i will get used to it.

cheers

Oi oi oi, 12mm, that'll look very phallic. That's a big whoer. I am more worried about scratching the malt pipe than worried about the centre rod being in the way.
 
arzaman..... your set up looks good but im my books.... wouldnt you get better heat retention and lower power use if you could cover the top of the vessel to hold heat in?
I got the pointbut I think that in a DIY project built with surplus equipment, home tools, empirical design the energy efficiency is not my primary driver

Nevertheless the external vessel is insulatedand this is a great improvement compared to original braumeisterespecially during the boiling phase.


Than most of the energy is required during boiling phase where you cant use a top coverso I really dont care about energy consumption


Davide
 
Centre rod does a lot to align things; keeps the bottom of the malt pipe at the same distance from the element for instance. Wouldn't want your silcone seal covering one of the inlets or outlets. I see Davide has markings on the hold down device to compensate. Also the filter plates do move up and down during the process. The rod stops them from tilting to one side and letting grain out.

about the center rodmy idea was not to have anything welded or screwed in the middle of the external vessel (like original braumeister)in order to leave the bottom very clean and insert the pump outlet exactly in the middle (the idea is to build a whirlpool tubing mechanism)

The bottom filter is silicon sealed in the malt pipe channelthe top filter is removable and joined to the top cross and that is automatically centered by 3 cuts. Maybe a couple of pictures are more significant than my poor English


regards

Davide
 
Better than most of our Italian Davide. Thanks for sharing your results. It is good to see the different ways people make their machines.
 
the march pump just squeezes under the pot

marchpump.JPG

there is going to be a bit of hose hanging out the side, not as neat as the small pump but i know this one is food grade. I could probably make it neater but i want to be able to remove the pump quickly for cleaning and other uses

cheers matho
 
You guys are fuckin fantastic, what a great thread.

Nice work, love aussie ingenuity.
 
sorry mate... had to have a stir :p

Pump_Warman_400L.jpg
 
matho, love your work , I just note one thing ..... for us electronic and programing newbies I think the controler is a bit beyond a first project type build, and I really do understand and appreciate the amount of work and effort you have put in to make this available to us all, would you consider making the controler box to order in some sort standard format. I for one would be prepared to pay for your time, effort and knowledge. :) I just got finacial approval from the family finacial director, to build one so happy days!!
 
@ Tony hehehe

MB, I would like to be able to offer a kit of sorts but i don't think ill be able too, I am working on a single board version so maybe if there is enough interest I'll try and get 10 boards made up. I'm also building a chip programmer so once that is done i can pre program the chip. Then getting the rest of the components together would be that hard for someone to do.

here is what the march pump on the pot finished looks like
marchpump2.JPG

I really like how quick it is to remove i can have the pump out in under 30 seconds.

marchpump3.JPG

cheers matho
 
@ Tony hehehe

MB, I would like to be able to offer a kit of sorts but i don't think ill be able too, I am working on a single board version so maybe if there is enough interest I'll try and get 10 boards made up. I'm also building a chip programmer so once that is done i can pre program the chip. Then getting the rest of the components together would be that hard for someone to do.


cheers matho


MAy I suggest MB starts a new thread for interest as to not bombard this one with, I wanna control box, me too, yeah I'm in.. can you build me one etc?


Just a thought.

But yes, I want one too - hardest part.. :p
 
I fully understand people wanting a hand made one...... they do look the goods...... but for those who want a ready bought one....... i just ordered one of these for mine.

http://www.auberins.com/index.php?main_pag...2cc7484ccf182f0

30 programable steps, dual alarm relays, Analogue output to run one of these:

http://www.auberins.com/index.php?main_pag...;products_id=30

That puppy is good for 9600w @ 240v and there is a 25A good for 6000w @ 250v for $15

Going to fit it to one of these:

http://www.auberins.com/index.php?main_pag...products_id=224

cost about $150 delivered.

They have temp probes, flashing alarm buzzers ( i ordered one of these too :)) and other cool stuff.

cheers
 
I vote for a name change. I think he has earnt it; the "MathoMeiser".
 

Latest posts

Back
Top