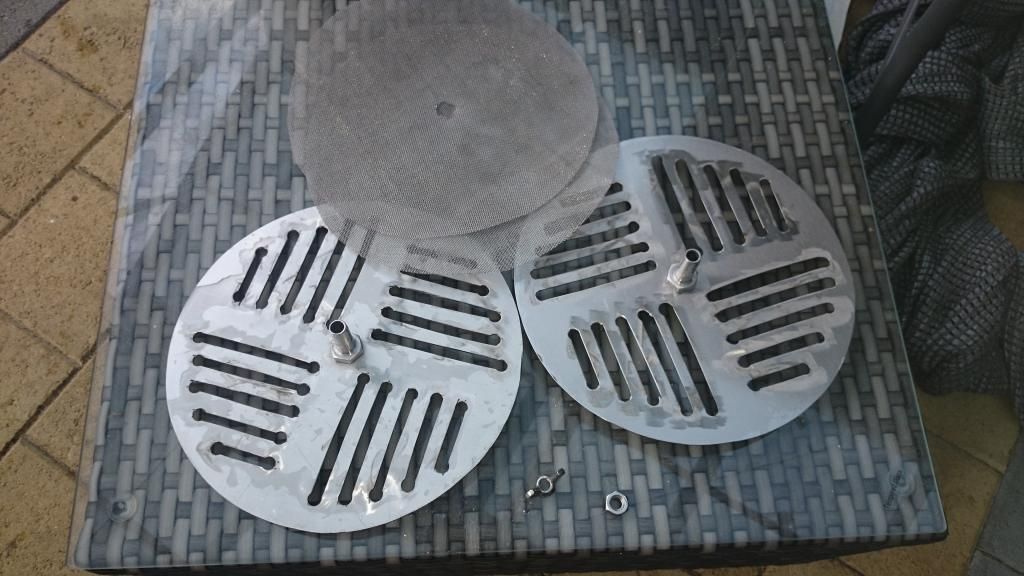
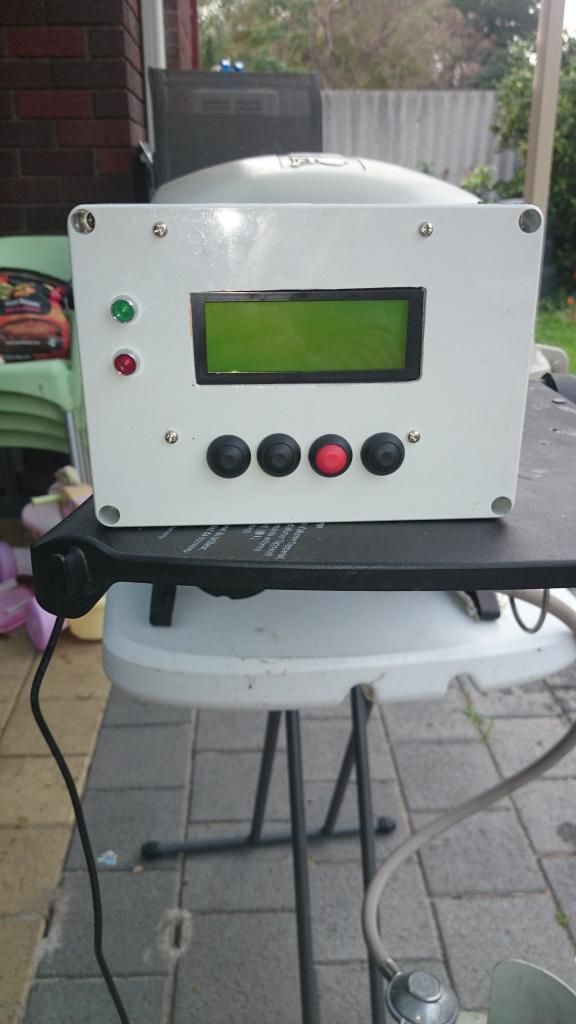
Braumeister NEXTGEN Build

Australia & New Zealand Homebrewing Forum

Help Support Australia & New Zealand Homebrewing Forum:

This site may earn a commission from merchant affiliate links, including eBay, Amazon, and others.
Haven't got to my PC to get the files for you yet, but my design is also based on the seeeduino stalker v2 which has a RTC and wireless port. If you can get your hands on one of those you are in business!
 
I am thinking, if I have the spare time I might design my PCB for the spark core as the seeeduino stalker I buy is discontinued and my designs won't help anyone else. Perhaps one could change the official brauduino boards to accommodate a spark core instead of being a shield. Wireless logging and monitoring anyone?
 
I was looking at that. I don't know as much as you and would appreciate you looking over it. As far as I can tell the spark requires the code to be rewritten.
 
If we were to ask seeed they would probably produce the stalker again if we bought enough.
 
just checked ebay there are some still available though at $43 or so
 
Well I drew up a spark version of the PCB this evening and will post it tomorrow. Does anyone actually have a spark core?
 
Nope. Lol. How much difference is there? Different pin out and 3.3v right? Anything else?
 
Pinout, size, voltages and power connects to the board now but you pretty much summed it up. There are very few digital pins on the spark and not all are 5v tolerant, plus two of which are used for i2c. I didn't want to redesign my front panel (aka keep it simple) so I have had to use analog inputs for my buttons. Normally I would multiplex buttons to analog inputs using R-2R ladder but I would need to solder resistors to the front panel and didn't want to do that either. There are actually a few little hurdles to jump.
 
Couldn't sleep this morning so I finished it off and put on the Spark logo, not exactly high-res but looks okay.

EDIT: Oh and I gave it a name - SparkBrau!

large_i.png
 
Edak said:
Couldn't sleep this morning so I finished it off and put on the Spark logo, not exactly high-res but looks okay.

EDIT: Oh and I gave it a name - SparkBrau!
Great work!! Did you check the coding situation to see how much will need to be re-coded?
 
I imagine that it will require the libraries to be touched up a bit and an overall code test will be required, but given that spark is 'arduino compatible' I believe most of it will work okay. I don't think I can test/compile without an actual device though so I can't tell for sure.

Remember again that my code is different to yours and ardbir.
 
Frankenbrew will rise again, the new build should start in the next month or two.

This version will use a stockpot as a MP with a CamLock sealing it to the return wort flow/base of urn. The 3Kw heating element will be under the base of the MP/stockpot.

The element is under PID control and should be pulsing on and off as the temperature comes up to the setpoint.

To avoid hot spots, charring and so on how big a gap should I have between the base of the MP/stockpot and the top of the element?
The element is circular would the be any advantage in having the pump feed in the centre of the circle ensuring flow over the element?

Atb. Aamcle
 
Hey All,
First of all thanks to all who have gone before and giving your time to report back here.
Here a couple of things I have done on my rig that may suit others looking for other options.
For the bottom malt pipe seal I used a pressure cooker seal from eBay -$5 or so. You would need to be handy with a MIG welder but.
For the top clamp I used a removable brace. Will try to upload pics.
I've used a 3 way valve - $30 eBay to divert to counter flow chiller after boil. All in all it looks a lot more shitier than I'd planned but it wasn't making beer while I deliberated over how to make it look better!
I've been collecting parts for ages now and often think I should of just bought one. But where's the fun in that! All the stainless I had at home, so if you had to buy it, it may not be cost effective.
Now to try and attach pics, Cheers,

IMG_20140708_174159.jpg


IMG_20140703_125553.jpg


IMG_20140708_174408.jpg


IMG_20140708_174709.jpg


IMG_20140708_175007.jpg


IMG_20140703_130754.jpg


IMG_20140703_142926.jpg


IMG_20140708_174810.jpg


VID_20140703_153658.jpg
 
Nice build clay pot, there's always time to pretty it up will you're enjoying a beer you brewed on it later :chug: , or just drink more beer and you won't care.
I've been collecting bits too and am getting ready to start cutting and drilling. Thanks to Lael for supplying and offering advice on the controller kit that is built and ready to go.

I've read the full thread a couple of times now and wanted to get some clarification/advice if possible on a couple of points.

1 - Many discussions have addressed the top filter plate but I'm a little foggy on the bottom plate, pros and cons of 'floating' vs fixed

2 - My pot combination, 50L outer, 25L malt pipe gives 37mm gap on either side for skin fitting and element. Is this plenty to comfortably fit the element or should I plan for a challenge?

3 - I biab with no whirlpool currently, I am planning on a 90 degree elbow on inside of outlet valve in side of pot to allow the pump to be redirected to whirlpool. Will this work?

4 - I have access to a 120mm hole saw which will simplify cutting the opening in the malt pipe (320mm diameter), I figure this should be plenty to drain the mp and the bottom filter is spreading the flow evenly anyway, Does this sound ok?

All advice is much appreciated, I've been following many great looking builds just looking to combine the ideas into something that will work for my gear.

Cheers :beer:
 
Hi everyone,

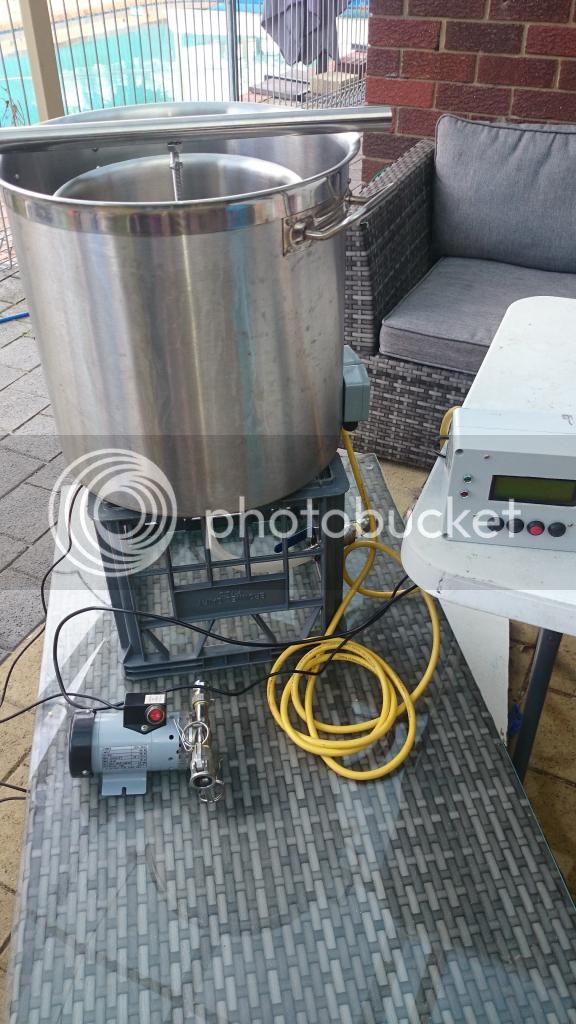
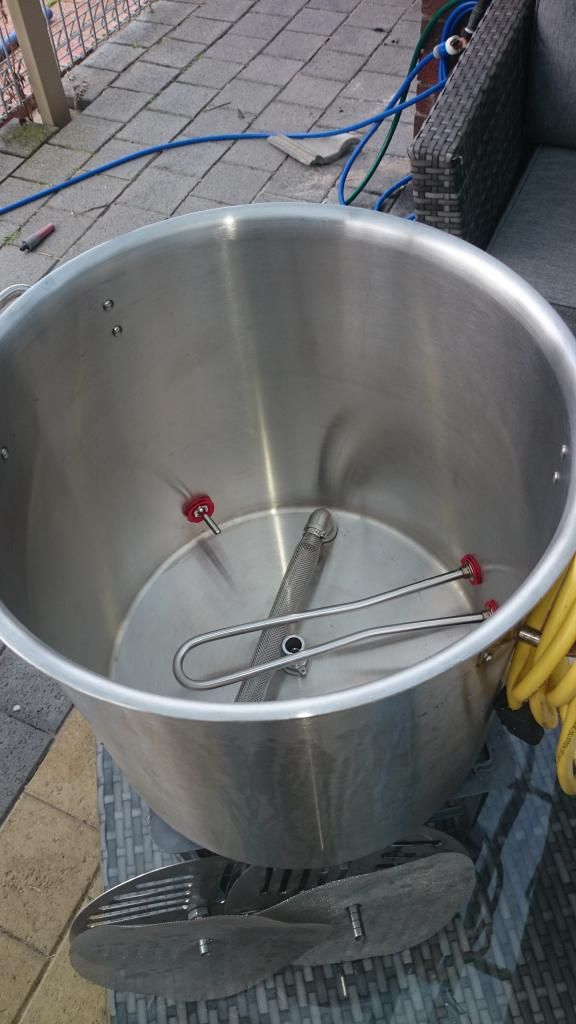
Here is my finished unit, it's taken me about two and a half years of working on it every now and then, thanks to all of you who went before me and gave me inspiration and ideas.

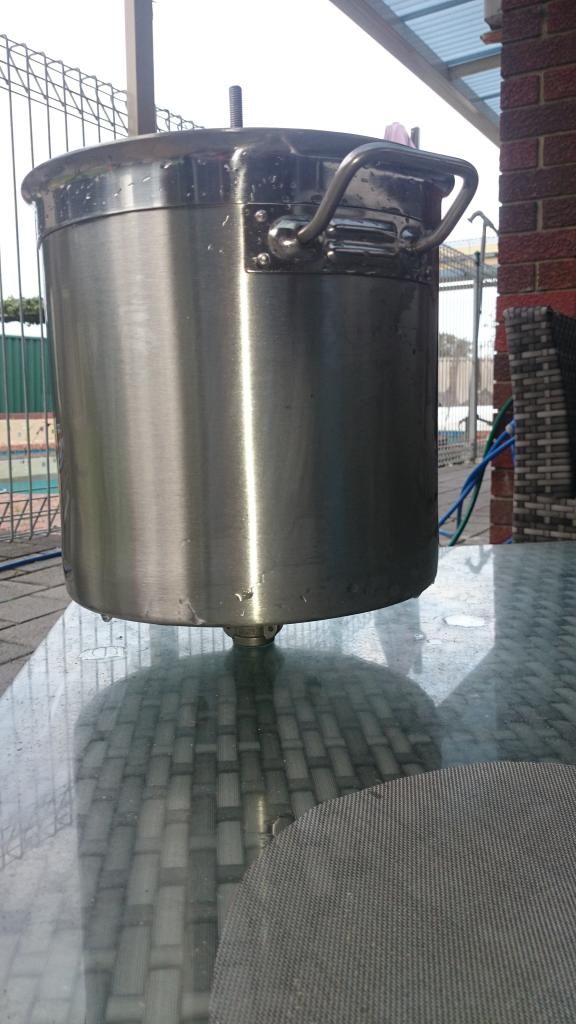
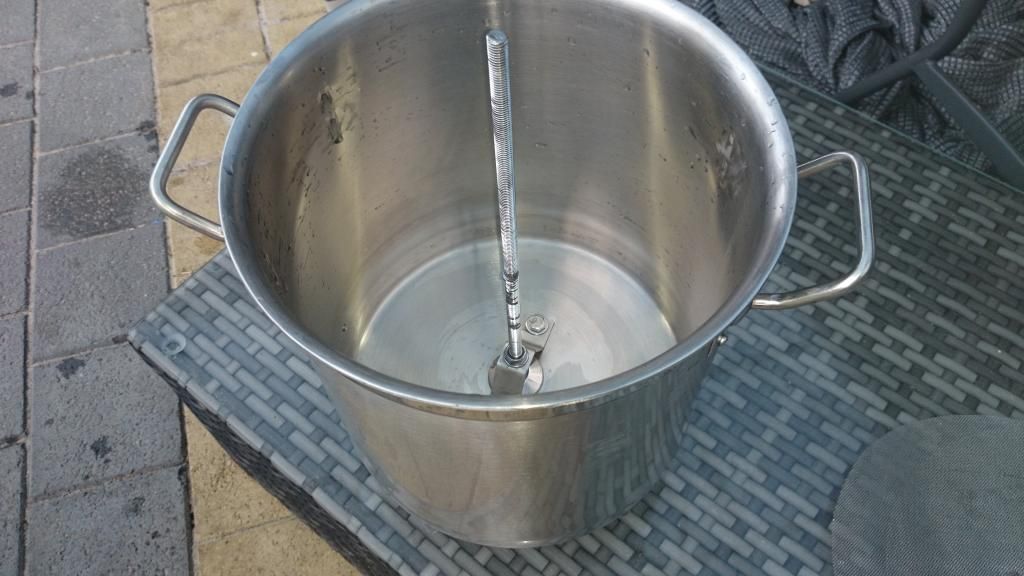
I still have some small adjustments to make like maybe some reinforcing of the top plate which is 2mm and as you can see in my malt pipe I'm losing maybe 50 mm of space down the bottom due to the method I've used to secure the rod but I was sick of this build dragging on and just wanted it done. I think I might make a new unit out of a keg so I can get a better malt pipe in there but I'll see how much malt I can fit in this one first and might rethink how I've secured the rod before that. The element is a 3kw one off ebay I had to bend it so it sits flush on the edges of my main pot it seems to still be working fine for the moment.


Latest posts

Back
Top