Dan Pratt
Well-Known Member
- Joined
- 28/1/10
- Messages
- 3,279
- Reaction score
- 1,274
Thanks for the Golden ale tip guys looks like a winner.
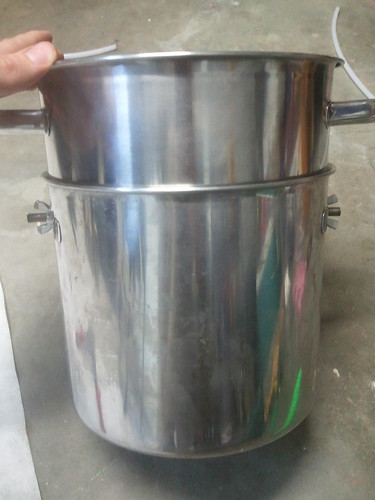
here are a few pic of my finished unit.
View attachment 57671
a bit of artistic pipework
View attachment 57672
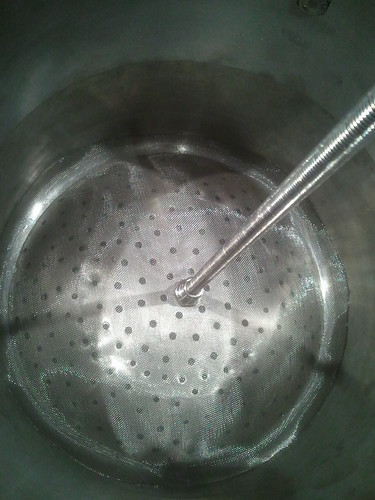
element covers using a 50mm ss pipe
View attachment 57673
how it all looks underneath
View attachment 57674
great update with the pictures Edak. keep them coming, video??
what is the flow rate on the pump your using? any reason why you changed it from the green pump>>>