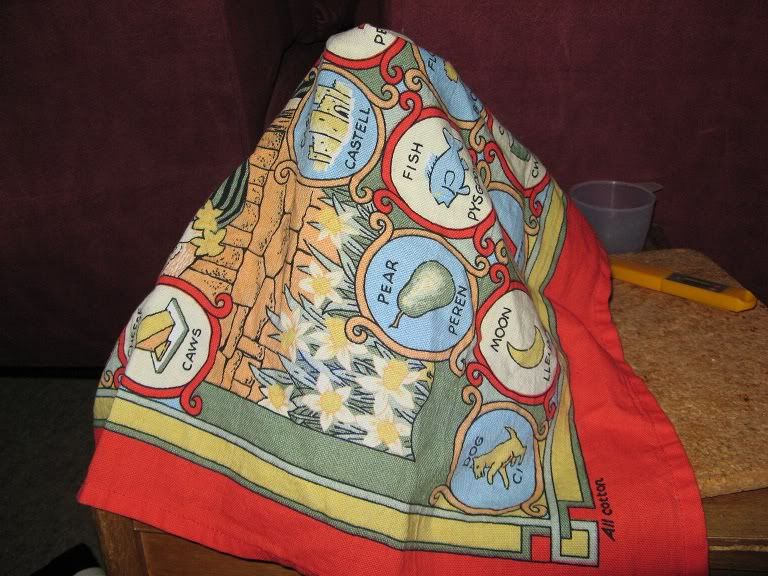
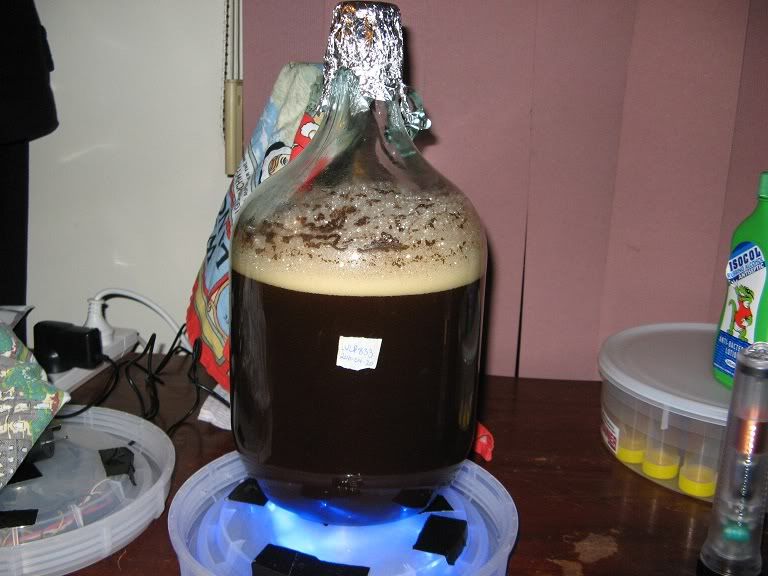
The epic 36page 6-year-old 'Tight Arse Stir Plate' thread has some great ideas, but with so much information it might appear that making your own stir-plate look more difficult than it is.
These are the DIY Computer-fan Stir-plate assembly instructions that work well for me, and (I hope) are easy for everyone to follow.
The first stir-plate I built this way has been in use for the last 2 years, and is still going fine, the two updated versions work without problem with starters ranging from 50ml to 4L.
Total cost is about the same as that of a pack of liquid-yeast.
Equipment (see next post for alternate suggestions):
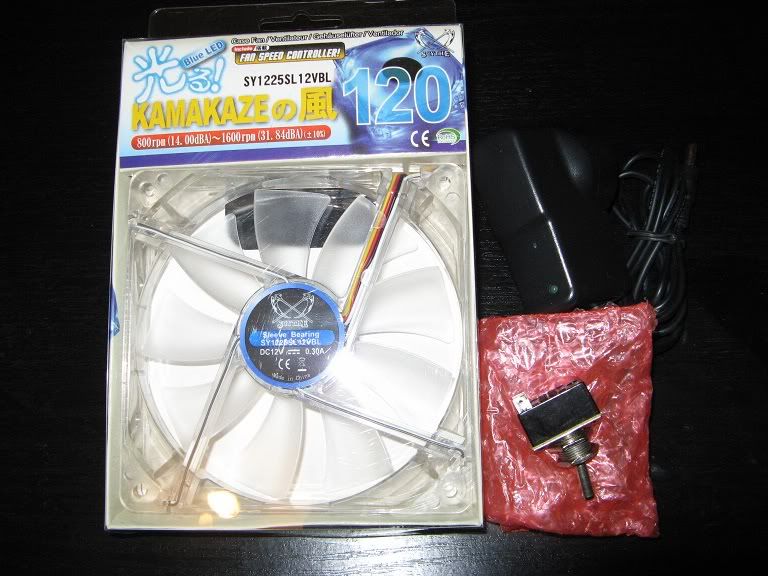
120mm speed-controlled Computer fan, "Scythe 120mm Blue LED with VR Fan (SY1225SL12VBL)".
12V DC power adapter, (cheap) from Ebay.
8x 8mmx1mm rare-earth magnets, same as the cheapest ones on Ebay when searching for 'rare earth magnets'.
A standard (cylindrical) teflon-coated stir-bar (from lab-supply shop), 20mm and 26mm long ones work well for this set-up.
An enclosure, screws etc to mount the fan/stir-plate.
Superglue to stick the magnets to the fan-hub.
Optional:
On/off switch.
Solder, a few bits of wire, gaffer-tape, electrical tape, heat-shrink-stuff.
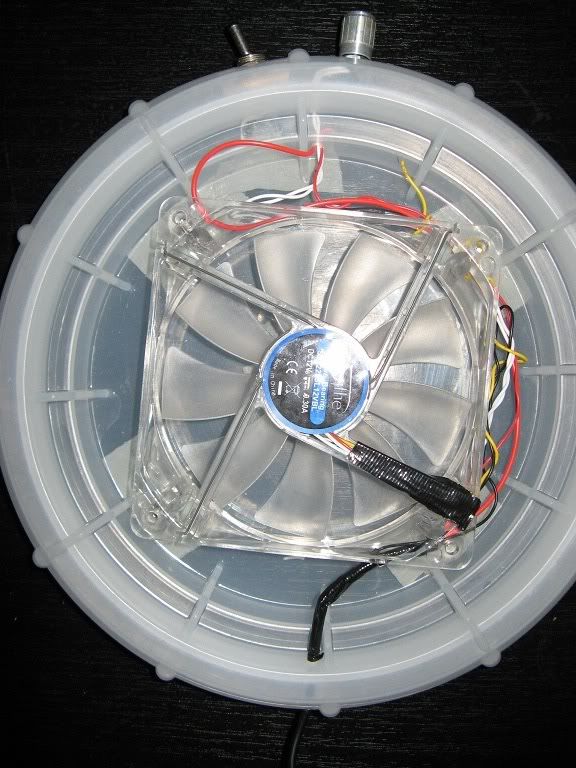
The good thing about the 'speed controlled' Computer fan is that it comes with its own adjustable speed-control knob, so you don't have to worry about adding that yourself:
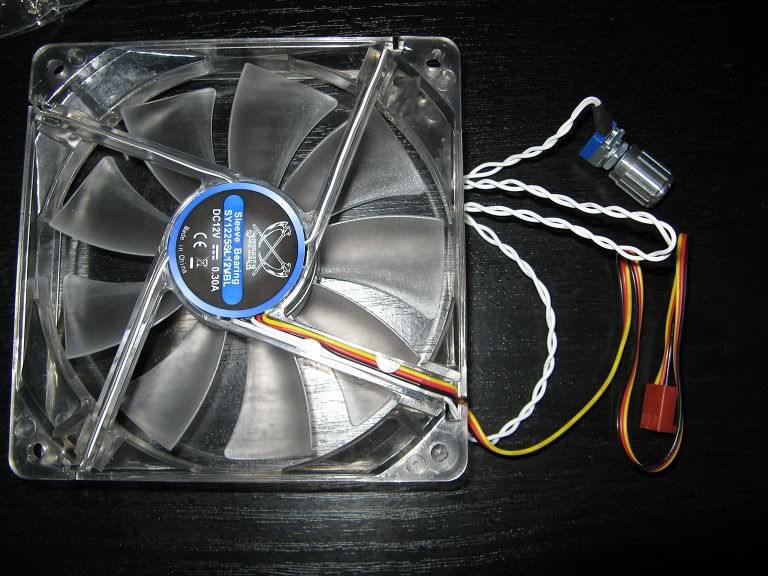
The tricky part of the stir-plate assembly seems to be getting the magnets positioned correctly.
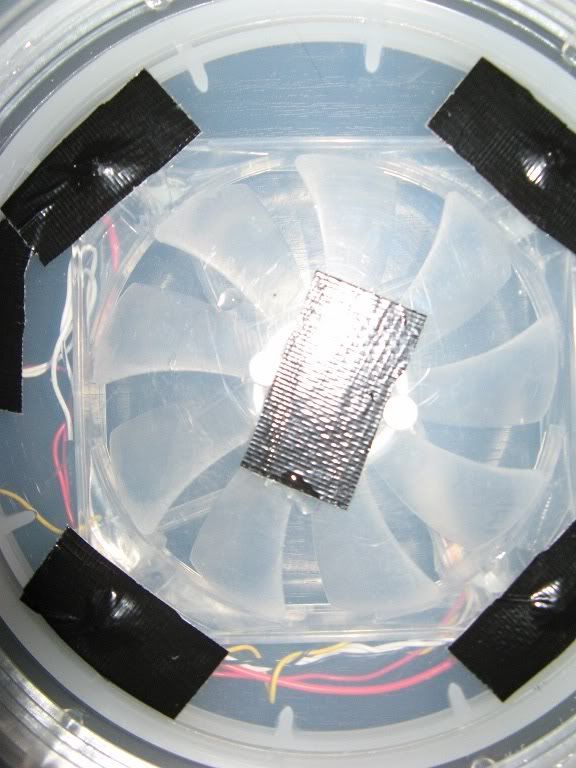
I use 8 of the 8mm x 1mm round rare-earth magnets, with 2 stacks of 2 on each side of the fan-hub, as per the picture below.
This size and arrangement works well with the fan-hub, and stirs well on all flat-bottomed starter-containers that I have tried.
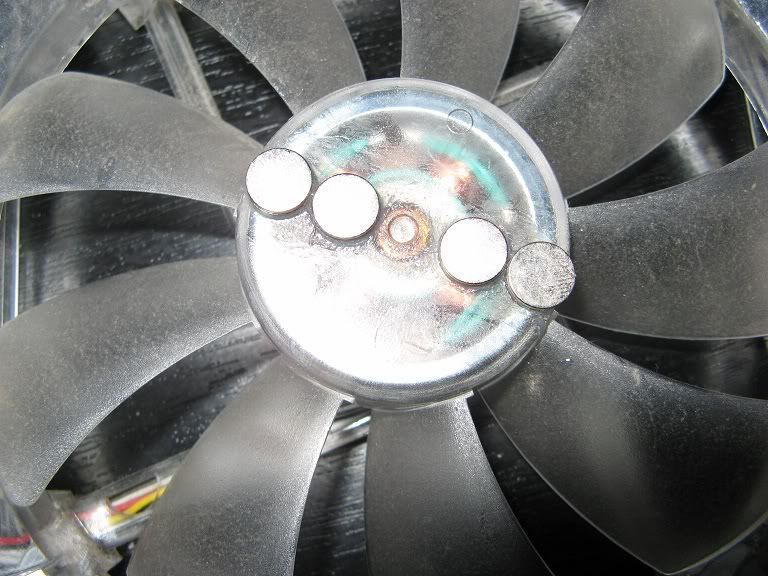
Attach the magnets with super-glue, but some care and attention is needed, since they will 'interact' with the copper coils inside the fan and once you have placed one, all the others want to try to stick onto them. Draw a line across the middle of the fan-hub and then arrange the magnets along that line. Try to space them evenly since that will help keep the fan balanced (try to do a better job than I did here, also try not to stick your fingers together or to the magnets or fan with the superglue).
If you buy your stir-bar before you place the magnets, I have found that the best spacing for the magnets is to have them as wide apart as the stir-bar is long (as per the picture below), closer or further apart does not work as well, but the distance is dependent on the length of your stir-bar.
By using 2 sets of magnets, both a smaller and larger stir-bar can be used.
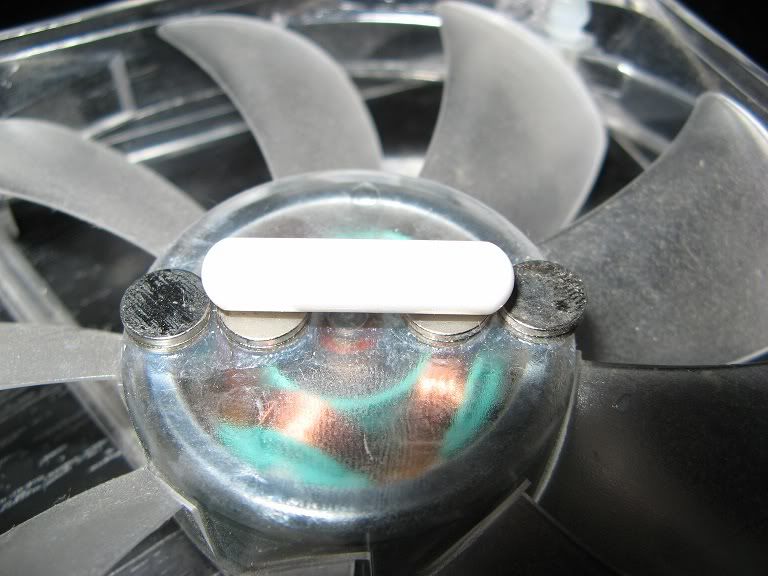
To assemble the stir-plate, cut the plugs from the power-adapter and the fan, and then strip the wires.
Connect the appropriate wires (positive/negative, usually red/black) from the power supply to the fan (red and black wires, the yellow wire is not used, so simply cut it off and ignore it).
The connection will be 12V and the fan will only work when they are connected correctly, so you can easily join the wires together to ensure that it works before you attach them permanently.
Solder and shrink wrap are the best way to go, but the wires can simply be wound together by hand and then wrapped with electrical tape.
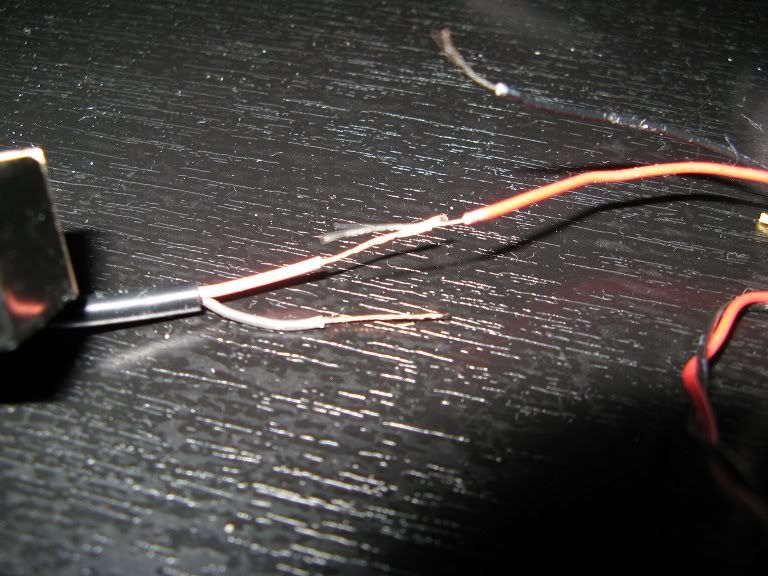
An on/off switch allows the stir-plate to be controlled without having to pull the plug from the wall, simply wire the power-supply wire(s) to one of the switch's terminal(s), and the fan-wire(s) to the other.
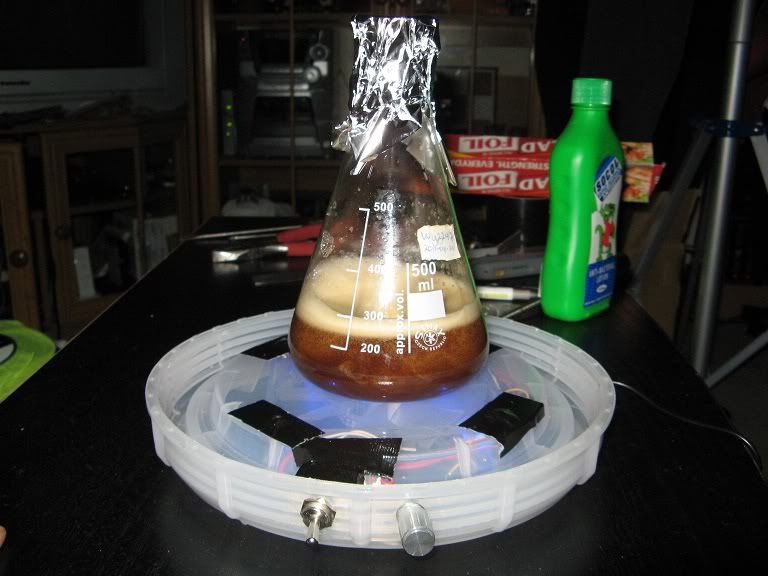
Now all you need to do is to mount the fan/stir-plate in an enclosure (see below for more info).
These are the DIY Computer-fan Stir-plate assembly instructions that work well for me, and (I hope) are easy for everyone to follow.
The first stir-plate I built this way has been in use for the last 2 years, and is still going fine, the two updated versions work without problem with starters ranging from 50ml to 4L.
Total cost is about the same as that of a pack of liquid-yeast.
Equipment (see next post for alternate suggestions):

120mm speed-controlled Computer fan, "Scythe 120mm Blue LED with VR Fan (SY1225SL12VBL)".
12V DC power adapter, (cheap) from Ebay.
8x 8mmx1mm rare-earth magnets, same as the cheapest ones on Ebay when searching for 'rare earth magnets'.
A standard (cylindrical) teflon-coated stir-bar (from lab-supply shop), 20mm and 26mm long ones work well for this set-up.
An enclosure, screws etc to mount the fan/stir-plate.
Superglue to stick the magnets to the fan-hub.
Optional:
On/off switch.
Solder, a few bits of wire, gaffer-tape, electrical tape, heat-shrink-stuff.
The good thing about the 'speed controlled' Computer fan is that it comes with its own adjustable speed-control knob, so you don't have to worry about adding that yourself:

The tricky part of the stir-plate assembly seems to be getting the magnets positioned correctly.
I use 8 of the 8mm x 1mm round rare-earth magnets, with 2 stacks of 2 on each side of the fan-hub, as per the picture below.
This size and arrangement works well with the fan-hub, and stirs well on all flat-bottomed starter-containers that I have tried.

Attach the magnets with super-glue, but some care and attention is needed, since they will 'interact' with the copper coils inside the fan and once you have placed one, all the others want to try to stick onto them. Draw a line across the middle of the fan-hub and then arrange the magnets along that line. Try to space them evenly since that will help keep the fan balanced (try to do a better job than I did here, also try not to stick your fingers together or to the magnets or fan with the superglue).
If you buy your stir-bar before you place the magnets, I have found that the best spacing for the magnets is to have them as wide apart as the stir-bar is long (as per the picture below), closer or further apart does not work as well, but the distance is dependent on the length of your stir-bar.
By using 2 sets of magnets, both a smaller and larger stir-bar can be used.

To assemble the stir-plate, cut the plugs from the power-adapter and the fan, and then strip the wires.
Connect the appropriate wires (positive/negative, usually red/black) from the power supply to the fan (red and black wires, the yellow wire is not used, so simply cut it off and ignore it).
The connection will be 12V and the fan will only work when they are connected correctly, so you can easily join the wires together to ensure that it works before you attach them permanently.
Solder and shrink wrap are the best way to go, but the wires can simply be wound together by hand and then wrapped with electrical tape.

An on/off switch allows the stir-plate to be controlled without having to pull the plug from the wall, simply wire the power-supply wire(s) to one of the switch's terminal(s), and the fan-wire(s) to the other.
Now all you need to do is to mount the fan/stir-plate in an enclosure (see below for more info).


