why? are they really that heavy or what?
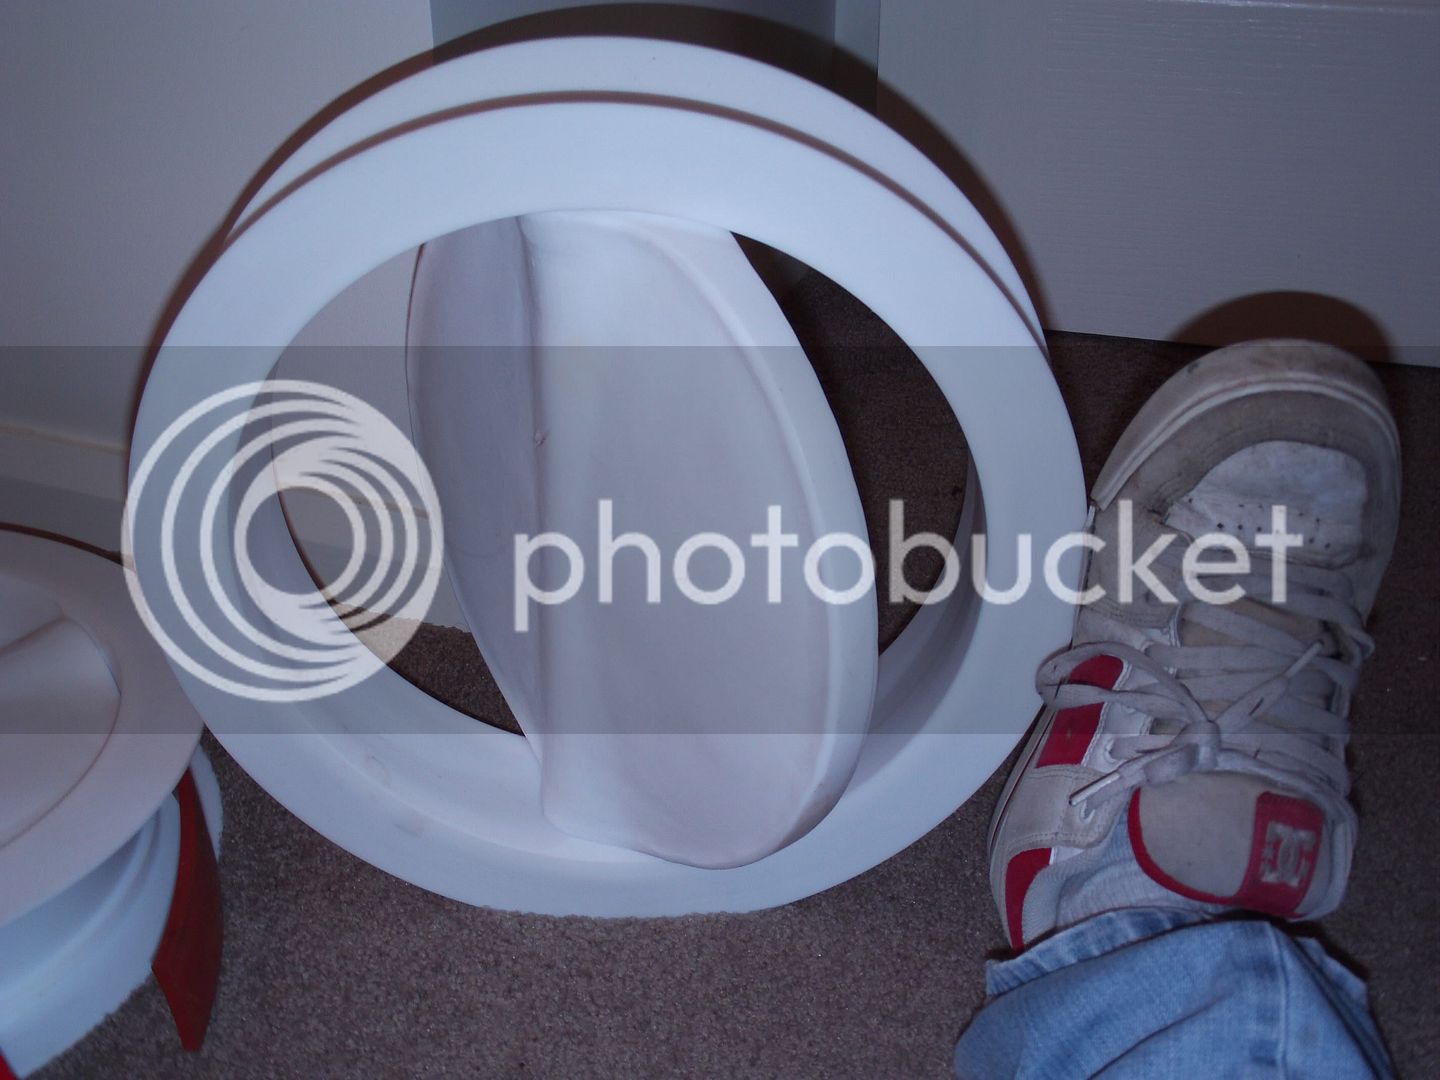
Assembled they were 56kg each without the geared actuator, so about 25+kg for the bottom half and a bit more for the top half - so while I can lift 50kg, I only do it with a weight belt and a bit of training that I am lacking atm.
So I've been following along at home. Quick question, how far through the project are you and when would you expect completion - or first run etc? Are you working to a schedule?
Cheers - Mike
I am about 10% through the project! I am working to a schedule - middle of august for the first run is the goal. I am now starting to doubt the realisation of that, but thats the purpose of setting an unrealistic goal - to drive one forward that much harder and faster than one would have thought.
To Do list:
stainless 300mm pipe 450mm long with flanges welded to each end for MLT body and 600mm long for kettle body. Plus gaskets.
300mm False bottom
24V DC, 4.5V DC, 12V DC and 6V DC power supplies.
5 x 8 relay boards.
Mains pressure automated valve.
plate chiller
Tablet dispensers for Hop dispenser carosels (on their way but will require quite a bit of hacking the stepper motors)
Peltier fridge for hop storage.
40L HLT urn
Automated dog food dispensers for grain dispense (now reconsidering the original design which turns out to be Gatlins design that revolutionised the automated sowing of crops and later led to the gatling gun)
Electronic Temperature sensors
Stainless Steel Radiators (not sure if they exist)
60L Stainless conical fermenter.
Hermes.
Stainless mixing arm with motor for MLT
100-150RPM whirlpool motor with stainless impeller.
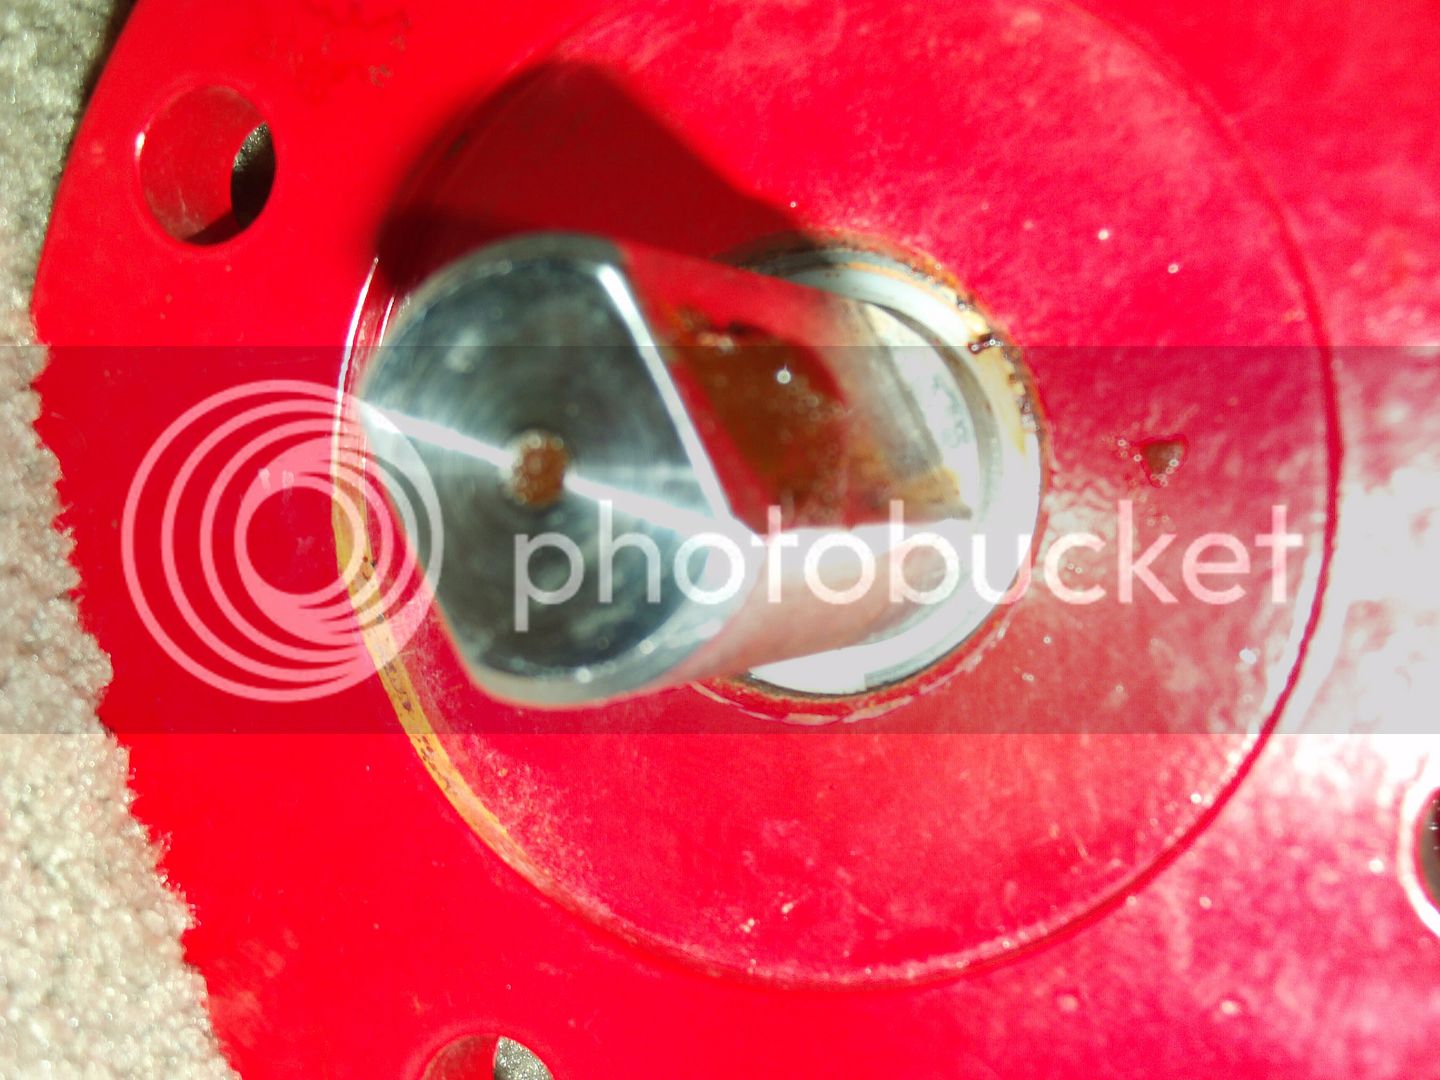
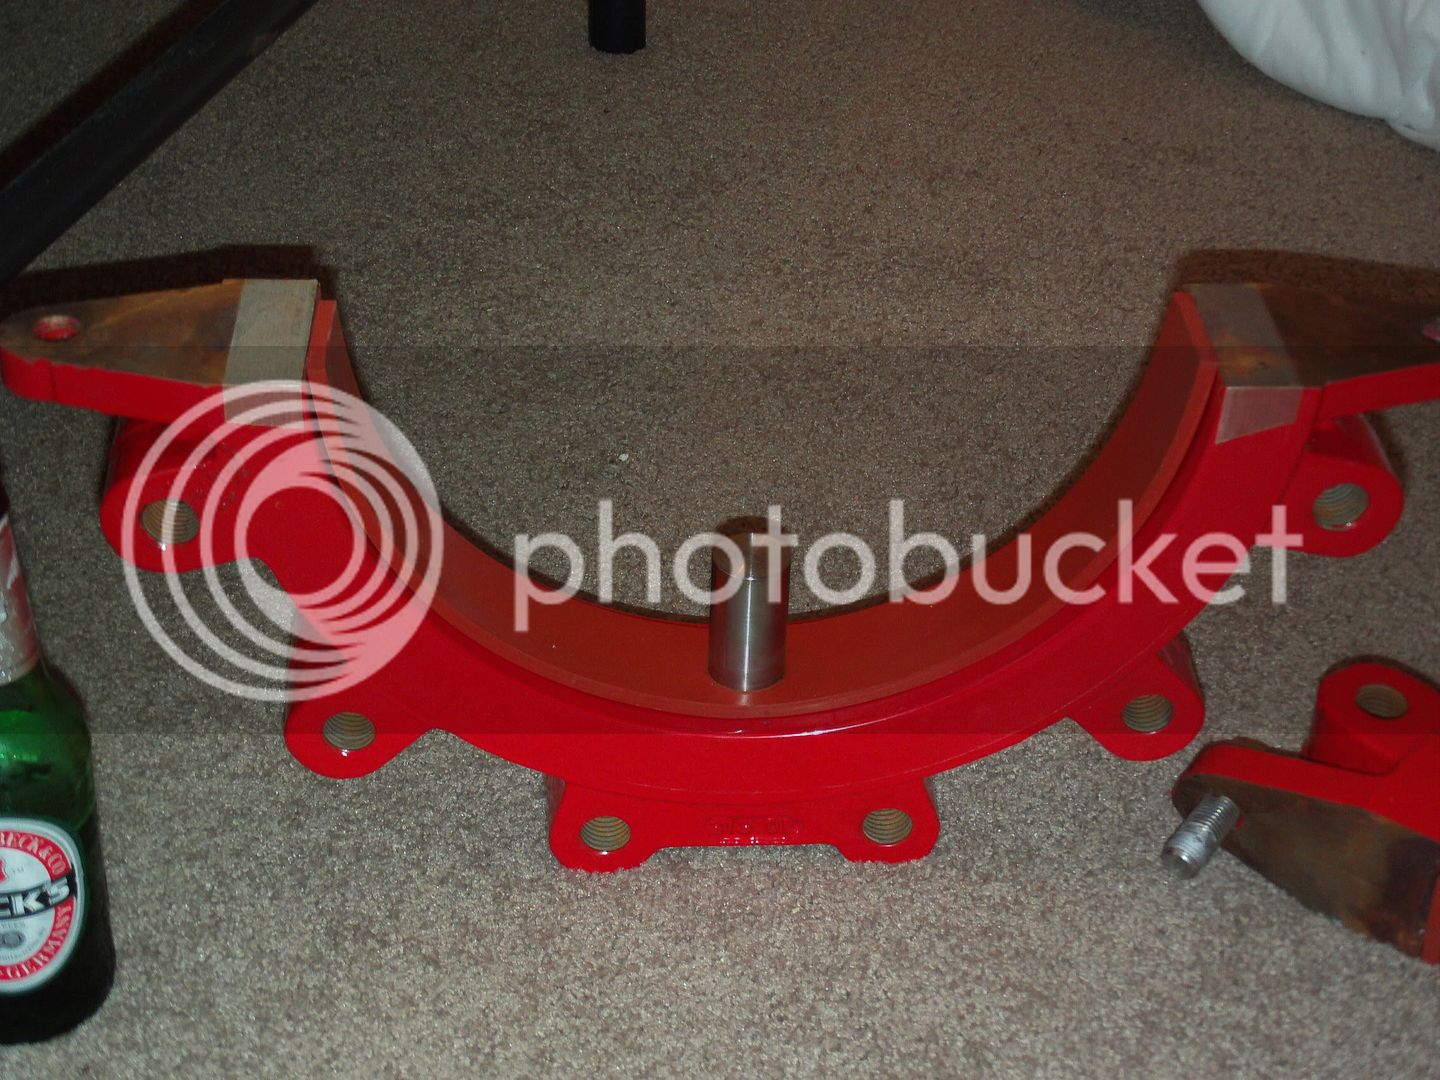
2 x Butterfly valve actuators
2 x power controllers for HERMS and kettle, and mabee 2 extra ones for heating the 53kg butterflys