Righto. My first All Grain Brew day went down yesterday (2nd July 2011). I've included here some pictures of the process in the hope that you might be able to offer some tips on how I can improve for my next brew, which will be at some stage through the week (yep, Im on holidays!).
Some of you regulars may have read my recipe thread, asking for thoughts on the ingredients. As a recap, they were:
So first up, As expected it took me a while (including 2 hours waiting time of course) but totalled close to 6hours including the beer time for mash and boil. I am happy that it took a while, as I have learnt alot since putting theory into practice. More later on this.
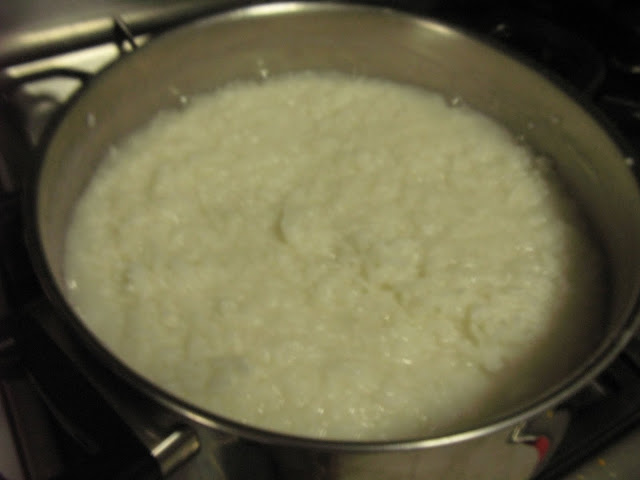
First up, I boiled the rice. here's a pic of the glug.
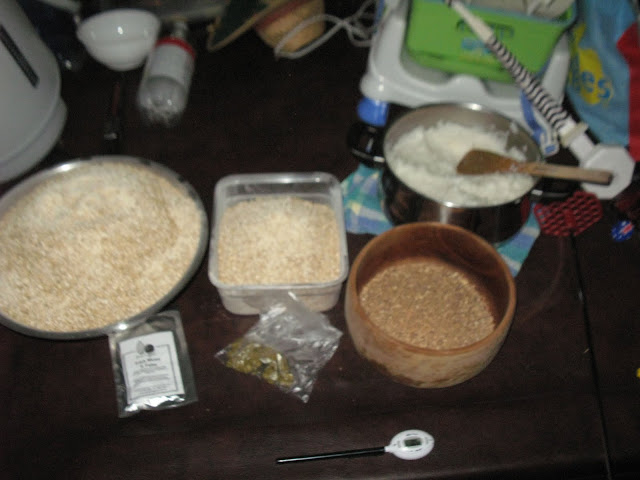
Next, I crushed the grain using Nick_JD's technique with the coffee grinder. We have a small one, and holy crap it does it well and quick! I think a bigger coffee grinder will be my next purchase.
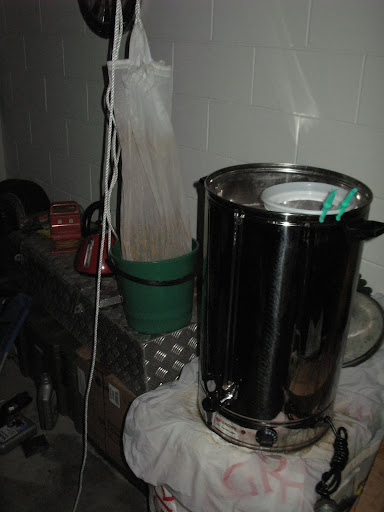
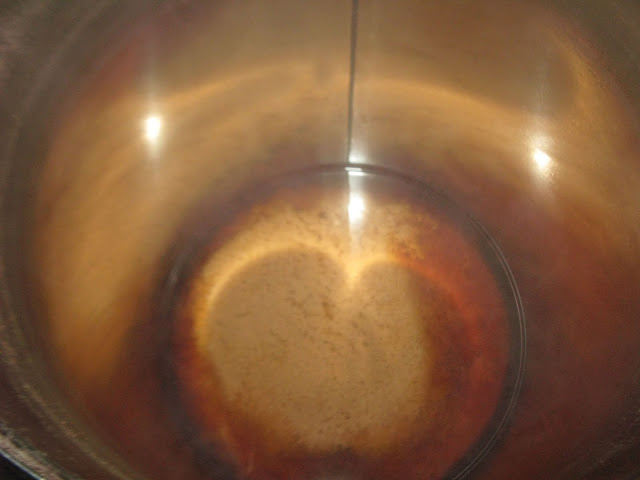
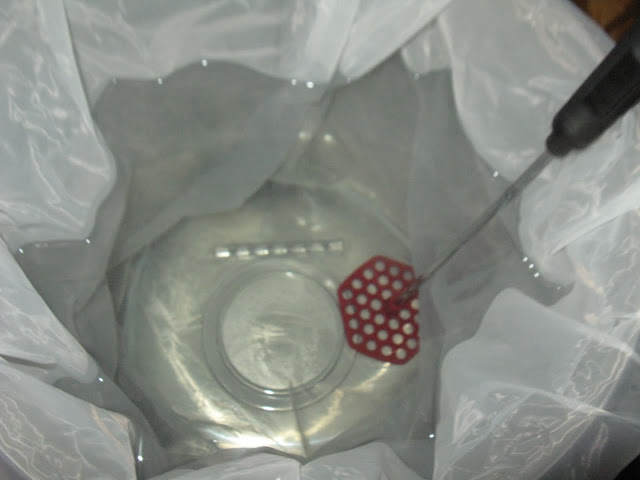
35 Litres water about to heat up to 70degC for a 66degC Mash.
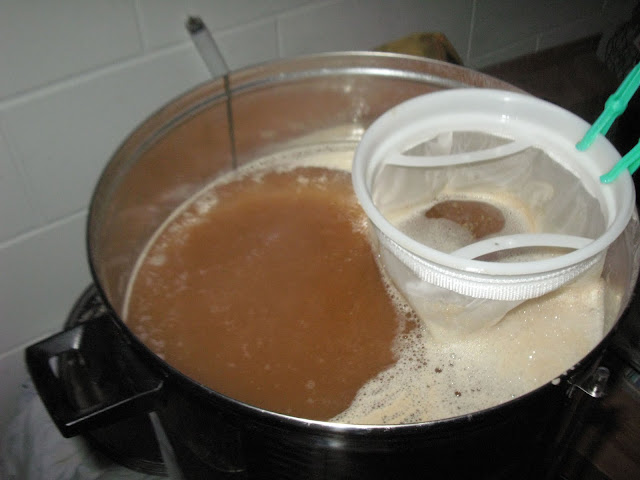
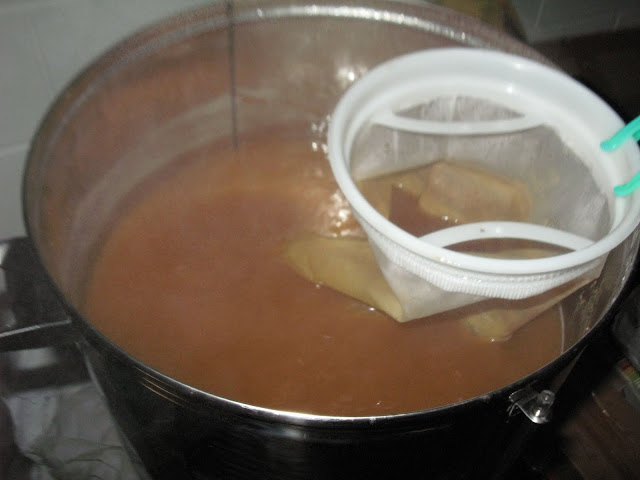
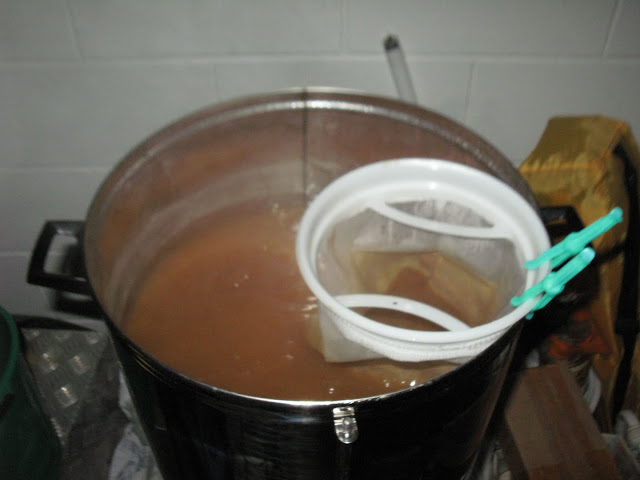
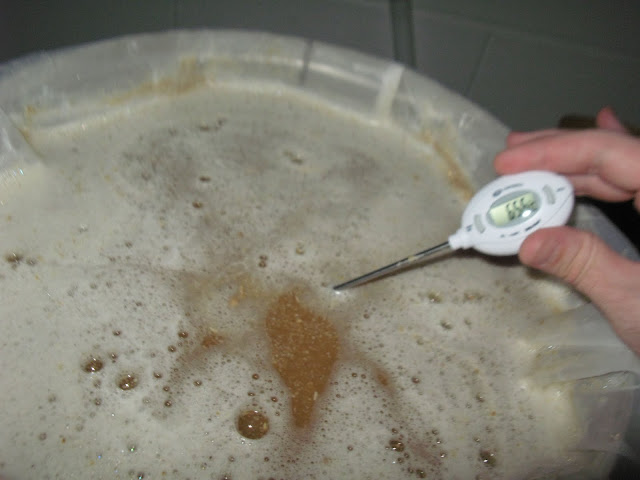
Mashed all the grain and rice, worked really well with the paint stirrer (I cant believe I havent used one of these for paint before actually!)
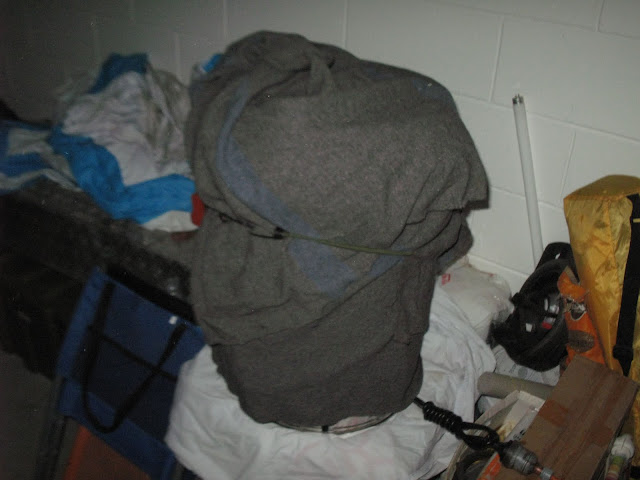
Wrapped in the old army blanket, and then I threw my Jiu Jitsu Gee over the top as well for extra insulation.
Some of you regulars may have read my recipe thread, asking for thoughts on the ingredients. As a recap, they were:
- 4.5kg Barrett Burston Ale Malt
- 500g Briess Caramalt 60L
- 1kg boiled to a glug supermarket rice (long grain)
- 35g Pride of Ringwood Hop Pellets
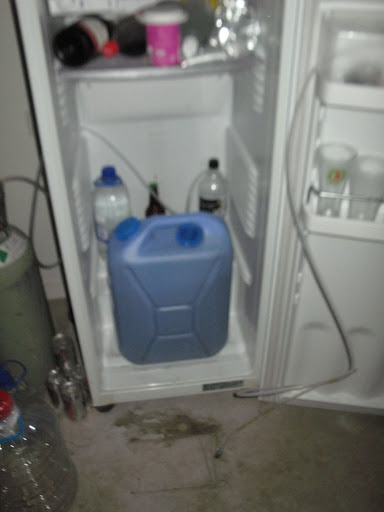
- 35 Litres water
- will pitch with US-05 at 15DegC (controlled) for 10 days or so.
So first up, As expected it took me a while (including 2 hours waiting time of course) but totalled close to 6hours including the beer time for mash and boil. I am happy that it took a while, as I have learnt alot since putting theory into practice. More later on this.
First up, I boiled the rice. here's a pic of the glug.
Next, I crushed the grain using Nick_JD's technique with the coffee grinder. We have a small one, and holy crap it does it well and quick! I think a bigger coffee grinder will be my next purchase.
35 Litres water about to heat up to 70degC for a 66degC Mash.
Mashed all the grain and rice, worked really well with the paint stirrer (I cant believe I havent used one of these for paint before actually!)
Wrapped in the old army blanket, and then I threw my Jiu Jitsu Gee over the top as well for extra insulation.