Small Batch Single Vessel Recirculating BIAB (for cheap?)

Australia & New Zealand Homebrewing Forum

Help Support Australia & New Zealand Homebrewing Forum:

This site may earn a commission from merchant affiliate links, including eBay, Amazon, and others.

Impy

Well-Known Member
Joined
30/12/09
Messages
130
Reaction score
12
[SIZE=10.5pt]After creating a simple 50L electric BIAB single vessel system fairly early in my home brewing days I've since spawned two smaller versions of myself that severely cut down the time I have for brewing. There are also a few issues I have with the larger pots brew design and [/SIZE]subsequent[SIZE=10.5pt] process limitations that make the pot frustrating to use, so hopefully I can address those with the new system. So now the goal is to assemble the best / cheapest / most streamlined single vessel system that I can. [/SIZE]

Goals[SIZE=10.5pt][/SIZE]
[SIZE=10.5pt]Fast brewing process[/SIZE]
[SIZE=10.5pt]Simple brewing process[/SIZE]
[SIZE=10.5pt]Minimise water usage[/SIZE]
[SIZE=10.5pt]Minimise wasted wort[/SIZE]
[SIZE=10.5pt]Cheap (<$500)

[/SIZE]
[SIZE=10.5pt] [/SIZE]
[SIZE=10.5pt]So with these goals in mind I've decided to create a small batch system (10L in fermenter) to reduce time waiting for water to heat up. BIAB obviously. I'd like a recirculating system to reduce trub as much as possible which was a big problem in the larger system. And also using the recirculation to accurately maintain mash temp. Also in the interests of saving time, I'm moving to no-chill.

The Design[/SIZE]
2OZGCdx.png


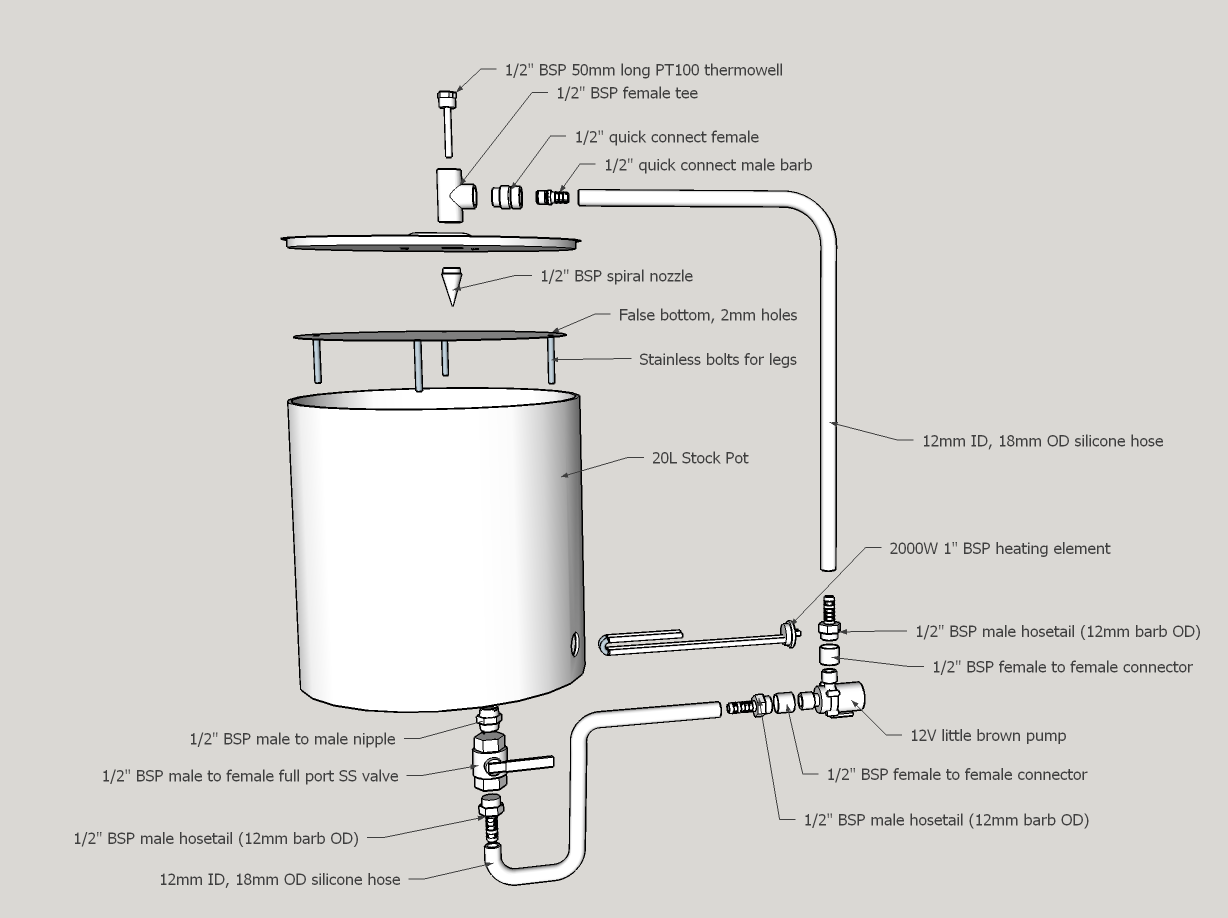
[SIZE=10.5pt]Credit to the system that was my main inspiration for this design. Not sure exactly who made this but it's one of you guys![/SIZE]

[SIZE=10.5pt]Changes I made are to the design:
1. Only port the bottom of the pot rather than put in a drainage valve on the side. Fingers crossed that the recirculation + a whirlpool will be enough to reduce trub volume and maximise wort recovery. [/SIZE]
[SIZE=10.5pt]2. Use a tee fitting on the lid so I could combine the thermowell and the return into one. [/SIZE]
[SIZE=10.5pt]3. Use a false bottom rather than a crab pot (mainly due to the inability to find one of the right size)[/SIZE]
[SIZE=10.5pt]4. Use a 2000W hot water element rather than kmart kettle elements.[/SIZE]
[SIZE=10.5pt]5. Only use stainless parts[/SIZE]
[SIZE=10.5pt] [/SIZE]
[SIZE=10.5pt]Parts list (All stainless parts are 304SS as far as i know)[/SIZE]
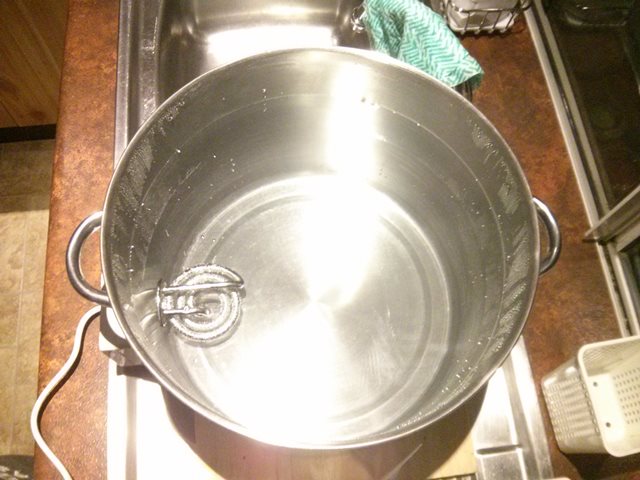
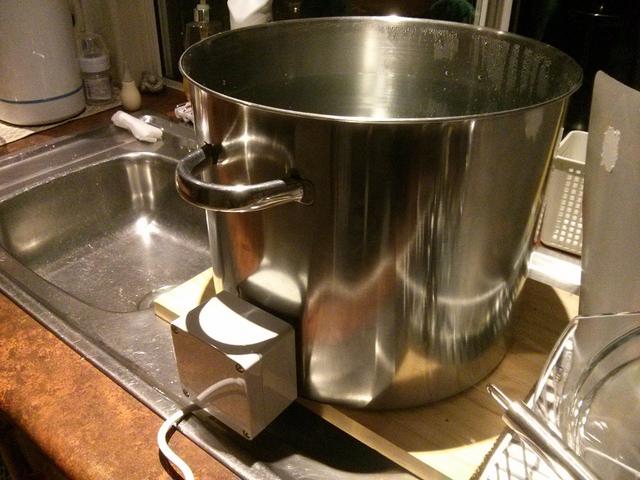
20L SS Pot: $80.00

SS False Bottom: $45.00

2000W 1" BSP hot water element: $15.00

1" BSP nut: $1.00

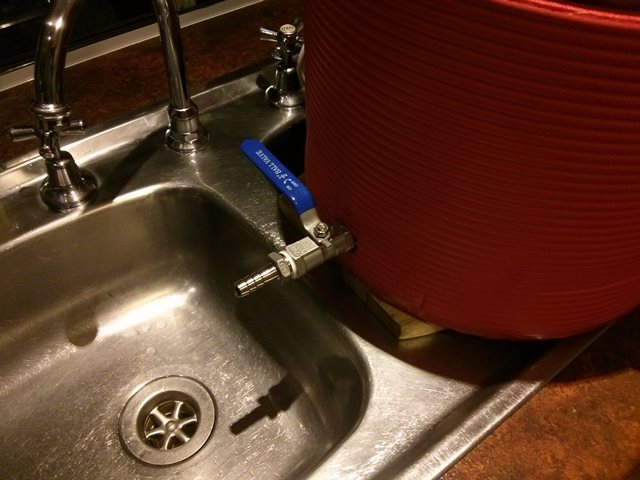
1/2" BSP full port valve: $10.99

1/2" BSP Nipple: $1.00

1/2" BSP nut: $1.49

SS 1/2" BSP female to female pipe x2: $3.38

SS 1/2" BSP Female tee: $4.00

SS 1/2" BSP male thread spiral nozzle: $11.00

SS 1/2" 12mm BSP male hosetail x3: $12.00

2m 12mm silicone tube: $20.00

SS 1/2" Barb male quick connect: $8.00 <-- this is the only place i've found stainless quick connects. Very excited about seeing if these work as expected.

SS 1/2" Male BSP Quick Connect female: $12.00

12V little brown pump: $30.00

1/2" thermowell Pt100: $15.00


Pot and plumbing total: $270


I'm currently waiting for the parts to arrive and i'll post progress pics as it all happens.

'm also putting together a control panel based on the "High Gravity brewing" panel (PID temp control with switches for pump, element, and a dimmer to control boil) which I will update this post with design and parts as I get my head around it.
 
Last edited by a moderator:
Looks good,

How are you going to create a whirlpool? Having a second wort return line for this purpose is extremely useful.

Obviously you have given some thought to this as you've ordered components already, but surely brewing only 10l at a time means you'll be spending more time brewing? Could you not put an extra OTS element or something in your 50l setup to improve ramp times?

Good luck with the build!
 
Might be a dumb question, but if your aim is to reduce trub into the fermentor, isn't a single bottom drain a bad choice given that trub settles at the bottom? I know you can add a mesh screen or similar to reduce how much trub is drained out, but if there's a lot of it draining even 10L may take some time
 
Matplat said:
How are you going to create a whirlpool? Having a second wort return line for this purpose is extremely useful.

Obviously you have given some thought to this as you've ordered components already, but surely brewing only 10l at a time means you'll be spending more time brewing? Could you not put an extra OTS element or something in your 50l setup to improve ramp times?

Good luck with the build!
Whirlpool just by stirring after the boil.

Yeah I'd increase the time brewing due to number of batches / volume. But my main goal is to reduce the time a single brew takes so i can fit it into the times where I do have a couple of hours free. Also I like the idea of having more variety in my homebrew, rather than raw quantity.

The plan is that if it works out, i'll probably adapt the 50L system as required to hook up to the controller (with additional plumbing for recirc) so I can brew large batches if I ever need to do a larger volume.


Blind Dog said:
Might be a dumb question, but if your aim is to reduce trub into the fermentor, isn't a single bottom drain a bad choice given that trub settles at the bottom? I know you can add a mesh screen or similar to reduce how much trub is drained out, but if there's a lot of it draining even 10L may take some time
The hope is that the recirculating mash will create a good grain bed so the wort will be relatively clear. Then, with hop socks during the boil and a whirlpool after the boil i should be able to collect what little trub there is away from the drainage port which is offset to the side of the kettle. My line of reasoning is that if people can have a dip tube at the edge of the kettle to reduce wort, I don't see much functional difference in having a drainage port in the same location dip tube would be.

In the end, i'll see if it works, and if it doesn't, putting a tap on the side is no hassle.
 
don't want to rain on your parade BUT yeah there had to be a but eh.....
It's been raised by another forum member many moons ago who had similar disconnects, because your going to want to disconnect em while they're like 76c, so get some good thick gloves or maybe look at camlocks which come in at similar price from KK.
 
Haha good point! Can you link to the camlocks?
 
Impy said:
Credit to the system that was my main inspiration for this design. Not sure exactly who made this but it's one of you guys!

Pretty sure it was Big Nath -- there's a 6-page thread with some details and photos of his build.

In the process of building a similar-sized rig, for much the same reason, but I've been forced to do it in stages rather than doing it outright due to a fairly tight budget. Plan on adding recirc at a later date after I get my hands on a LBP and figure out how I'm going to build a false bottom.

Have kept a list of components and prices as I've gone along (prices shown in brackets are the full cost of an item where only part of it has been used, or I've had those parts already):

Parts List
Big W 19L Stock Pot - $20
Big W 1.5L cordless kettle - $7.50
Kmart red fitness mat (NBR foam) - $4-ish ($10 -- used less than half, will use the rest for other projects)
Jaycar polycarb enclosure (IP65 / 82 x 80 x 55mm) - free ($12.95, but already in the junk box)
1 x 5.3mm lug - free ($3 or so for a pack of 8, but already in the toolbox)
2 x 4mm female bullet connectors - free ($3 or so for a pack of 8, but already in the tool box)
S/S 1/2" Barb x 1/2" BSP - $3 (actually received a 3/8" Barb x 1/2" BSP, but the reduced bore on the valve makes it a moot point anyway)
S/S 316 Ball Valve 1/2" BSP (reduced bore) - $5.69
S/S Hex nipple 1/2" BSP x 1/2" BSP - $1
S/S 304 Lock Nut 1/2" BSP - $1.49
Silicone O'Ring (19mm ID) - $0.45 ($4.52 for a pack of 10)
S/S Washer (to fit 1/2" nipple) - $1.50
1m x Silicone hose (ID 9.5mm) - $7.95
Self-adhesive stencils (6 x 8") - $4-ish (bought from Amazon while they were on sale)

TOTAL - $59.58


First stage was fitting the element into the pot -- the thin pot walls made it a bit tricky at first, but once I filed down the threaded posts on the back of the element to get more compression on the silicone grommet that came with the cordless jug, it was tight as a drum and didn't leak everywhere:

kfFLKw2.jpg


iQKFUvZ.jpg


New pot could manage a boil without insulation, but only barely, and seemed to be losing a fair bit of heat due to the relatively thin walls, so the hacked-up NBR foam mat comes to the rescue:

Io2lPKI.jpg


Didn't get the valve parts until a little bit later, but since I'd made the NBR foam jacket so it could slide on/off pretty easily, it was a breeze to install:

0SI2Ck2.jpg


Maiden flight of the insulated brew pot after the valve was installed (extract Belgian Blond) -- rolling boil achieved, featuring a cameo appearance from my ghetto hop spider:

CLCi8D1.jpg


Used the 2015 Xmas holidays to finally get around to etching the pot, using the stencils from Amazon:

AV1pFv9.jpg


The rig currently ramps at about 3° C per minute, which is presumably a lot slower than gas or larger elements, but since I can set-and-forget and come back when it's approaching boil, I'm not too bothered by it. No real need to add a voltage regulator / dimmer at this stage since it holds 104° C or so at full-tilt, though I've thought about adding a second element and an SCR down the track to reduce the overall wattage density (assuming I find the time).

Next stages before adding recirc will be:
  1. Adding a thermowell.
  2. Building a variation of the adafruit Sous Vide PID controller setup to maintain mash temps (I have a bunch of the parts already, and it'll keep the overall size of the mash/pump controller down).
  3. Deciding if I want to add a bottom return similar to QldKev's setup.

Keen to see how your rig pans out!
 
Last edited by a moderator:
Awesome build for ultra cheap. I was going to go with a BigW pot but I really wanted the metal lid to install plumbing. Really pushes the price up due to lack of options.

Where did you get the foam from? I'm probably going to need to do something like that.

If you're after a false bottom, check out aliexpress. Lots of options there.
 
Impy said:
Awesome build for ultra cheap.
Cheers!


Impy said:
Where did you get the foam from? I'm probably going to need to do something like that.

Picked it up at Kmart -- now that I think about it, I actually have a fair bit of stuff from Kmart that is used for brewing. The flip-top glass jars are awesome for harvesting/washing yeast, too.


Impy said:
If you're after a false bottom, check out aliexpress. Lots of options there.

Thanks for the tip -- will check it out!
 
Thanks for the find Bevan. I saw ones like that, and the shape is infinitely preferable but wanted to stick with a more standard design (1" BSP fitting) just in case I had trouble finding them again.
 
Impy said:
Thanks for the find Bevan. I saw ones like that, and the shape is infinitely preferable but wanted to stick with a more standard design (1" BSP fitting) just in case I had trouble finding them again.
Know what you mean. I've tried to find something like what is in the BM. On the forum a guy used a shape-able element which only seems to be available in the UK. I'll see if I can link it for you to check out.
 
Guys you can get u-bend-it elements from lots of places. Lael even got stainless. Cant link from the phone but search romar elements or even drop Lael a pm.
 
takai said:
I setup my Fauxfather for about $300, so a hair more than yours is predicted to cost. Happily punches out 20L batches up to 1.110 (highest tried so far)

http://aussiehomebrewer.com/topic/87221-my-new-budget-grainfather-esque-setup/
Awesome setup Taki, with a lot of really creative improvisation. Mine will probably be over $300 once i add in all the control box elements.

The two areas for the biggest savings on my rig I can see would be the pot and the false bottom.

Where did you get the hop spider from? I'm looking for something exactly like that but all the ones i can find are ridiculously expensive, or the wrong size.
 

Latest posts

Back
Top