Awesome post Wolfy, looks like you have helped soooo many brewers save some cash!!
We all owe you a beer I think :icon_cheers:.
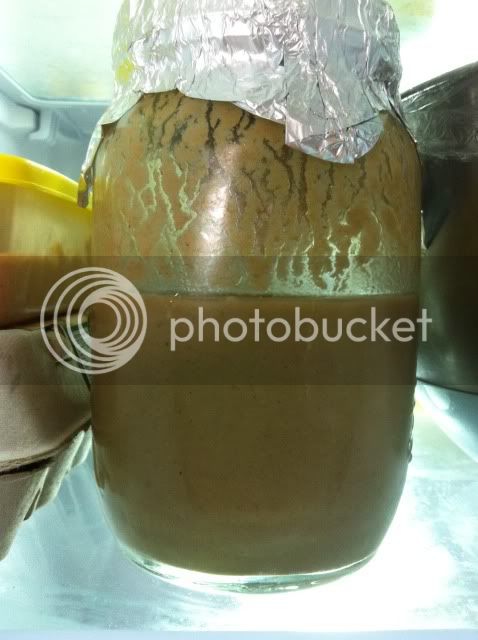
Yesterday I tried harvesting yeast for the first time.
Got 2 nice jars of slurry which separated out into the 3 layers over the course of the day (I was brewing at the same time, so worked out well).
Tipped off the top layer and poured the yeast layers into a separate jars.
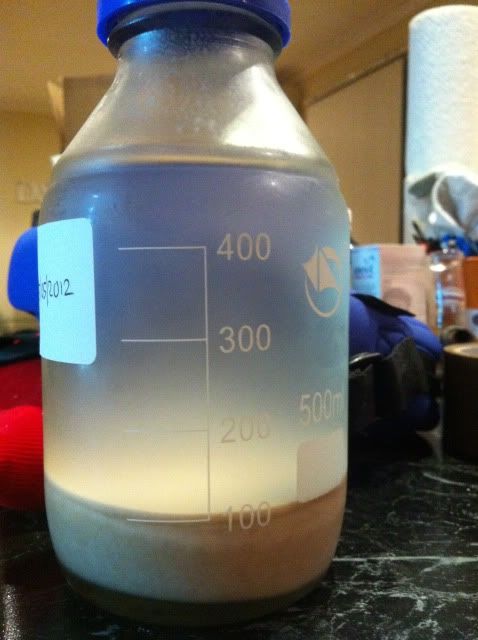
Left it overnight and came out this morning to find it had formed 3 layers again (as expected).
But I could see some little balls of yeast starting to separate themselves from the yeast layer and float up into the wort layer (like a lava lamp).
Is this a bad sign?? Or yeast just doing yeasty things?
Anyway, I'm not going to wash it any further, just going to re-pitch one of the jars today (it's a similar brew, so not worried about hop flavour etc).
So can I just shake up the jar and tip it into my fermenter?
And is there any clear way to tell if the yeast is OK (ie. smell?)?
Another yeast harvesting technique (link below) I am trying next. eg appears easy to do and results in 'clean', active yeast.
http://karlisbeer.blogspot.com.au/2010/03/...rom-carboy.html
Cheers...
Would appreciate any help/opinions.
Cheers,
Jake.


 !!
!!