My 2 probe STC 1000+ build.

Australia & New Zealand Homebrewing Forum

Help Support Australia & New Zealand Homebrewing Forum:

This site may earn a commission from merchant affiliate links, including eBay, Amazon, and others.

Mattrox

Well-Known Member
Joined
7/1/13
Messages
430
Reaction score
171
I got mt STC 1000 A400_P version from Aliexpress yesterday.

I was pleasantly surprised to see the header clear of solder. This will make things easier.
1446194789752.jpg


My Dupont wires arrived today and since the holes were exposed I decided to have a go uploading the STC 1000+ software. It worked so I decided to solder in the wires for future upgrades etc.
1446195486599.jpg
1446195514153.jpg

I then proceeded to desolder the two post screw terminal. I just applied pressure on the post and when the solder melted it dropped slightly. Repeaded the procedure with the 2nd post. Once the whole component had dropped a bit I applied down pressure on it with my finger and melted the solder at each post until the whole piece came out.
1446196212151.jpg
1446196222325.jpg

Now I have to wait until the rest of the stuff arrives.

On the way are: chip resistors, 3 post screw terminals, fine tweezers to hold the chip resistor and extra temperature probes.

More photos to follow. I might need to get a better soldering iron to do the fiddly job with the chip resistor. My soldering skills are average so if I can do this it will look promising for anyone else.
 
So I got the resistors today.
My gosh they are tiny. I didn't get the tweezers yet.

I tried to solder in the resistor. With some measure of success. I wouldn't recommend this method if you are short of patience or prone to burning yourself on the soldering iron..... or need glasses. No body on this forum is used to handling anything that small with tweezers!

I soldered on 2 temperature probes to test if this worked, hooked it up to the Arduino and plugged into the computer.

1st probe reads correctly. 2nd is off. So unless I got sent the wrong resistors, I need to resolder. That's a job for later. It's do-able, but I'd recommend the easier method using a normal resistor via the jumpers.

I'll reorder the pics later. On phone now.

1446451792120.jpg


1446451804977.jpg


1446451818532.jpg


1446451832260.jpg


1446451845637.jpg


1446451854134.jpg


1446451861924.jpg
 
Lol I was thinking of getting some of those small resistors to make it neat and tidy but I think I won't bother, it's not worth the effort. If you need an electron microscope to see it my soldering iron will be way too big.
 
Wort said:
Lol I was thinking of getting some of those small resistors to make it neat and tidy but I think I won't bother, it's not worth the effort. If you need an electron microscope to see it my soldering iron will be way too big.
That's what I was aiming for.

I might try again with the SMD resistors another time after I have the fine tweezers. But I'll go the normal resistor on the programming header for this one.

On the upside I have a shizen load of SMD chips if anyone else wants some.

A hint for others wanting to fiddle around with STC's. Get a long USB cable attached to a phone charger and drive the STC only off the 5V and Ground of the Uno.

I put the 2 pole screw terminal back on. Not too much damage done. LOL

1446464449245.jpg
 
I think they sent me 10 Ohm resistors not 10K Ohm.

I think the soldering was successful the 2nd time but I had the wrong part.

Now the solder pads are completely hacked and I have to go the other way with this.

Live and learn.

1446465781421.jpg


1446465800951.jpg
 
I heard back from the eBay supplier who will now send the correct SMD resistors..... A bit late now that the solder point is gone.

In the mean time I have ordered the correct through the hole 10k ohm resistor which should arrive today. This unit should be 2 probe by tomorrow.

Given that I've slightly damaged this one anyway, I've decided to use it as an experimental unit.

I've seen on the STC 1000+ GitHub site where alphaomega has mapped the header to the STC display. I figure that I can use that information to rig up a two colour LED red/blue to clearly see when the relays have been activated. This combined with the red and green light that turn on as a warning that the socket is live, will serve as a fail safe if a relay fails. If the blue LED and green light are not on at the same time, something is wrong. Likewise, if the red LED and red light are not on at the same time.

I'll prototype with this unit and build up the case and get a nice new, less sworn at and less soldering iron burned unit to do the hard work. It'll be less likely to crack the ***** at me and refuse to do the D rest and ruin my beer out of a need for revenge.

Then I can abuse this STC 1000 more and take out the relays and prototype a one vessel GrainDaddy controller for the future.
 
I unsoldered the wires from the STC and put in the 10K resistor in the appropriate place and soldered the dupont wires back in place. This was a pain, but would be much easier in there was a header soldered in. I then soldered in a wire to the bottom of the header on the appropriate contacts. I am going to use this to wire the plucg jack into the project box later. I temporarily soldered the thermistor on to this lead.

and Success!

IMG_1201.JPG

IMG_1202.JPG

IMG_1203.JPG

IMG_1204.JPG
 
image.jpgimage.jpg

Testing in an ice slurry. The 2nd probe is 0.2 deg under and 1st 0.3 over.

This 0.5 degree difference drifts out to 1 degree around 20 deg C.

I'm going to have to calibrate at 18 deg with something accurate. But the difference is minor.
I did order 1% 10k Ohm but it looks like they sent 5%. Too hard to pfaff around with that now given the minimal difference. But I'll fix that up for next time.
 
Nice work.

Although to me it seems far, far easier to just use Arduino, two temp probes and a relay - no soldering or hacking required!
 
klangers said:
Nice work.

Although to me it seems far, far easier to just use Arduino, two temp probes and a relay - no soldering or hacking required!
Except I can't code to the level required. But I can follow instructions and solder.

The STC 1000 is easy to wire and fix into a box and doesn't need assembly from scratch. And is cheap. - I'd have to reinvent the wheel building a dual probe 2 stage temperature controller from an Arduino.

I will have to do a few Arduino tutorials to explore the possibilities. But I don't think I could make something better than the existing unit. If I wanted more functions I'd probably look at BrewPi.


I'm at the stage where I'm about to get the box ready for this. I hope to have it going very soon.
 
https://github.com/matsstaff/stc1000-datalogger/blob/master/README.md

I used the info in here to wire up a red/blue common cathode LED.

This is to show when a signal is being sent to each relay. The LED lights up red when heating and blue when cooling.

I got the LED from eBay, they arrived today. I soldered a 100 ohm resistor to the leg for blue, 150 ohm resistor for the leg for red and a wire on the common -ve leg. The red led leg was wired to terminal 9 on the STC 1000 display header, blue was wired to terminal 10 and the common leg was grounded on the last terminal.

ImageUploadedByAussie Home Brewer1450070371.201058.jpg

ImageUploadedByAussie Home Brewer1450070402.915920.jpg

ImageUploadedByAussie Home Brewer1450070427.994804.jpg

It works!
 
mofox1 said:
I've got two A400's on the way... damn you! :lol:

I just hope they arrive after I've finished all my other projects... lol.
I have 2 more on the way too!

Now I'm planning a brewpi project..... Not that I'll be able to use it on my fermentation fridge in the shed... Too far from wifi etc. But I'll have a crack at convincing SWMBO that a fridge inside might be required.
 
I got 2 more flashable A400_P versions of the STC 1000 today.


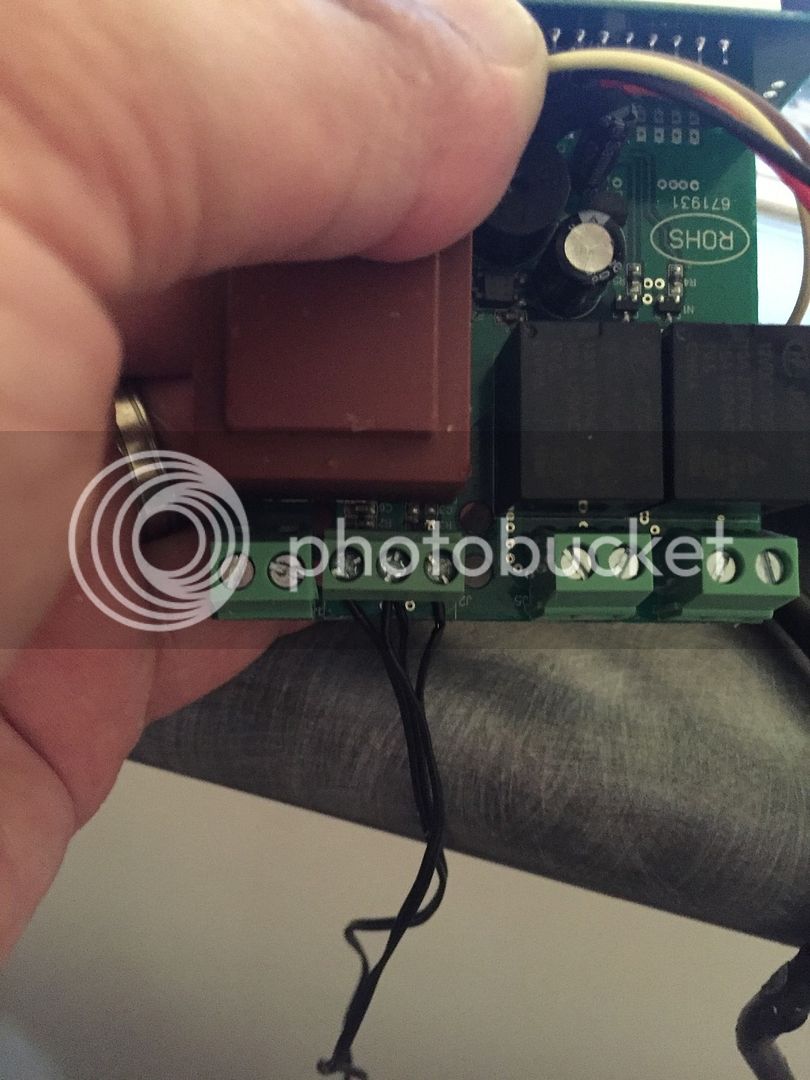
It is very possible to solder in the flea sized SMD resistors and get a 3 pole terminal soldered in.
055BAFF9-7C19-4A65-B826-1B1569E5B536_zpsxfqb6ist.jpg


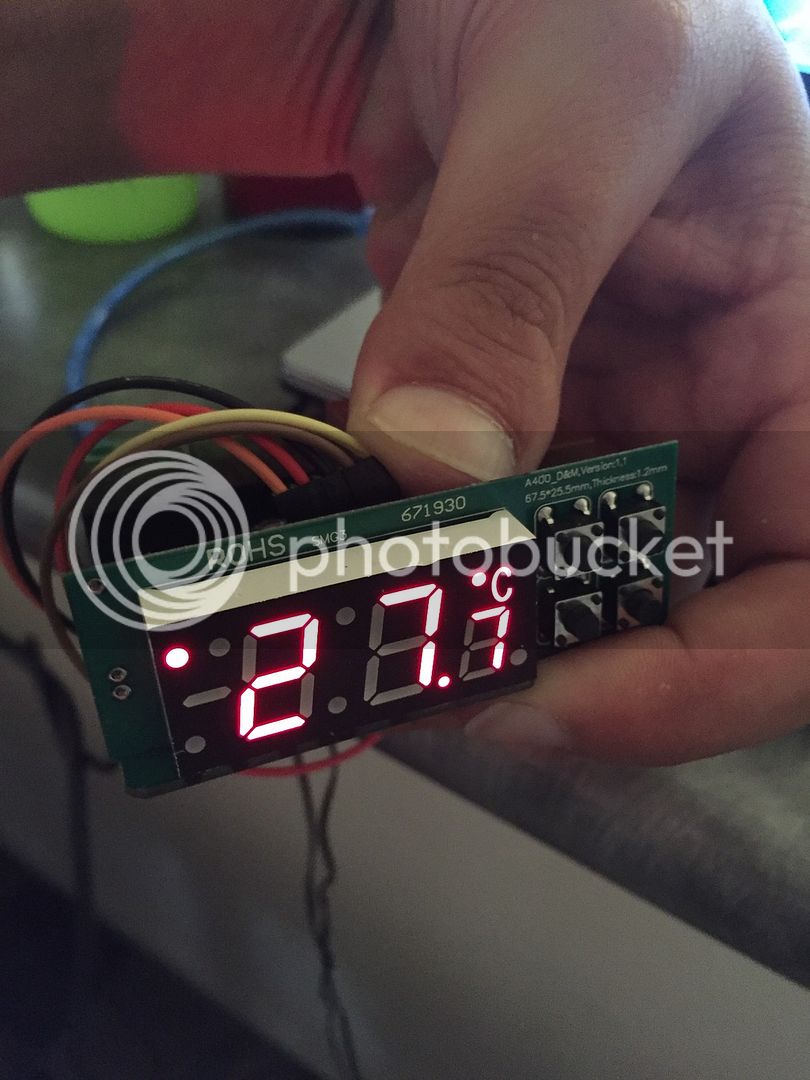
Here is the temp of probe 1.
E7FDECE2-6521-41B1-A915-406A92DEFE86_zpsffsjm3wy.jpg


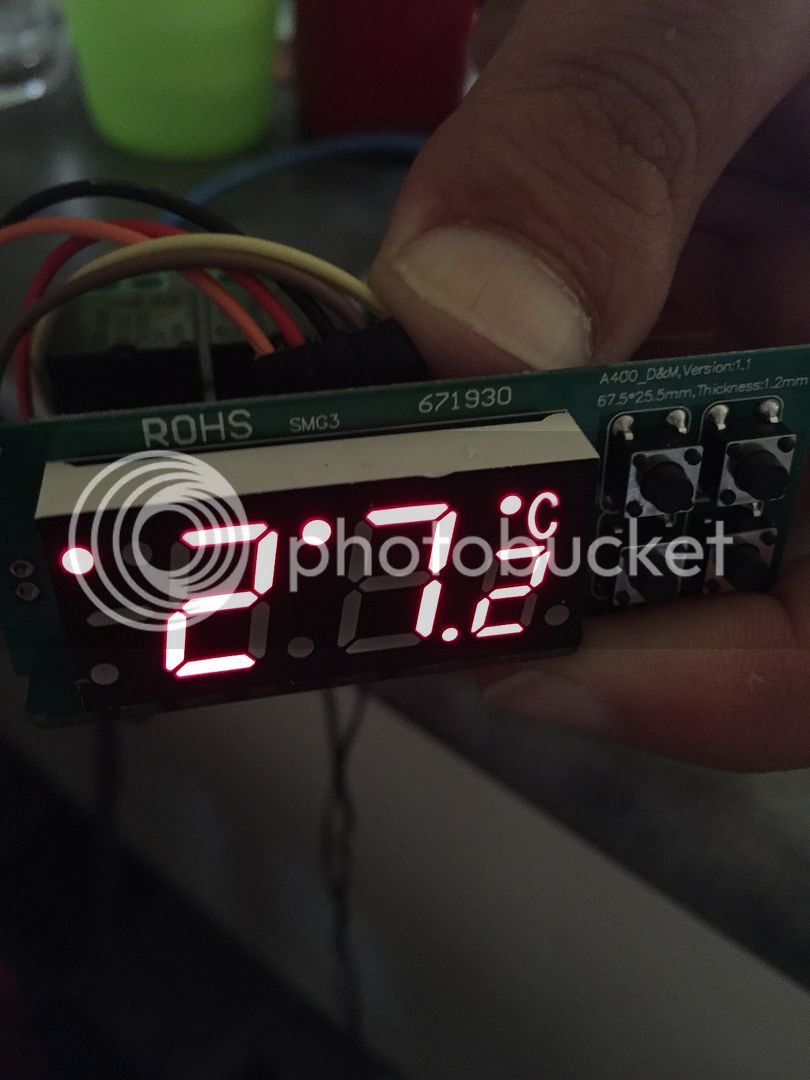
Here is the temp for probe 2.
E354D532-C24F-4508-9813-374E6BAEFE37_zpsw8egpgpo.jpg


A much cleaner way to do it.
 
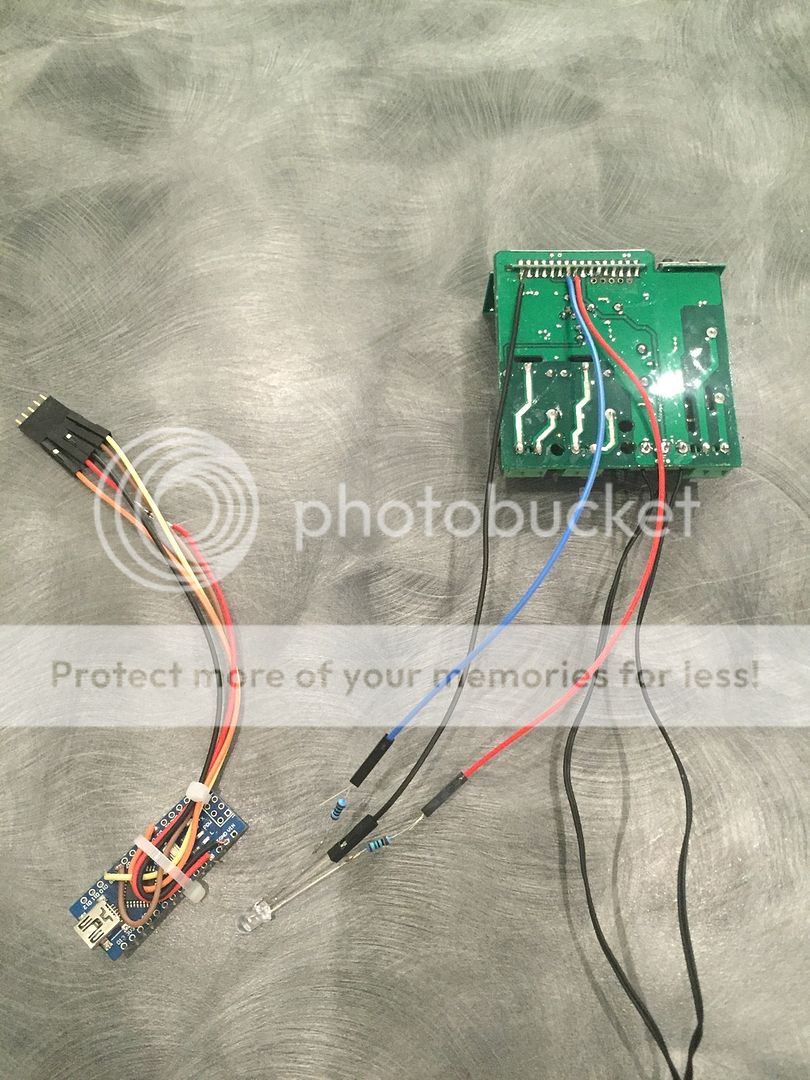
I got the LED attached to this new unit and wired up the Arduino Nano. I used a couple of zip ties for tension relief on the wires. I also put a Bat85 Schottky diode on the 5V wire.

A little tidy up with some heat shrink and it will be ready to go in the box.

0C4B2CB3-8480-412E-8C46-68724A9A9AE0_zps0cly75tv.jpg
 
Crusty said:
Looking good buddy!
If I can solder in that resistor anyone can.


Which has me thinking. If anyone else wants to make a 2 probe version, I had to buy 200 SMD resistors and 10x 3 pole terminals. I can mail out a few SMD resistors and a 3 pole terminal if others want to have a crack at it.
 
Back
Top