First Ag Biab

Australia & New Zealand Homebrewing Forum

Help Support Australia & New Zealand Homebrewing Forum:

This site may earn a commission from merchant affiliate links, including eBay, Amazon, and others.

Wonderwoman

Well-Known Member
Joined
2/1/09
Messages
318
Reaction score
18
Location
Frankston
Hi all

I felt the need to share with you my first AG brew. I don't think I can really offer any profound advice, but just maybe I can inspire some newbies who dream of doing AG but think they don't have (or can't get) the necessary equipment.

I used the BIAB method. I was lucky that my mum lent me her fowlers vacola sterilizer - basically a 30 L urn, so all I needed was a grain bag which I made myself for < $5. I wanted to do my first AG without spending too much just in case I decided it wasn't for me, so I was very lucky to get the urn for nothing. An urn or large pot can cost a bit, so if you can see if a friend will lend you one for you first brew so you don't have to outlay the cash.

The photos below tell the story...
firstAG1.jpg
the urn with BIAB bag fitted

firstAG2.jpg
grain added

firstAG3.jpg
mashing with the lid partially on and thermometer in the top

firstAG4.jpg
start of the boil. I don't have any photos of me removing the bag and rinsing the grain - I made quite a mess of this and certainly would have benefited from an extra pair of hands!

firstAG5.jpg
the boil with a hop bag suspended from a piece of wire (old clothes hanger)

firstAG6.jpg
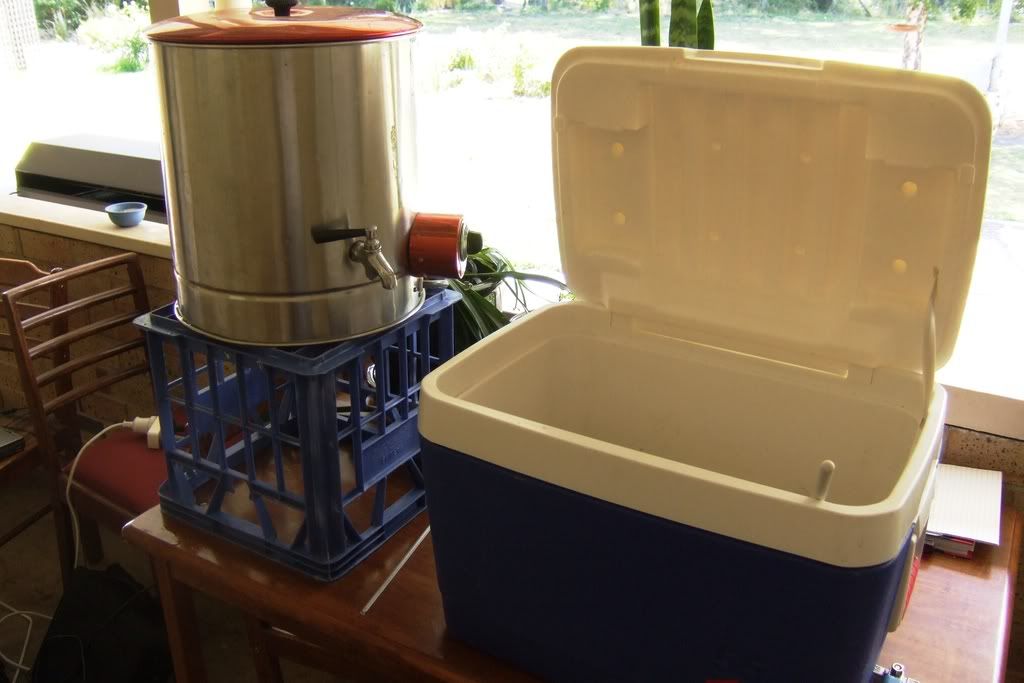
I no chilled it (cube cost $15). This shows the transfer to fermenter ~24 hours after transferring the wort to the cube.

firstAG7.jpg
the wort was nicely aerated. The yeast was pitched and 24 hours later it's fermenting nicely.

I used Dr Smurto's golden ale recipe as is on recipeDB. OG 1040 - a bit low but I think not too bad for my first AG.

I will definitely do more AG brews. It's not any more difficult just time consuming.


Thanks heaps to everyone who posts on this site for giving me the information and inspiration I needed to do this!
 
Hmm.. I like the old clothes hanger idea, I will have to steal that one!
 
Great stuff!

Hope you will enjoy the good doctor's Golden Ale, it is a fantastic recipe, and one that many of us started AG with. You will get to know your system better as you go along, so if you feel you need to change anything in your process, just change one variable at a time to see what effect it has. Once again, congratulations for your first AG!

cheers,

Crundle
 
Good onya!

Ive got a couple of questions: (and maybe other people can answer these too!)

1. How did you keep the urn at 67C ? ie: Most urns keep water at boiling temp.
2. Did you do your boil in the urn or did you transfer to a pot?
3. How did transfer the hot wort from the pot/urn to the cube?


Cheers :)
 
Ive got a question... How do I get my SWMBO to brew beer? :D
 
1. How did you keep the urn at 67C ? ie: Most urns keep water at boiling temp.


Most I've seen have settings and thermostats. I'm thinking of getting an urn for my next bit if brewing equipment for mashing.
 
congrats! yea time consuming but how easy is it once you actually do it. so much more simpler than people make it out.
 
Good onya!

Ive got a couple of questions: (and maybe other people can answer these too!)

1. How did you keep the urn at 67C ? ie: Most urns keep water at boiling temp.
2. Did you do your boil in the urn or did you transfer to a pot?
3. How did transfer the hot wort from the pot/urn to the cube?


Cheers :)

1. I'm not sure about standard urns, but the Fowlers Vacola sterilizer I used has an adjustable temperature control, so I just had to play around with that to get it to stay at ~66oC. I was a bit concerned though that the temperature at the bottom (near the element) may actually have been much higher than where I was measuring at the top - so not sure how good my method was of measuring the temperature.

I've read that other people turn the urn on till the water is the desired temperature, then switch it off during the mash and wrap the urn in a blanket, doona etc to hold the temperature. Maybe that's because they don't have the variable temp control?

2. It was a "one pot" job.

3. I used some heavy duty tubing connected to the tap to transfer the hot wort to the cube. Sorry there were no photos of this because I was on my own at the time (my partner was still in bed alseep) and I needed both hands to manage the transfer. The tubing that I used was difficult to get on the tap because it was a bit too small and once stretched to fit, it kept slipping off the tap. The only hose clamp I had was too small, so I had to hold it on with my hand in an oven mitt... this is a perfect example of what happens when you don't plan ahead. I hadn't checked that my hosing would fit the tap prior to brew day and once the mash was in I was stuck using what I could find in the house.

Ive got a question... How do I get my SWMBO to brew beer? :D

it probably helps if she like beer... :icon_cheers:

but I dare say that if you've already set a precedence of it being a "blokey" thing to brew beer, then you've lost her forever
 
I use the same urn for my HLT. Only mine is in fahrenheit so its older than me.

Good job on the first AG and showing that it can be done without a huge outlay of cash. :super:

HLTMashTun.jpg
 
Dr Smurto - mine's in fahrenheit too. looks like they're identical models.

phoneyhuh - I didn't measure it accurately, but I think it's about 30 L
 
Congrats WW!!! Hugely impressed with your effort and tenacity to make it happen. Just make sure next time HWMBO is your hoisting and mashing b#tch. :p

Cheers


Chappo
 
Congrats WW!!! Hugely impressed with your effort and tenacity to make it happen. Just make sure next time HWMBO is your hoisting and mashing b#tch. :p

Cheers


Chappo

Thanks. That's what I was counting on for the first brew, but he went back the bed, so I had to manage alone. At least now I know I can do it on my own, so I schedule my brewing when it suits me and not depend on someone else being around
 
WW - how big is your cube and where did you get it from? I could use some more no-chill cubes
 
WW - how big is your cube and where did you get it from? I could use some more no-chill cubes

the cube would be almost exactly 20L - when I transfered to the fermenter it came up to the 19 L mark and there was a bit of air in the cube.

I bought it from a junk shop in Mentone. Not sure of the name, but if you know mentone, it's the huge discount shop that's taken over the building where vintage cellars used to be. It's on Como Parade West, opposite the train station. I was surprised to find some taps on a shelf ($2-3 IIRC), then turned around to see a stack of cubes. There were a few different sizes in the cubes. The one I got was $12.95.

I was quite happy with this find as I'd sent HWDMB (He Who Drinks My Beer) to bunnings looking for a cube and they didn't have any, so he came home with a 20 L water carrier that was tall - see photo below. I found this one difficult to work with because it doesn't fit under the overhead cupboards above my kitchen bench.

water_carrier_.gif
 
I use those tall jerry cans for secondary/ccing as i can fit more than 1 in the fridge.

plus, the taller and slimmer a vessel, the faster the yeast settles.......
 

Latest posts

Back
Top