Fents
Not a Beer God
- Joined
- 20/10/05
- Messages
- 4,088
- Reaction score
- 104
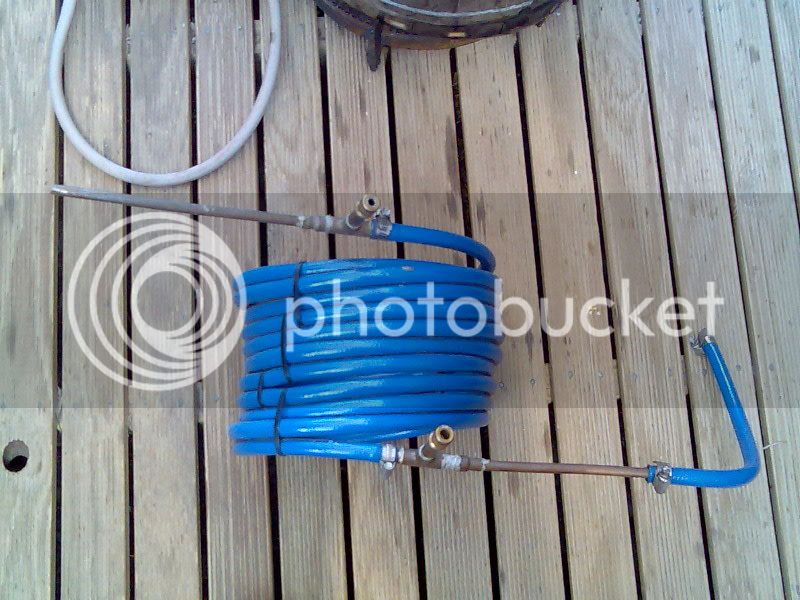
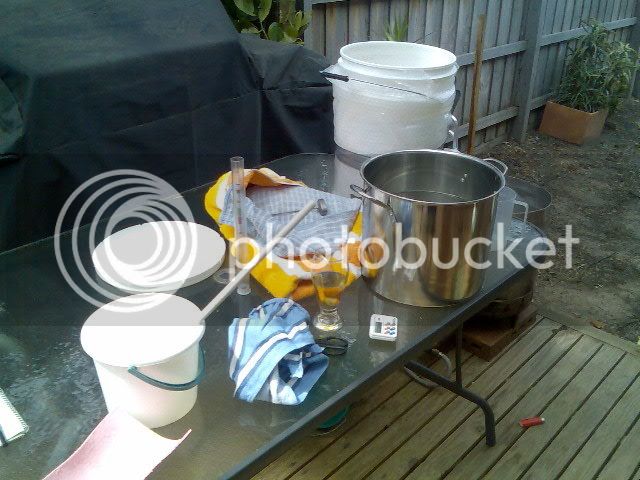
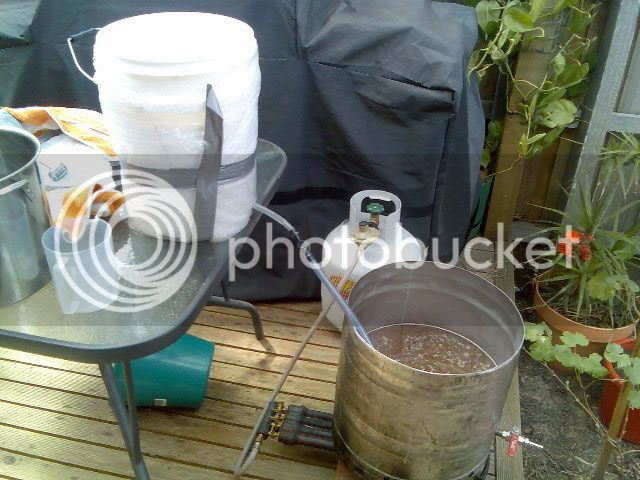
So heres my simple AG setup :
Messy
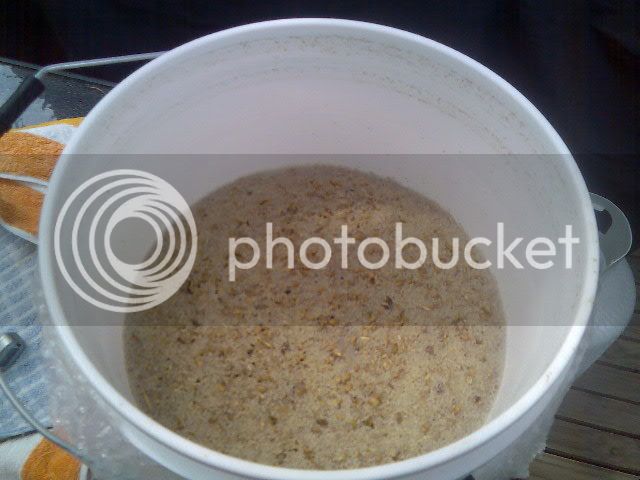
The Mash
Sparge + Boil
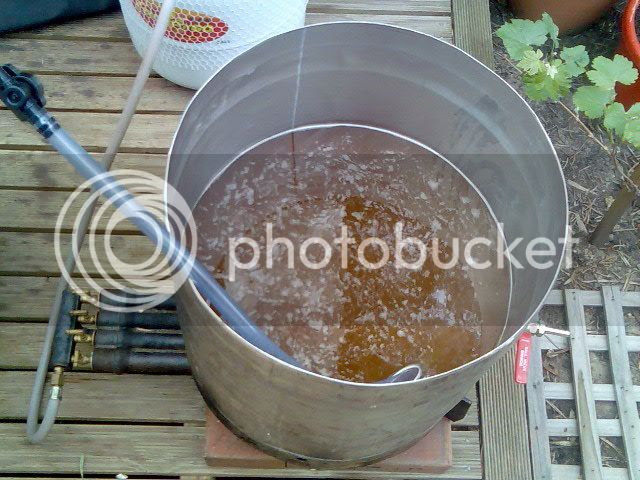
Sparge + Boil 2
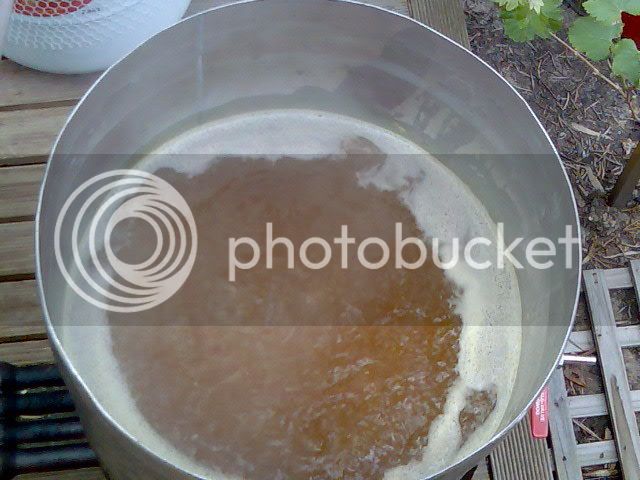
Boil
Glass Table to Deck Floor to Ground Floor
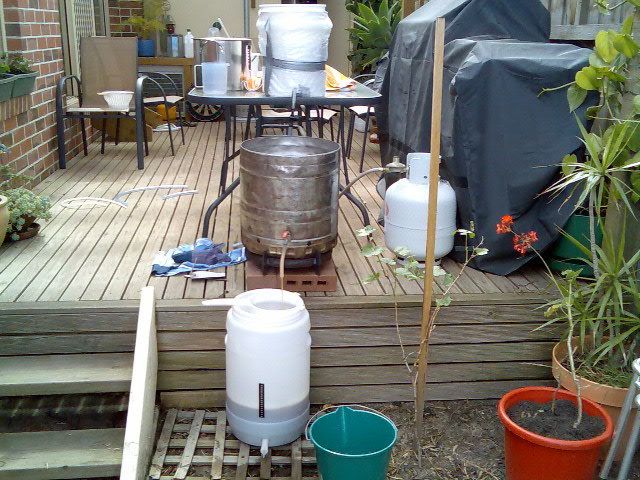
Now all this works ok...but i feel im making it to hard on myself and not enjoying it as much as i used to (when i used to do kits or partials) because im making it to hard and its taking me 4-5 hours. Im space limited on my back deck. As far as i can think i have three options...
1. Make a tier system with shelves on my decking, get a proper mas tun (esky), proper HLT, instead of using 50lt keg i want a 70-80lt pot to boil.
2. Make a proper mash tun (esky again), buy a 70-80lt pot, do the mash and sparge on the kitchen bench inside the house (air conditioned in summer) and do the boil on the stove..(downside - stove flame is not as strong as 4 ring burner therefore taking longer to start boil)
3. Buy a 70-80lt pot and Brew in a bag...boil either on stove or 3 ring burner...
Comments and suggestions are WELCOME! :beer:
Messy
The Mash
Sparge + Boil
Sparge + Boil 2
Boil
Glass Table to Deck Floor to Ground Floor
Now all this works ok...but i feel im making it to hard on myself and not enjoying it as much as i used to (when i used to do kits or partials) because im making it to hard and its taking me 4-5 hours. Im space limited on my back deck. As far as i can think i have three options...
1. Make a tier system with shelves on my decking, get a proper mas tun (esky), proper HLT, instead of using 50lt keg i want a 70-80lt pot to boil.
2. Make a proper mash tun (esky again), buy a 70-80lt pot, do the mash and sparge on the kitchen bench inside the house (air conditioned in summer) and do the boil on the stove..(downside - stove flame is not as strong as 4 ring burner therefore taking longer to start boil)
3. Buy a 70-80lt pot and Brew in a bag...boil either on stove or 3 ring burner...
Comments and suggestions are WELCOME! :beer:
") ...haha yea right.
...haha yea right.