


Hi Guys,
Thought I'd show off my latest project.
Been working on this for a couple of months now, and I'm very pleased with the final result.
Hope you like it.
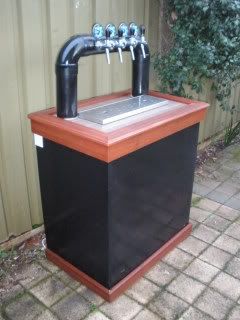
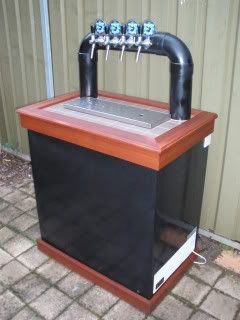
Couple of front on shots.
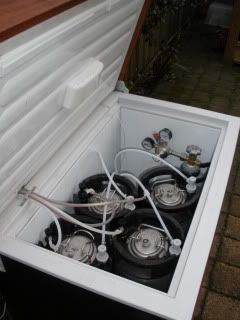
Internals.
Built in temp control.
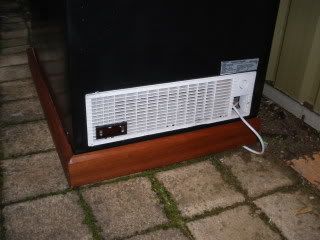
Back view.
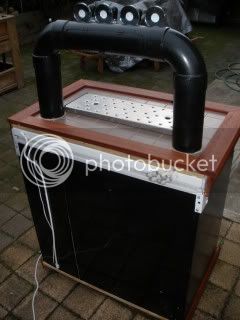
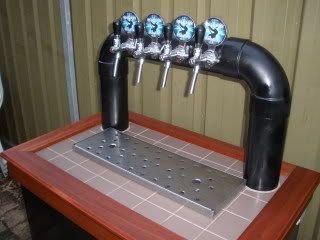
For those with a keen eye, you may notice that the font is made from stormwater PVC fittings.
Hidden underneath is also a timber base with castors so I can move it around.
Let me know your thoughts.
Cheers.
Tim
Thought I'd show off my latest project.
Been working on this for a couple of months now, and I'm very pleased with the final result.
Hope you like it.
Couple of front on shots.
Internals.
Built in temp control.
Back view.
For those with a keen eye, you may notice that the font is made from stormwater PVC fittings.
Hidden underneath is also a timber base with castors so I can move it around.
Let me know your thoughts.
Cheers.
Tim


