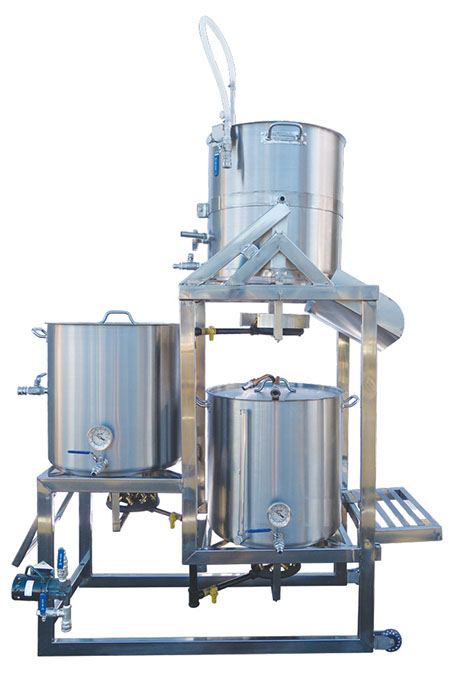
Gava, Thanks for the feedback and wow, you have an amazing looking setup, very jealous!!! ( I had a look at your site), maybe one day.

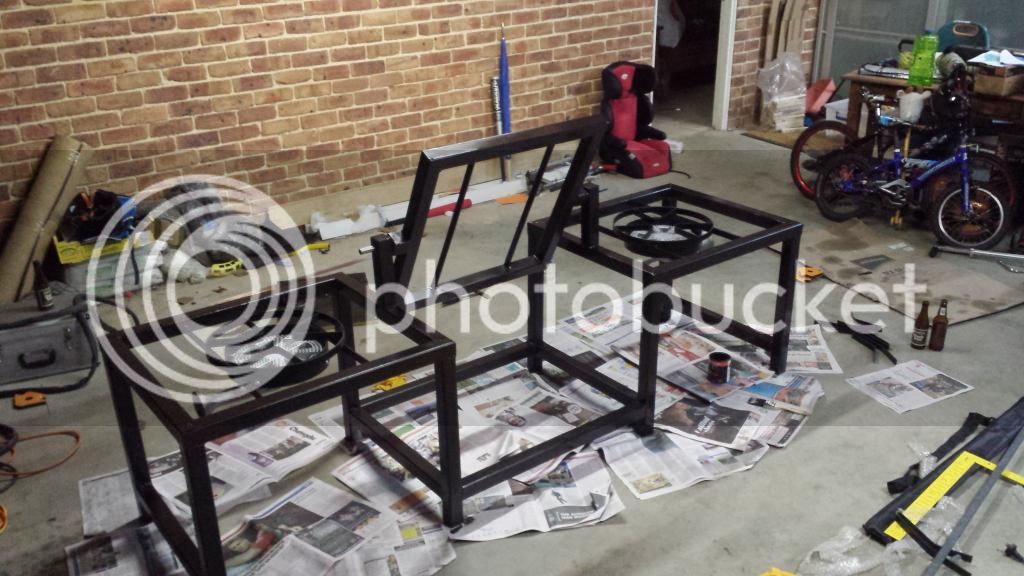
The mash tun will be secured to the frame with stainless wire and then a pin to hold it at a horizontal to scrape the grains out. (I might be missing something, if I am, please shout out).
If any fellow brewer can think of a good use for 1.2mm stainless wire let me know and I'll send you as much as you like for the cost of postage. I found a reel on the road and I handed the reel in to the police station, after three months they gave it back. I have approx 5000 metres. (tied to ad a pic, too hard after too many beers, but the offer is genuine).
Crouch, I found the pot here
http://aussiehomebrewer.com/topic/77835-150-liter-stainless-stock-pots/ I bought 3 three in the end got four. The pic of the brew rig is in my brothers garage where I did the welding, (he's doing better than me), I have rented a a small garage which is 2.4m x 5.2m. to brew me beers. I would add much more power is it was mine.