Building a deck

Australia & New Zealand Homebrewing Forum

Help Support Australia & New Zealand Homebrewing Forum:

This site may earn a commission from merchant affiliate links, including eBay, Amazon, and others.
On the far front stirrups fill the gap between the back of the bearer and the stirrup outer edge with a block about 150/200 mm long to make up difference and then bung the bolts in,it'll stop the bearer from rolling .
Going by what you've achieved so far I'd say your onto already.
It'll get plenty of use this summer no doubt,good job.
 
I think I know what you mean spog but I'm only using the bearers for lining up the posts at this stage. Once the concrete's set I'll be doubling up and bolting all bearers. Is this what you mean?
Wiggman laser eye beats these fancy machines.

Ed: autocorrect thought spog was spot
 
TheWiggman said:
I think I know what you mean spog but I'm only using the bearers for lining up the posts at this stage. Once the concrete's set I'll be doubling up and bolting all bearers. Is this what you mean?
Wiggman laser eye beats these fancy machines.
Ed: autocorrect thought spog was spot
Yep you got it.
 
My 2 c..

Assuming the deck will be exposed to the weather (ie. no verandah above), on the top surface of the bearers and joists put a coat of oil-based primer and a top coat of any old paint you've got lying around (preferably oil-based as well). If the paint is dark coloured you won't see it after the deck is finished. This covering of paint will add years to the life of the deck.
When decks age the first part to rot will be the top edge of the joists, particularly if you use a nail gun to attach the decking boards. Nail guns can cause small cracks in the joists and trhese cracks will hold tiny puddles of water which starts rot beneath the surface. Better to pre-drill nail holes and hammer nails in by hand (hammer the nails in through a piece of old lino with a hole in it to protect the boards from hammer-strike dents). Sitting water in cracks and even just on top of the joists will eventually cause rot. The fasteners will then get loose and board ends will start poping up causing a trip hazard (and 'ouch!' if you walk bare foot on a raised nail or screw).

Also, when you pour the concrete into the post holes, try and leave a raised cone of concrete going up the stirup rod. The concrete will naturally want to slump down and form a dish-shaped depression around the stirup which will hold water. You really should try and get rain water to drain away from the stirup. You'll then get max life out of the zinc coating.
 
Dont forget deck maintenance

https://www.youtube.com/watch?v=t3A68fJS57Q
 
Looking good.

As Feldon suggests, painting the tops of the joists and bearers is a good idea to slow water damage or you could use the 'protectadeck' pvc stuff, although it's a little exxy. Painting the whole substructure is worth it if you plan on staying long term as it helps protect from water damage, and also from cracking.

Before you attach the boards, think about how you're going to stop pests from getting under the deck as rats, mice and other critters will think it's a great place for a dry nest and it's a bugger to get them out and keep them out once the deck is finished.

To fix the boards on the last deck I built, I used the Camo system of hidden screws, which worked really well and was much quicker and neater than previous attempts (well all 2 of them).

Just my 2c.
 
Understood Feldon, I'm tossing up between painting and using the Protectordeck which looks to be a more sturdy option. Unfortunately the paint I have 'lying around' is at the old house in Orange so I'll have to buy something specifically for this. To be honest I might just bite the bullet and get some colour-appropriate paint because I'm spending around $3k on wood, what's another $100 to make it last years longer? I'm planning to screw the decking in using stainless screws.
Already put down the concrete and yes did dome the tops of the posts that will get wet.

I got a few hours on it yesterday and it was a real stuff around with the bearers. I was hoping I could slide the second bearers in but nope, the stirrups wedged them pretty hard and I also discovered that the dimensions of the timber isn't consistent. I ended up having to remove the joists I'd used for levelling which was easier said than done because I'd nailed a framing bracket on the end closest to the house to see how they'd work. They work very well. The nails would not come out with my claw hammer (don't have a nail puller) so it was frustrating. I then chose to bolt in one of the bearers then check the level, which was out by about 4mm on one end. Remove, adjust, re-drill, re-fix. Also working with not-fully-set-concrete I had to be careful how forceful I was.

More salt in the wound was that the 200mm stirrups I got to mount to the concrete ended up being too long. 130mm were too short, next size up too long. Hence I'm going to have to remove one of the bearers which I'd already levelled to notch it out, or otherwise be clever using a circular saw upside down.
 
Adding to Feldons tip on the concrete cone ( which is correct procedure) around the stirrups bung a bead of silicone around the joint of the post/ concrete to stop any water getting in.
As the concrete dries it'll shrink a little and leave a gap around the stem.
As for coating the tops of the bearers if you don't have paint or it's too exxy you could use diesel or sump oil,but don't get it on any surfaces you want to paint or stain.
The smell will go away as will the smell of the decking stain etc .
I've used the diesel/ oil on jobs for farmers who love slapping that **** on anything that doesn't move.
 
I'm a ******* *****.

Loser.jpg

Saw it today by eye when finishing the last of the other bearers, and almost immediately knew what I'd done. Can't believe I let it happen. No I have two concreted posts to dig up but what's worse is they were concreted on top of the rainwater pipe. I'm thinking I might have to get a demolition hammer and take out the top 2/3 of the concrete then put 2 new stirrups on top. Holy **** what a stuffaround to what has otherwise been a smooth job.
 
Yep, I'm afraid the dog puts forward a strong argument.
[emoji185]
Commiserations.

Just think how much you're saving on a gym membership with all this extra work.
[emoji185]
 
TheWiggman said:
I'm a ******* *****.

attachicon.gif
Loser.jpg

Saw it today by eye when finishing the last of the other bearers, and almost immediately knew what I'd done. Can't believe I let it happen. No I have two concreted posts to dig up but what's worse is they were concreted on top of the rainwater pipe. I'm thinking I might have to get a demolition hammer and take out the top 2/3 of the concrete then put 2 new stirrups on top. Holy **** what a stuffaround to what has otherwise been a smooth job.
Told ya to use the Uni Piers..(folds arms, shakes head..)
 
probably not a bad time to hit the re-set button and look at everything and try to see it all unfolding in your head to the finished product.

We used that corrugated drainage pipe for our exposed deck and dug drainage slopes away from the house between the stumps.
My gaps on the first deck floor were used with nails but if you have a curly bit of wood and clamp it all in tight against your last fixed piece the wood can compress on the nail and the gao is not the same anymore. On the second deck I used 4 or 5mm packing that comes in strips and I used that to gap my second deck which was much more betterer
I also sloped the deck away from the house ever so slightly so if for some reason a heap of water was on it, it would drain away instead of towards the house.

I would say imagine it when it is finished and work your way back and it doesn't hurt to have a second pair of eyes.

Also it is important to take some drop point measurements from walls so that when you span a 3rd of the way across with your decking you can check that you are still square. Your house looks new, both my decks and flooring have been on old houses and they cannot be relied on to be square.

Spanning the deck flooring in a nice staggered way especially around the entrances is important too. You want the entrance points to be your best work.
 
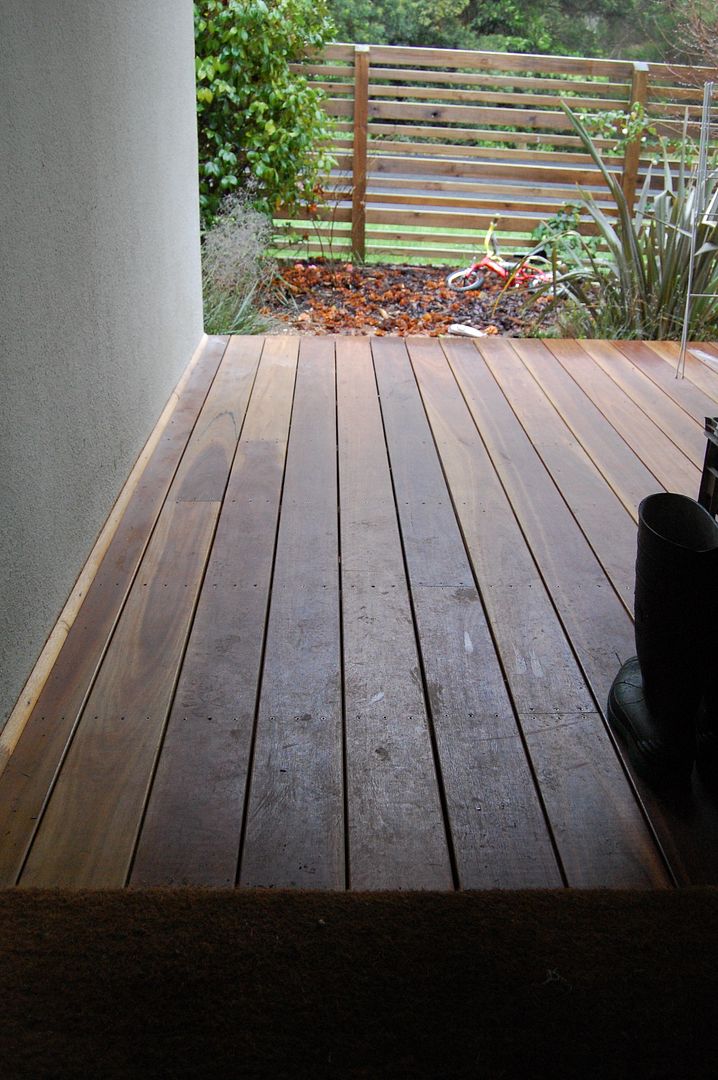
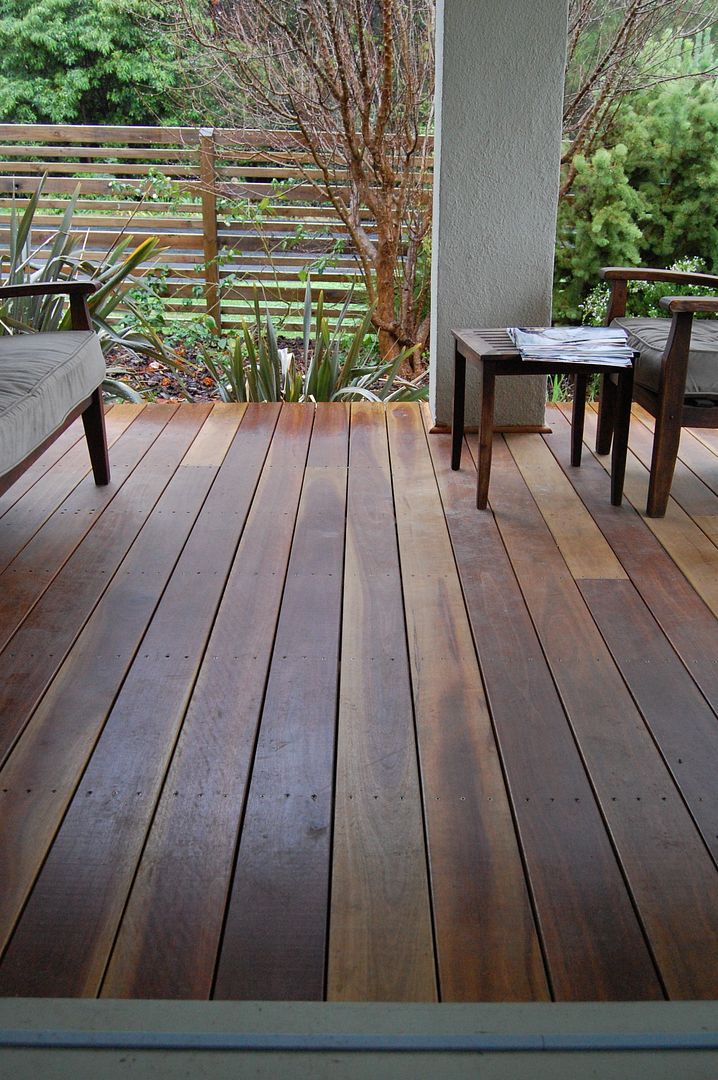
You can see here at both entrances I kept some full spans for the middle of my entrance points. They were also temporarily fastened to become reference points for making sure everything was square as I went along.

The point of these couple of posts is to say if you have these thoughts in the back of your mind and work backwards there'll be less chance of literally taking backwards steps during the build.

front door

double door entrance from lounge
 
Technically, you're also supposed to extend that gully (the pipe with the grate on it sticking up next to the downpipe) beyond the deck so it can be accessed if the line chokes. Looks as though its currently charged by the TPR valve coming off the hot water heater, so that would need to be extended also. Or not.
Just to ad to your woes.
You're welcome.
 
Certainly have worked backwards Droid but in this case just didn't think and screwed on the wrong side of the wood. The end post is out by 5mm because I measured from the wall to the end of the temporary bearer (which was oversize) and of course measured to what I thought was the 'centre' (i.e. outside) of the bearer at the time making the whole lot tapered by 45mm (wood thickness). Otherwise I was considering widening the walkway by 45mm, put one of the bearer beams on the post to the left of the pic, and then concreting an addition stirrup next to it. Can't though because of the taper.
Technically I could just whack on the joists and be done with it but it's too far out. I'm going to have to dig them both up, my OCD won't allow it to be out. Lord help me if I damage one of the stormwater pipes, as I may well lose my **** entirely.
Point taken Dave. I'm going to screw the deck on so will have the gully easily accessible. It's next to a downpipe anyway so if I made this a 'no step' area or had a lift-able cover it's not going to be intrusive. It's from the evaporative AC.
 
wiggy is your final deck height the same as your interior floor?
 

Latest posts

Back
Top