


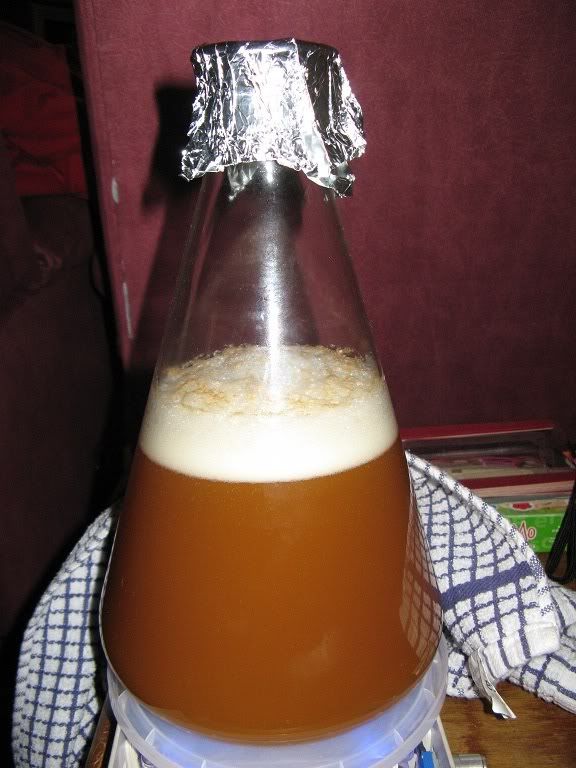
A yeast-Starter is a small volume of wort used to increase yeast health and to grow yeast cells before pitching.
Please do not be put-off by the fact it took me 3 posts to explain the utterly simple procedure of making a yeast-starter (just read the bold bits and look at the pictures if you like). All it is is a small quantity of wort that is used to grow liquid yeast and increase the yeast health before pitching. If you can make beer you can make a starter, in some ways a starter is even easier than brewing good beer at home.
You do NOT need to use a starter if you are using dry-yeast, starters are only useful for liquid yeasts and then only if you need to increase the yeast health or cell count. If you have newly-manufactured packs of yeast, they should be good to pitch into 5US gallons of standard gravity wort, if you have more wort, higher gravity wort, if your yeast pack is more than a week or two old, or if you are growing yeast from a slant/slope or from bottle-harvested yeast, a starter can be very useful or even essential.
The usual size for a (Ale) starter is 1L to 2L.
If you are making a starter from a packet of freshly opened and recently manufactured pack of commercial liquid yeast the MrMalty calculator or the Wyeast version will give a very good indication of what is required.
The gravity for a starter should be between 1.030 to 1.040, if your yeast is old and tired a lower gravity can help, even if you are making a high-strength beer, the starter gravity should still be within this range.
A starter should be made from malt (or malt-extract) do not use sugar or other adjuncts, where possible keep the starter wort similar to that of the beer you will pitch the yeast into. Starters do not need to have hops added, you can add hops, or use pre-hopped wort, but it is not essential or even that useful.
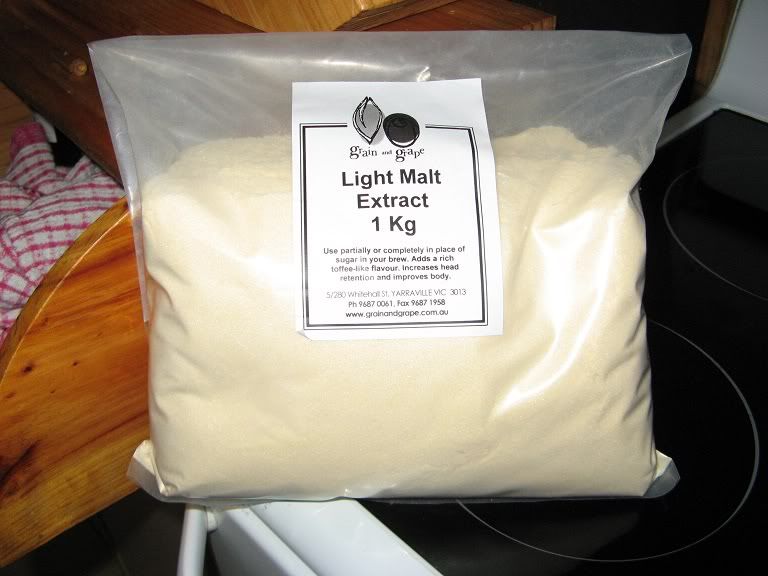
Most often starters are made from DME.
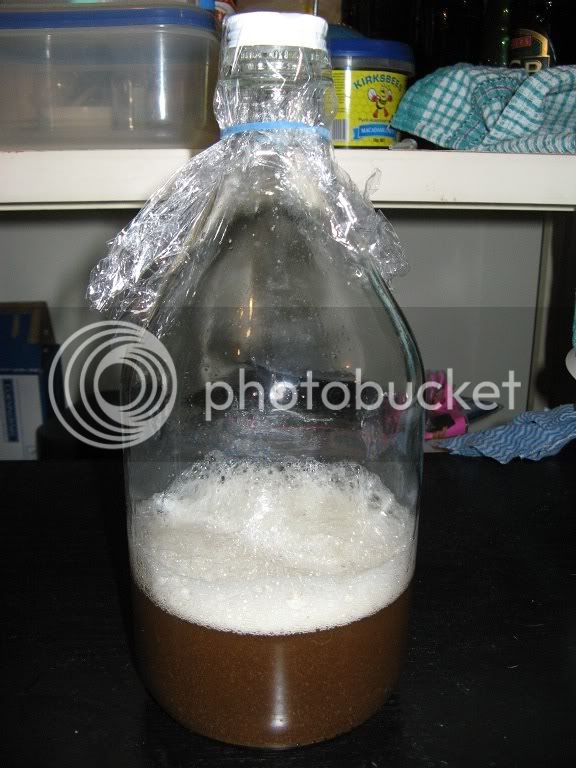
Mixing LDME at the rate of 100g per 1L water will give the required gravity.
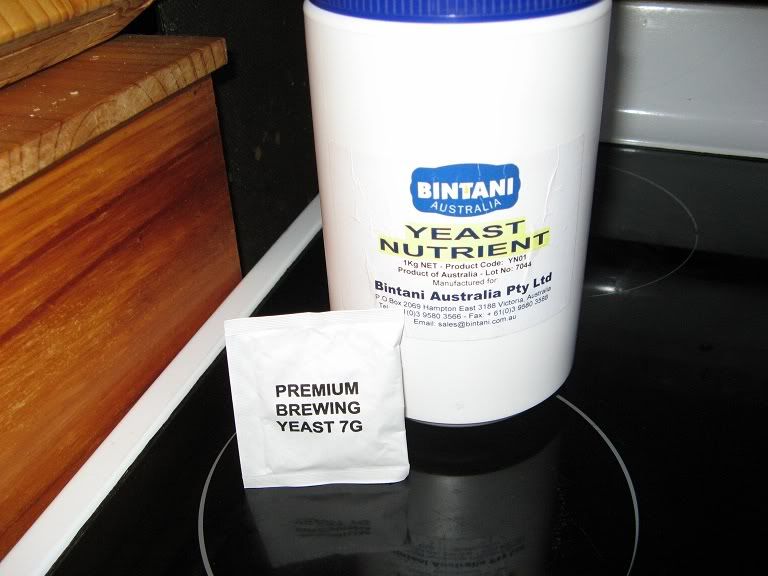
If you have it, add a pinch of yeast-nutrient or a pinch of old yeast (that will be boiled and turned into nutrients for your yeast):
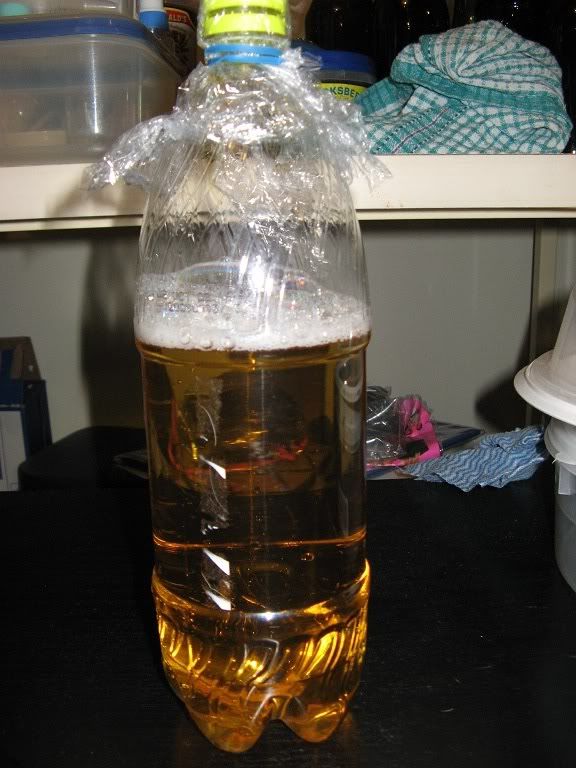
Liquid malt extract, even out dated tins of hopped extract also makes a good starter, however you do need to learn how much to use:
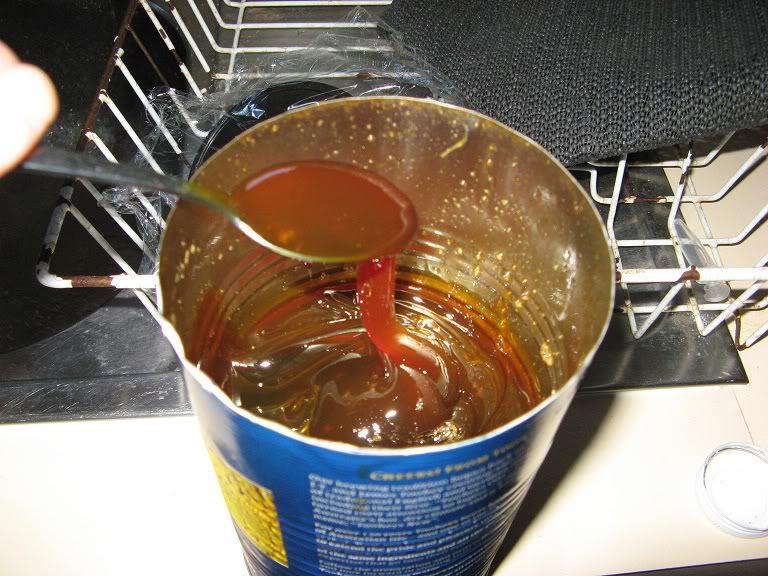
(I find that about 2 heaped teaspoons is a good quantity to use)
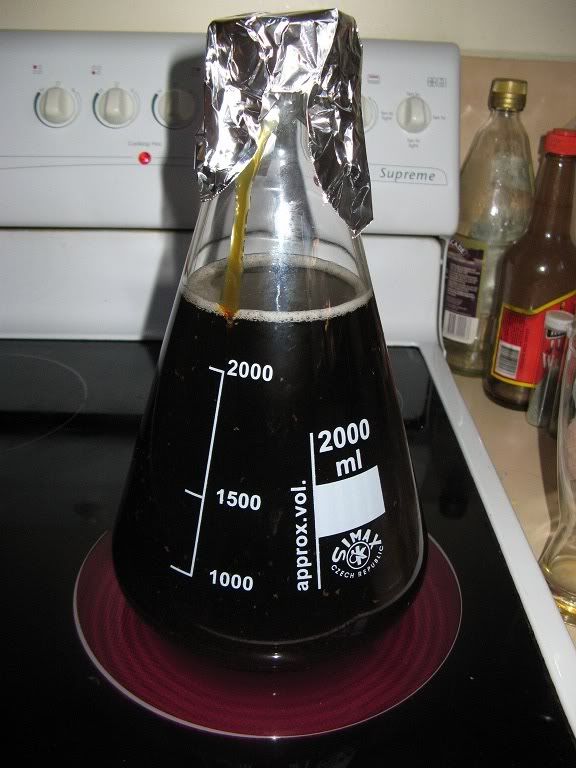
If you brew all-grain, you can save the last runnings from the mash-tun, then boil them down in a saucepan to give the required gravity.
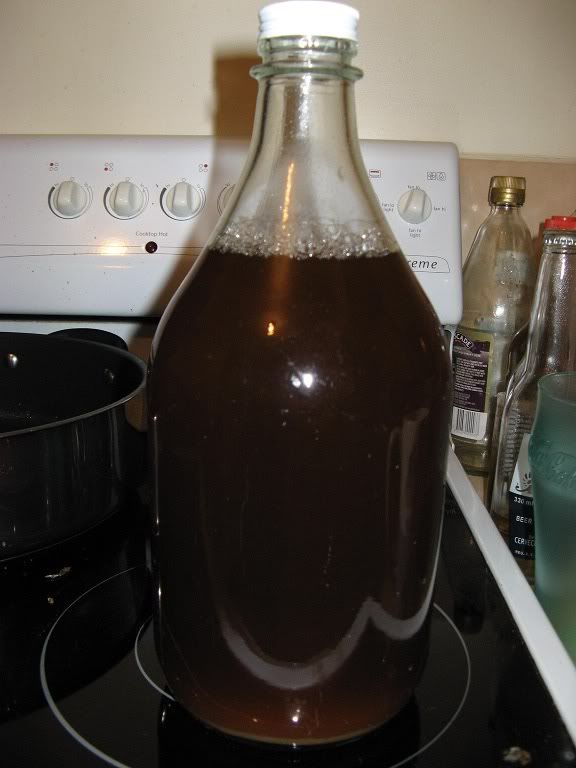
After cooling, let the break settle out and decant the clear wort into your starter container:
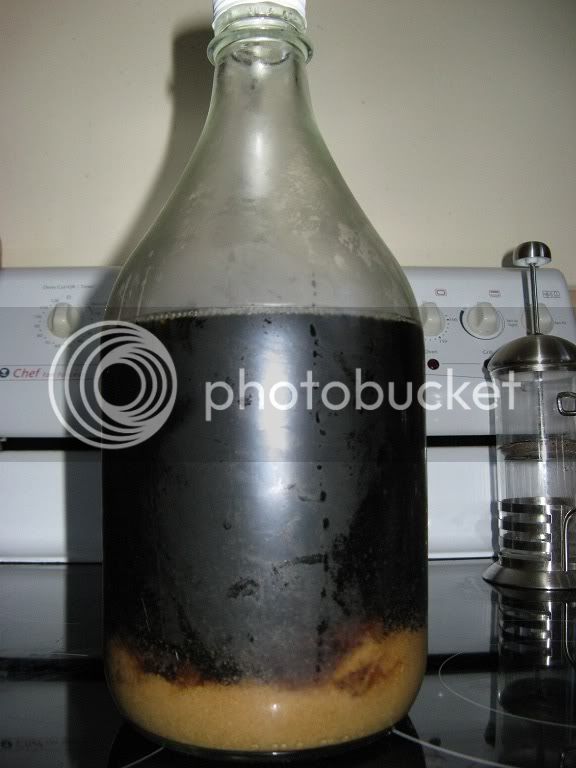
Or you can collect the residual wort (and hops and break material) from the bottom of the kettle after boil.
Let it sit for a while so the break and hop debris settle out and then decant the clear wort, before adjusting to the required gravity:
Please do not be put-off by the fact it took me 3 posts to explain the utterly simple procedure of making a yeast-starter (just read the bold bits and look at the pictures if you like). All it is is a small quantity of wort that is used to grow liquid yeast and increase the yeast health before pitching. If you can make beer you can make a starter, in some ways a starter is even easier than brewing good beer at home.
You do NOT need to use a starter if you are using dry-yeast, starters are only useful for liquid yeasts and then only if you need to increase the yeast health or cell count. If you have newly-manufactured packs of yeast, they should be good to pitch into 5US gallons of standard gravity wort, if you have more wort, higher gravity wort, if your yeast pack is more than a week or two old, or if you are growing yeast from a slant/slope or from bottle-harvested yeast, a starter can be very useful or even essential.
The usual size for a (Ale) starter is 1L to 2L.
If you are making a starter from a packet of freshly opened and recently manufactured pack of commercial liquid yeast the MrMalty calculator or the Wyeast version will give a very good indication of what is required.
The gravity for a starter should be between 1.030 to 1.040, if your yeast is old and tired a lower gravity can help, even if you are making a high-strength beer, the starter gravity should still be within this range.
A starter should be made from malt (or malt-extract) do not use sugar or other adjuncts, where possible keep the starter wort similar to that of the beer you will pitch the yeast into. Starters do not need to have hops added, you can add hops, or use pre-hopped wort, but it is not essential or even that useful.
Most often starters are made from DME.
Mixing LDME at the rate of 100g per 1L water will give the required gravity.
If you have it, add a pinch of yeast-nutrient or a pinch of old yeast (that will be boiled and turned into nutrients for your yeast):
Liquid malt extract, even out dated tins of hopped extract also makes a good starter, however you do need to learn how much to use:
(I find that about 2 heaped teaspoons is a good quantity to use)
If you brew all-grain, you can save the last runnings from the mash-tun, then boil them down in a saucepan to give the required gravity.
After cooling, let the break settle out and decant the clear wort into your starter container:
Or you can collect the residual wort (and hops and break material) from the bottom of the kettle after boil.
Let it sit for a while so the break and hop debris settle out and then decant the clear wort, before adjusting to the required gravity:
")