Unfortunately the other drinkers in my bar are far from being swimsuit models, unless of course the swimsuit shot calls for hairy beergutted men in boardshorts.
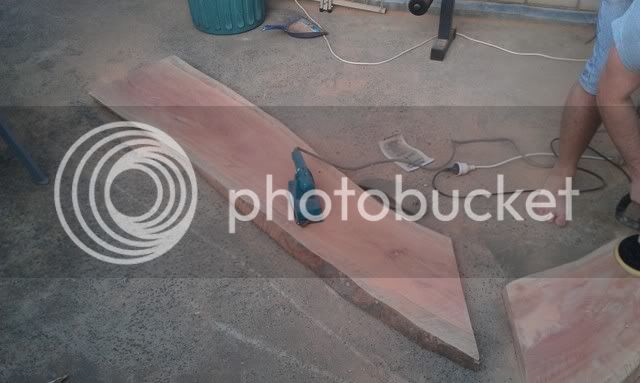
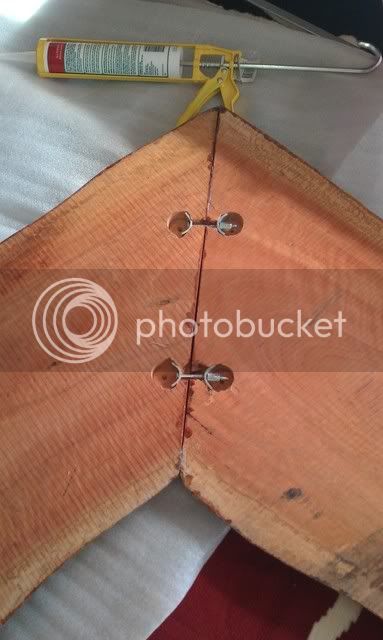
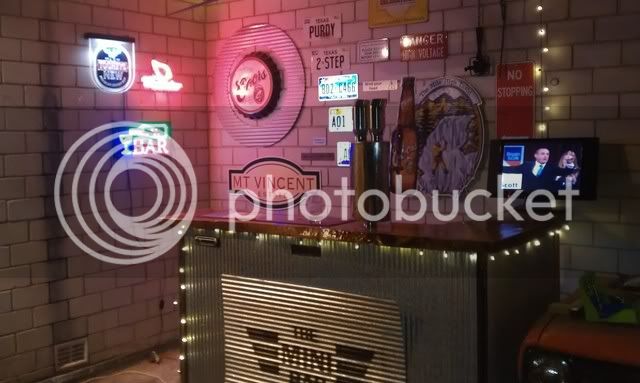
Sorry ive been a bit slack over the past week, I decided to redo the bar top while I was at the rest of my bar reno's.
Here is a quick sneak peak of my progress, I hope to finish over the weekend and hopefully have a few more detailed pics for you then.
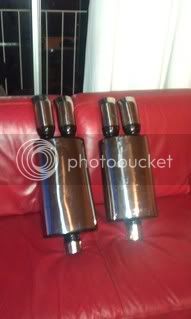
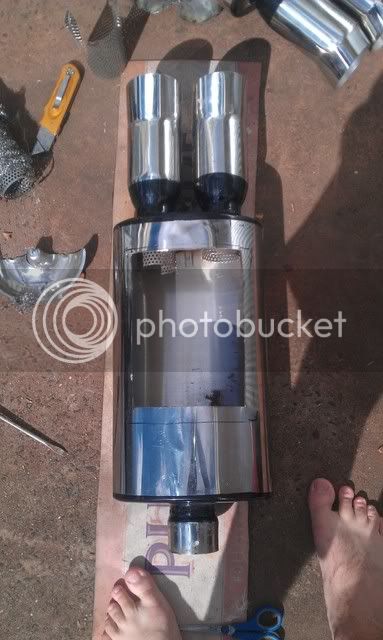
Right with that all done I figured its time to chop the can up. So take your two exhausts and cut two panels out of each. One slightly bigger than the other. Discard the can with the larger hole and the smaller cut panel. On the can with the bigger hole, gut the inside including all baffling and be careful of the fibreglass. The baffling tubes may or may not require cutting (mine did). Make as big a mess as possible.
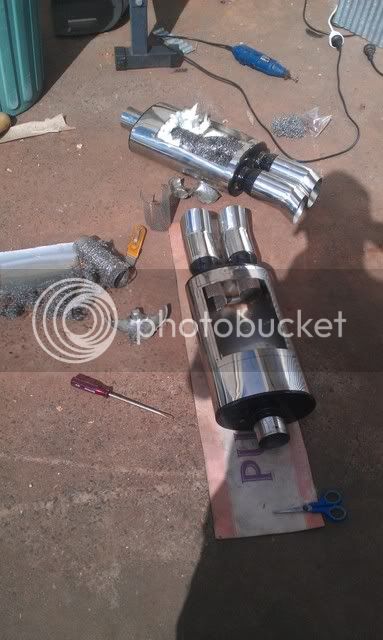
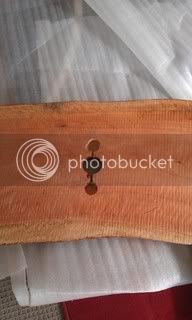
Now sand down the edges of your panel and then line it up with the exhaust and cut four holes in each corner of both the exhaust and panel for your rivets to go through.
Obviously don't rivet it yet as you still need a few 24cm holes in place for your taps to go though. (not easy finding a tool to do that in stainless steel...)
Stay tuned for part two tomorrow which will involve drilling the above mentioned holes, polishing, insulating, adding beer lines and mounting to the bar.
note: i have used the above method so as to reduce any stainless steel welding, i figured my method would mean easier access to the tower in future aswell.
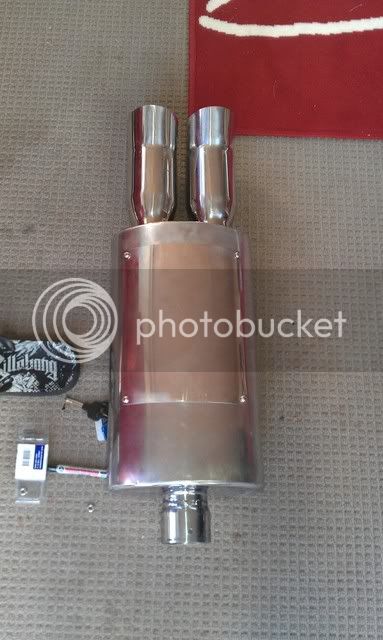
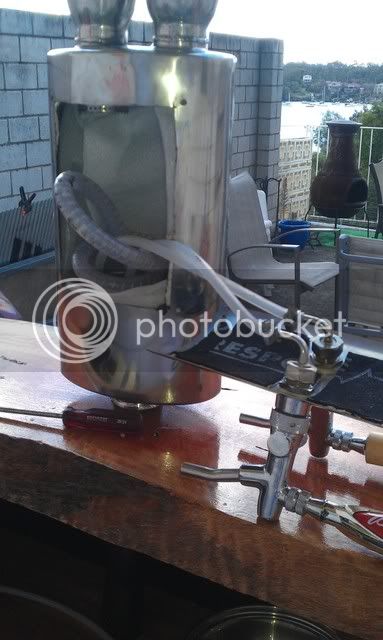
Then connected up the two pieces with a bit of silicon between,
I decided also to keep the exhaust in place with the same bench top connectors
Then it was just a matter of adding insulation, tower cooling and beer lines
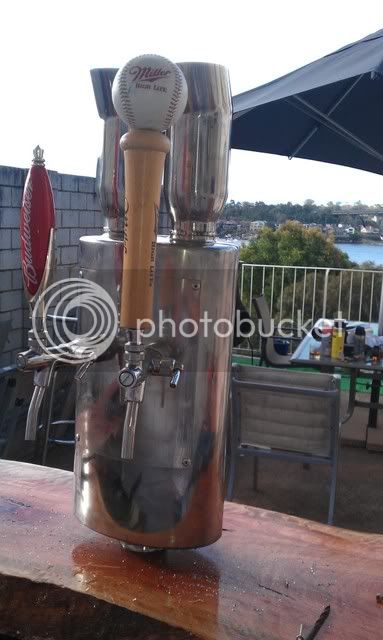
Rivet it all up...
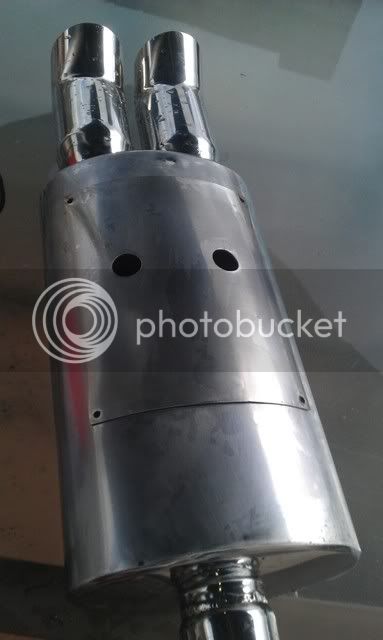
Make sure you do the nuts on the taps properly, I realised I hadnt done this only after I had rivetted it all. Note also that the taps are temporary and will be replaced with gear shifters when I purchase them.
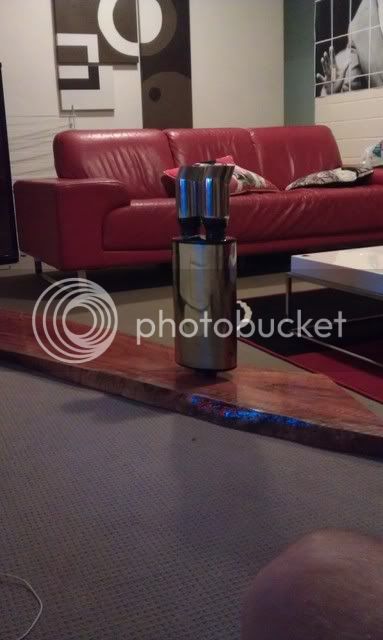
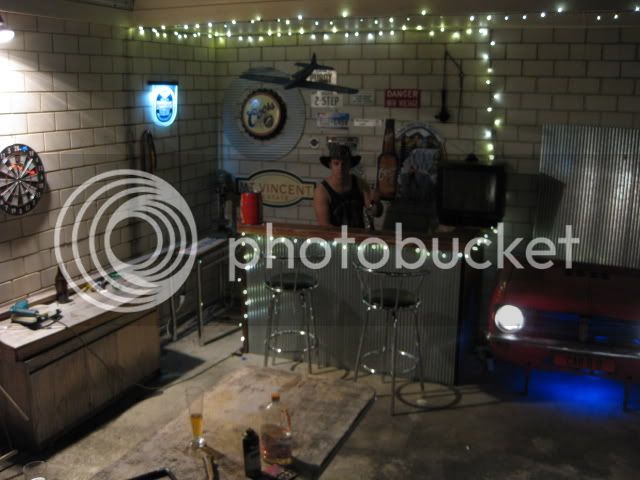
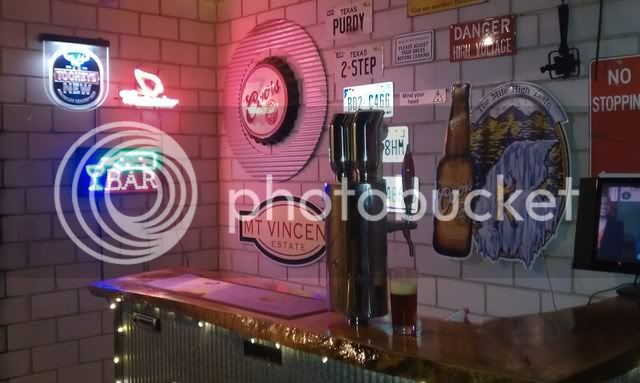
And here is an idea of how the finished product looks, obviously I have a lot more to add to the bar itself..
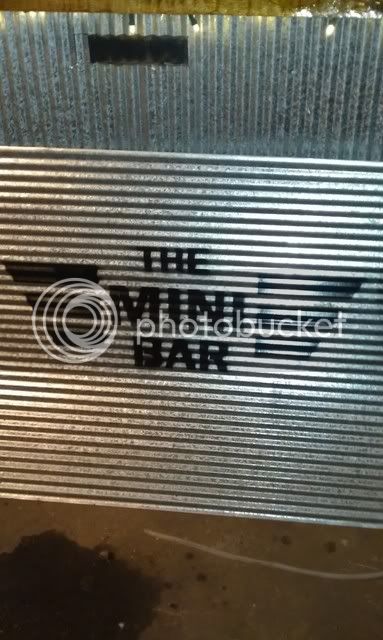
The next job is to cut out the sign so it can be backlit.