


Tony
Quality over Quantity
- Joined
- 26/4/04
- Messages
- 7,168
- Reaction score
- 276
There has been a lot of discussion and questions asked on the chat, and in PM's to me on how to corectly split a smack pack to get better value for money. I dont believe there is a "corect" way to split a smack pack. I have tried all sorts of different methods ranging from keeping yeast in jam jars form the first batch, to stubbies, to just pitching it all and reusing over and over but non gave me reliable results.
I now follow this simple process and only ever use virgin yeast to brew with. I get 4 batches out of a smack pack so that about $3 in 50 liters........... but if you re pitched you could double or tripple this....... but im not that poor yet so i will stick with virgin yeast!
First up i will give a description of how i get my starters.
When i finnish sparging and the flow stops running........ it still trickles out slowly for half an hout as the wort held by the grain seperates. MOst people throw this out but i let it dribble slowly as the brew boils into a pot and i usually get 2 liters after an hour or so. I either boil this down immediatly in the below sequence, or pour it in a very strong 2 liter plastic bottle (vinigar bottles are best... cordial bottles split) and freeze it untill needed.
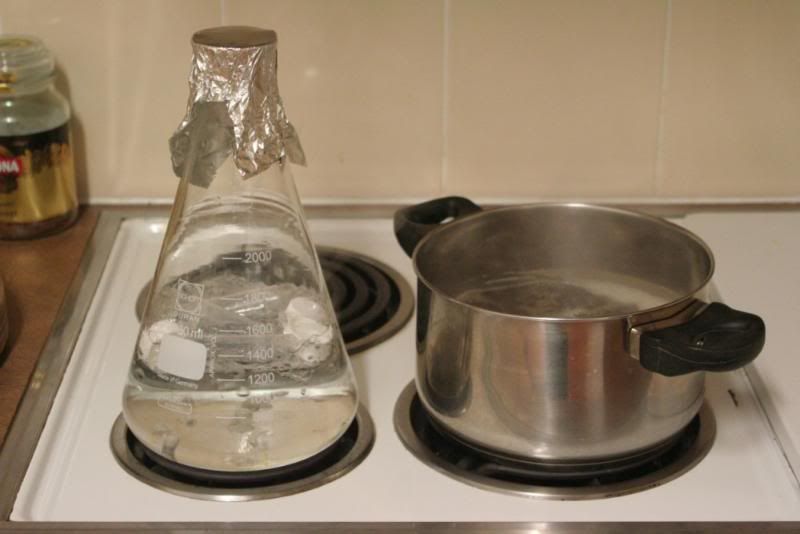
Now........ as the 2 liter starter boils, i add a liter or so of water to a 2 liter flask and chuck in 3 x 30ml test tubes.
Link: http://www.proscitech.com.au/cataloguex/online.asp?page=l9
Part number: LS22-30 (about half way down the page)
Heat is the best steraliser you can get as far as im concerned and for long term storage.... you want it clean as you can get it!
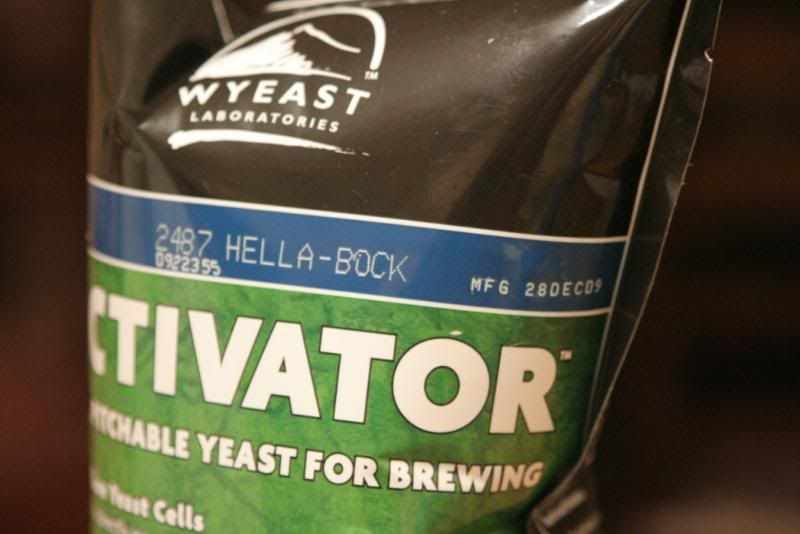
I make sure the smack pack is fully swolen and fermented. If its not you gound end up with 30 Ml yeast bungers in the fridge! This pack was 6 months old and took 4 or 5 days to swell right up at room temp. Definatley needs a starter.
I boil the starter down to about 2/3 origional volume and let the flask... covered with a bit of doubled over tin foil, simmer for 10 min. Chill the starter wort in the sink full or cold water and leave the hot water to stand in the flask as you do this. make sure you leave the foil on, this will be your airlock. It lets gas out but stops other stuff getting in.
When the wort is cool, i drain the hot water from the flash through a strainer to catch the test tubes. I then pour the cooled wort into the hot flask.... dont use a funnel, just get good at not spilling it, it takes a bit of practice")
I then snip the corner from the swollen smack pack and fill 3 30 ml test tubes and attach the lids......... the rest goes into the starter.
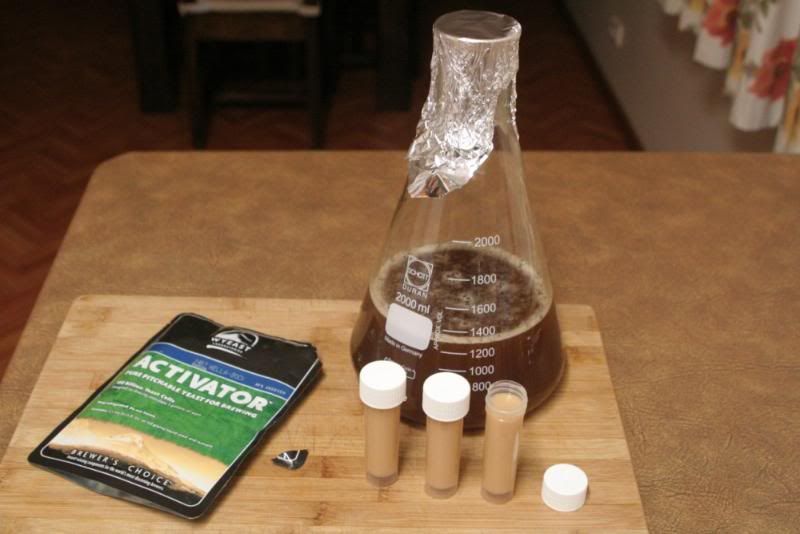
I put the foil cap back on and give it a good swish to airate the wort and ferment it at room temp. i let it go till its done and settles out, tip the starter liquid off the yeast, catching some for a taste test and leaving about 10% of the liquid to swirl the yeast cake with. the taste test is very important.......... NEVER pitch yeast from a starter that tastes sus. It wont taste good but you will know if its infected. If it tastes like weak unhopped beer... a bit fruity ect... its fine, if you go......... on yuck that foul, make another starter. I always keep a backup few packs of dry yeast just in case.
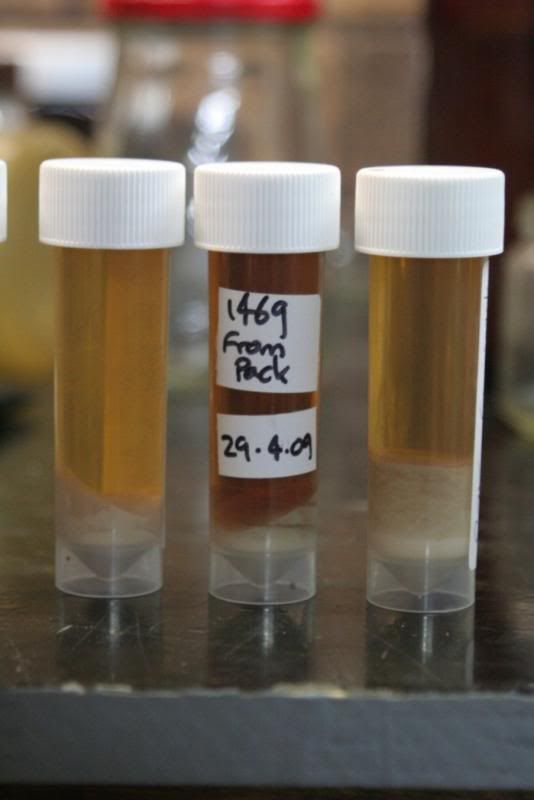
here are the 3 freshly filled tubes (left) and other older ones of varying strains on the right that have settles out in the fridge
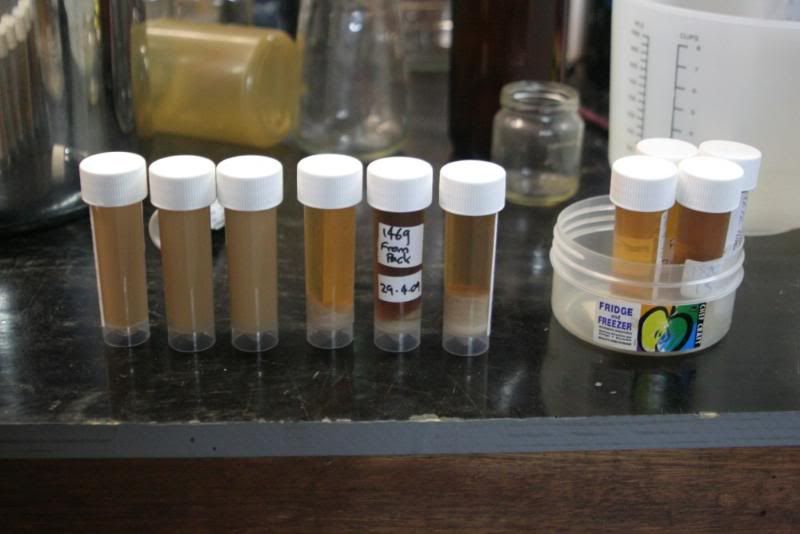
some older tubes..... the 1469 is 14 months old and will be slow to start but will fire no problems.
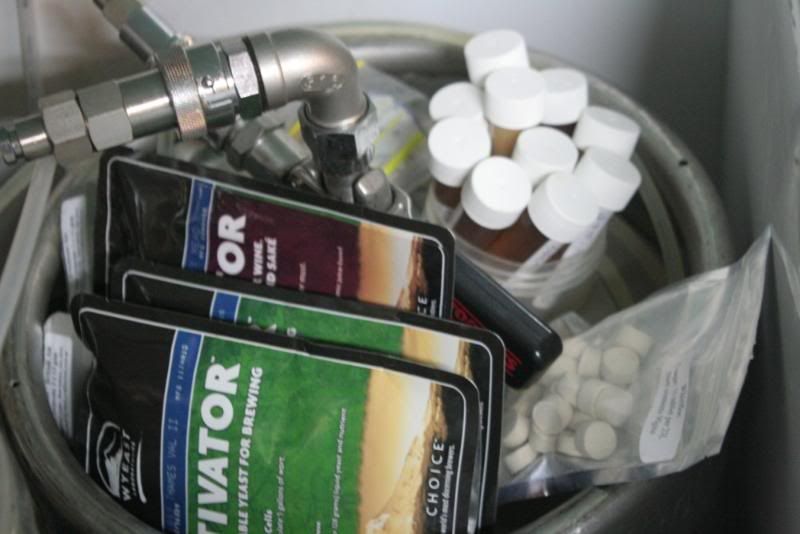
and here is how much room about 5 different yeast strains take up in the fridge....... a lot less than stubbies!
any questions please ask!
cheers
I now follow this simple process and only ever use virgin yeast to brew with. I get 4 batches out of a smack pack so that about $3 in 50 liters........... but if you re pitched you could double or tripple this....... but im not that poor yet so i will stick with virgin yeast!
First up i will give a description of how i get my starters.
When i finnish sparging and the flow stops running........ it still trickles out slowly for half an hout as the wort held by the grain seperates. MOst people throw this out but i let it dribble slowly as the brew boils into a pot and i usually get 2 liters after an hour or so. I either boil this down immediatly in the below sequence, or pour it in a very strong 2 liter plastic bottle (vinigar bottles are best... cordial bottles split) and freeze it untill needed.
Now........ as the 2 liter starter boils, i add a liter or so of water to a 2 liter flask and chuck in 3 x 30ml test tubes.
Link: http://www.proscitech.com.au/cataloguex/online.asp?page=l9
Part number: LS22-30 (about half way down the page)
Heat is the best steraliser you can get as far as im concerned and for long term storage.... you want it clean as you can get it!
I make sure the smack pack is fully swolen and fermented. If its not you gound end up with 30 Ml yeast bungers in the fridge! This pack was 6 months old and took 4 or 5 days to swell right up at room temp. Definatley needs a starter.
I boil the starter down to about 2/3 origional volume and let the flask... covered with a bit of doubled over tin foil, simmer for 10 min. Chill the starter wort in the sink full or cold water and leave the hot water to stand in the flask as you do this. make sure you leave the foil on, this will be your airlock. It lets gas out but stops other stuff getting in.
When the wort is cool, i drain the hot water from the flash through a strainer to catch the test tubes. I then pour the cooled wort into the hot flask.... dont use a funnel, just get good at not spilling it, it takes a bit of practice
I then snip the corner from the swollen smack pack and fill 3 30 ml test tubes and attach the lids......... the rest goes into the starter.
I put the foil cap back on and give it a good swish to airate the wort and ferment it at room temp. i let it go till its done and settles out, tip the starter liquid off the yeast, catching some for a taste test and leaving about 10% of the liquid to swirl the yeast cake with. the taste test is very important.......... NEVER pitch yeast from a starter that tastes sus. It wont taste good but you will know if its infected. If it tastes like weak unhopped beer... a bit fruity ect... its fine, if you go......... on yuck that foul, make another starter. I always keep a backup few packs of dry yeast just in case.
here are the 3 freshly filled tubes (left) and other older ones of varying strains on the right that have settles out in the fridge
some older tubes..... the 1469 is 14 months old and will be slow to start but will fire no problems.
and here is how much room about 5 different yeast strains take up in the fridge....... a lot less than stubbies!
any questions please ask!
cheers