


Khellendros13
Well-Known Member
- Joined
- 25/2/13
- Messages
- 166
- Reaction score
- 22
Hi Guys,
Decided to go the Keezer route instead of buying a Kegerator from Keg King/CB/G&G.
I am going for something similar to this guy: http://billybrew.com/kegerator-collar
Aussie Jarrah stain on the top collar and bottom collar (for casters). Spraying the freezer black.
Planned Features:
* 4 taps, 2x 545CP initially
* 2 piece jacketed collar on top, smaller collar on the bottom with castors
* Aussie Jarrah finish on top and bottom collars
* 4, hopefully 5 Keg capacity
* CO2 outside. Single reg, upgrade to dual eventually.
* Wood stained drip tray
* Gloss black finish on exposed freezer
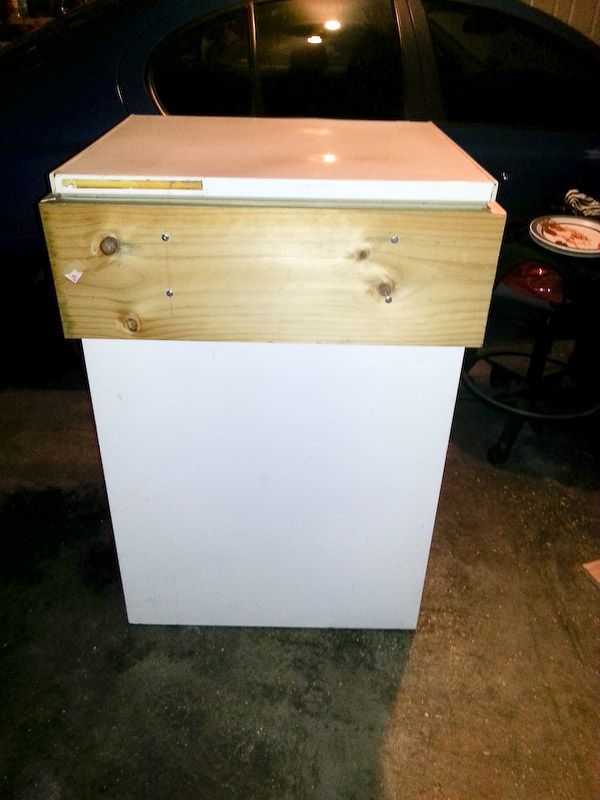
I got the top collar mostly done, just need to drill out the tap holes, gas line hole and temp probe hole, sand it back then stain and varnish.
Couple of pics from last night:
Outer collar
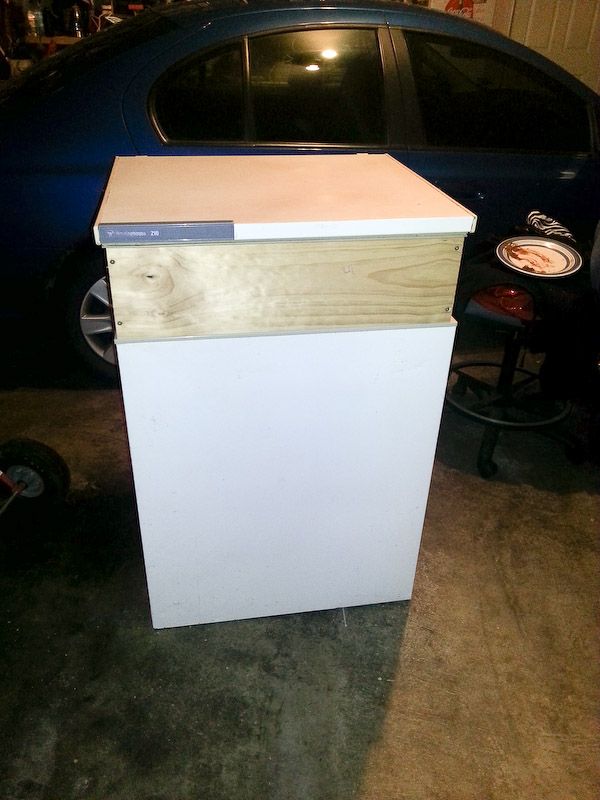
Inner collar
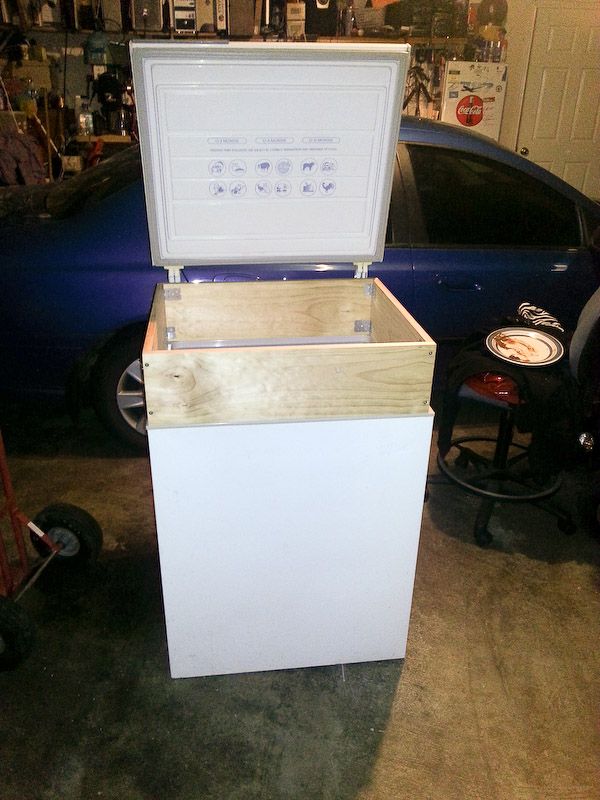
It fits! Don't mind what's left of my meat pies.
Need to do some more work on the collar tonight and hopefully get the first coat of stain and varnish on.
My woodworking skill is pretty basic and poor, so lots of sanding to round the edges...
Decided to go the Keezer route instead of buying a Kegerator from Keg King/CB/G&G.
I am going for something similar to this guy: http://billybrew.com/kegerator-collar
Aussie Jarrah stain on the top collar and bottom collar (for casters). Spraying the freezer black.
Planned Features:
* 4 taps, 2x 545CP initially
* 2 piece jacketed collar on top, smaller collar on the bottom with castors
* Aussie Jarrah finish on top and bottom collars
* 4, hopefully 5 Keg capacity
* CO2 outside. Single reg, upgrade to dual eventually.
* Wood stained drip tray
* Gloss black finish on exposed freezer
I got the top collar mostly done, just need to drill out the tap holes, gas line hole and temp probe hole, sand it back then stain and varnish.
Couple of pics from last night:
Outer collar

Inner collar

It fits! Don't mind what's left of my meat pies.

Need to do some more work on the collar tonight and hopefully get the first coat of stain and varnish on.
My woodworking skill is pretty basic and poor, so lots of sanding to round the edges...


") $4 spindles from hammersmith.com.au, and just trimmed the tops and added the 3" pieces on top.
$4 spindles from hammersmith.com.au, and just trimmed the tops and added the 3" pieces on top.


