iSpindel Digital Hydrometer

Australia & New Zealand Homebrewing Forum

Help Support Australia & New Zealand Homebrewing Forum:

This site may earn a commission from merchant affiliate links, including eBay, Amazon, and others.
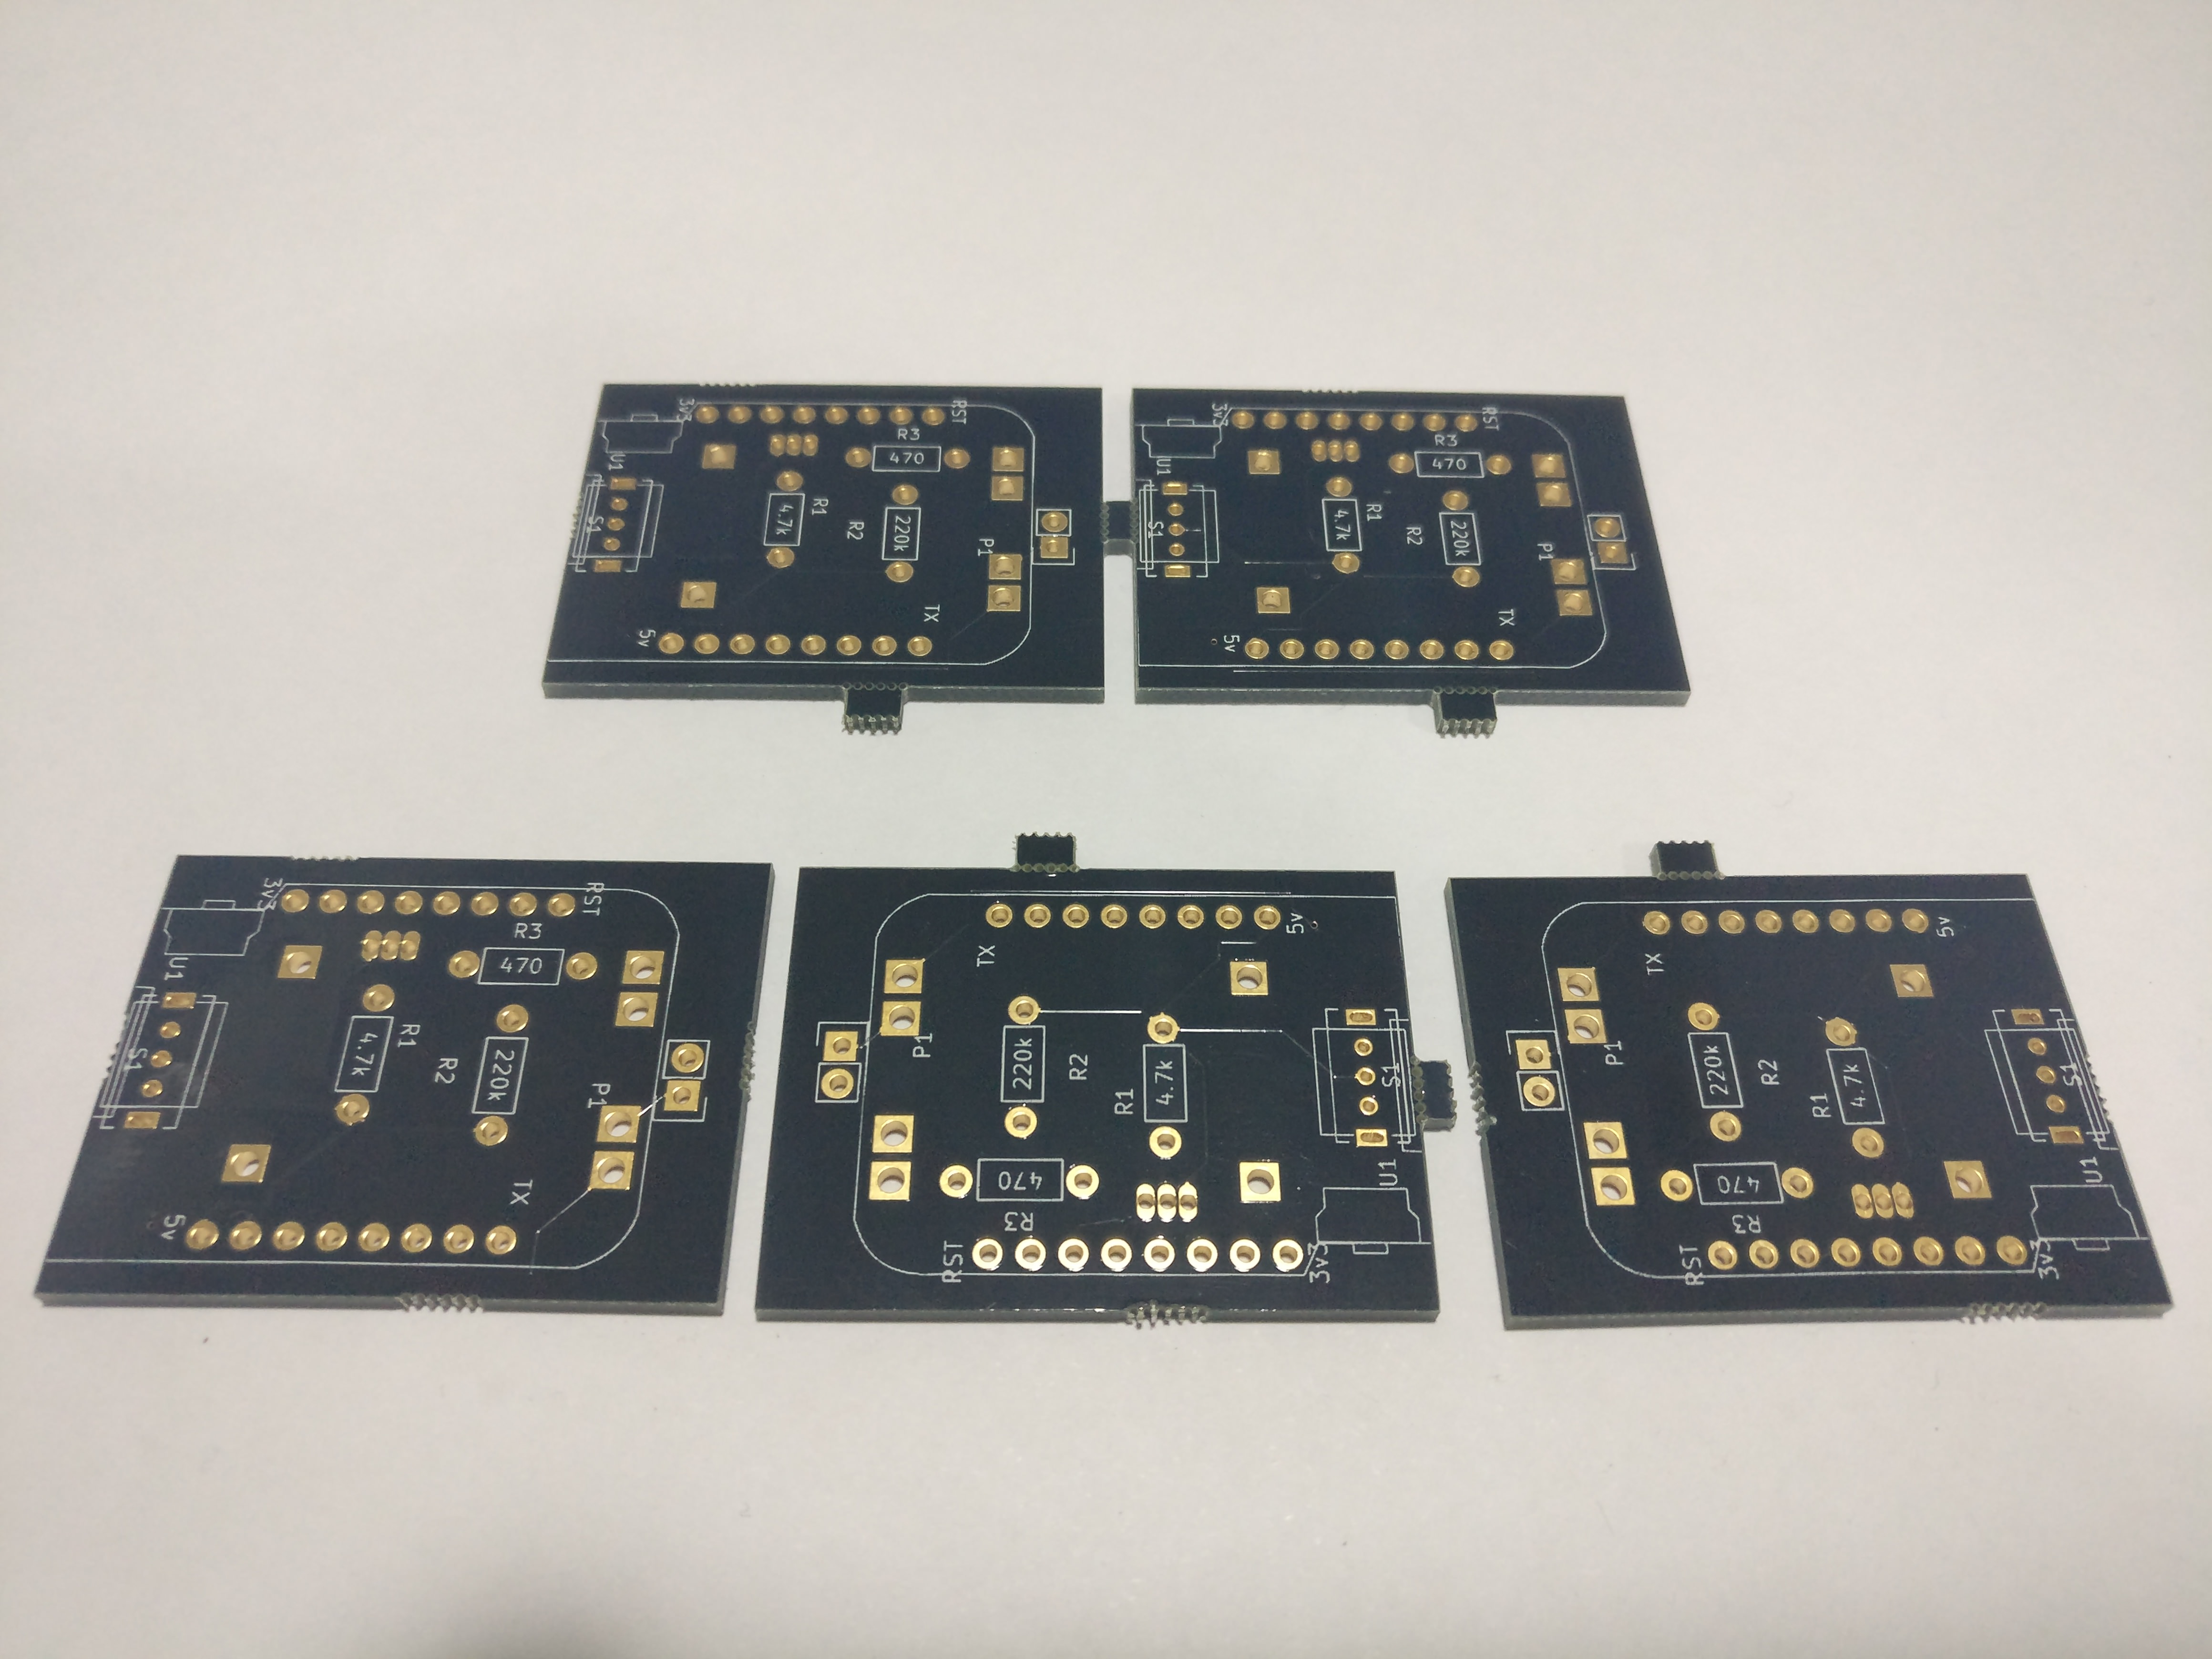
Well after lots of help from the iSpindel team, I finally got it sorted. The biggest headache I had was having to use a larger switch that meant redesigning the layout. But she's calibrated, charged up & pumping out data to ubidots. Time for a sherbet

I took someone's advice on this thread & bought spares, so there's a primary & 2 secondaries in the pic

View attachment 106916

Looks great - what weight did you use and where did you get it

Thanks
Peter
 
Those solder points are bloody close together! I've decided to hold off till I can get a magnifying glass thingamyjig to help with the soldering job.
 
I got the boards from the website. Still need some time to collect all the pieces from the drawer for soldering but the boards look good and well manufactured.

RXbzCrV.jpg
 
Last edited:
Hello visit our new Online Monitor.beer that makes it easy for home brewers to get graphical display of the fermentation process with Tilt hydrometer, Ispindel hydrometer or Plaato hydrometer from anywhere.

Plaato is a running kickstarter: https://www.kickstarter.com/projects/1792157374/plaato-reinventing-the-airlock.

Ispindel is a DIY Hydrometer: http://hackaday.com/2017/03/01/iot-device-pulls-its-weight-in-home-brewing/

On Monitor.beer you will have a full overview throughout the fermentation process wherever you may be. Having full control during fermentation is a must for brewing a fantastic beer.

Here you will find us: https://monitor.beer

Online information during fermentation:

Continuous alcohol%.
Continuous yeast attenuation%.
Continuous fermentation%.
Continuous temperature.
Ongoing SG.
How long sg is stable for days.
Minimum temperature through fermentation.
Average temperature through fermentation.
Maximum temperature through fermentation.
Number of days fermentation.
 
Question for someone who's bought the pcb. What switch did you use? The one I got has the pins pitch too wide (2.5mm)/ pins themselves too thick. It needs a switch that has 2mm pitch on the pins/ 0.5mm pin diameter.
Cheers
Bevan
 
Question for someone who's bought the pcb. What switch did you use? The one I got has the pins pitch too wide (2.5mm)/ pins themselves too thick. It needs a switch that has 2mm pitch on the pins/ 0.5mm pin diameter.
Cheers
Bevan
i just used the cheapest switched i found on ebay, and bridged a connection on the pcb, now im going to need some calibration weights at mine pretty much floats on its side right now
 

Attachments

  • 20170815_114137.jpg
    861.2 KB
  • 20170815_114218.jpg
    20170815_114218.jpg
    708.1 KB
Cool. Still waiting for my boards. How long did yours take to show up ?
 
seems to be no way to check with pcb.io on their website so maybe a bit hit and miss. Tracking says Your item departed our USPS facility in MIAMI FL INTERNATIONAL DISTRIBUTION CENTER on June 25, 2017 at 9:14 pm. The item is currently in transit to the destination.
looks like a donation to the beer gods. Any other board manufacturers used by anyone?

I'd send them an email to

[email protected]

You should have a reference for your order.
 
So I contacted them through [email protected] and they were very prompt and sent out more boards. They said boards should arrive in 7-10 days to Australia as they keep some spare boards as they said they are very popular. Good news for those wanting to get some boards.
 
yeah my boards arrived way before half of my stuff from china. my gyros disappeared in the post somewhere so i paid triple to cost to get another one from an australian supplier
 
Ok I have everything except the temp sensor now. The pcb's are great and look like they will make life easier.

Going to have a crack at soldering this week, can anyone tell me the easiest way to remove the diode on the D1 mini. I dont think I could get to it with an iron without messing it up!
 

Latest posts

Back
Top