


H0U5ECAT
Well-Known Member
- Joined
- 1/5/14
- Messages
- 335
- Reaction score
- 141
Ever since I built my first kegerator, I knew what I had wanted in my head all along.
But space, funds, life got in the way.
Over the past 4 years I've slowly worked towards getting all the pieces together and building it.
Here's the first Keezer I built with the thoughts of grandeur...

I scored the chestie from Gray's for about $300. Brand new with a ding or two in the side.
While on a trip into Melbourne, a guy I found on Gumtree was stripping out his pub and doing a refit.
The Font came in at only $100. It had a few nicks in it from time, but a little filler and primer, then a coat of paint made it look brand new.
The Andale taps I sourced from Ebay for about $25 each I think from memory.
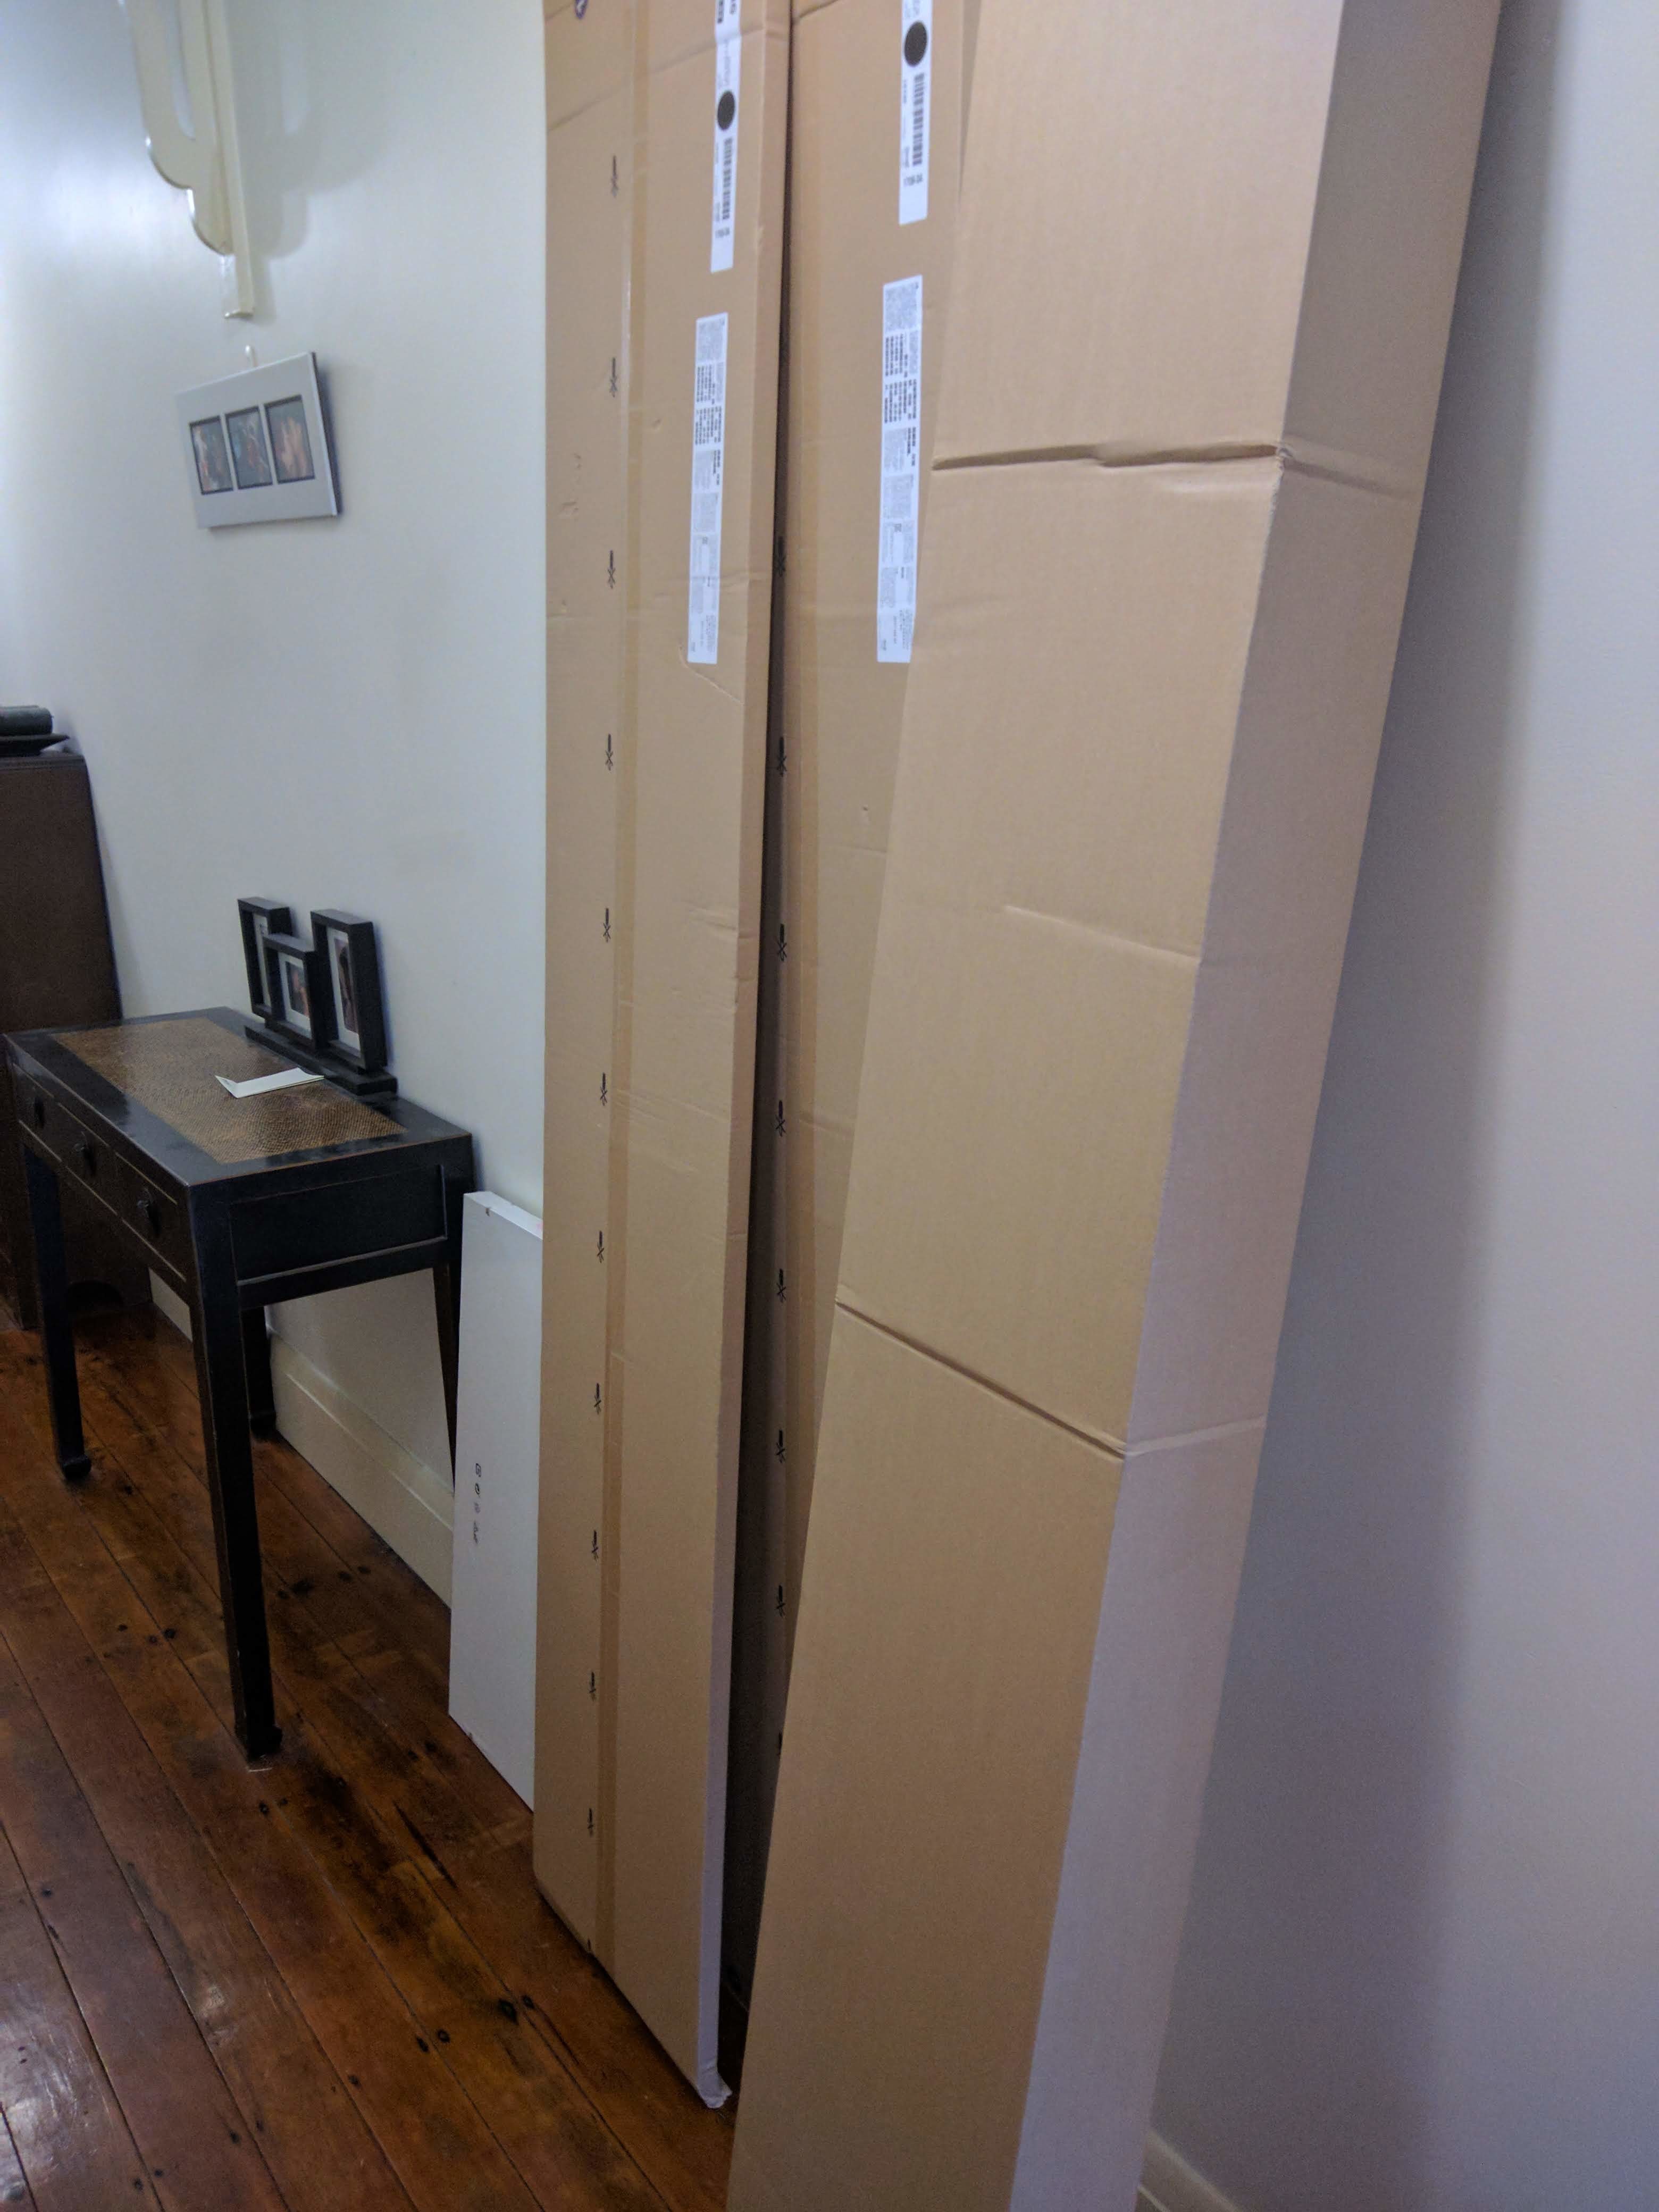
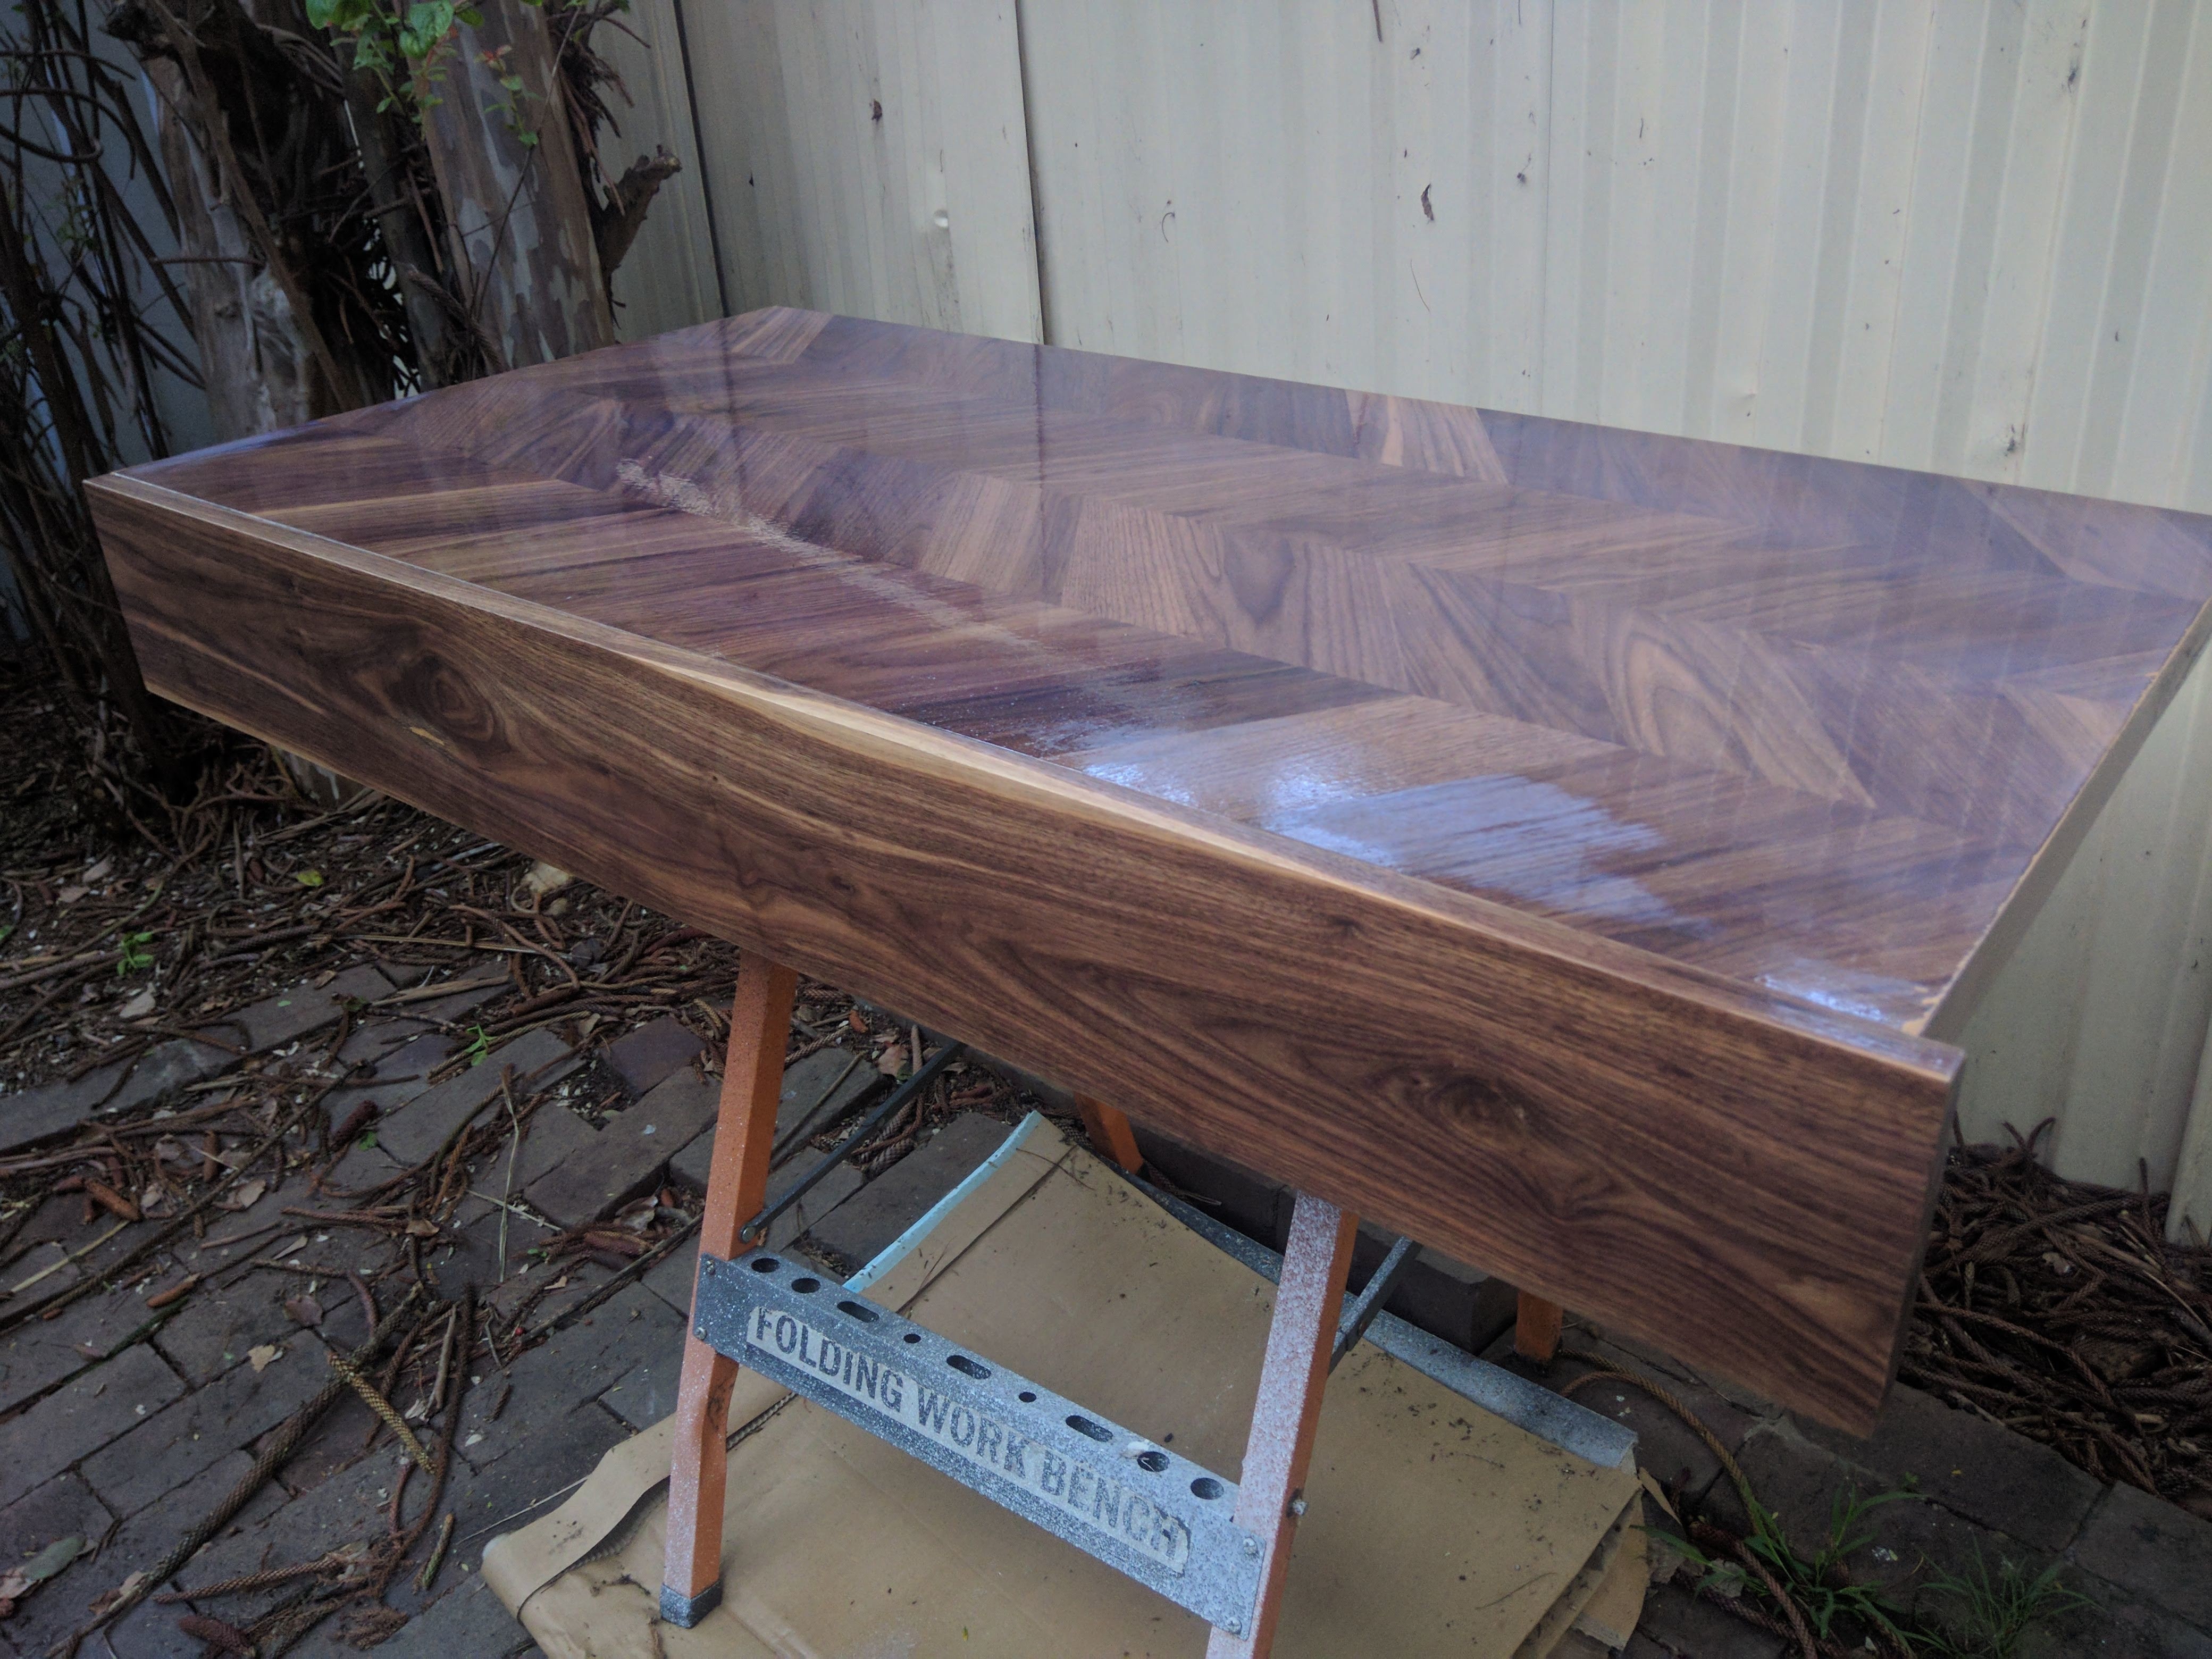
The top was some laminated flooring planks from Bunnings and the trim was done in Teak. the flooring came from a broken pack, so I managed to get the panels for $20.
Then a hard coat of 2pac Estapol to finish it up.
Not bad for the first build.
Then we moved house.
The Keezer could come inside.
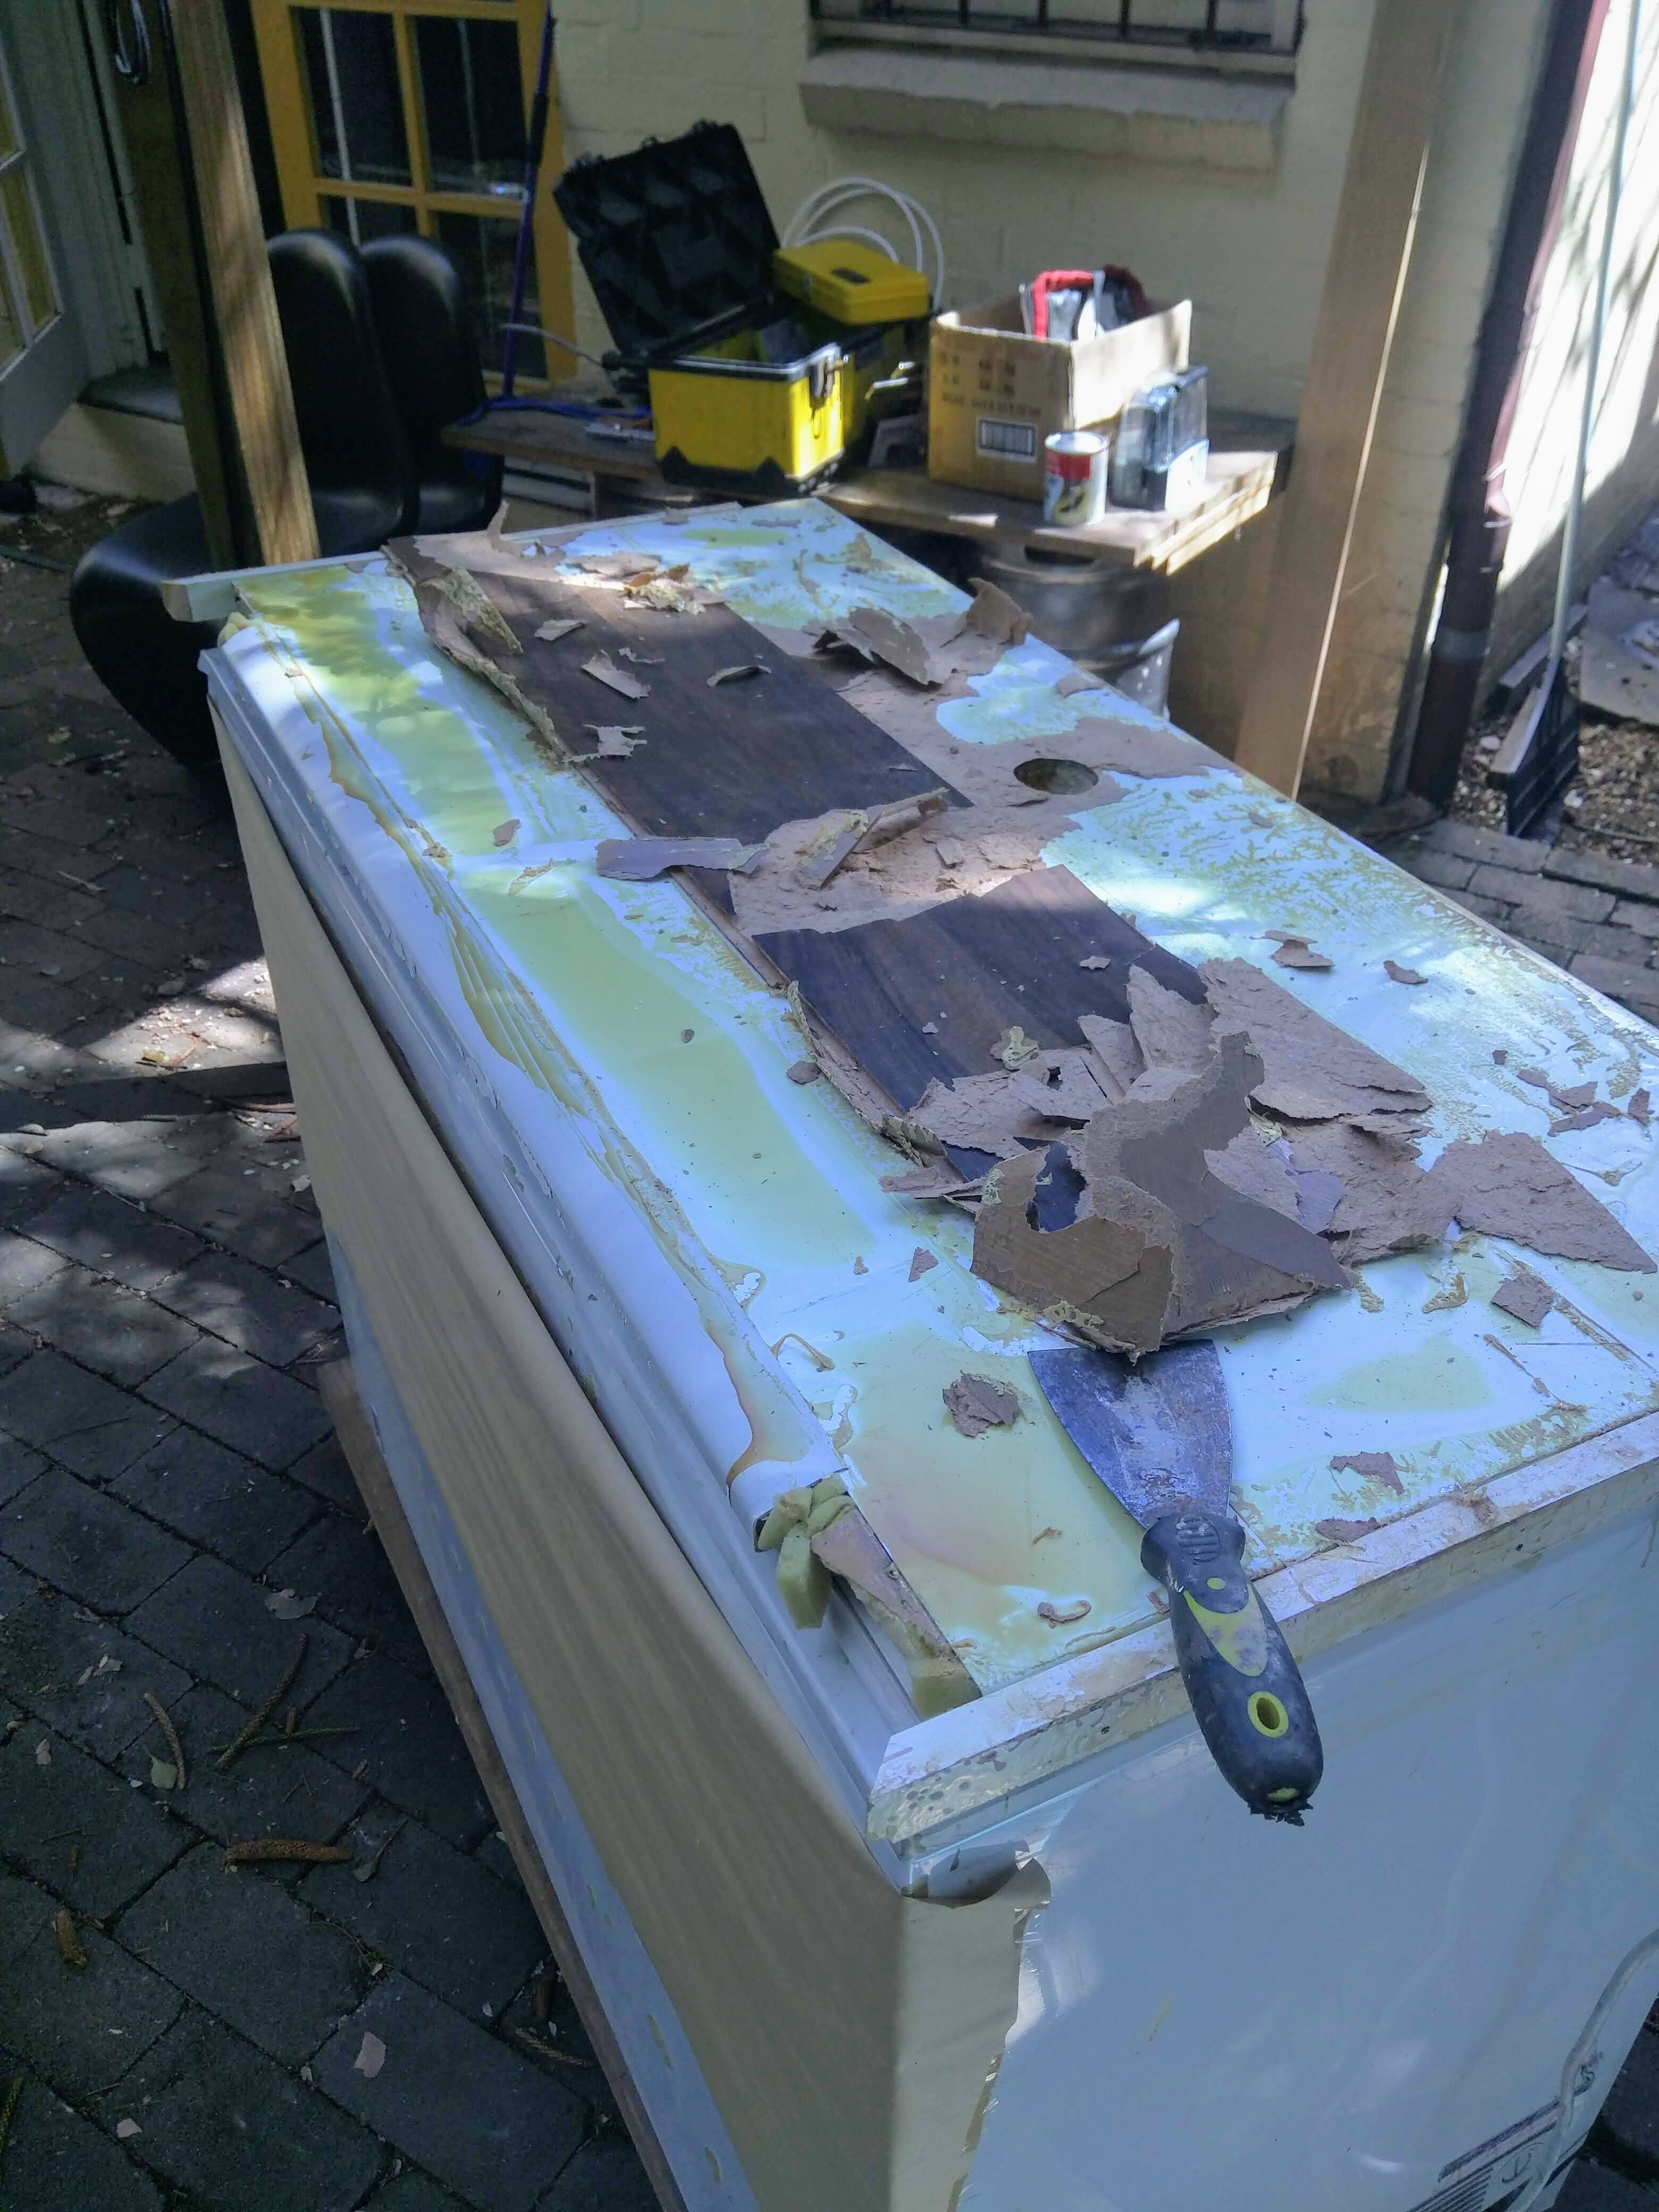
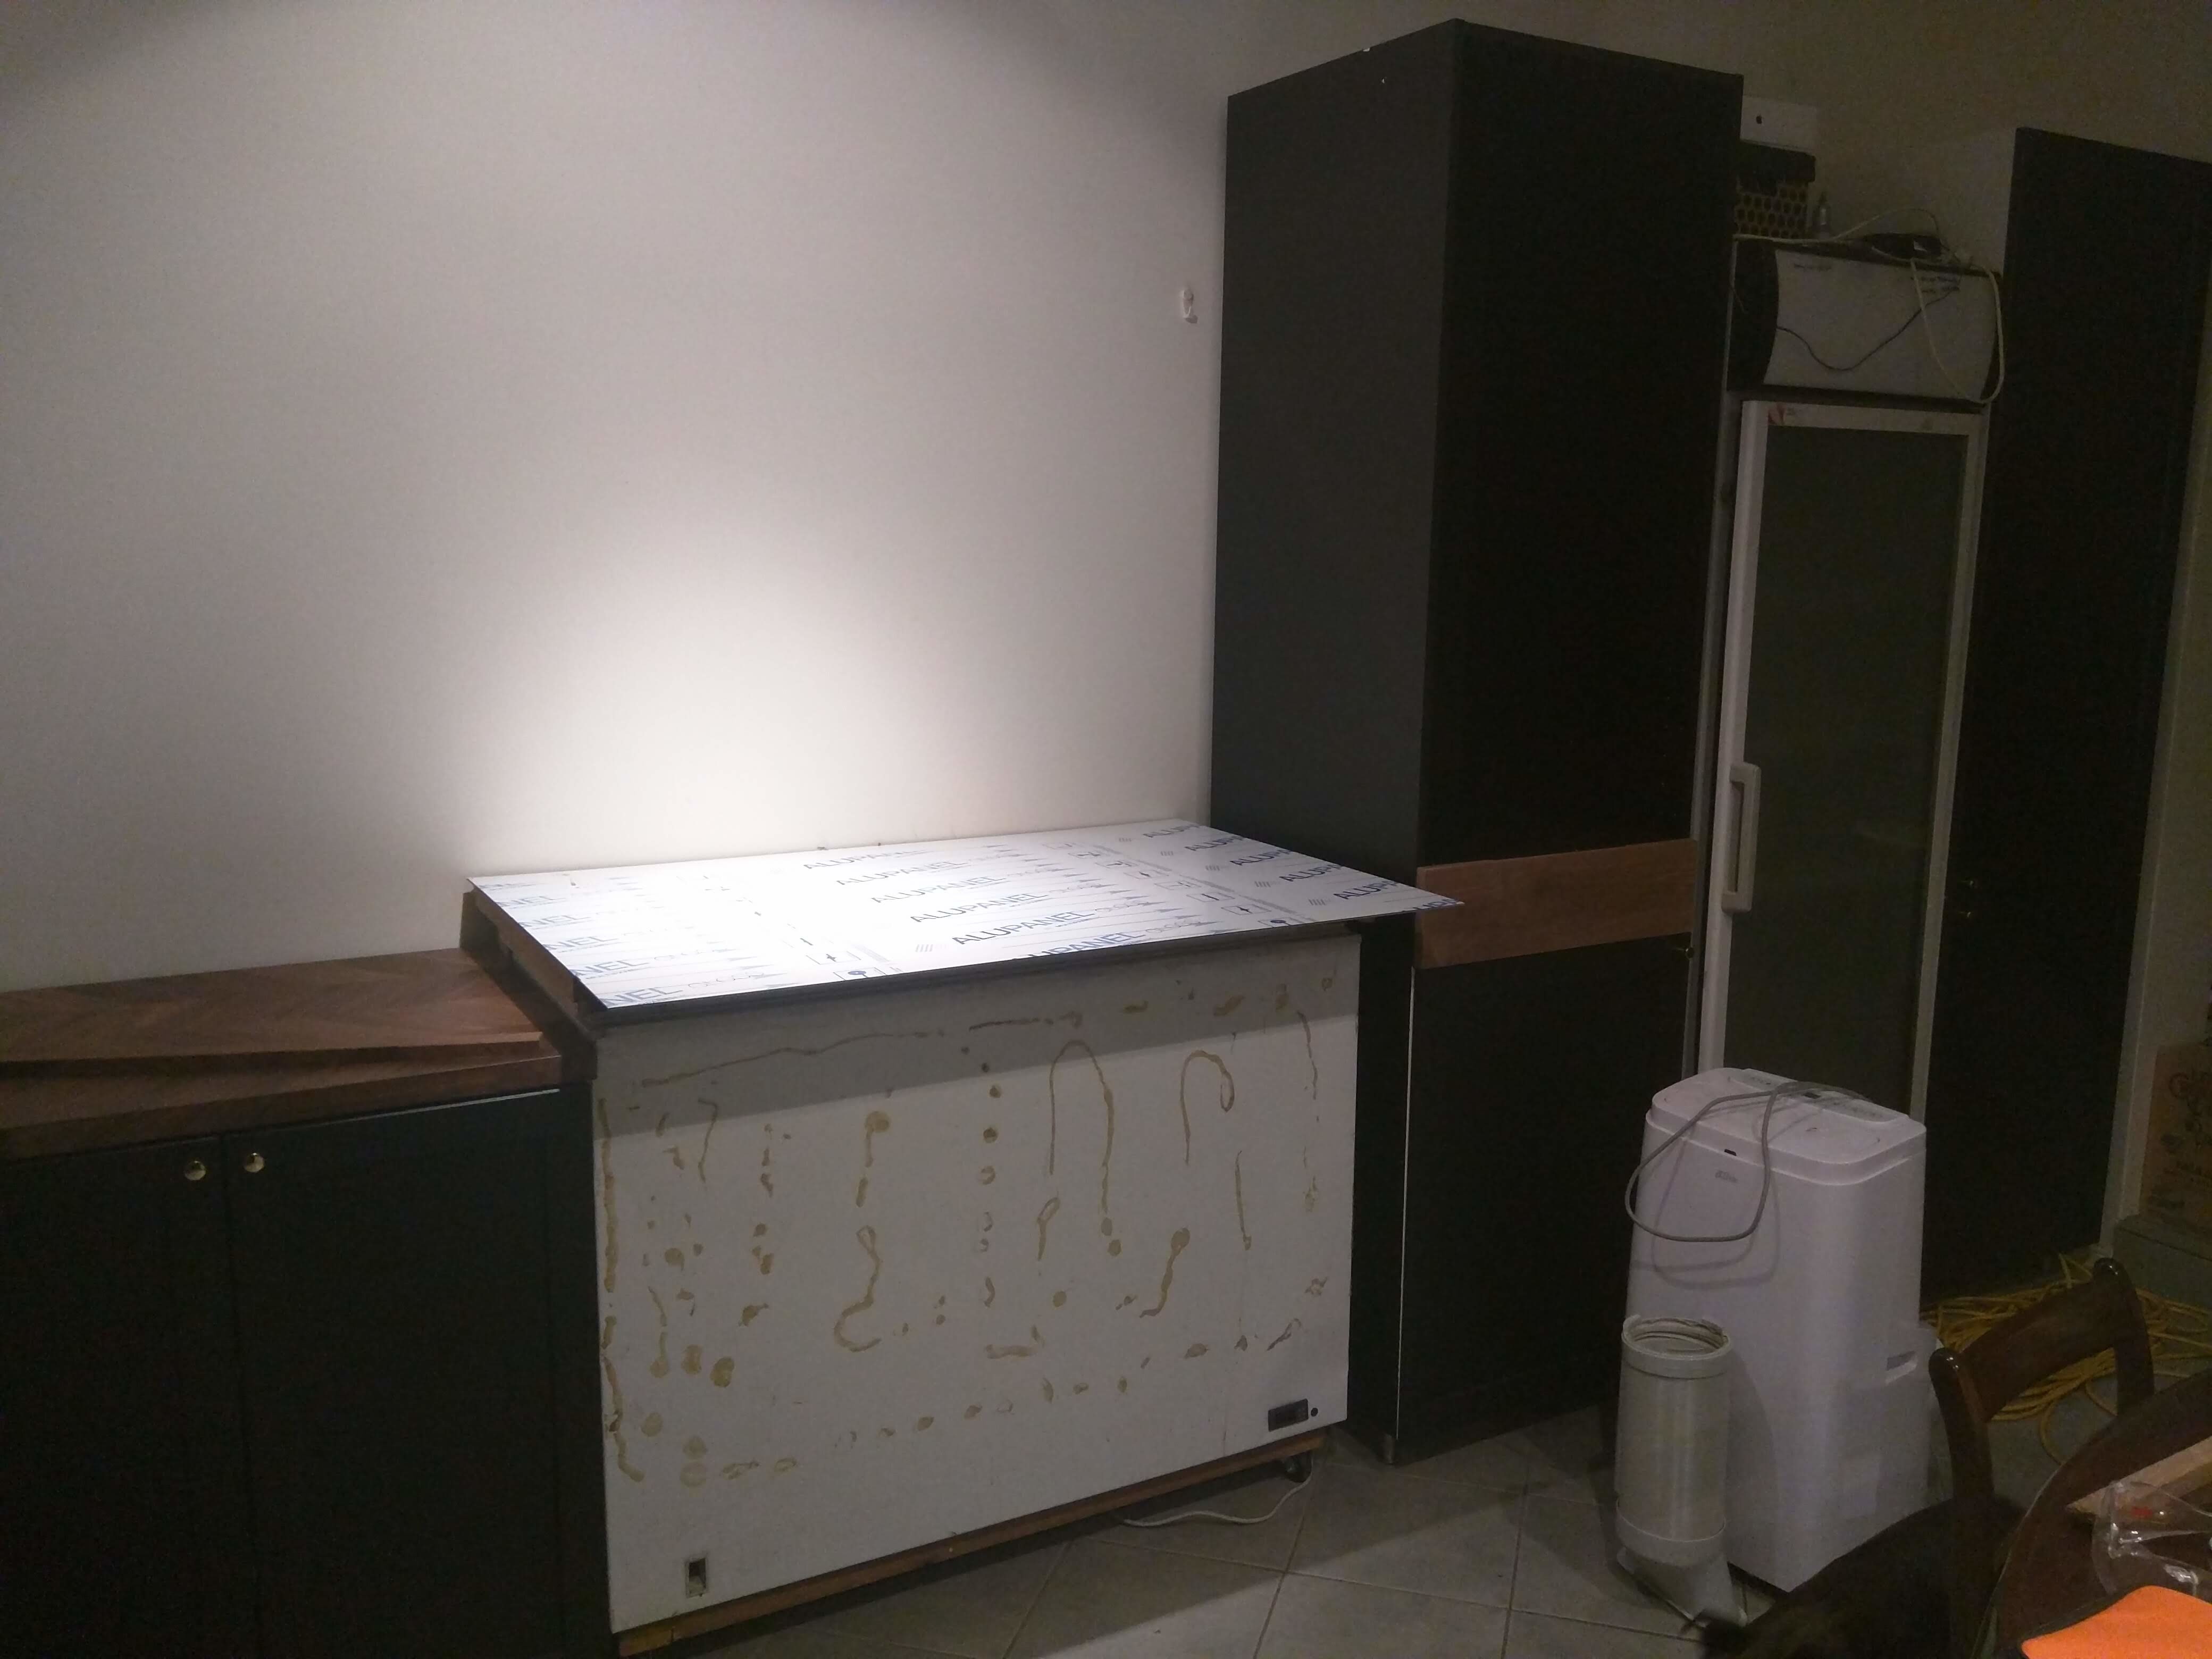
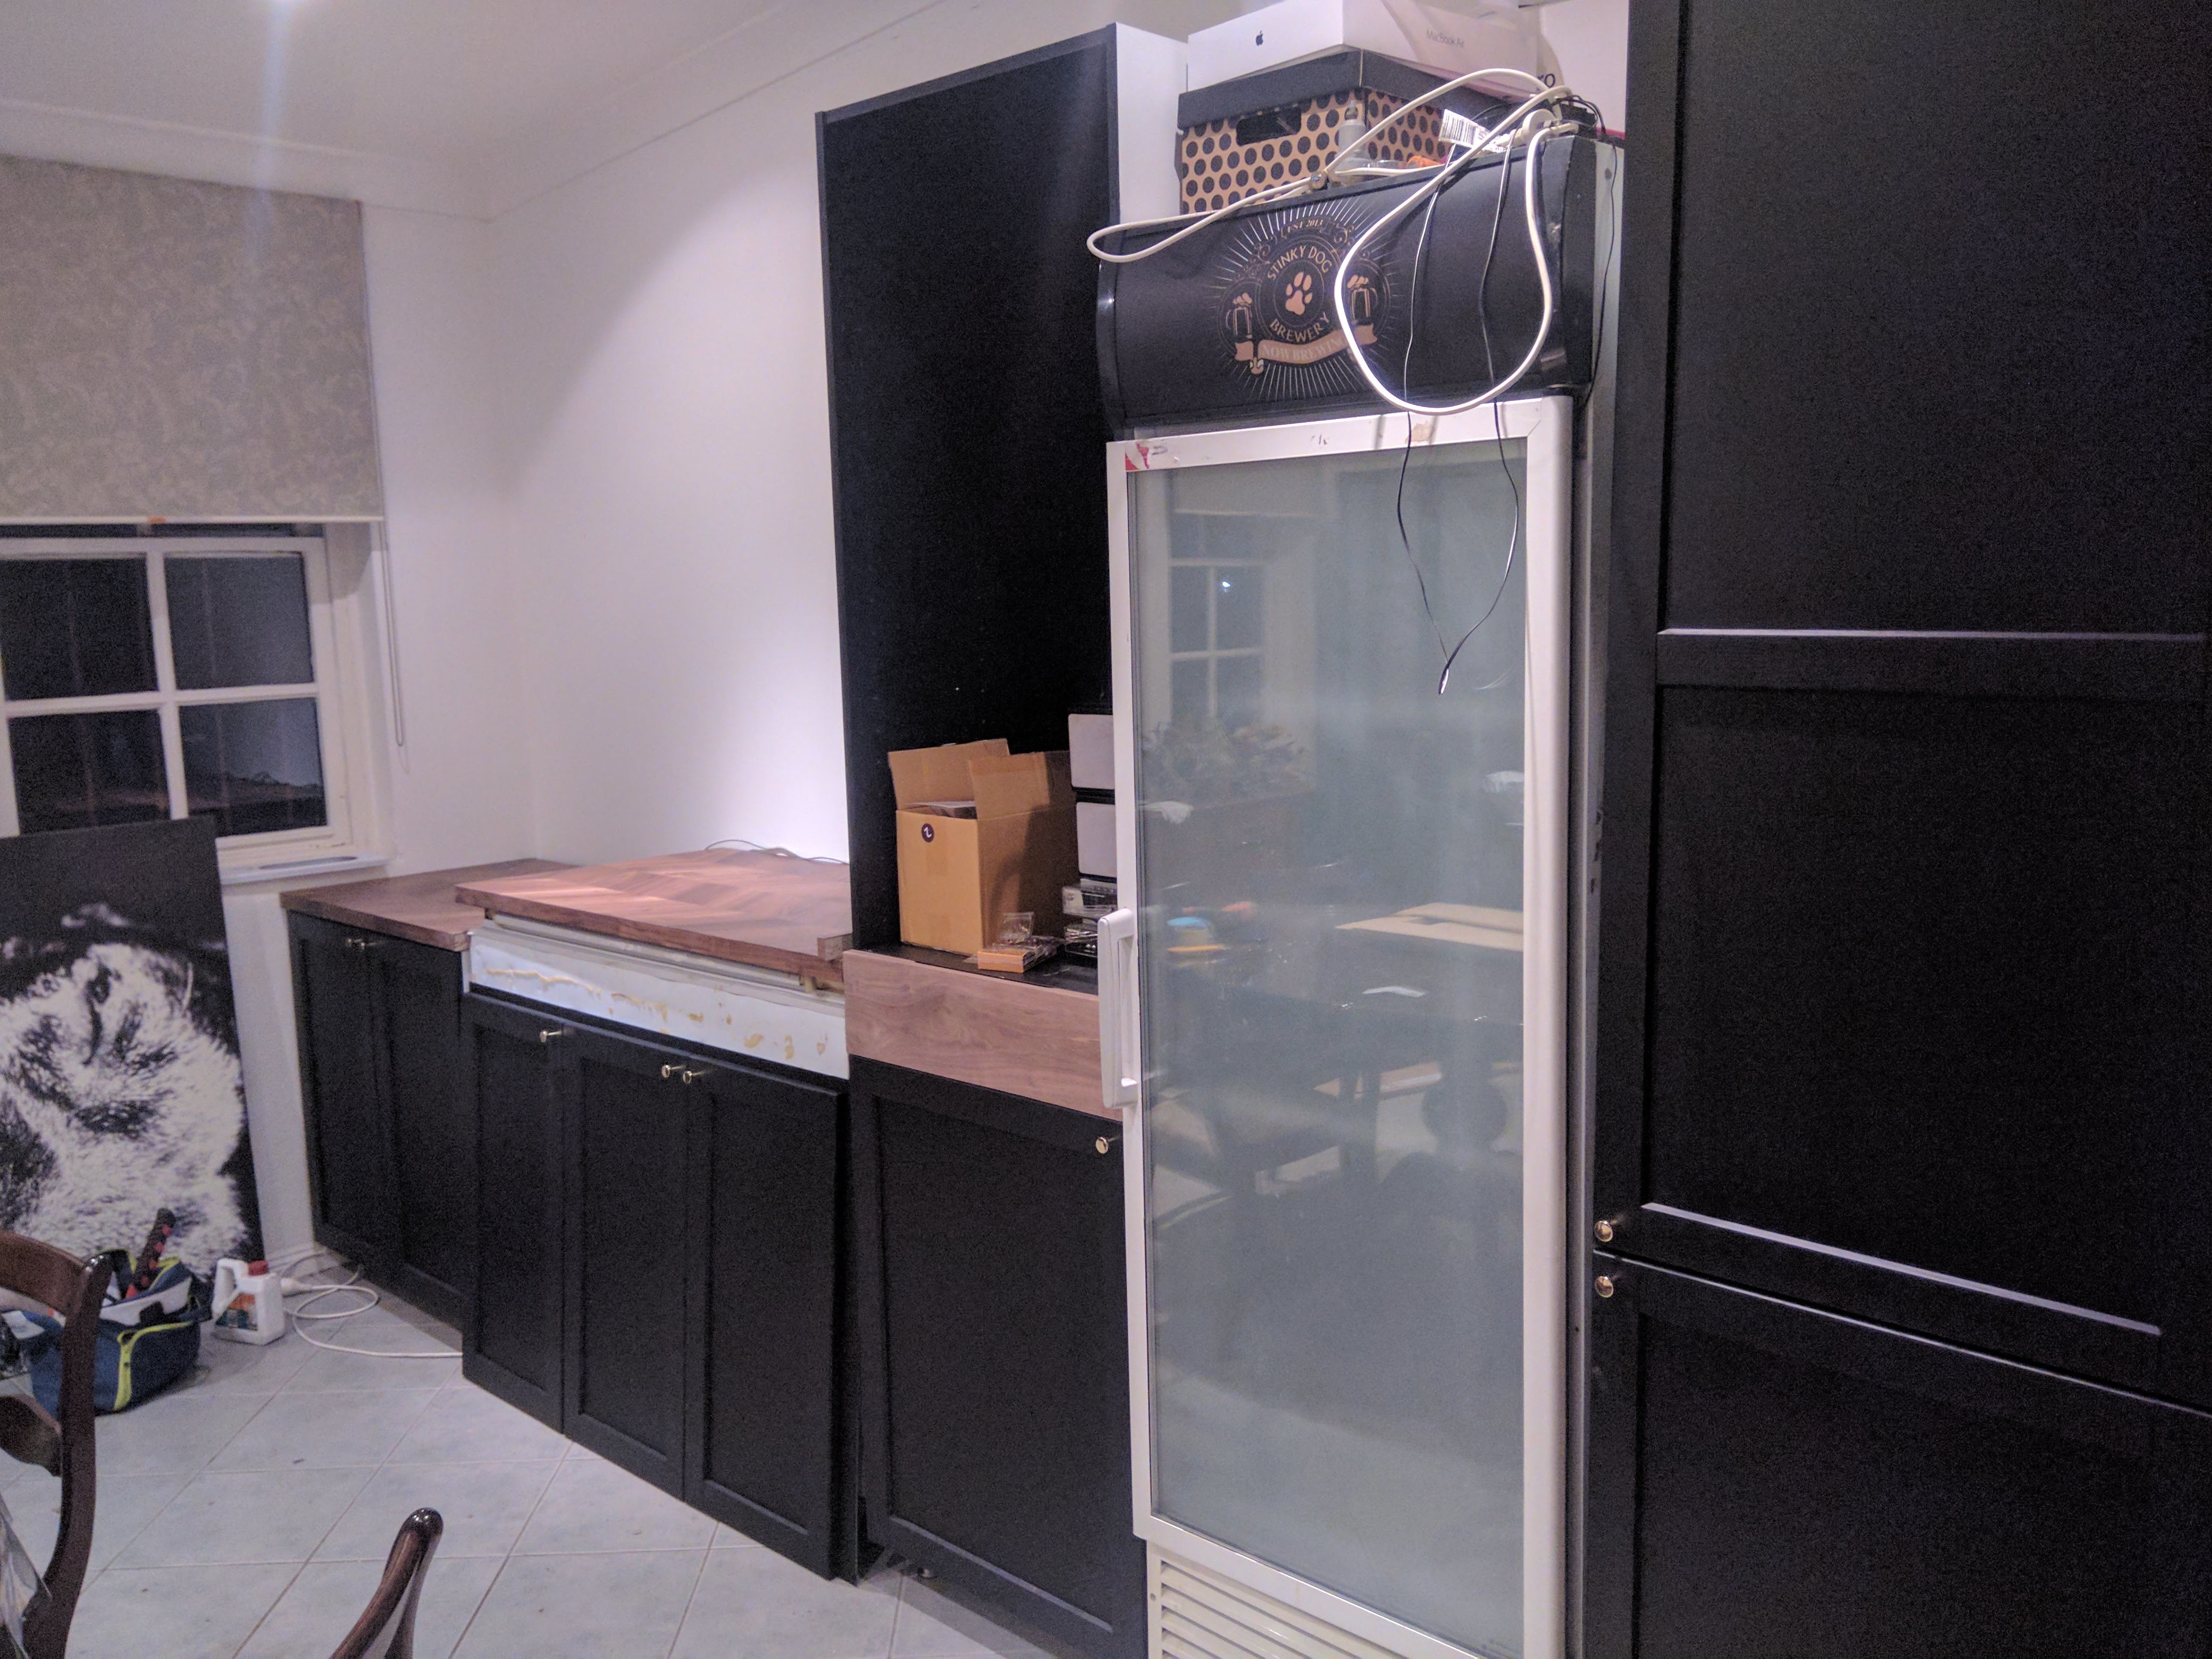
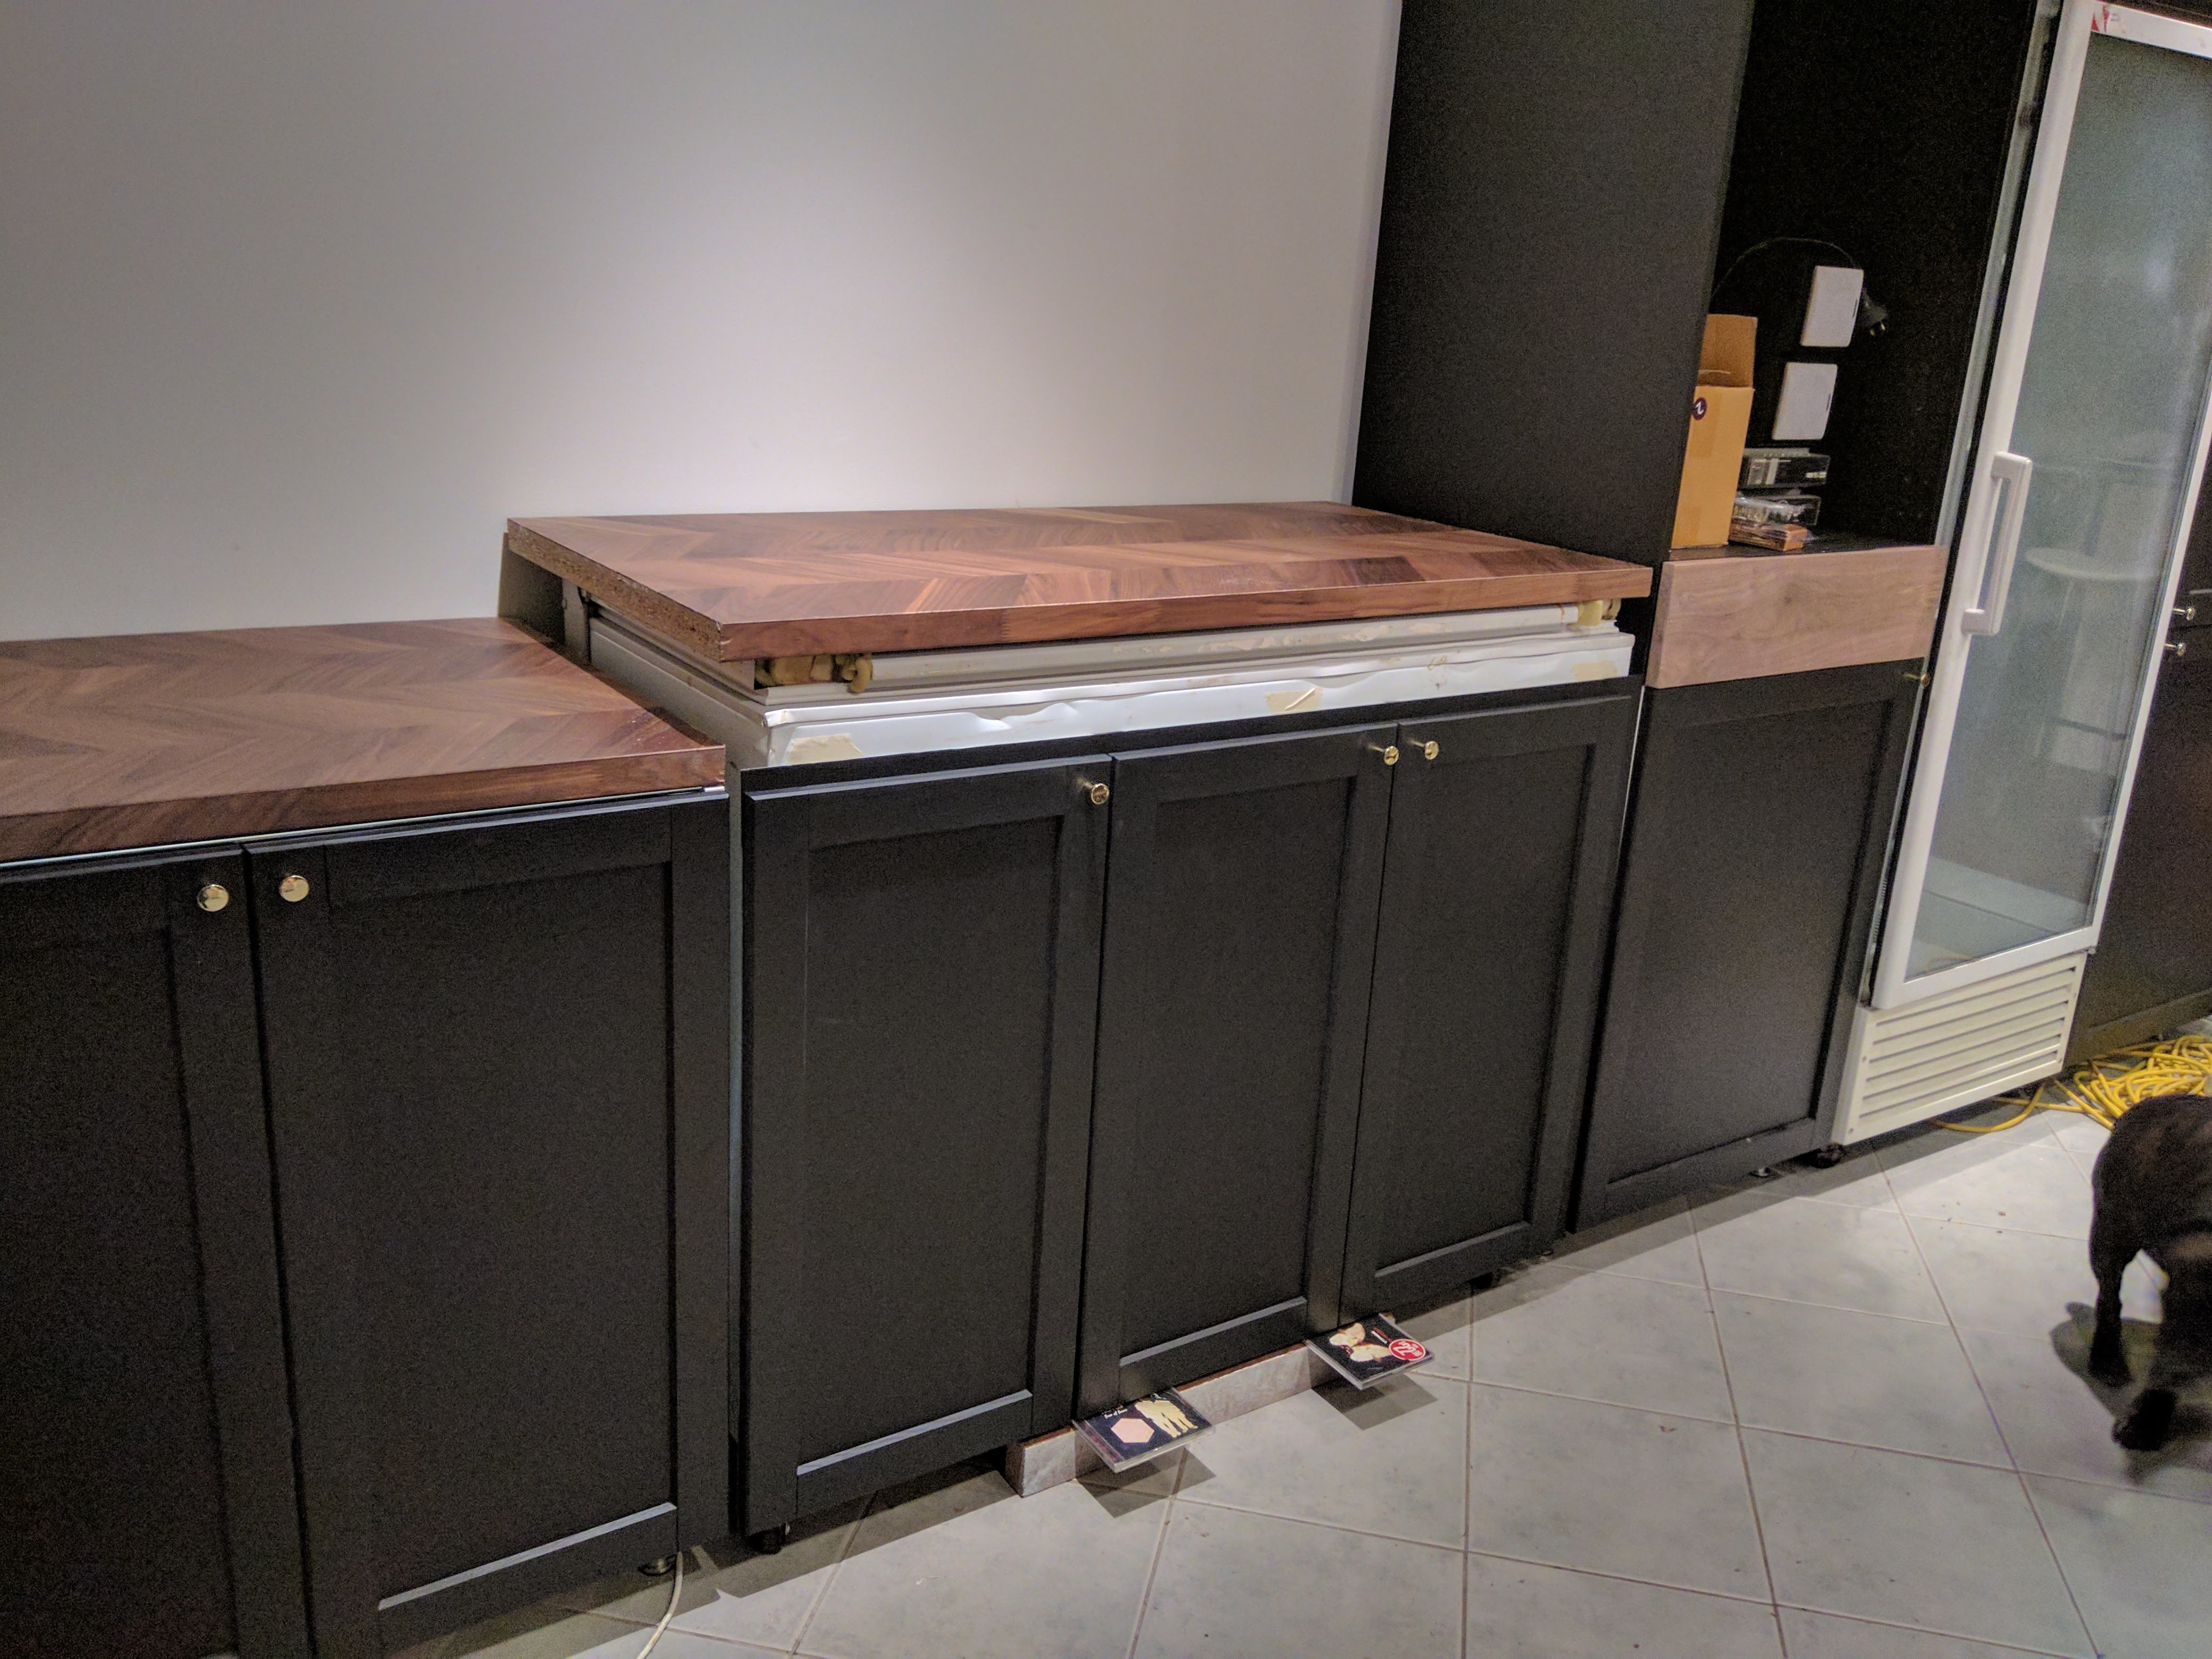
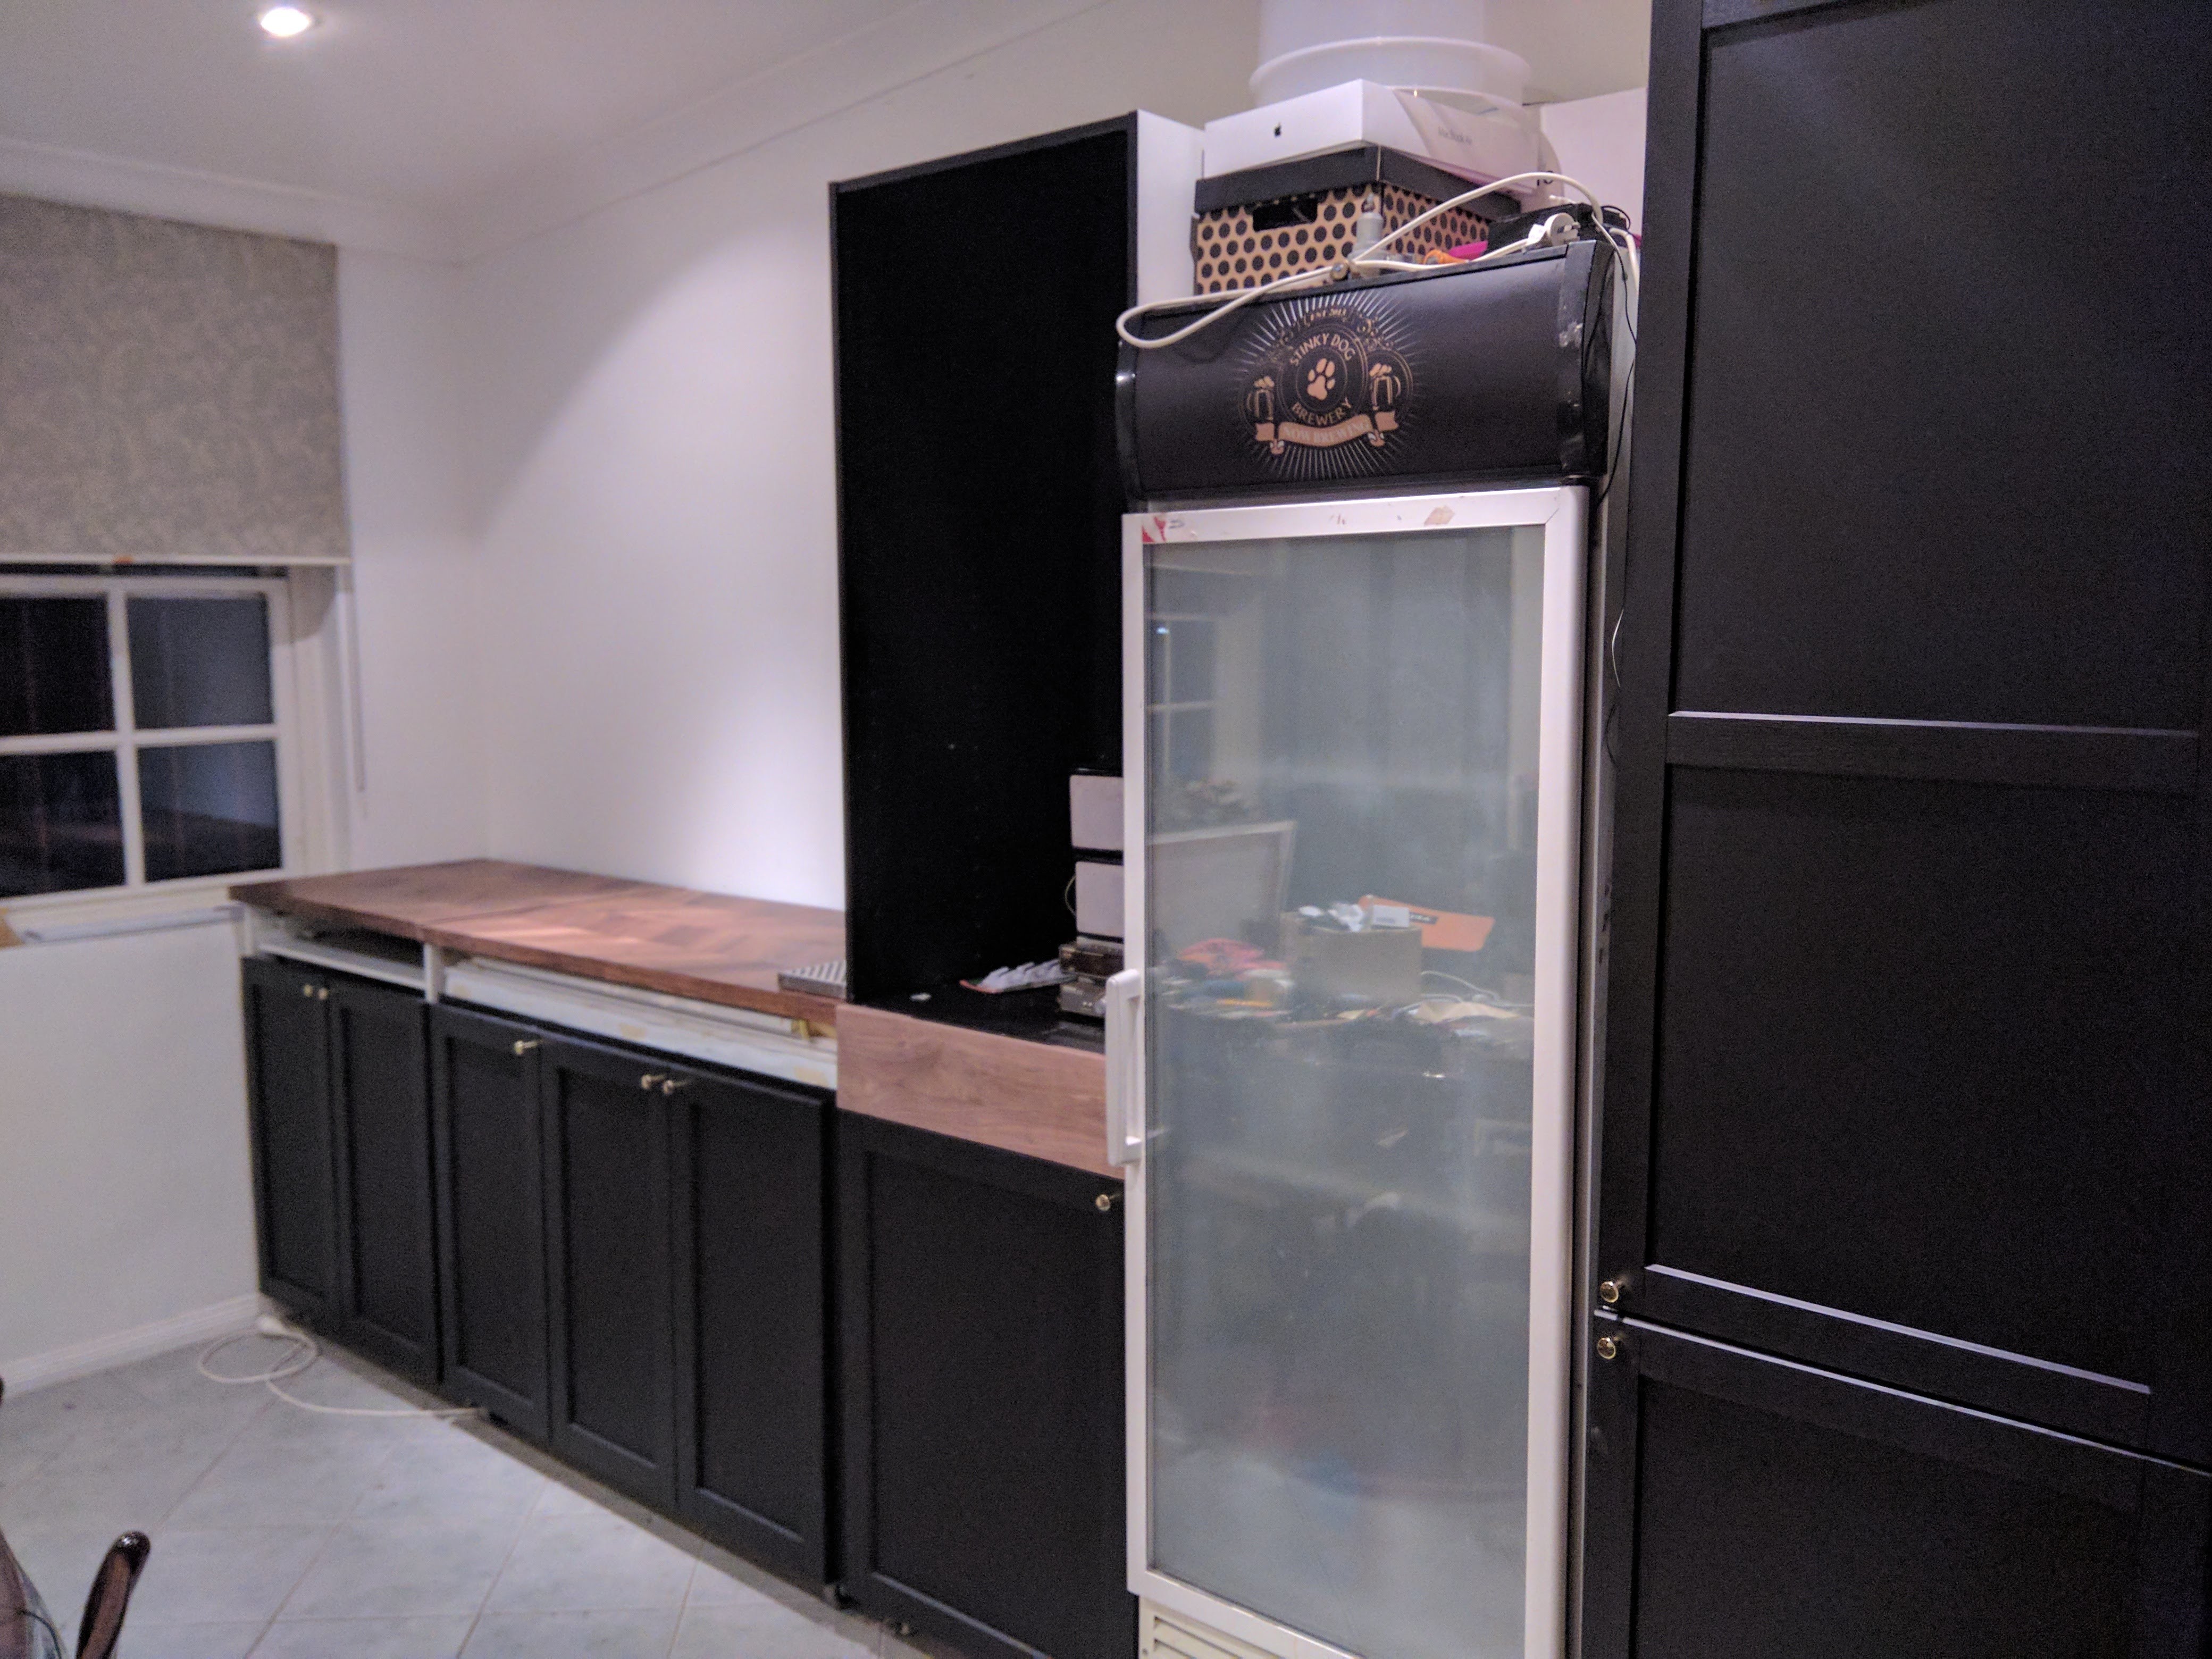
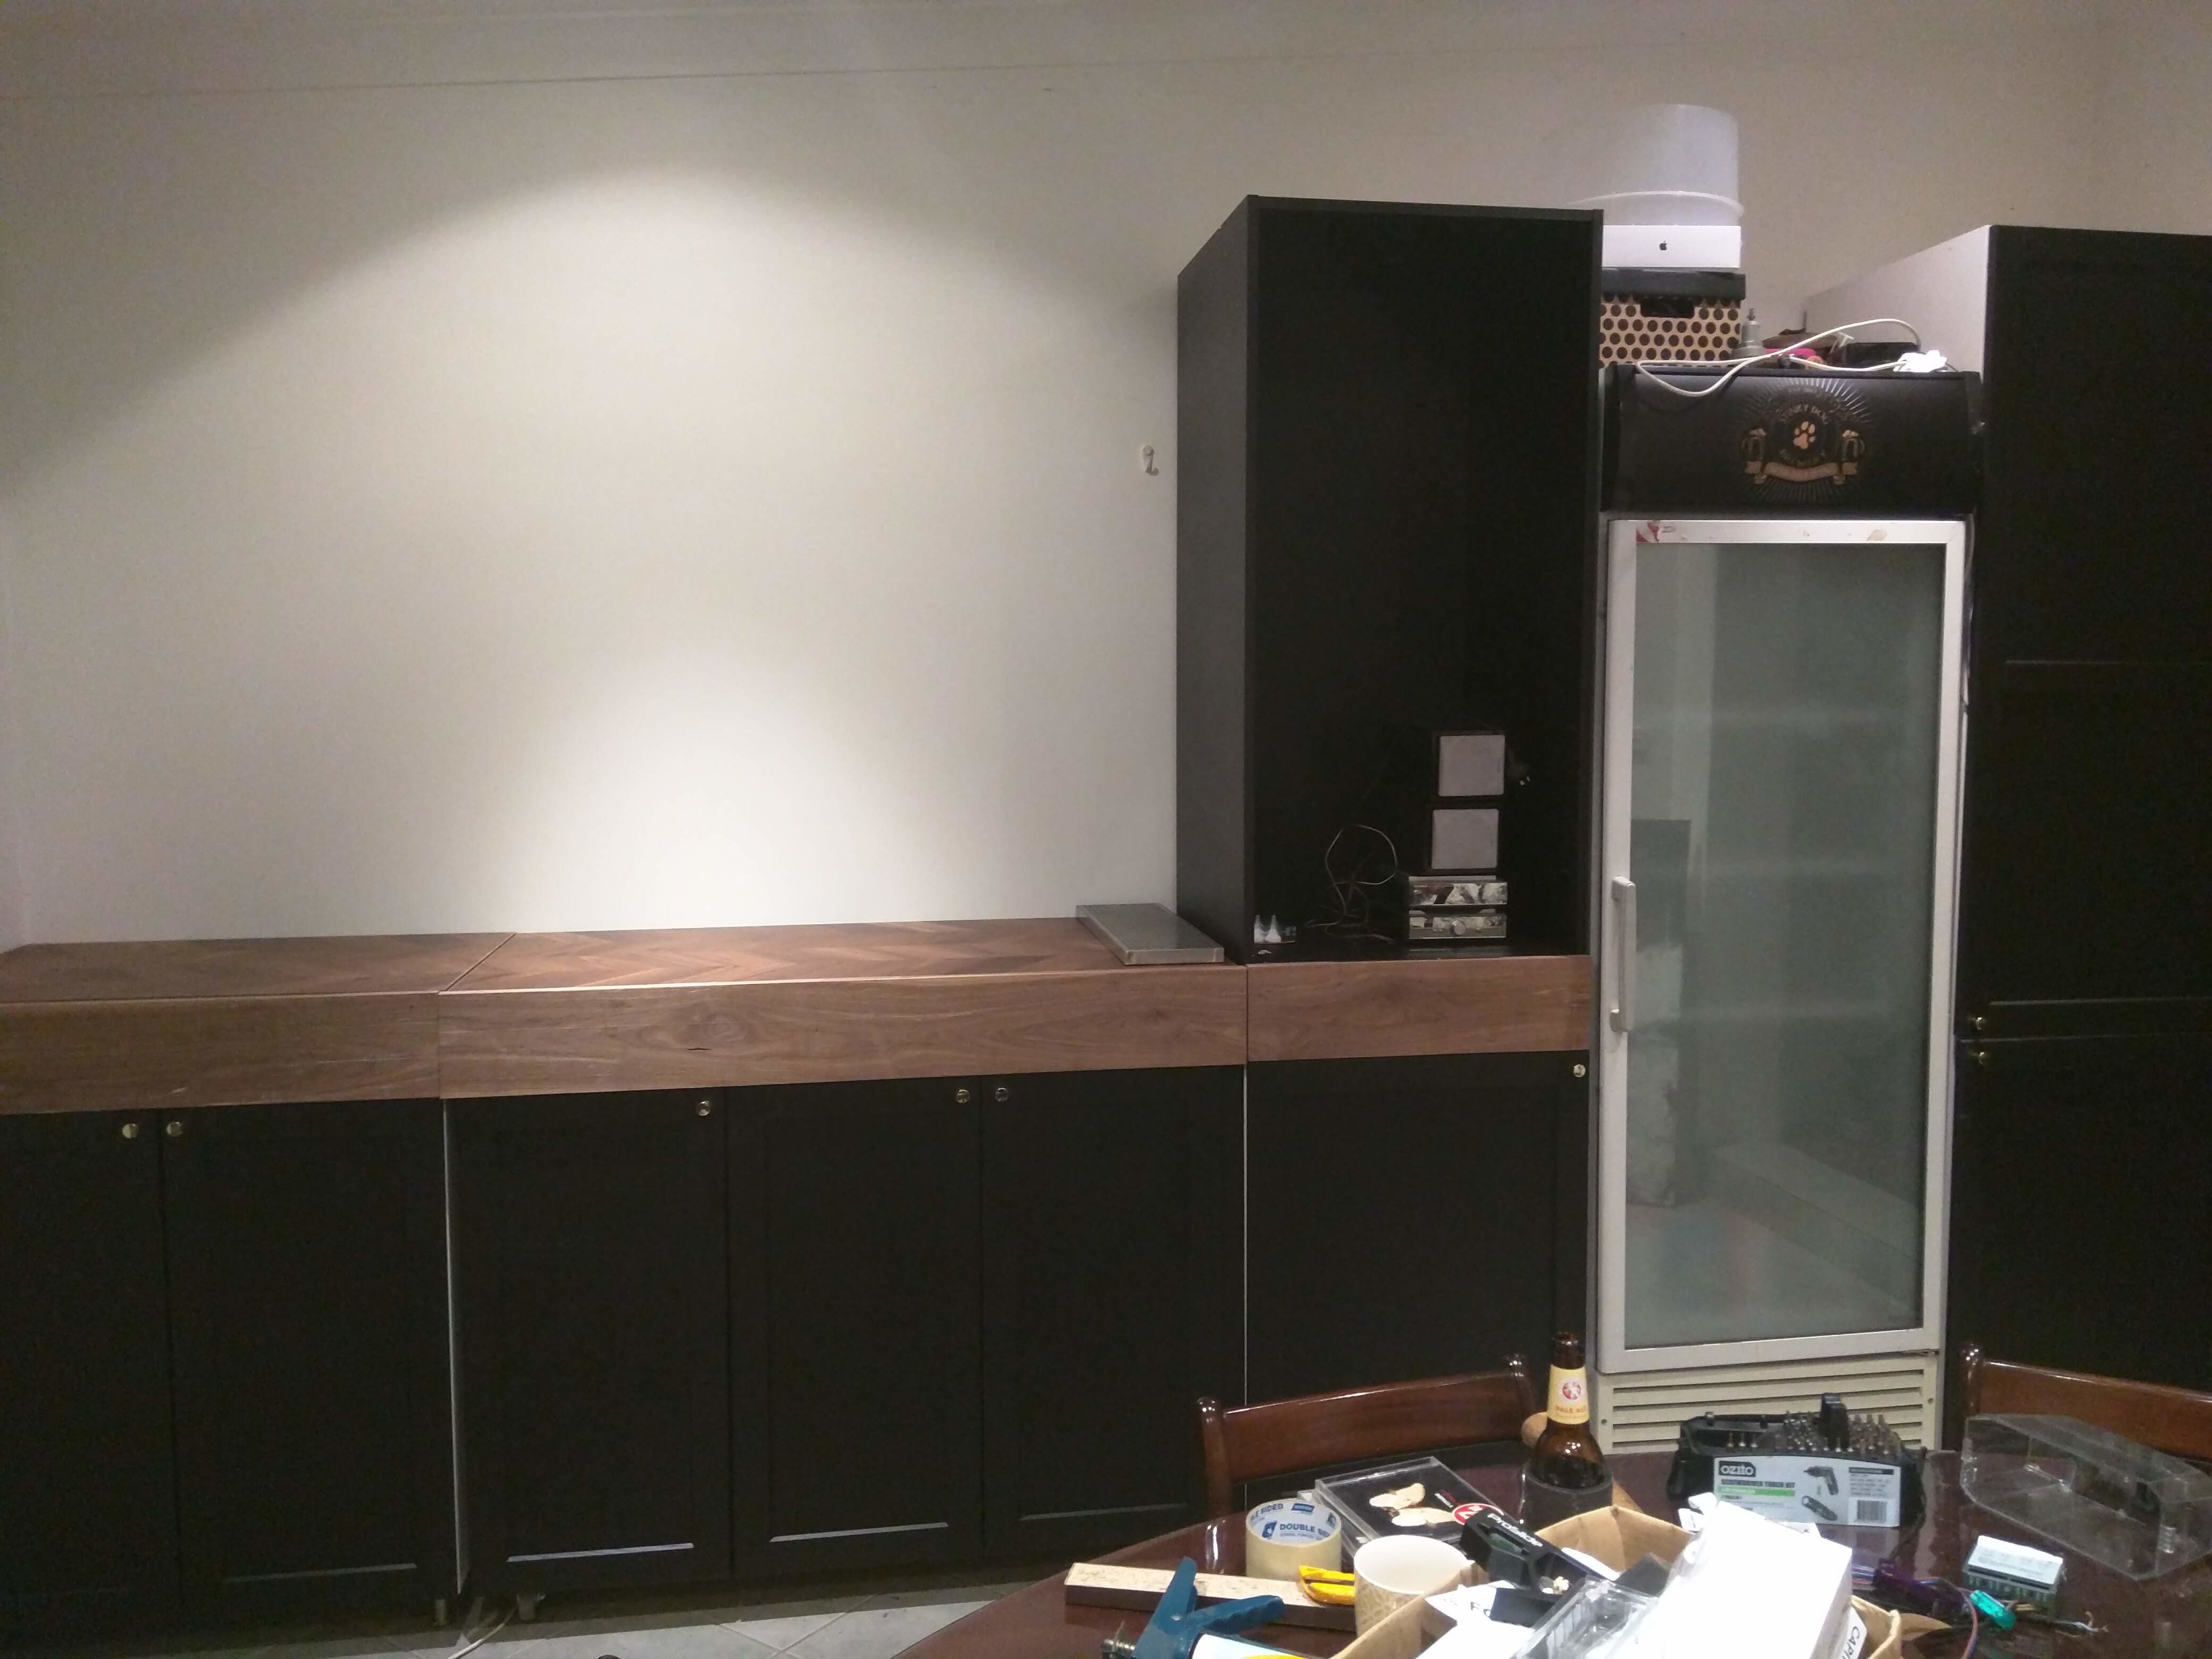
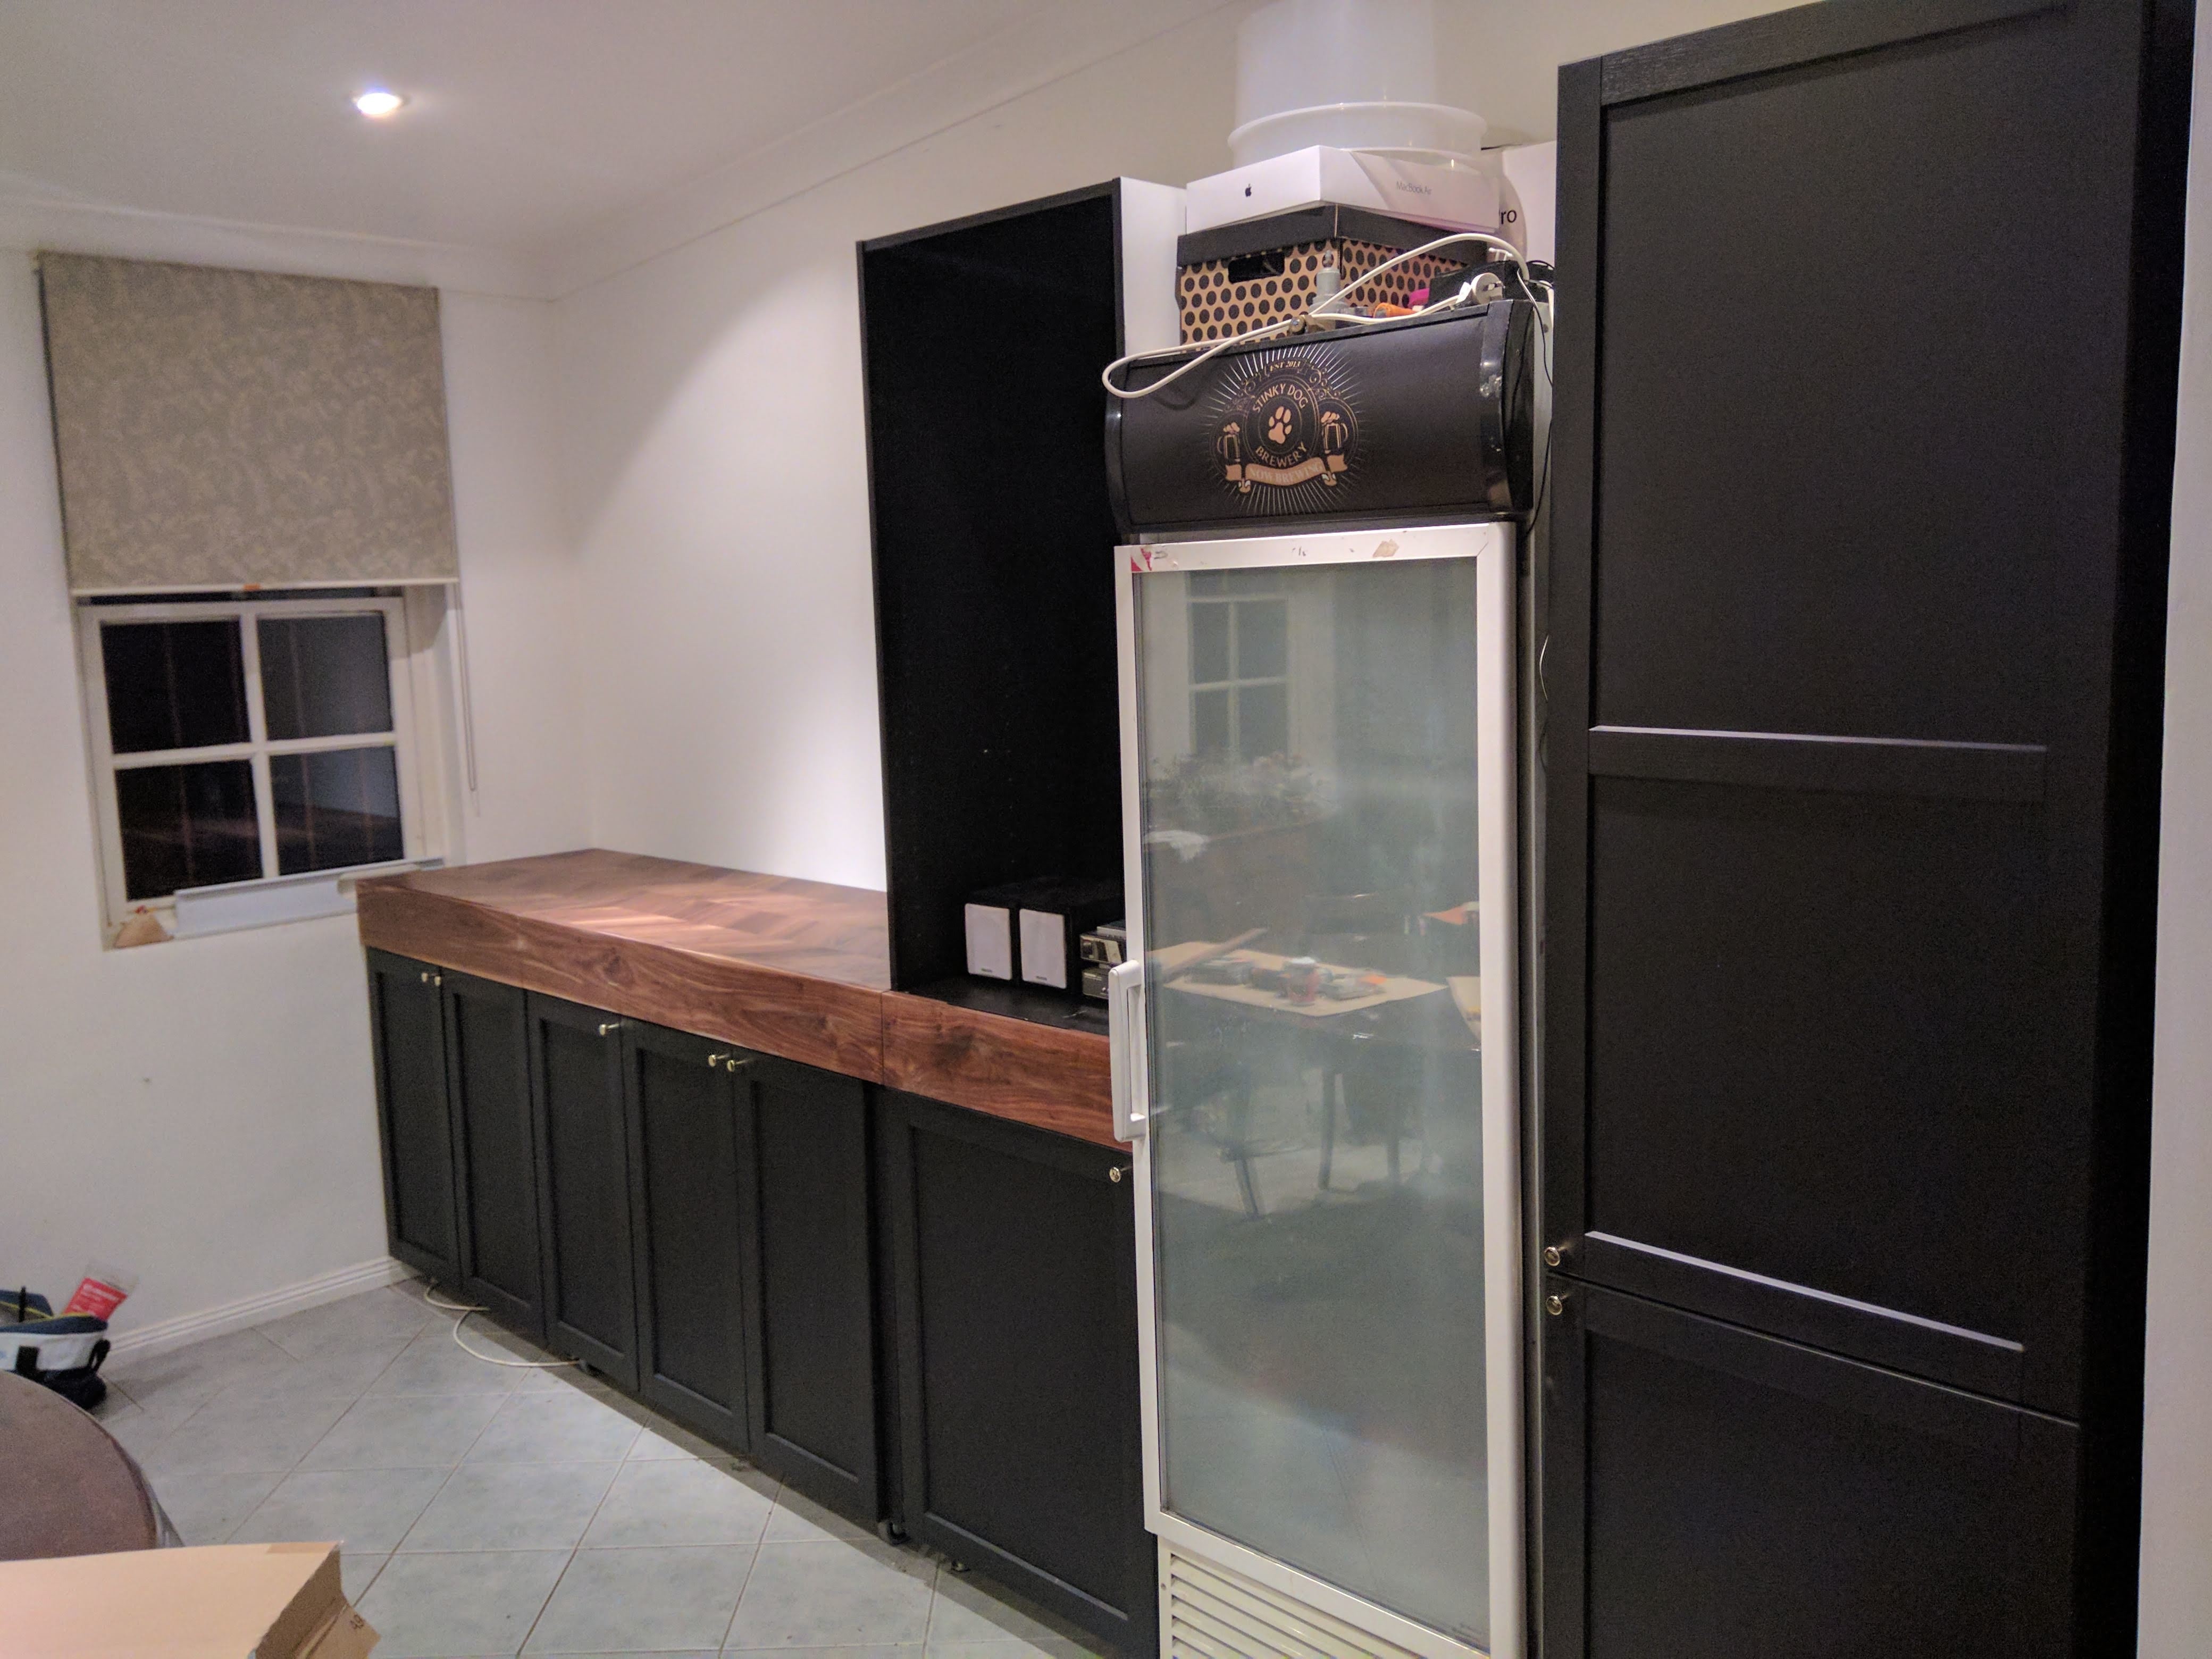
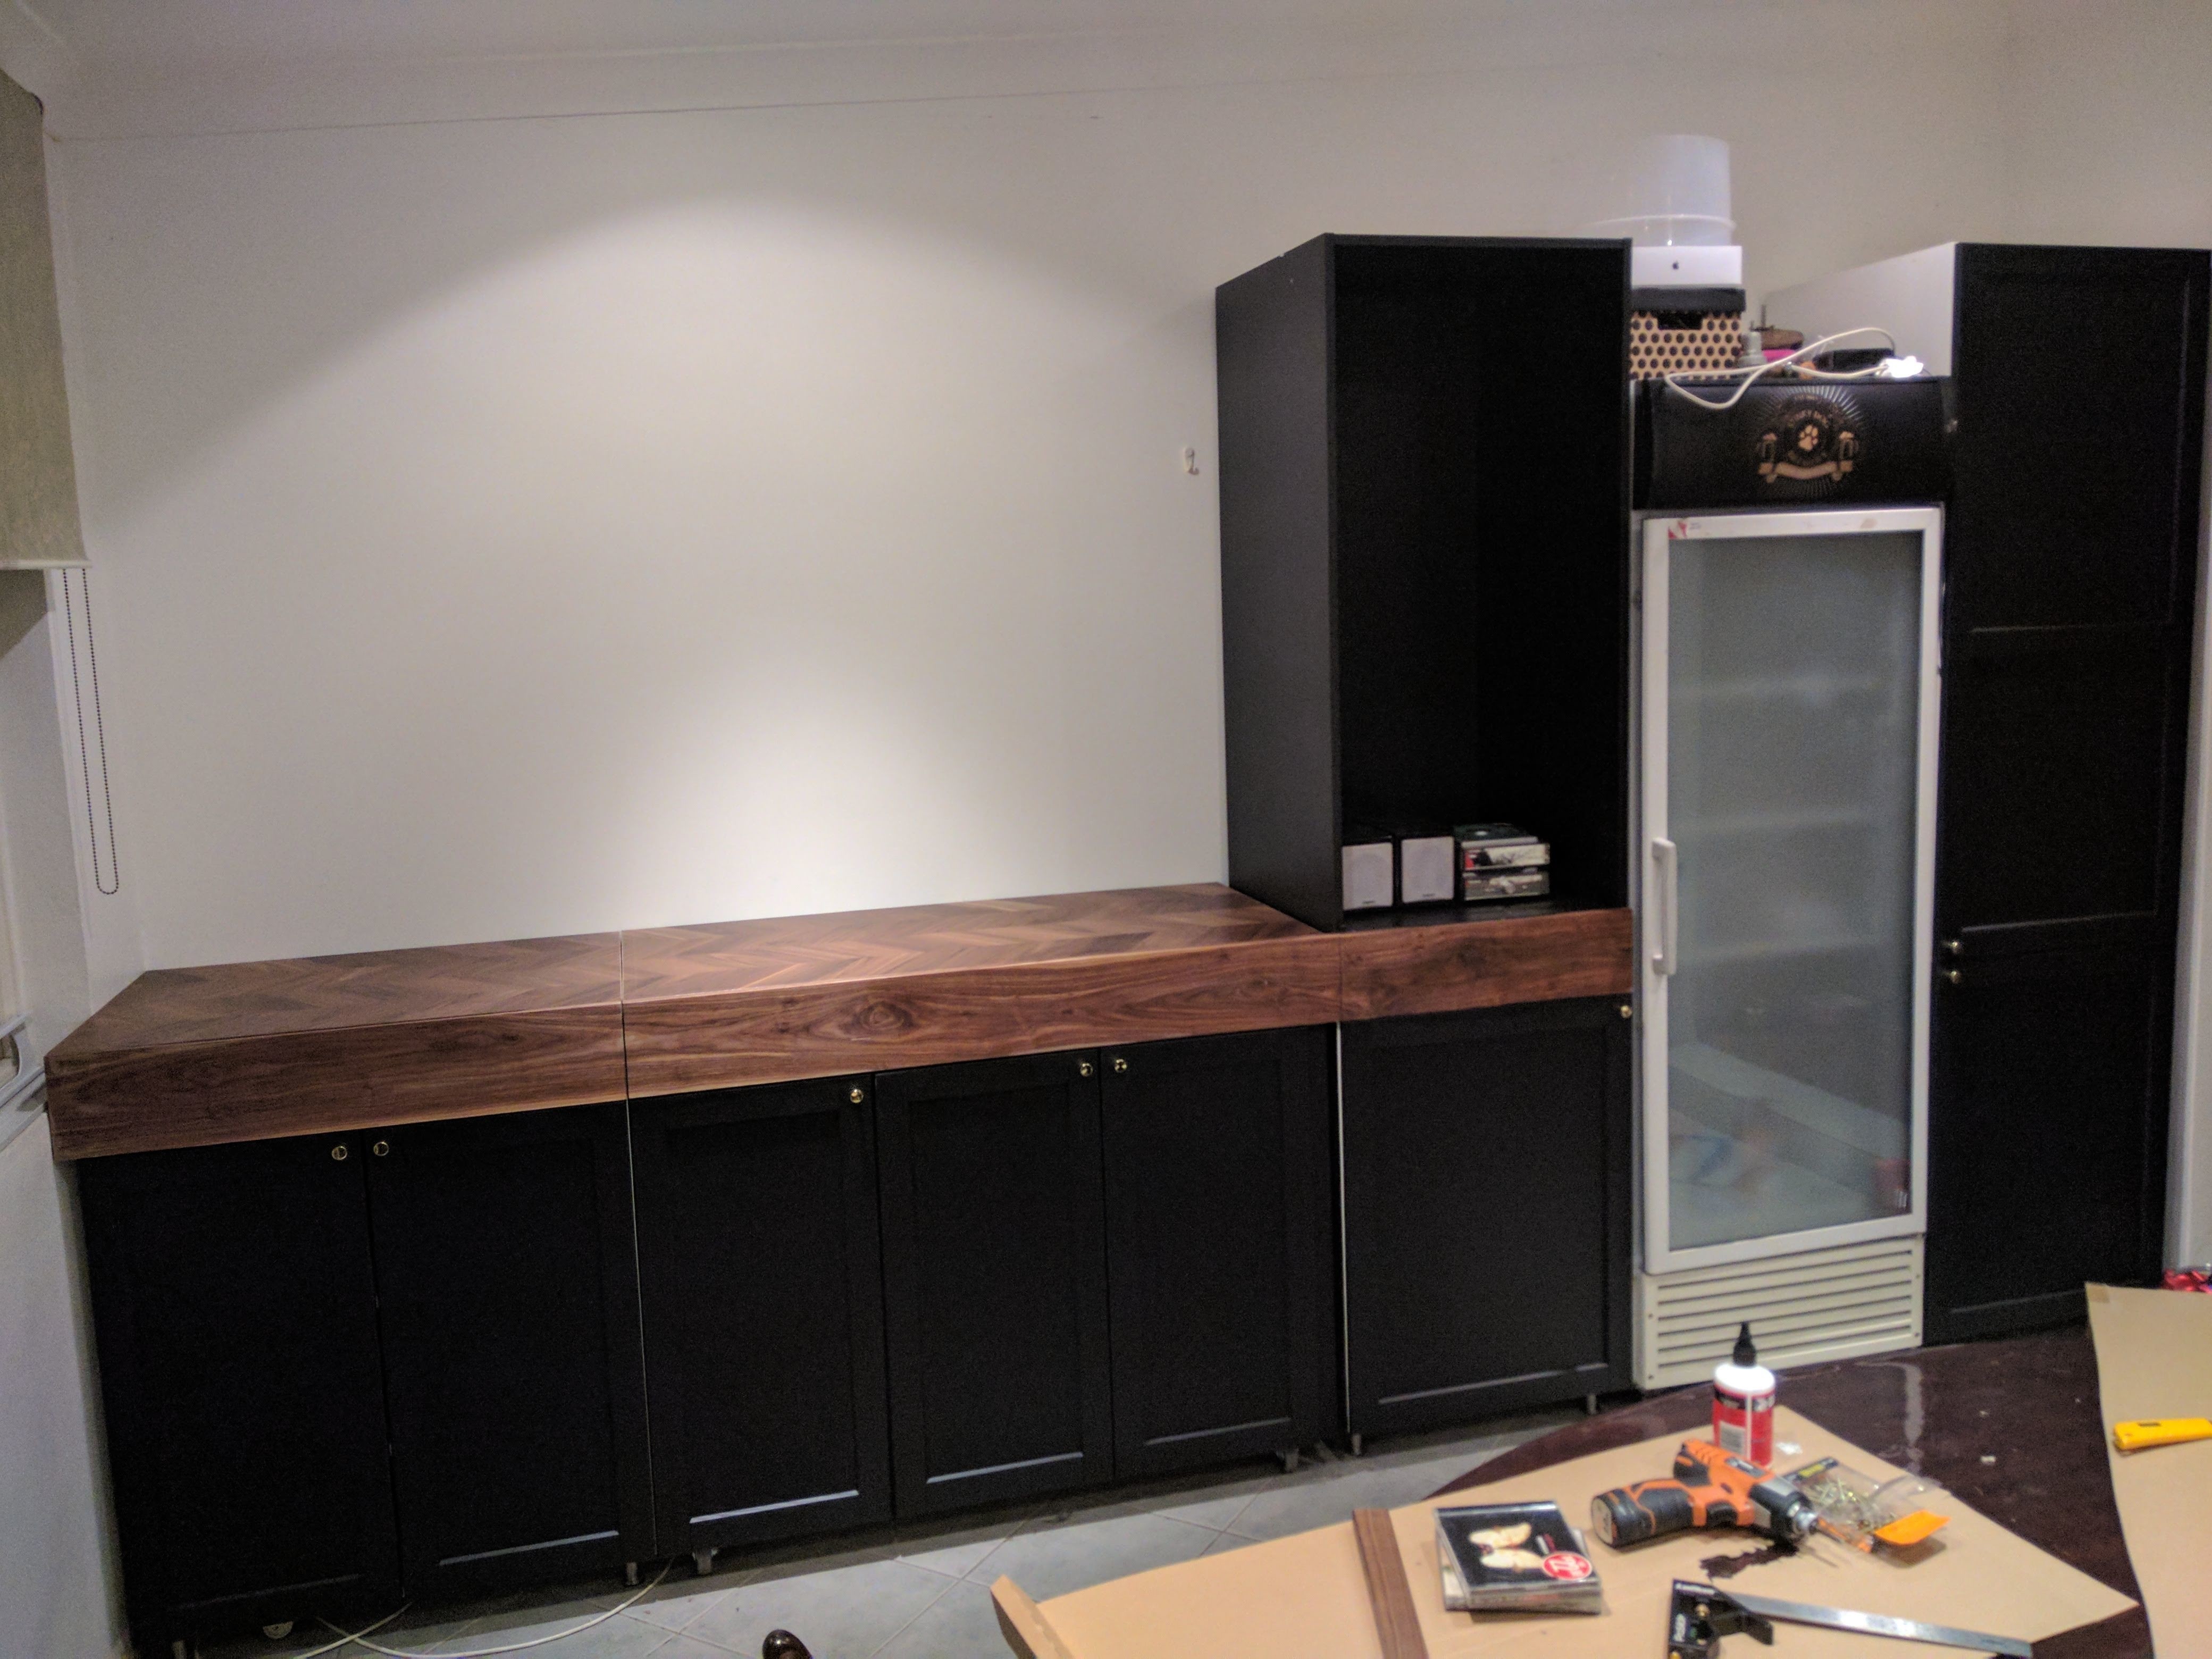
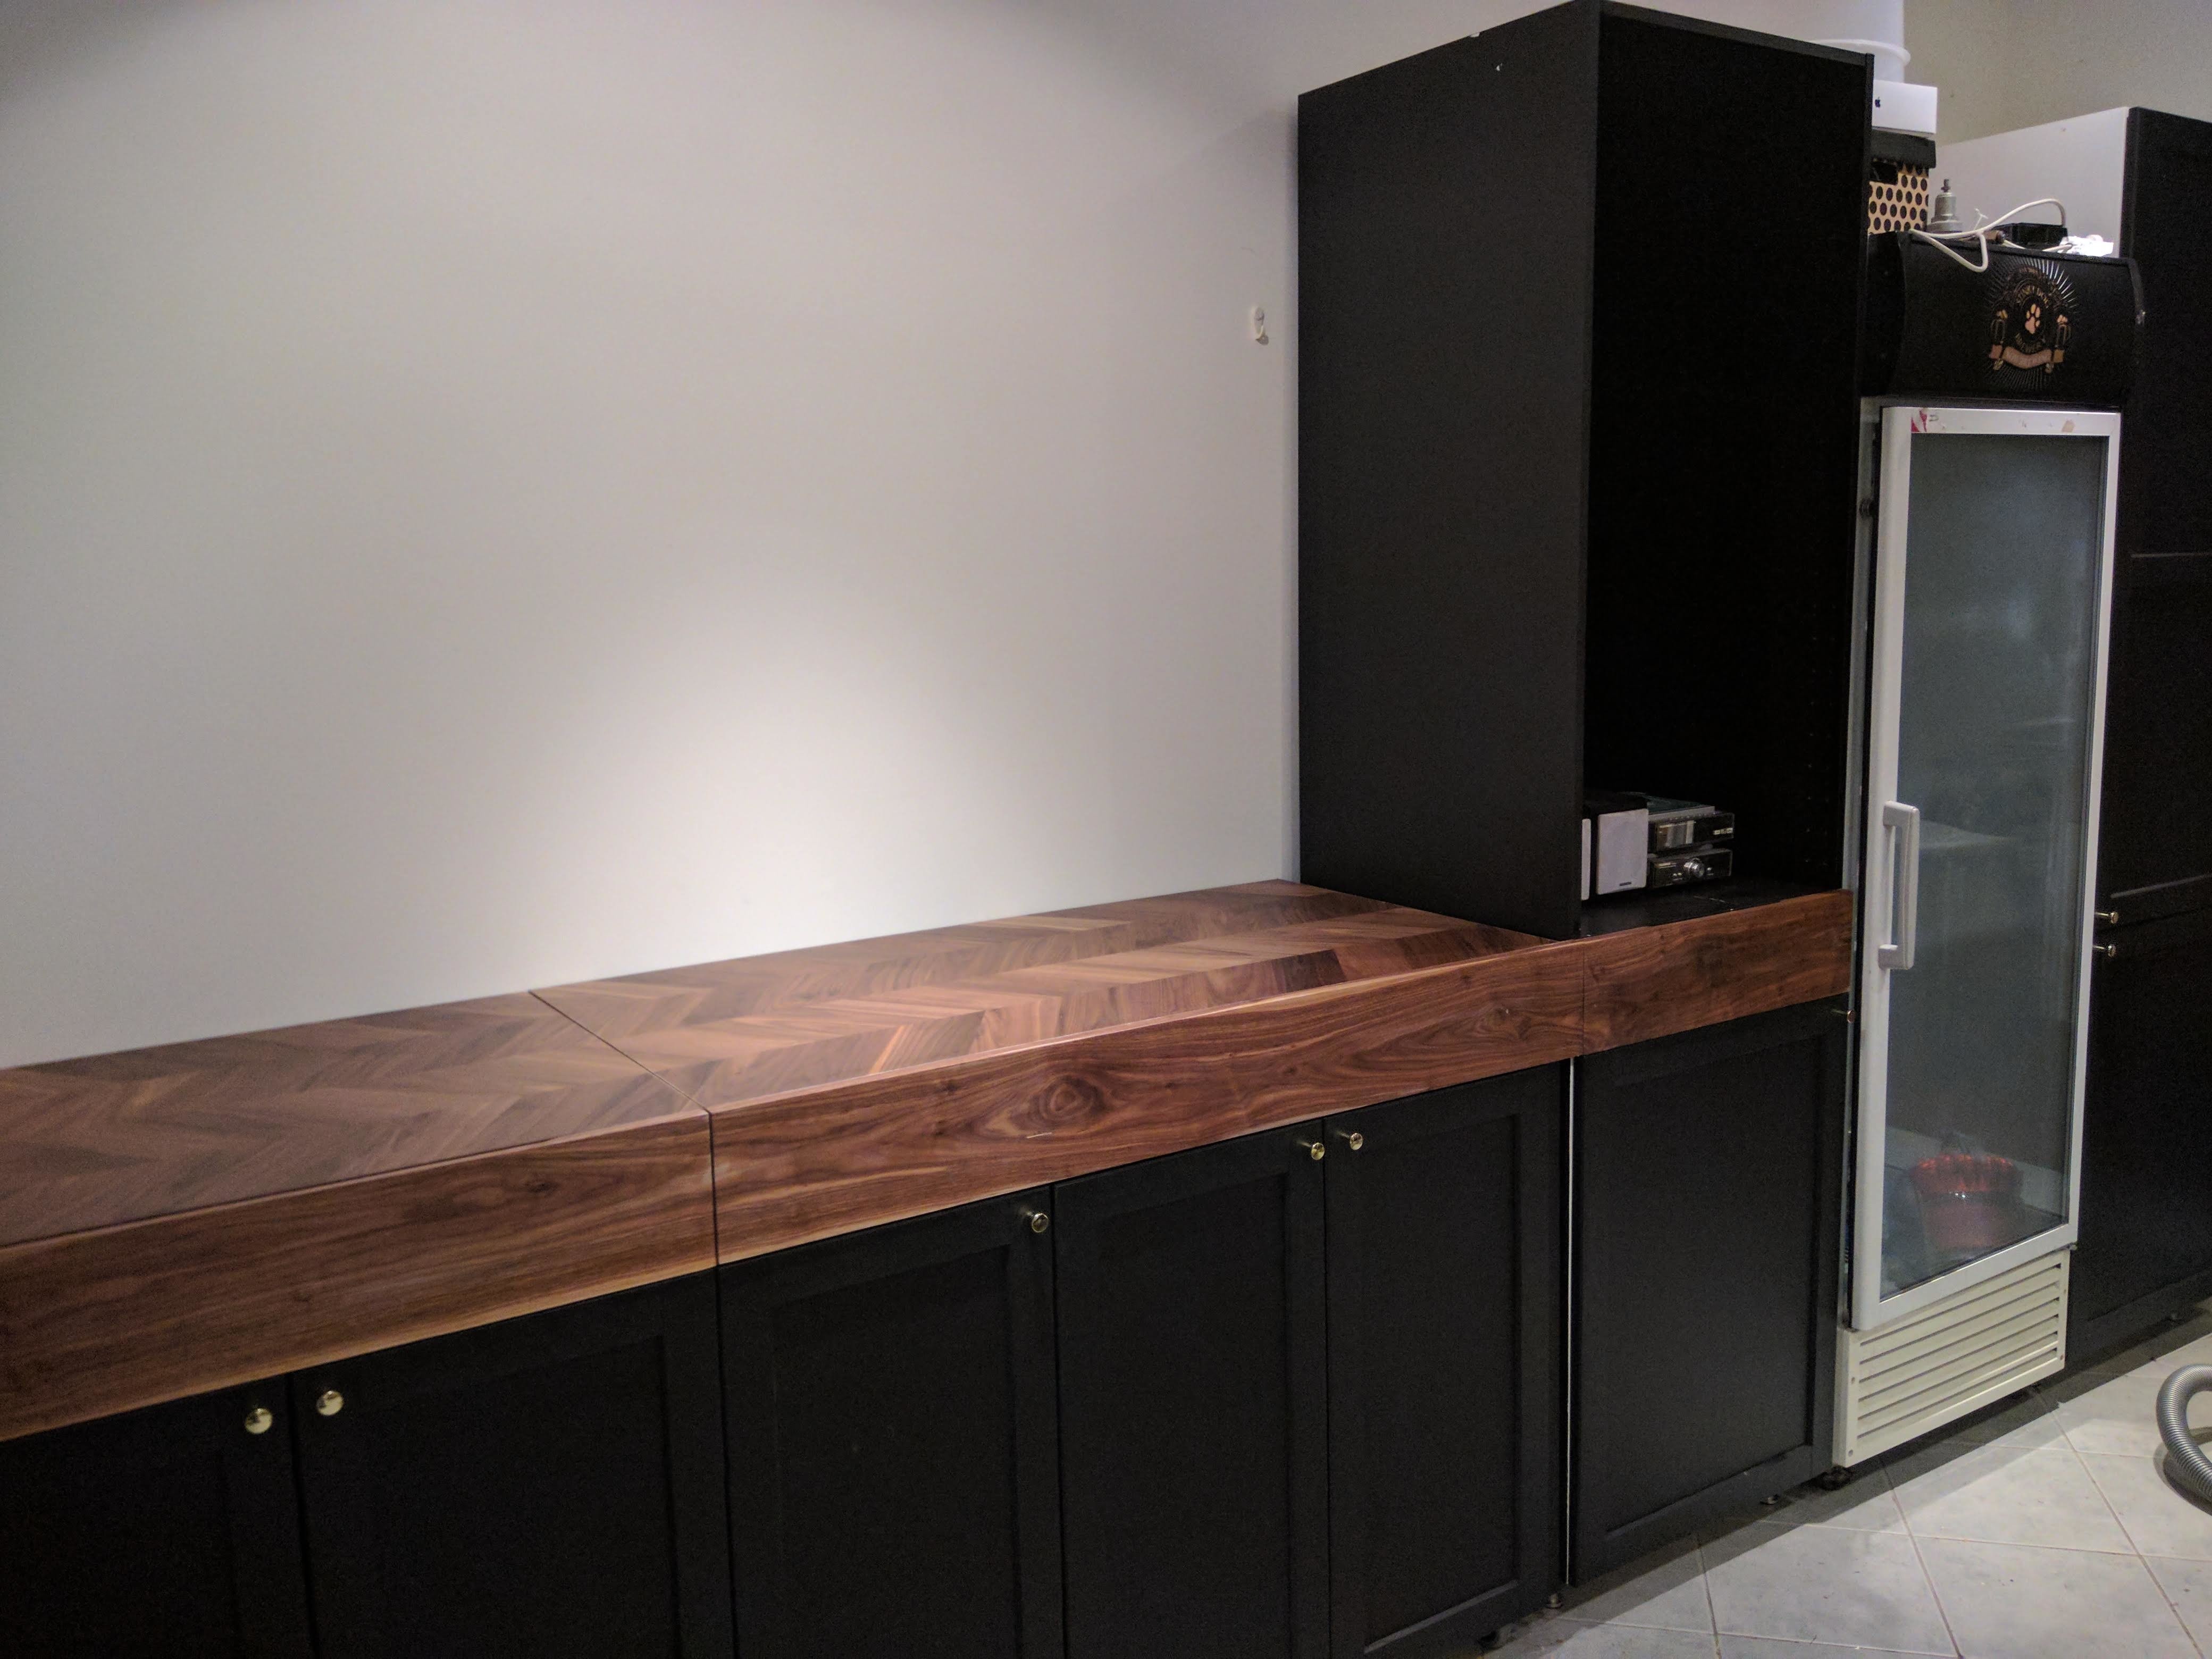
I made a benchtop out of recycled floor boards I sourced from a building site and scored an old kitchen cabinet again on gumtree for nix.
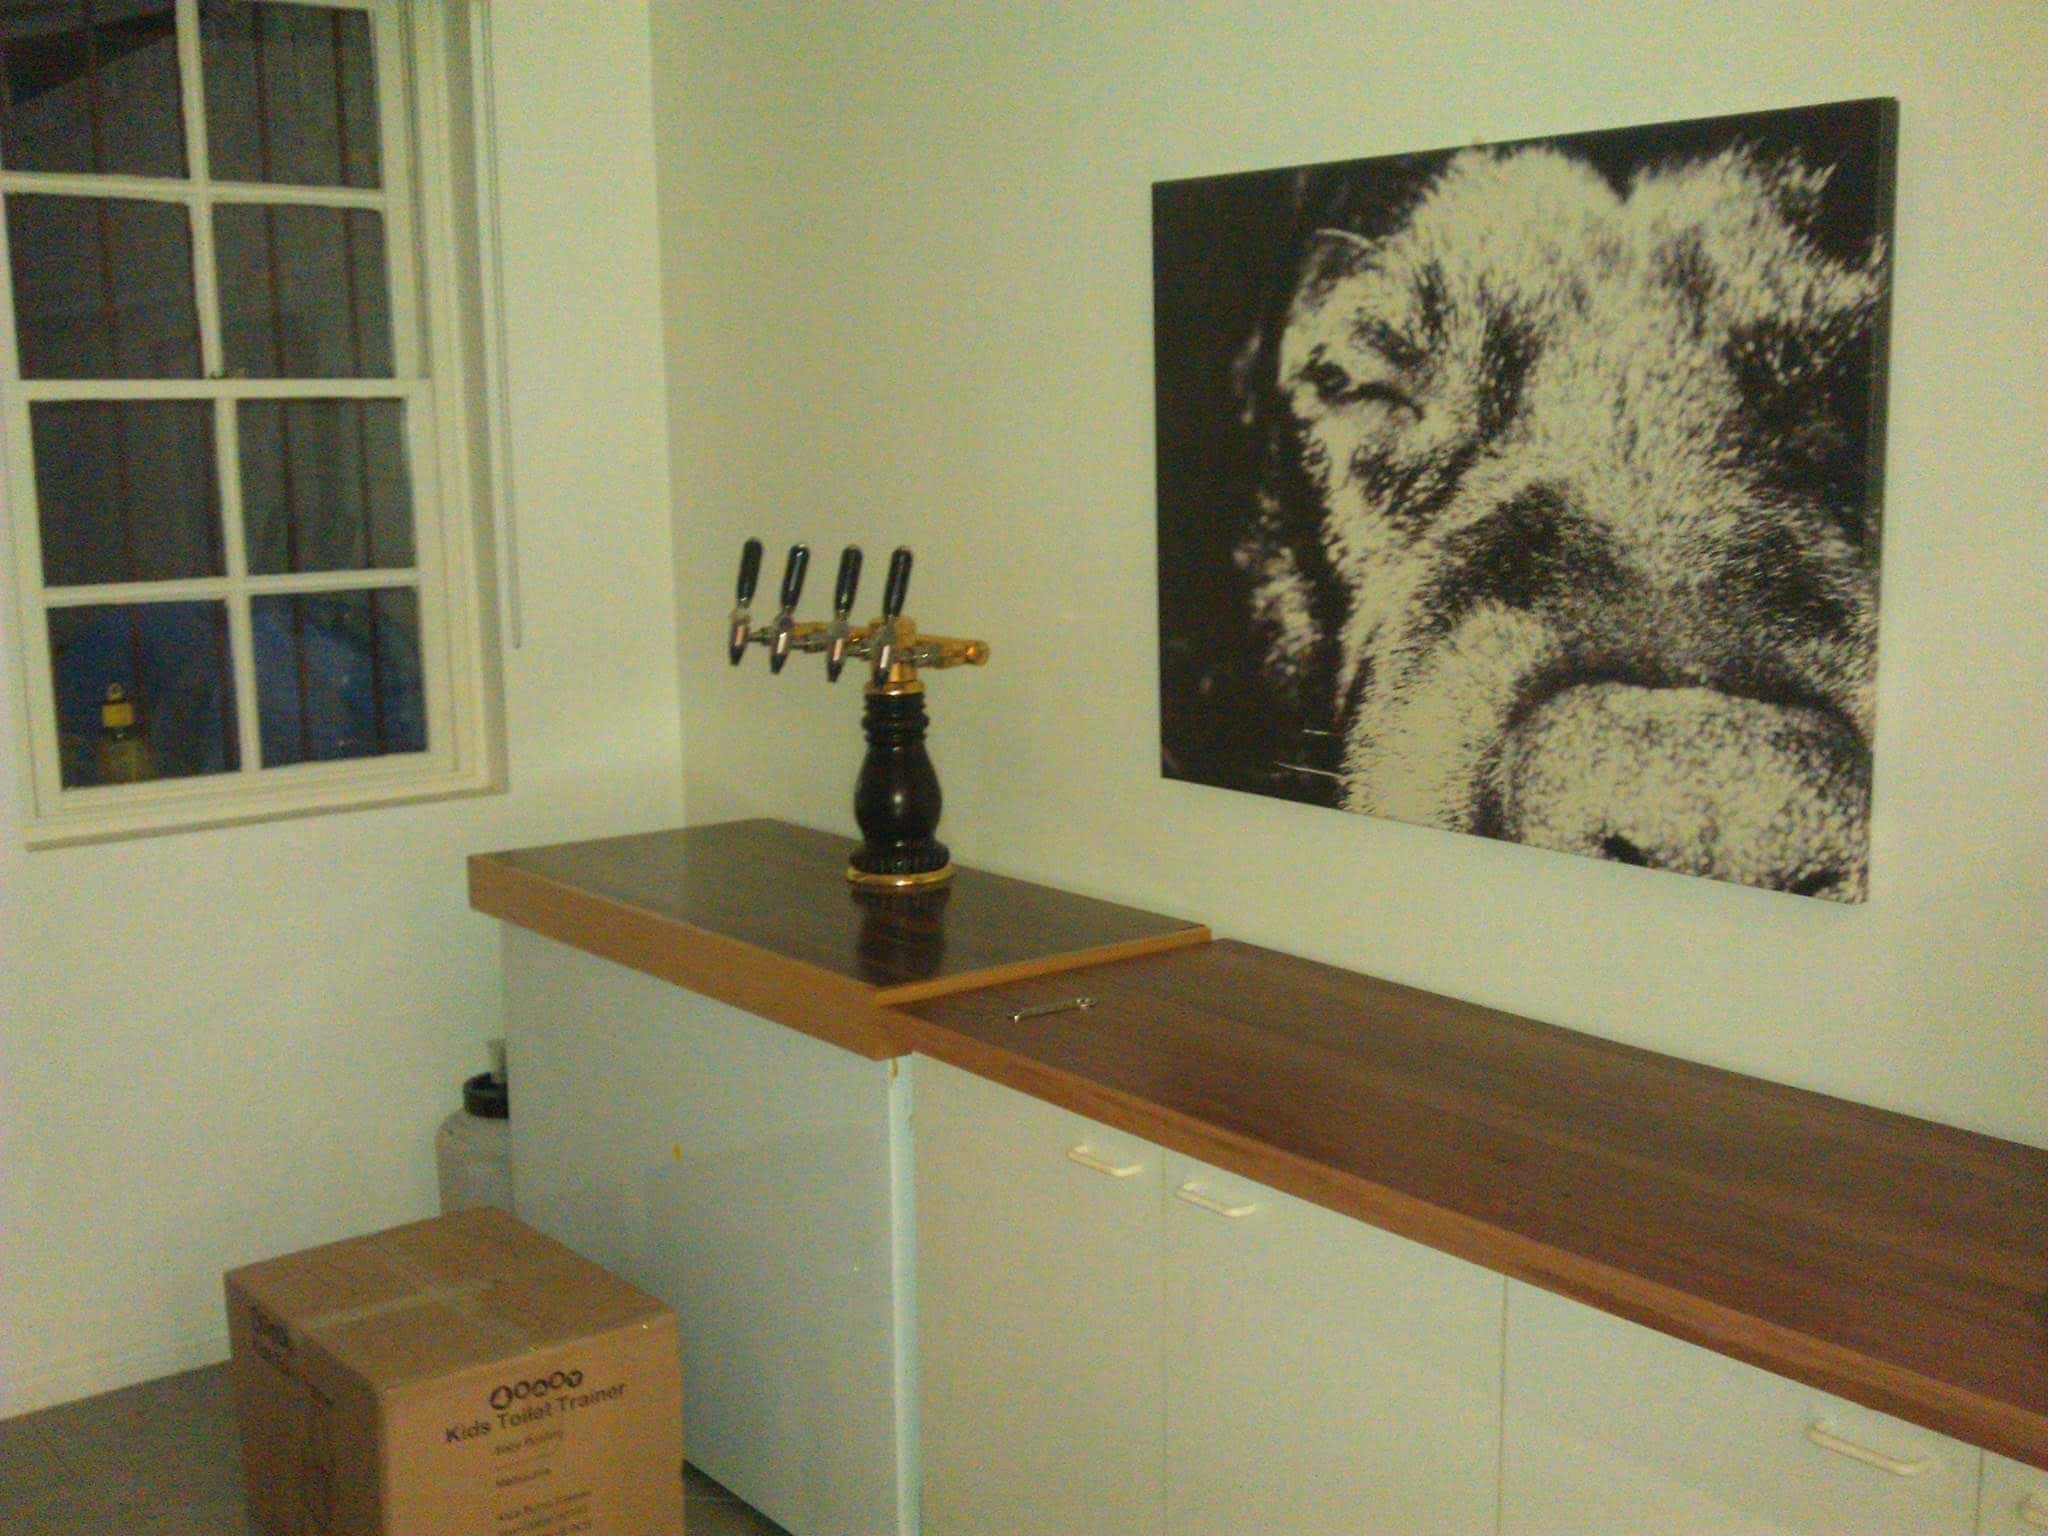
Not happy with putting baby in the corner, I wanted to make it look like she belonged.
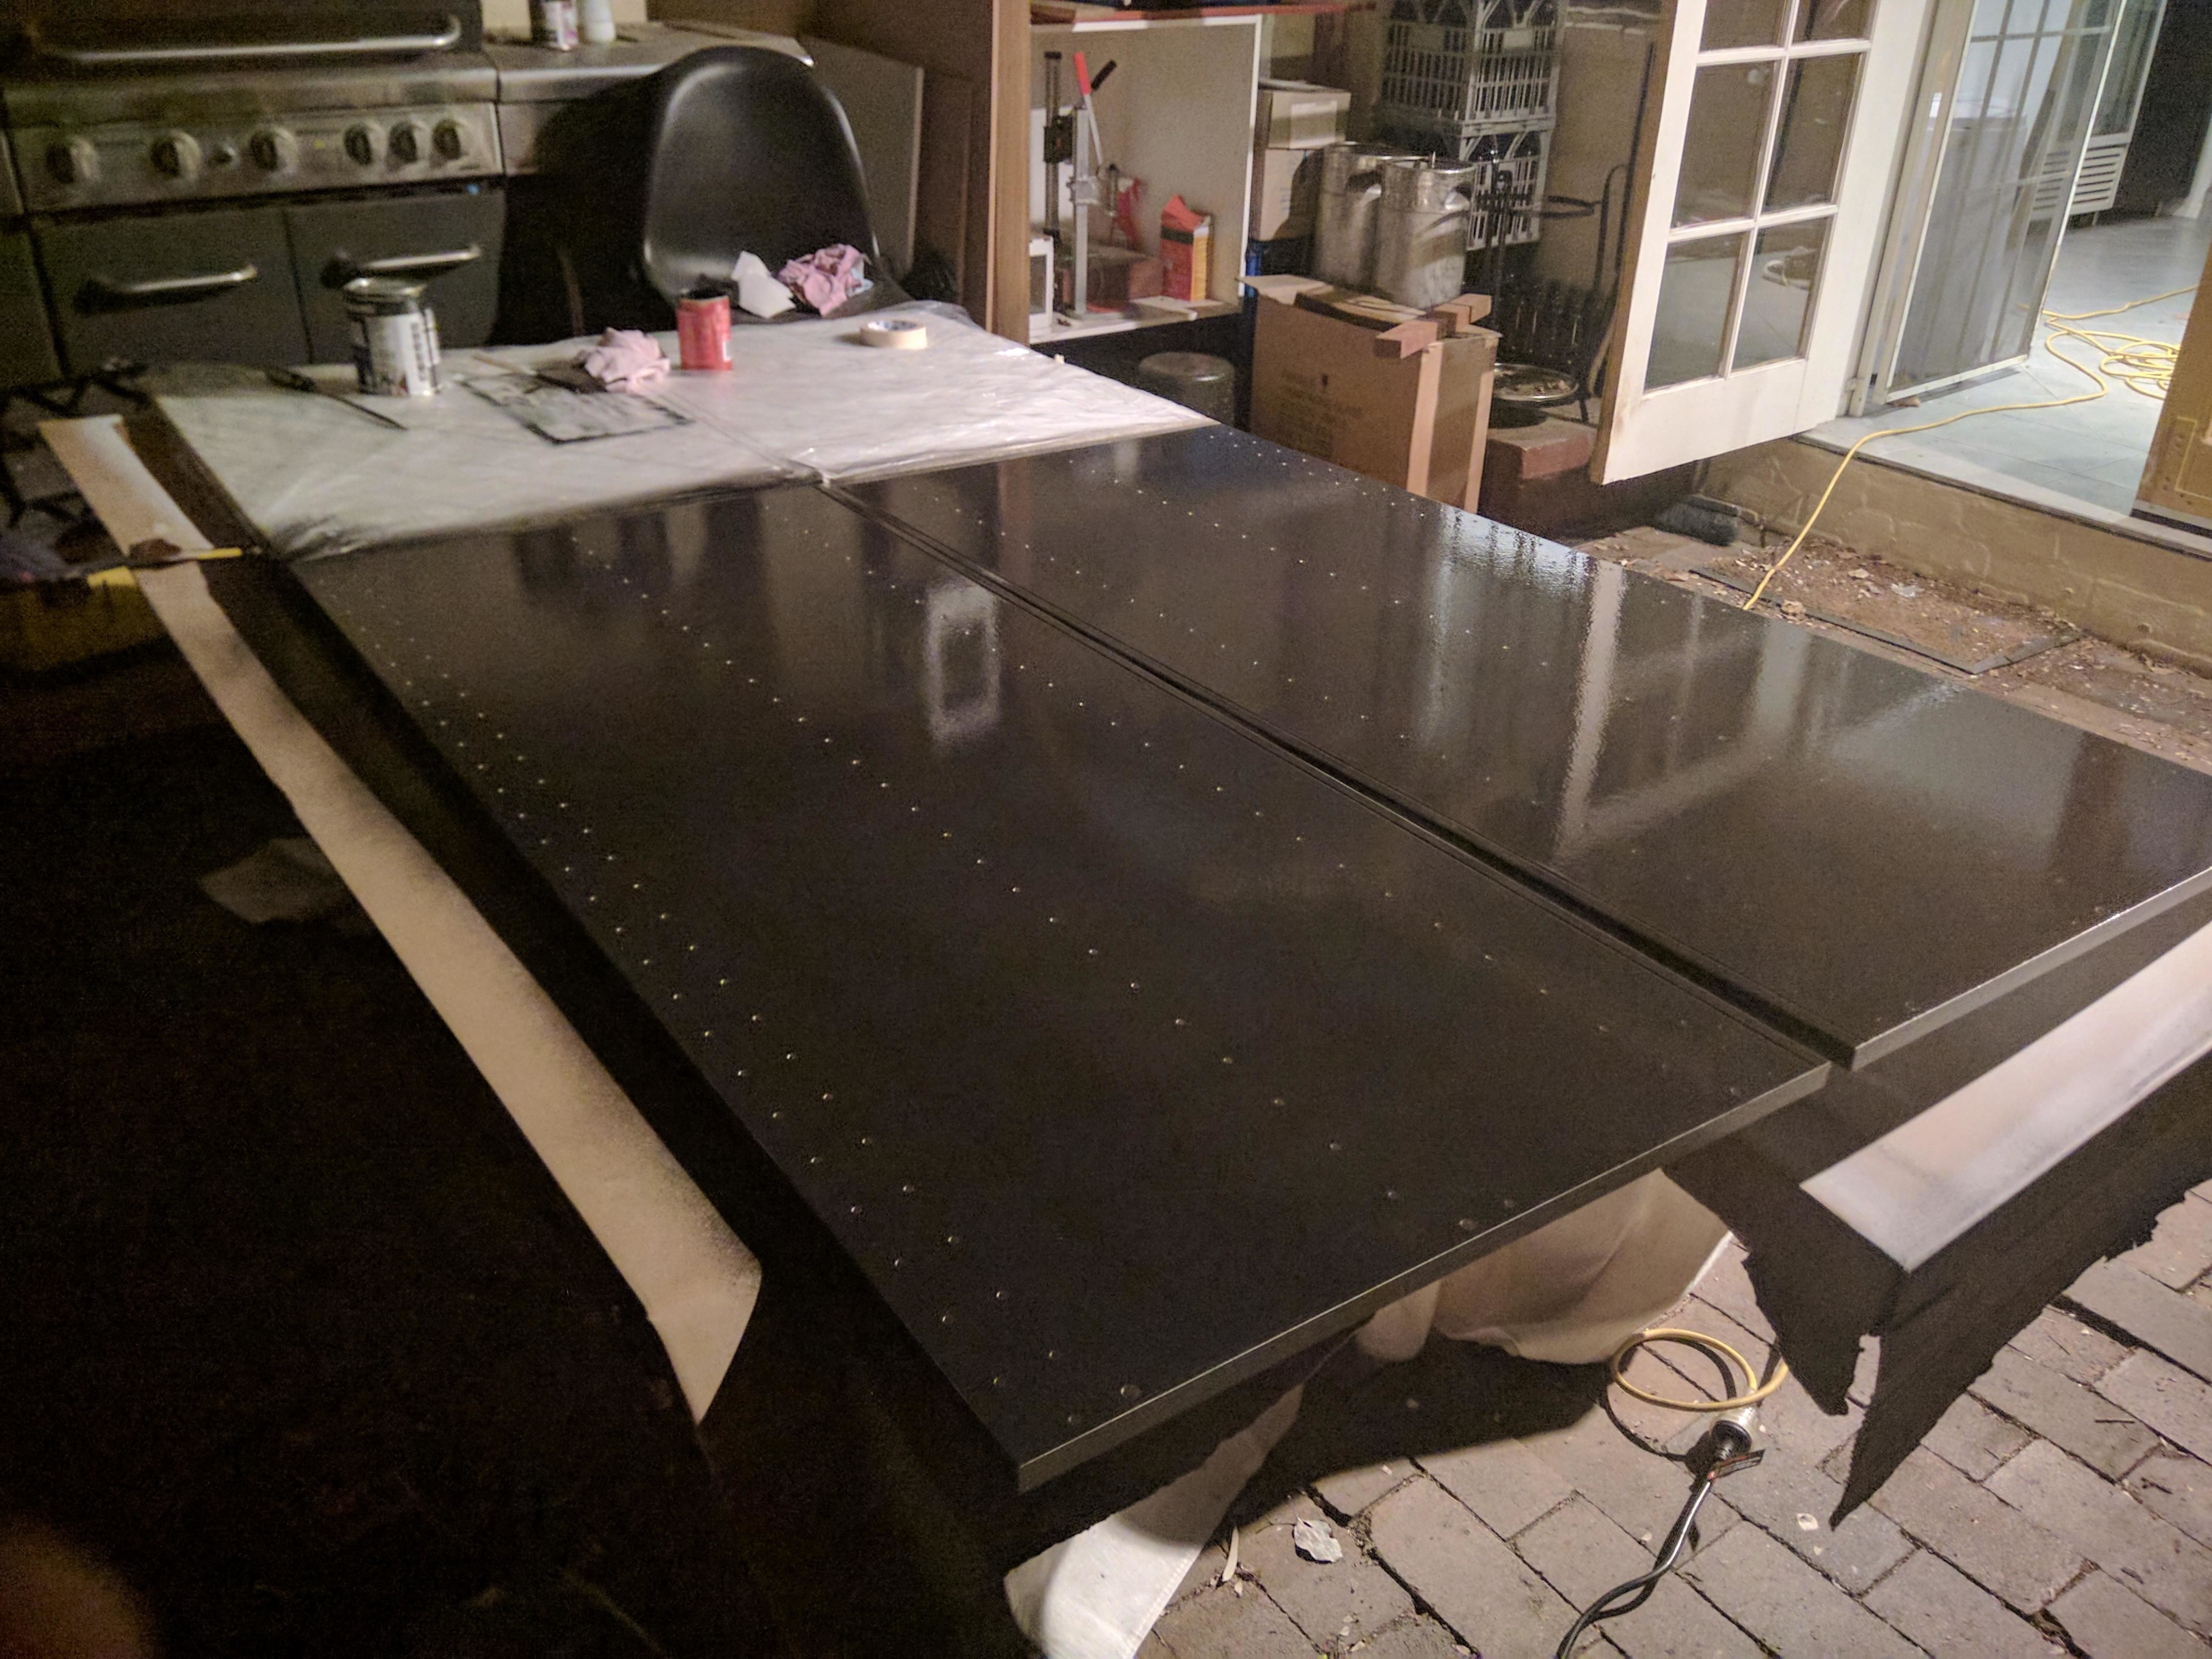
I took off to the local Bunnings and picked up a sheet of melamine the same width of the top and glued that into place.
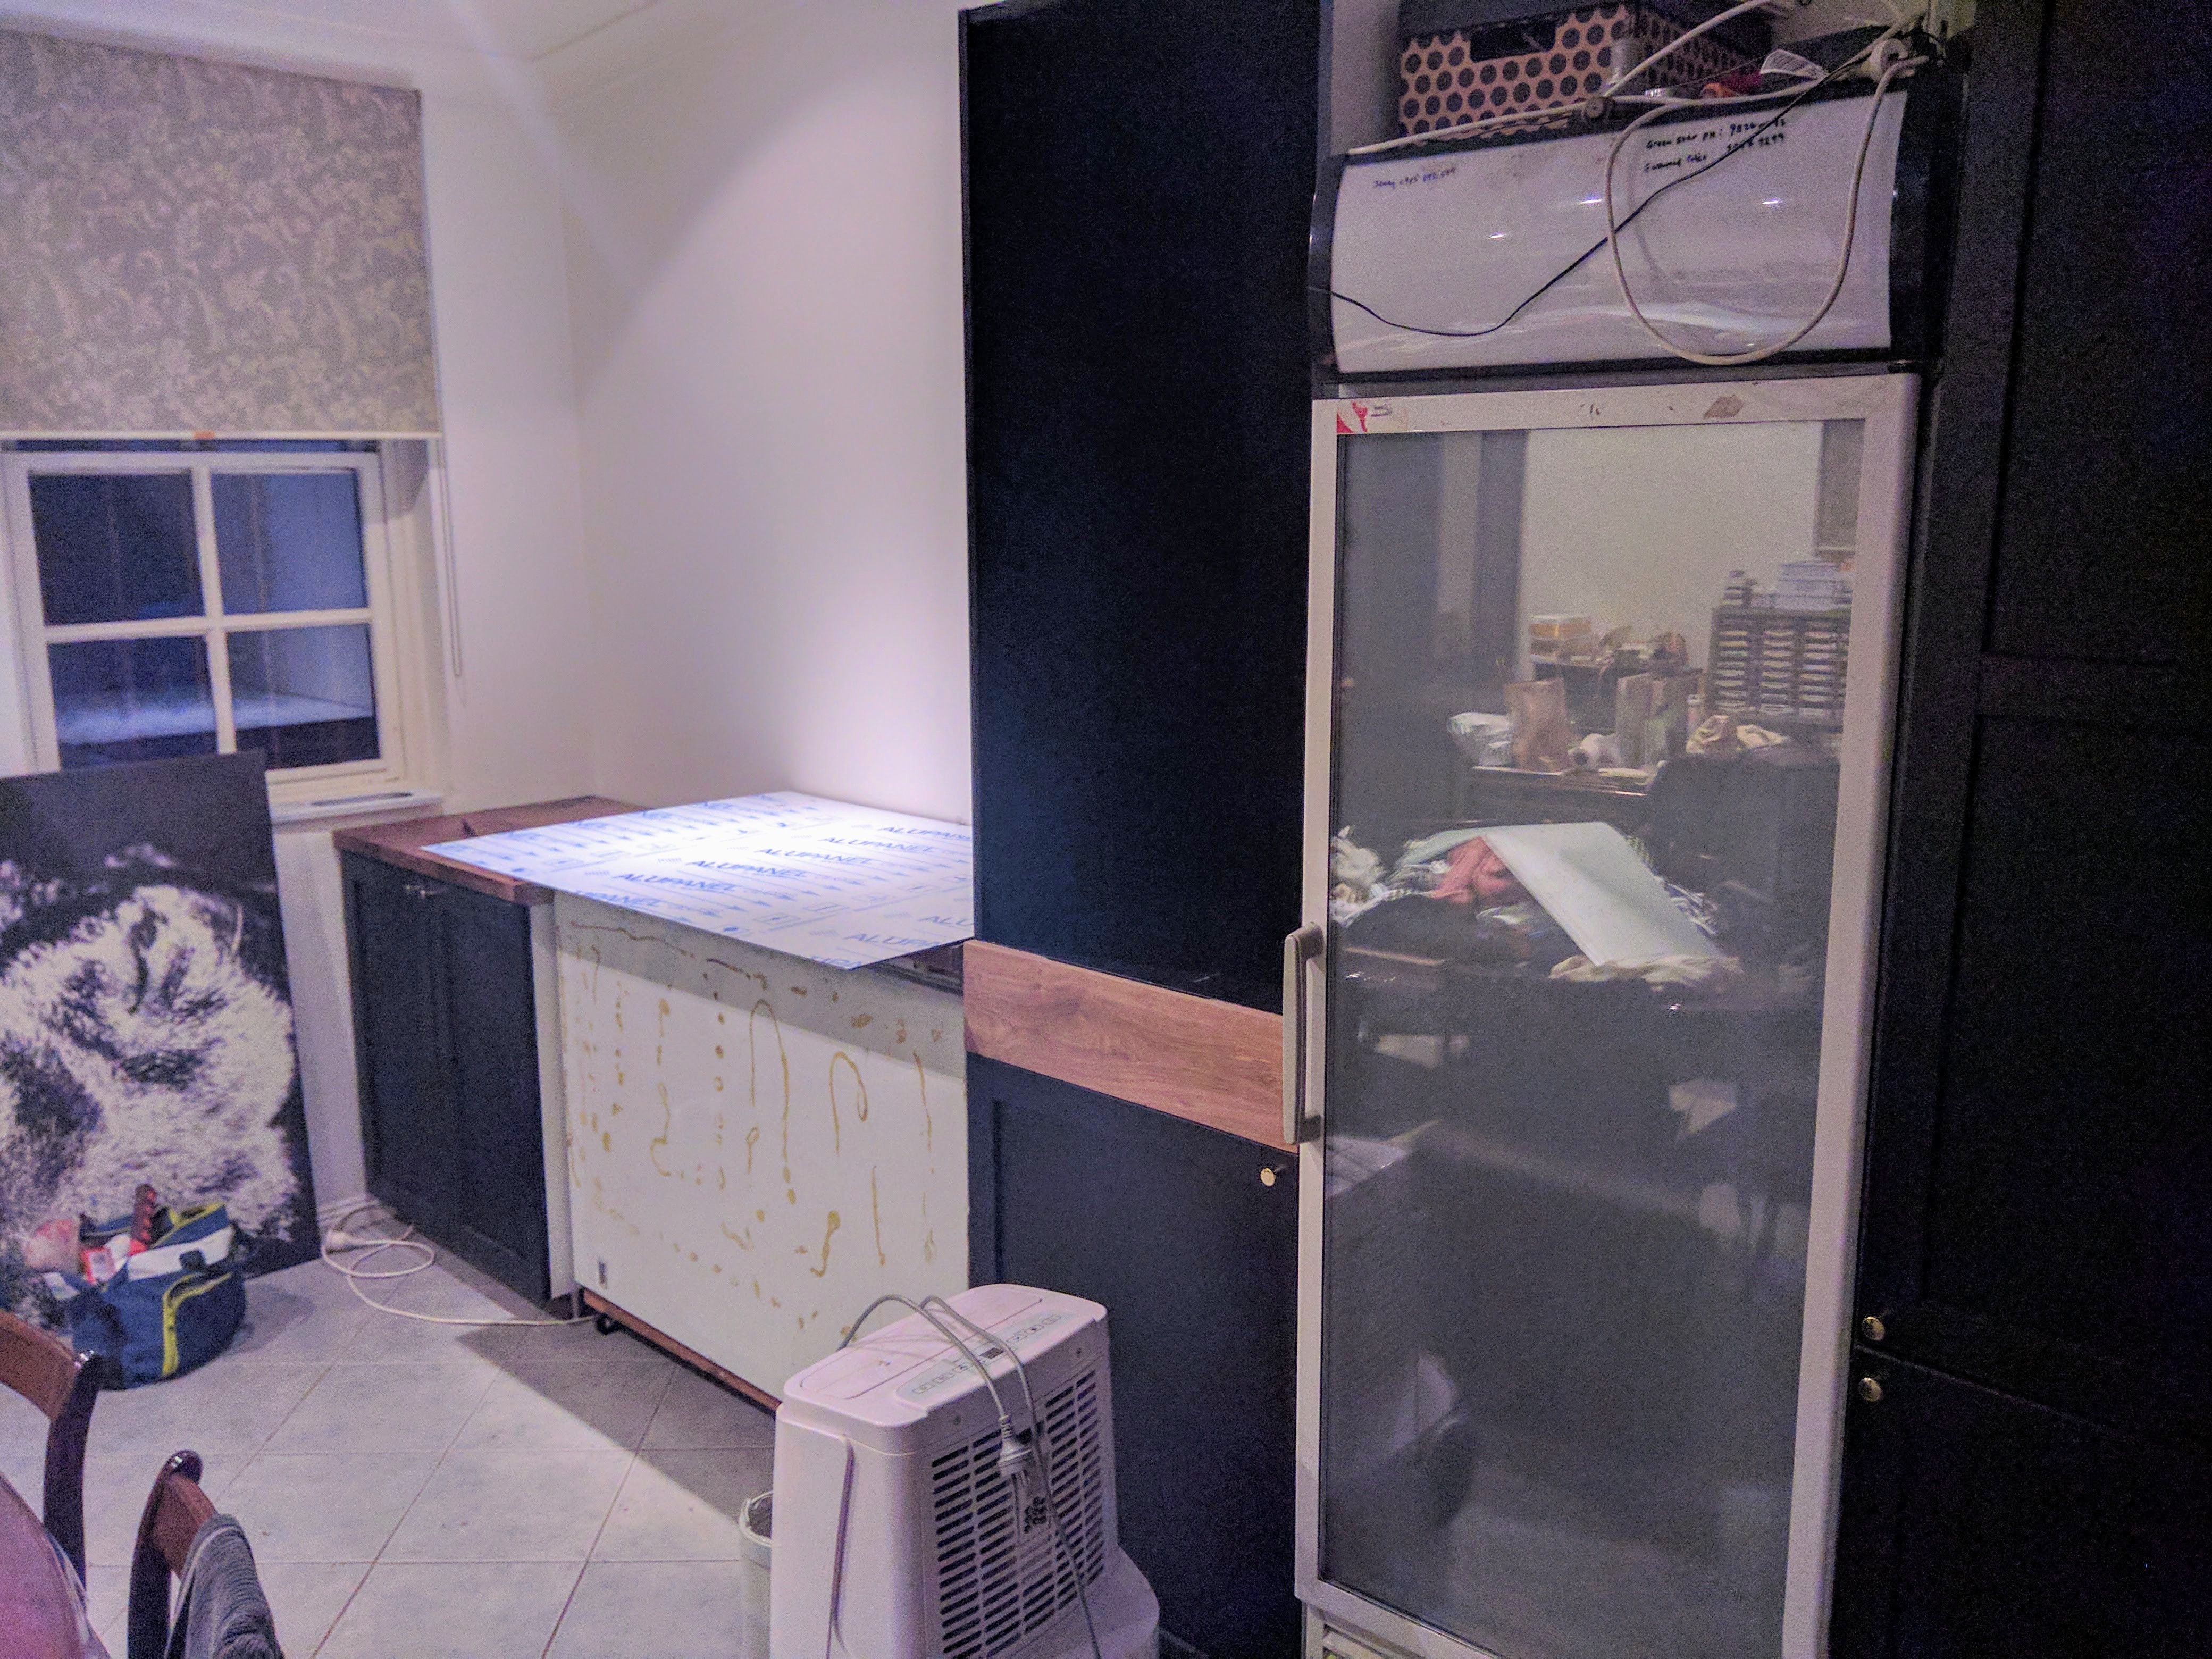
I split the kitchen cabinet in two, cut the benchtop down in two and put the keezer in the middle.
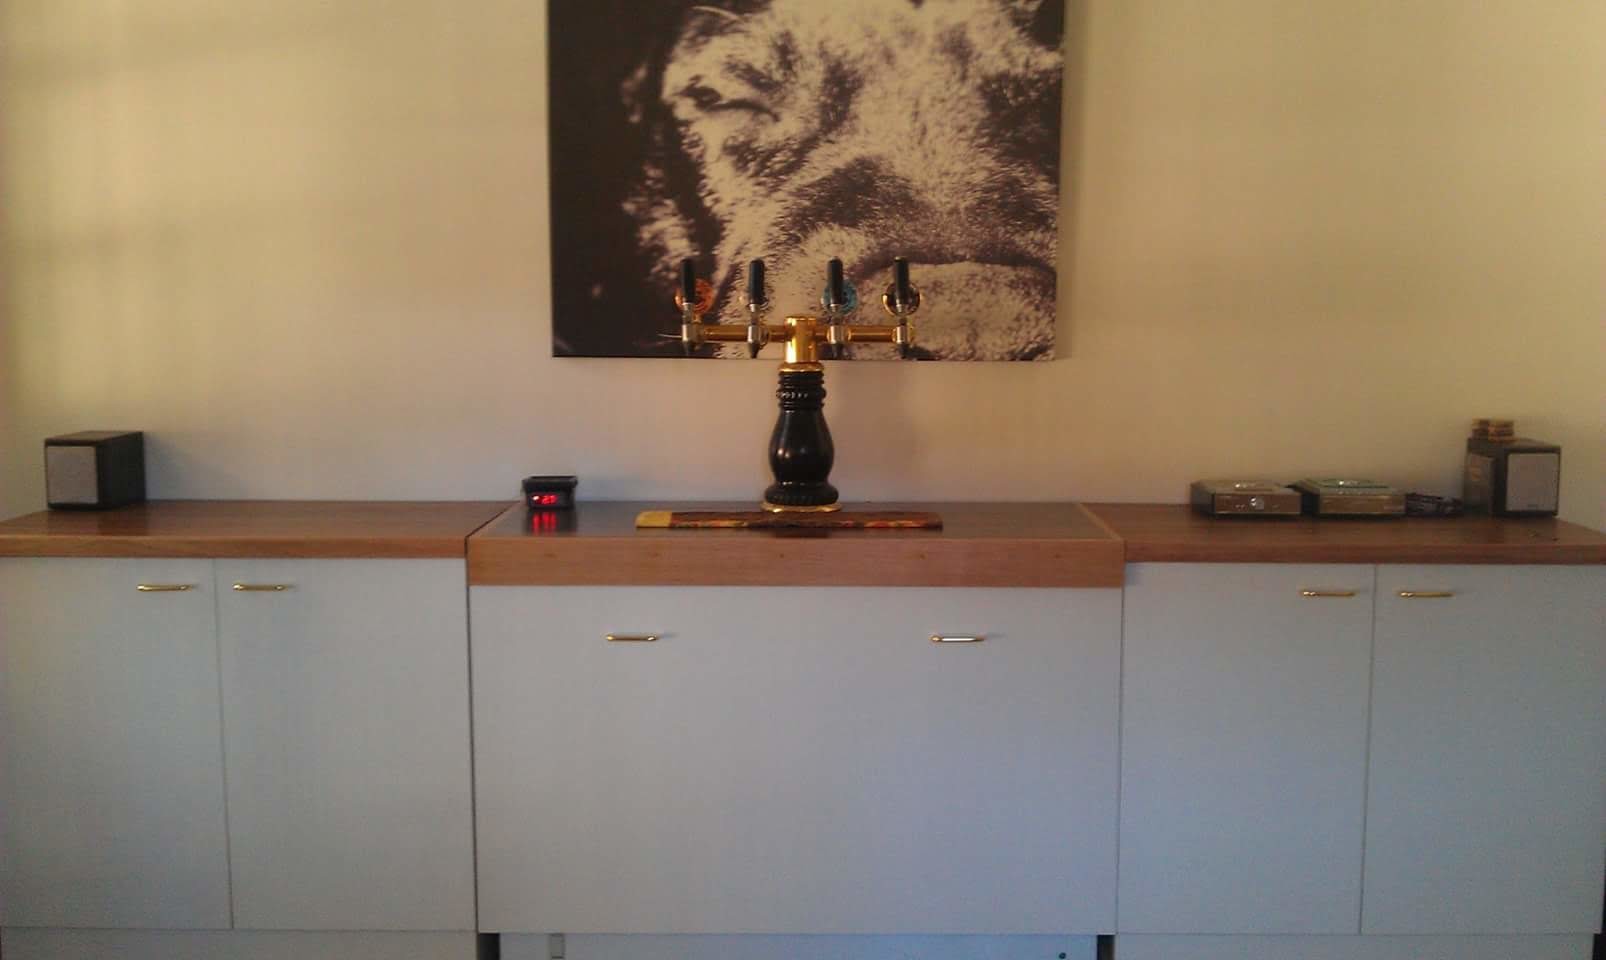
Levelled it off and made it all sit pretty and flush.
Some new handles and it all looked nice and uniform.
I made a dolly for the keezer to sit on and make it easier to slide in and out to open up the top and change the kegs over.
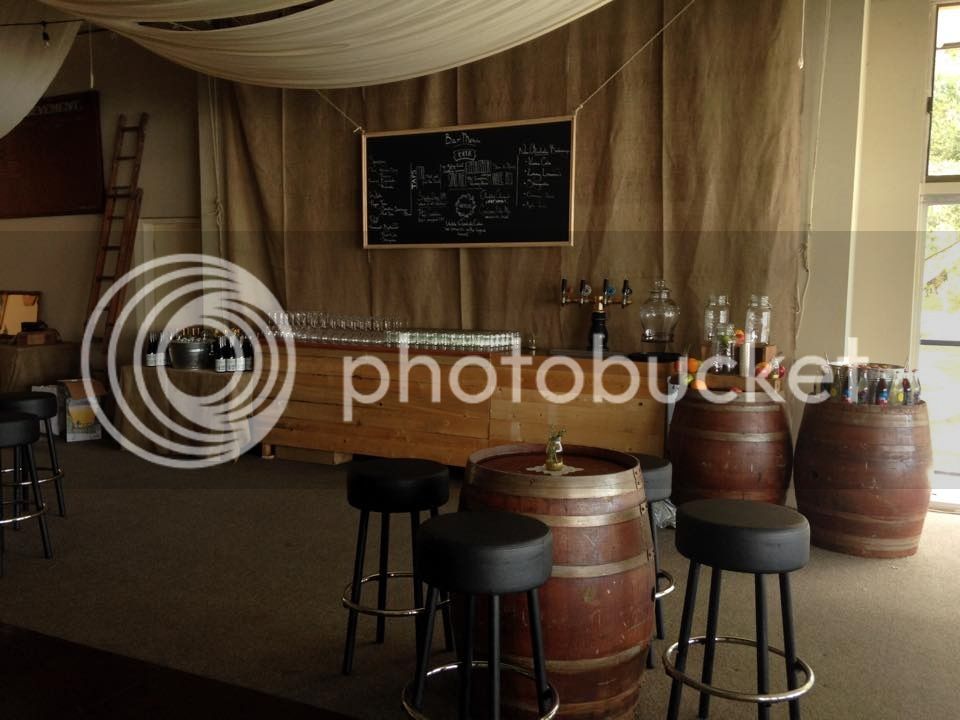
Then came the big day. The wedding.
All these purchases fell right into place with the missus agreeing that we should cater our own wedding and I could do the beer.
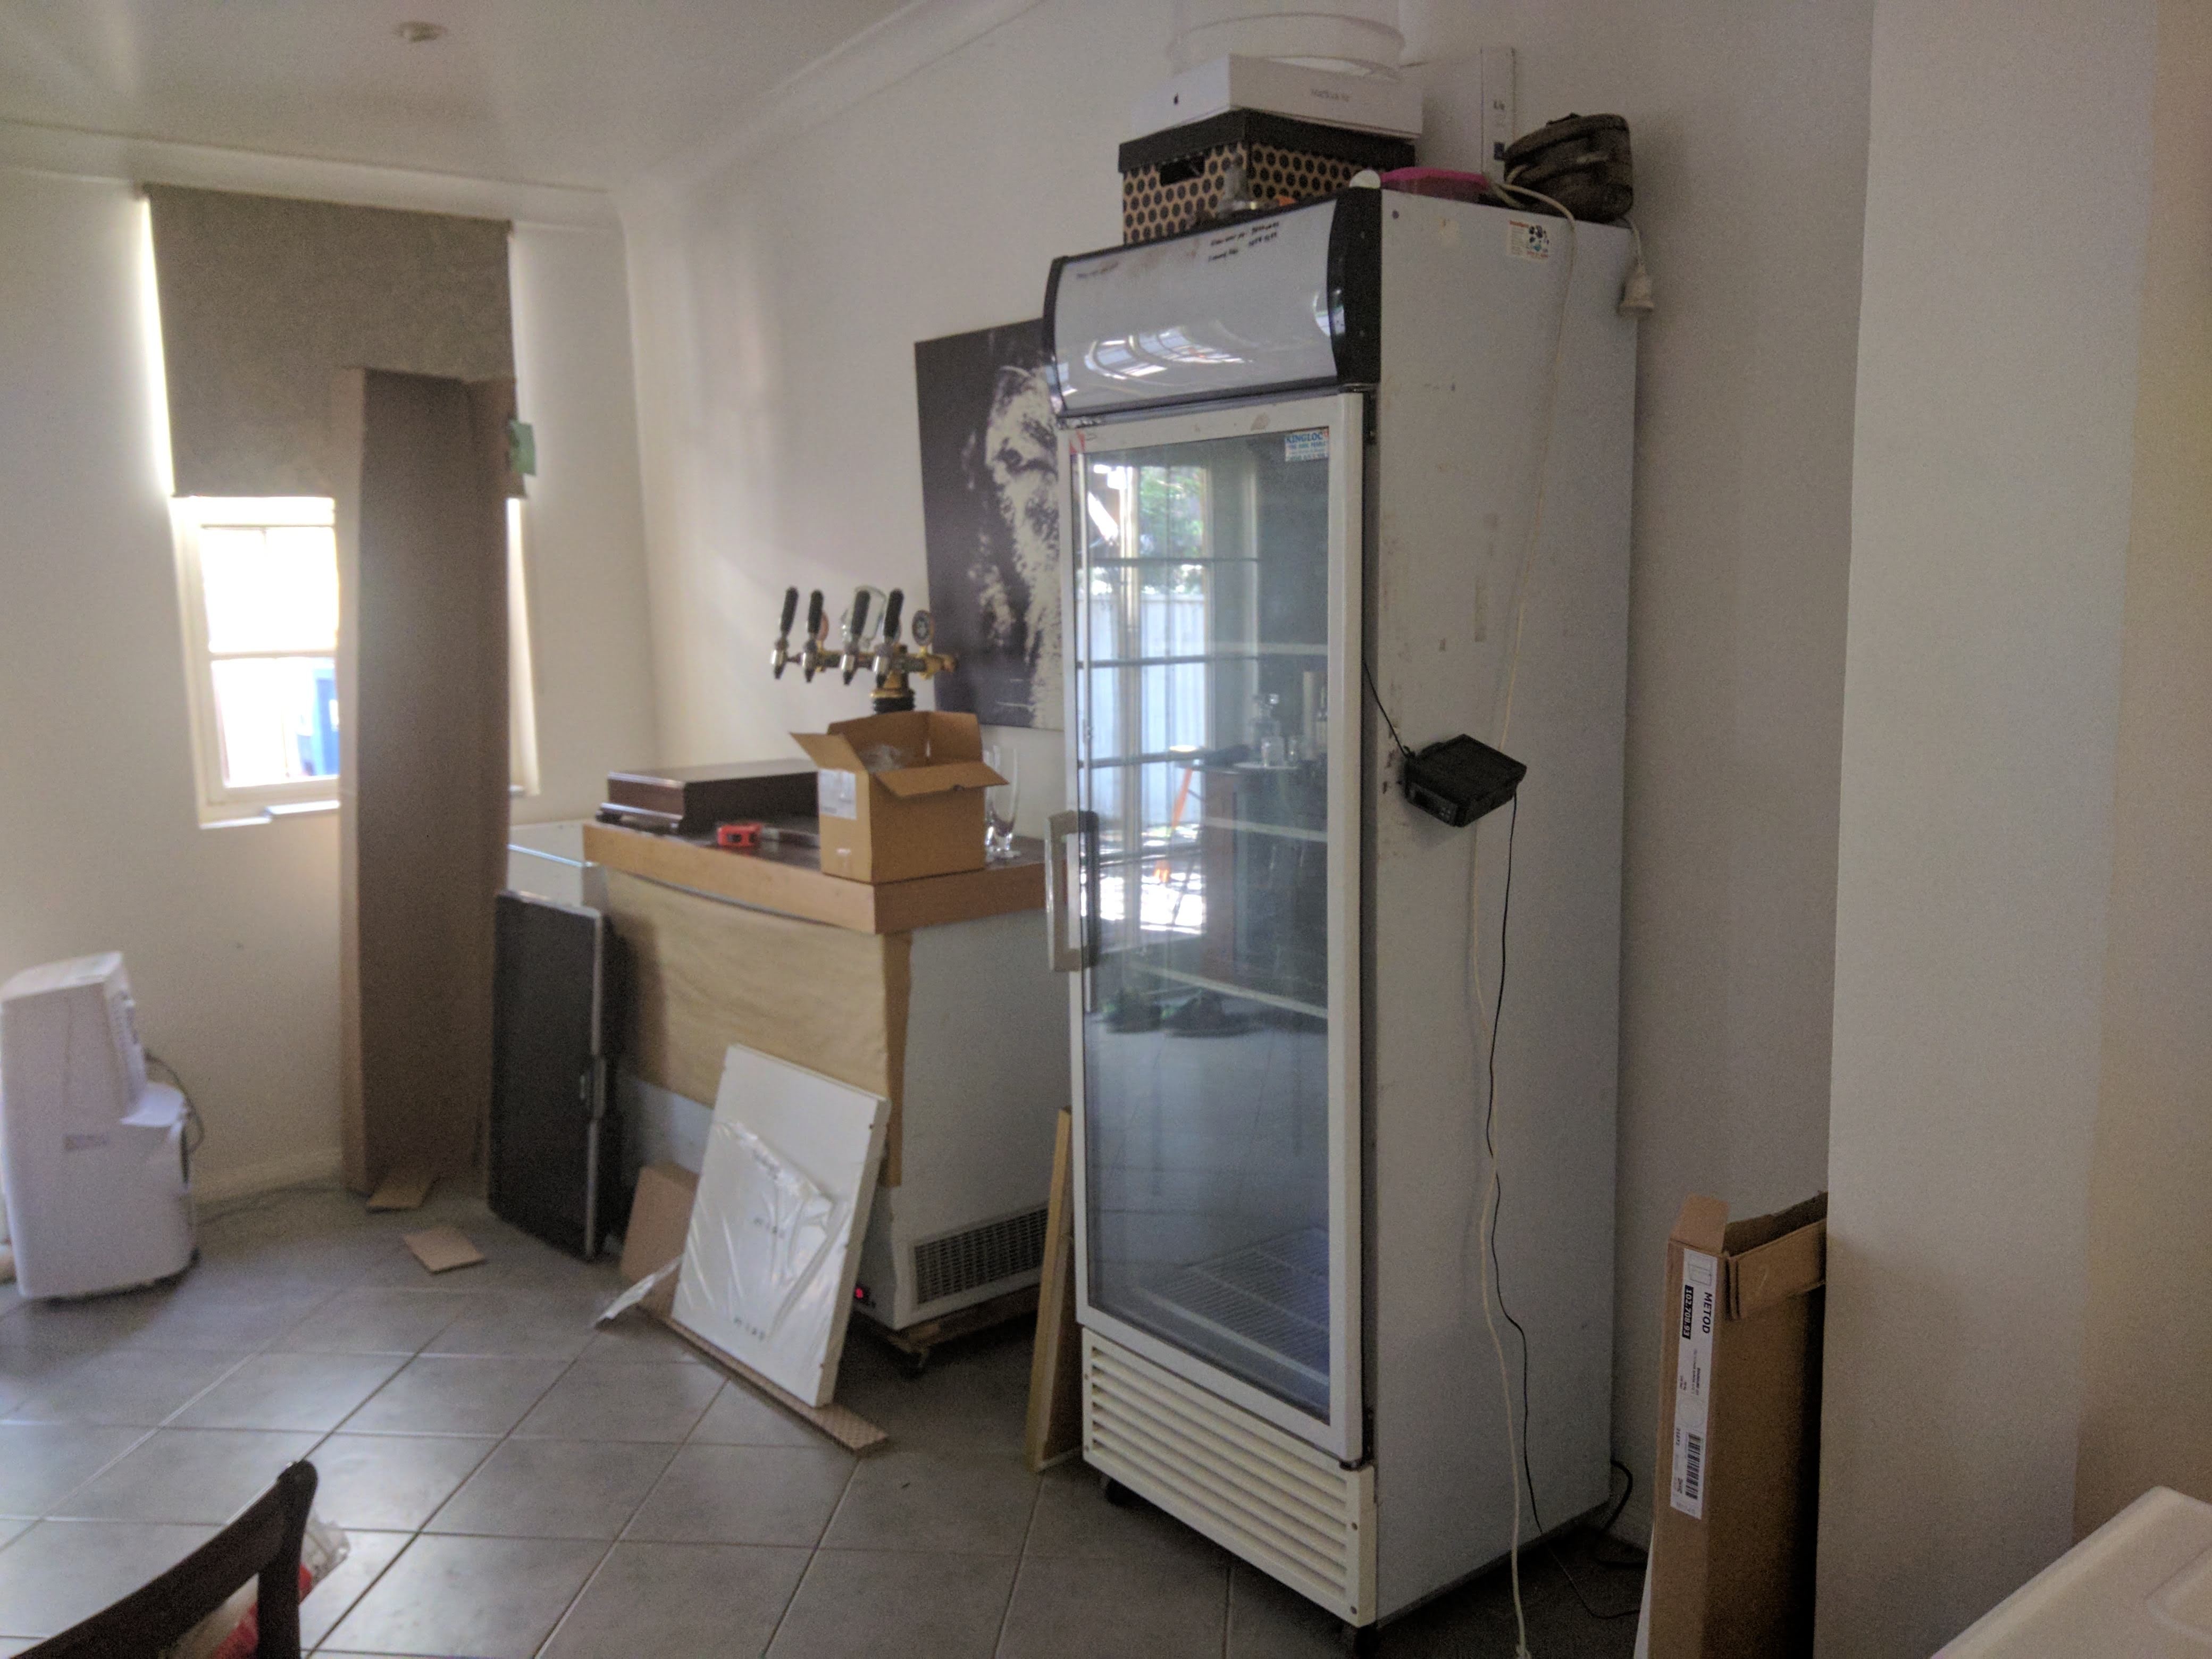
The next main purchase was a commercial fridge, again from Grays for another $300. This was the new fermentation fridge
The keezer came out of the house, got a facelift and served a good 100 or so thirsty patrons.
But alas, after the wedding, she never really was the same...
But space, funds, life got in the way.
Over the past 4 years I've slowly worked towards getting all the pieces together and building it.
Here's the first Keezer I built with the thoughts of grandeur...
I scored the chestie from Gray's for about $300. Brand new with a ding or two in the side.
While on a trip into Melbourne, a guy I found on Gumtree was stripping out his pub and doing a refit.
The Font came in at only $100. It had a few nicks in it from time, but a little filler and primer, then a coat of paint made it look brand new.
The Andale taps I sourced from Ebay for about $25 each I think from memory.
The top was some laminated flooring planks from Bunnings and the trim was done in Teak. the flooring came from a broken pack, so I managed to get the panels for $20.
Then a hard coat of 2pac Estapol to finish it up.
Not bad for the first build.
Then we moved house.
The Keezer could come inside.
I made a benchtop out of recycled floor boards I sourced from a building site and scored an old kitchen cabinet again on gumtree for nix.
Not happy with putting baby in the corner, I wanted to make it look like she belonged.
I took off to the local Bunnings and picked up a sheet of melamine the same width of the top and glued that into place.
I split the kitchen cabinet in two, cut the benchtop down in two and put the keezer in the middle.
Levelled it off and made it all sit pretty and flush.
Some new handles and it all looked nice and uniform.
I made a dolly for the keezer to sit on and make it easier to slide in and out to open up the top and change the kegs over.
Then came the big day. The wedding.
All these purchases fell right into place with the missus agreeing that we should cater our own wedding and I could do the beer.
The next main purchase was a commercial fridge, again from Grays for another $300. This was the new fermentation fridge
The keezer came out of the house, got a facelift and served a good 100 or so thirsty patrons.
But alas, after the wedding, she never really was the same...

 . I've been chasing one of those ceramic fonts for ages, they do add a touch of class to any kegerator / home bar.