Shred's (almost) Nil-cost Brewery

Australia & New Zealand Homebrewing Forum

Help Support Australia & New Zealand Homebrewing Forum:

This site may earn a commission from merchant affiliate links, including eBay, Amazon, and others.
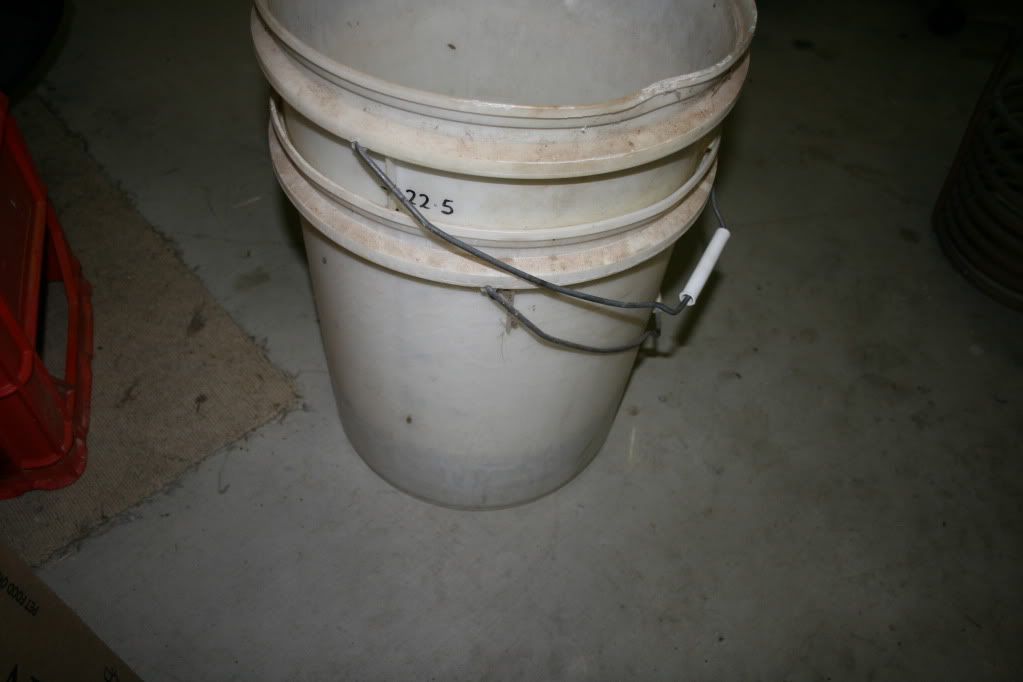
Yeh they'll scrub up ok. Nothing a bit of Napisan and a scrub won't fix. Mind you, once this all becomes "brewery equipment" then it gets the full cleaning treatment but until then it remains just a pair of buckets, 1 with holes in it.

Speaking of which, I came home with my awesome and shiny new multi-grips and fitted the element firmly and watertight. Well ok, I worked out that I could probably tighten it until I went through the bucket but if that silicone washer inside keeps going off to the left like that then water will still get through. Loosened the element off, turned washer around and held in place while it was all tightened and woohoo it's watertight! Tbh, I didn't need the multi-grips but they'll come in handy sometime soon enough.

Love my obvious answer tho? heh. "If it doesn't fit, get a bigger hammer!". Buying a new tool which I didn't actually need to correct the problem.

Just about to plug it all in and fire up a 1/2 bucket boil to see if it works or if I mop out the garage. Depends on when the Mrs gets home, I want someone there to whack me with a plank of wood if something goes wrong while I'm mucking around with electricity and water in the garage.
 
You sound dangerous :p

Btw, I've got your bag (or half) of grain now. Gimme a yell anytime, I'll probably get around to weighing and splitting it sometime this week.

PS: will pm u
 
@practicalfool, I'll be in touch for sure mate!! Cheers!

Hrm well I managed to not kill myself and plugged my Bucket Of Death in, and it didn't spark or smoke. It heated nicely. I was only using about 1/3 bucket of water just to test if it would seal, heat and sustain a boil for a while and it almost worked.

About 10minutes into the boil I noticed wetness in the grout of the tiles (was doing this on the back patio in case something went wierd on me). So I moved the bucket about a metre over and water was definately leaking out of where the element is installed. I've probably buggered it up somehow but I'll order a new pair of silicone seals (getting 2 this time: 1 for the inside and 1 for the outside) and try it again. I've probably mashed up the supplied silicone seal by tightening it too much before realising it was not centered correctly. Meh... :chug:
 
Get a silicone baking sheet and cut ur own silicone seals ;)
 
No, I do NOT hoard crap.... As I tell Wifey, this is ALL important, useful, valuable and required. No further discussion!

I hear ya, spent the weekend cleaning up my own shed. Another skip full of useful, valuable possessions ready to leave forever :(

BTW you have the most awesomely ghetto brewing setup I've seen yet ;)
 
as you say sodium perc to clean out the buckets.

Mix up a vinegar / salt / water solution & soak the chiller in it. that'll clean it up. don't leave in too long or it'll turn black.

PF's on the right track with silicon bakeware for diy washers.
 
OK so I re-adjusted the element again, the silicone washer was perfectly intact and not damaged like I thought it was. I loosened it all up and centered it a little better by holding it with one hand and tightening the nut with the other just to the point that it is tight and the silicone washer starts to compress. I found that I had to keep my fingers holding pressure around the washer as I tightened it or it would always slip to the left a little. I read somewhere not to overtighten to the point that it gets disfigured so I made sure I did that correctly.

Re-tested by leaving a FULL bucket of water for a day on the concrete in the garage, no drips, not even dampness. Fired up the element with 1/2 a bucket it in again, heats fine, starts the boil fine, 10mins into it and it dribbles out of the bottom again. I'm just going to use some silicone sealant on the outside of the element fitting (over the nut, thread and plastic surrounding the hole). I checked, the silicone I have is rated up to -60something to 150'c If that doesn't stop a small slow leak after boiling for 10mins then nothing will!!

So on to the Great Ancient Chiller Cleansing Debacle. Well, it's not a debacle yet but give me time and I'm sure it will be. So far I've soaked it in a full bucket of water with napisan (and some left over sod perc I had lying around). Foamed up and went nuts, left it overnight and it has removed alot of the gunk all over the chiller but I still want to get rid of the green bits (verdi?) before I use it. I'll try the vinegar/salt trick crozdog mentioned and see how it works. I could always just actually scrub the bugger harder I guess.... Firstly though, I need to hook the bugger up to some hoses and make sure water actually flows through it and it's not full of ants or hornets nests or whateverthefuckelse. I would hate to have a nice shiny clean blocked up paperweight.

....almost ready to do a mash in this setup....

Time to write some Q's for the more experiences mashmasters and mathsbrains about volumes etc with this particular setup...
 
Shred,

I've just moved from Port Douglas to Brisbane after many years. Get yourself along to Bluesky and meet Hayden the brewer. There is an active and growing AG scene in Cairns and FNQ, for instance just this weekend is the competition up at Yungaburra which is always good fun. We do Big Brew Day every May and there are regular meets for brew days, swaps, etc. Hayden is good enough to organise bulk buys of grain and hops twice per year at the brewery so get along and meet the guys. Alot of good and very helpful brewers. They can also get you onto the email list. I actually sold all of my AG gear to one of the guys before I moved down here (bought a Braumeister) so there is stuff around from time to time.

Cheers - Brett.
 
Cheers Brett! Grats on the Braumeister!

I actually got onto the FNQ mailing list a few weeks ago so I will be meeting and joining in the other brewers soon enough. I missed out on the last grain bulk buy as I wasn't ready for going AG then, but another one will pop up soon enough. Haven't yet met Haydon but that will happen soon enough, I have only heard good things!

I was planning to go up to Yungaburra yesterday to sit in on the beer judging but unfortunately I had to work. I had no beers ready to enter the comp so I'm waiting to hear the feedback about how it went and what the judges thought. I'll make sure to have some brews ready for the next comp I hear about tho!

My fermenting fridge has been found (well it was available as of last week, hopefully it's still there for me). Next I need to get my temp controller, wire it all up and get the fridge delivered home. With luck, it is only a matter of weeks before I will have a complete AG brewing setup.

Just working out what I need to ask about how to make by Bucket-In-Bucket system work. It's not as easy as designing one from scratch where I have control over all of the different parts but that's the fun of it!!

Cheers,
Shred.
 
OK well I've tested out the Bucket-in-Bucket mashing setup and it works pretty well from what I can tell, well it made beer!

I only had about 2kg left over grain so I used that and topped up the final gravity with some other bits and pieces like LDME, a bit of cane sugar and some spices to throw together a Spiced Xmas Ale for the in-laws. I think I went a bit nuts with the additives as OG in the ferementer was 1.072, meh we'll see how it turns out. I have a batch of grain arriving in the next couple of days to do a full volume AG batch with this setup now that I know that it works well.

With the mash bucket inside the kettle bucket it seals together along the sides but leaves about 5.5L at the bottom where the element is. This is the old pic but you can see the dark part at the bottom between the buckets.
IMG_5406.jpg


This means that I need 5.5L more strike water than what I need to mash in and my thoughts say that it also means that I can ramp up temps by turning the element on and recirculating via jug out of the bottom and pouring in the top over a plastic lid resting on the grain bed.

I didn't bother getting pics of the first brew but I'll get some of the next one later this week...

So I got my 11L strike water up to 71'c and doughed in dropping it back down to around 66-67'c. Mashed for an hour (I recirculated a few times with the jug). Ramped to mashout @ 78'c via the jug again with the element turned on and left for 10mins. Raised mash bucket and let drain for a minute while holding it then moved mash bucket to the spare fermenter bucket to let drain and do the 1.5L sparge while starting the boil. Boiled for just over an hour with hop additions and adding the spices in the last 10mins (at the same time as I dropped the cleaned chiller in the boil). Stopped the boil, hooked up the chiller and chilled to about 38'c in 15-20mins, transferred to 10L fermenter and left to cool to pitching temp. Currently bubbling away happily....

I like it so far, was a pretty simple process.

I'll update with full-batch pics later this week.

Cheers,
Shred.
 
Back
Top