nala
Well-Known Member
- Joined
- 16/2/10
- Messages
- 262
- Reaction score
- 46
I begin this topic by acknowledging that Bribie G is the instigator of brewing in a bucket, I have merely embellished
what he conceived as a good potential method, I have introduced a recirculating method to his original efforts.
Firstly a geometry lesson for Michael in readiness for next bucket trial :

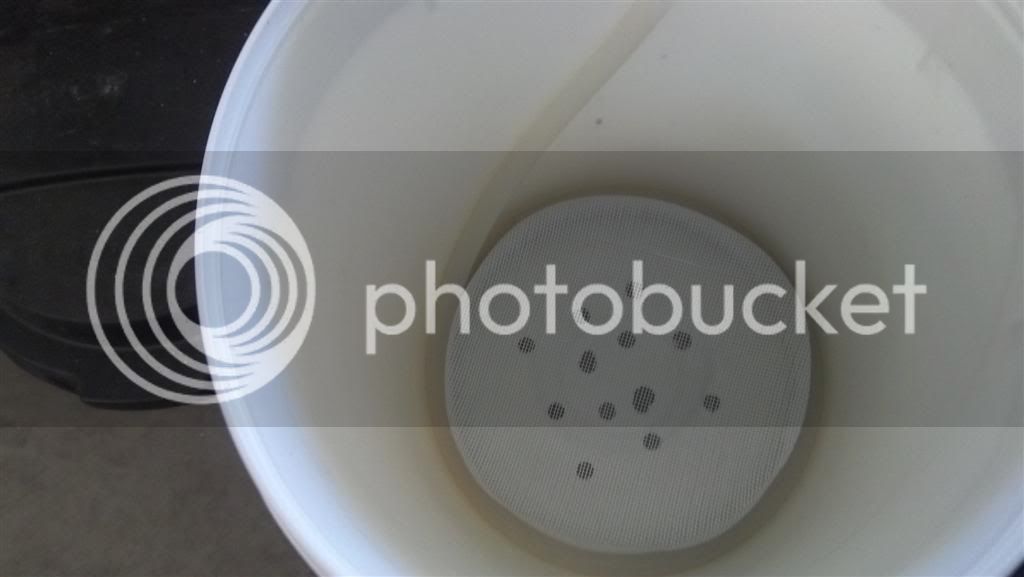
This picture shows the bottom of the handy pail, firstly cut off the centre projection and drill a 6mm dia hole.
Around the rim there are equally spaced projections, bisect these through the central 6mm hole and mark a line with a pencil.
Mark a drilling point on each alternate line so that the hole you are about to drill is inside your 9" false bottom,
mark drill point on the other lines as per the picture, to drill the holes use one of these :

This is a 10mm dia drill with a little point and is designed for cutting wood or thin gauge metal.
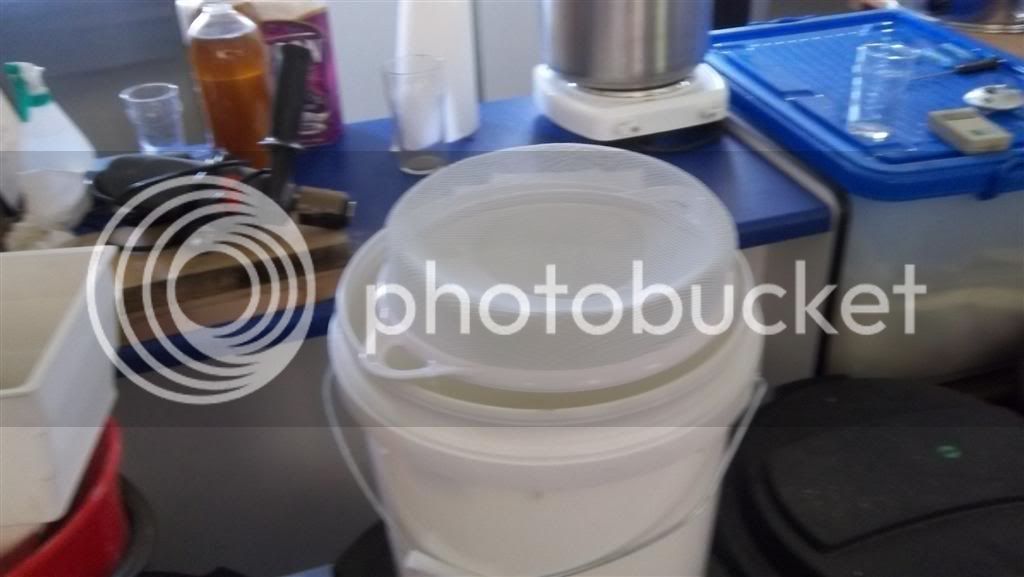
For the false bottom I have used utility items, the first is a collander/sieve from Woolworths, I cut off the handles, flattened the base a little so that when the colland/sieve is lowered into the bucket you get a good fit around the rim.
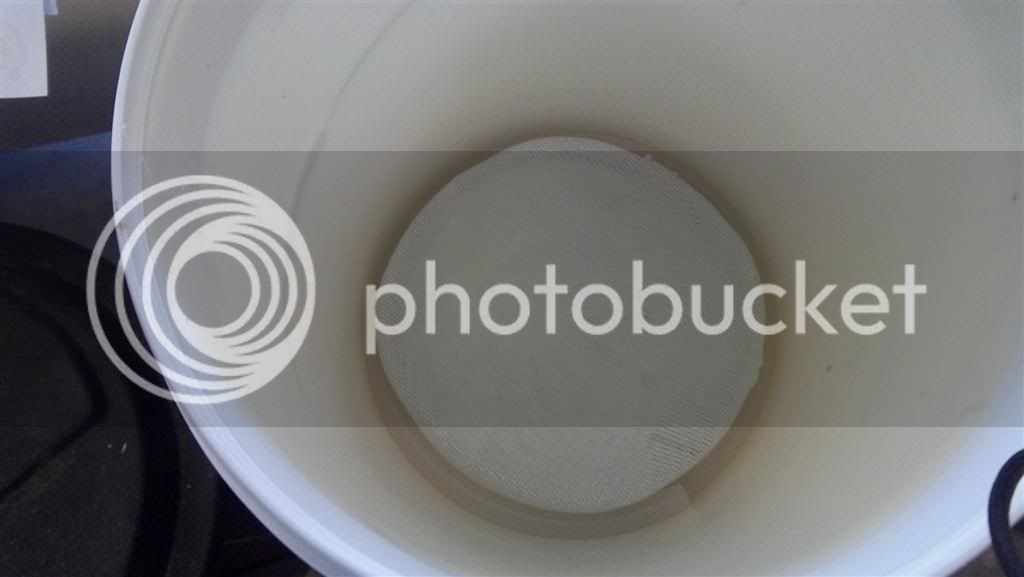
Below the collander I have a disc of fly screen and a piece of coarse material, the fly screen acts as a clamp to the material,
I pierced a hole with a screwdriver through the flyscreen and material and secured them in position with a small nut and bolt.

This a before and after picture of the collander/sieve with and without handles

This shows the false bottom assembly inside the bucket.

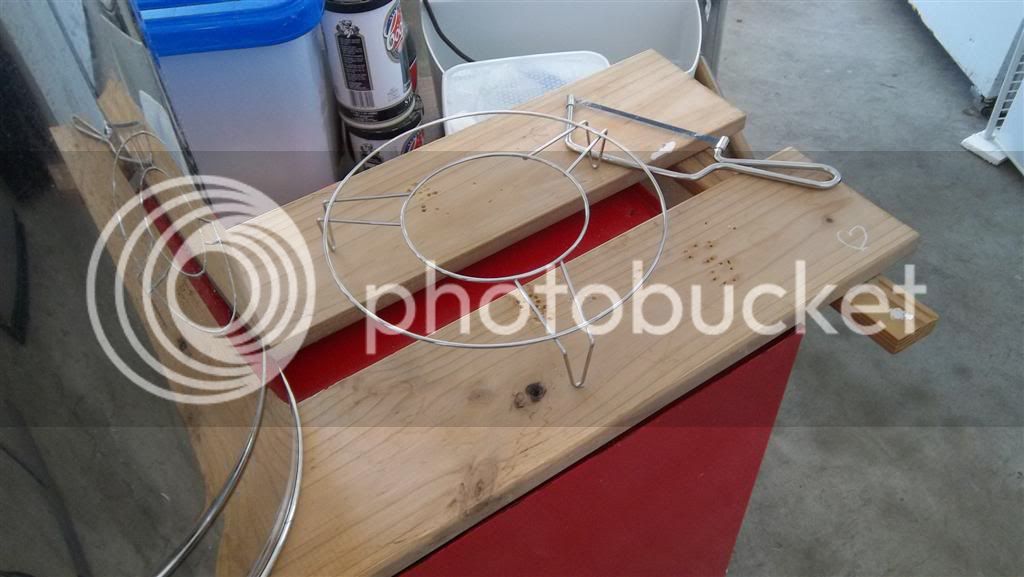
This the setup ready for launch on Monday or Tuesday, will be using the recirculating pump and will attach my pulley to the handle ( I cut the white plastic handle in half squeezed in some 2 pack araldite and created a gap so that the bucket can be lifted in a balanced way by the small hook on the pulley) I will try the bucket at a level where I can create a compact grain bed and use the recirculation as a kind of sparge.
To complicate things and give it a good workout I am using the Braumeister stepmash technique with mashout.
I am also using my STC1000 temperature controller to control the various step temperatures, this was very sucessful
on my previous WORMS- BIAB trial.
PS: the sparge bar is "D" shaped only because that was all the copper tube that I had left from the previous effort.
what he conceived as a good potential method, I have introduced a recirculating method to his original efforts.
Firstly a geometry lesson for Michael in readiness for next bucket trial :

This picture shows the bottom of the handy pail, firstly cut off the centre projection and drill a 6mm dia hole.
Around the rim there are equally spaced projections, bisect these through the central 6mm hole and mark a line with a pencil.
Mark a drilling point on each alternate line so that the hole you are about to drill is inside your 9" false bottom,
mark drill point on the other lines as per the picture, to drill the holes use one of these :

This is a 10mm dia drill with a little point and is designed for cutting wood or thin gauge metal.
For the false bottom I have used utility items, the first is a collander/sieve from Woolworths, I cut off the handles, flattened the base a little so that when the colland/sieve is lowered into the bucket you get a good fit around the rim.
Below the collander I have a disc of fly screen and a piece of coarse material, the fly screen acts as a clamp to the material,
I pierced a hole with a screwdriver through the flyscreen and material and secured them in position with a small nut and bolt.

This a before and after picture of the collander/sieve with and without handles

This shows the false bottom assembly inside the bucket.

This the setup ready for launch on Monday or Tuesday, will be using the recirculating pump and will attach my pulley to the handle ( I cut the white plastic handle in half squeezed in some 2 pack araldite and created a gap so that the bucket can be lifted in a balanced way by the small hook on the pulley) I will try the bucket at a level where I can create a compact grain bed and use the recirculation as a kind of sparge.
To complicate things and give it a good workout I am using the Braumeister stepmash technique with mashout.
I am also using my STC1000 temperature controller to control the various step temperatures, this was very sucessful
on my previous WORMS- BIAB trial.
PS: the sparge bar is "D" shaped only because that was all the copper tube that I had left from the previous effort.
")