manticle
Standing up for the Aussie Bottler
I'd appreciate a mod fixing the title to read "STEP BY STEP: DIY AG on the cheap"
Cheers.
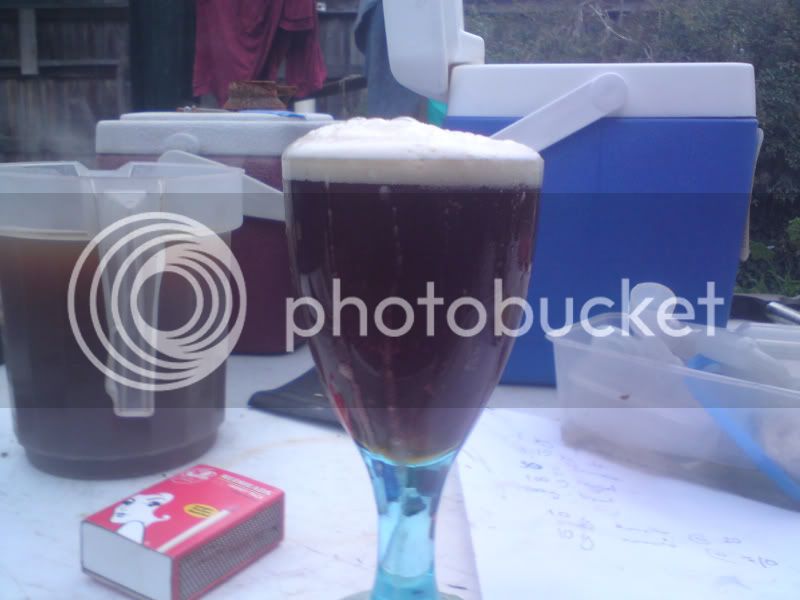
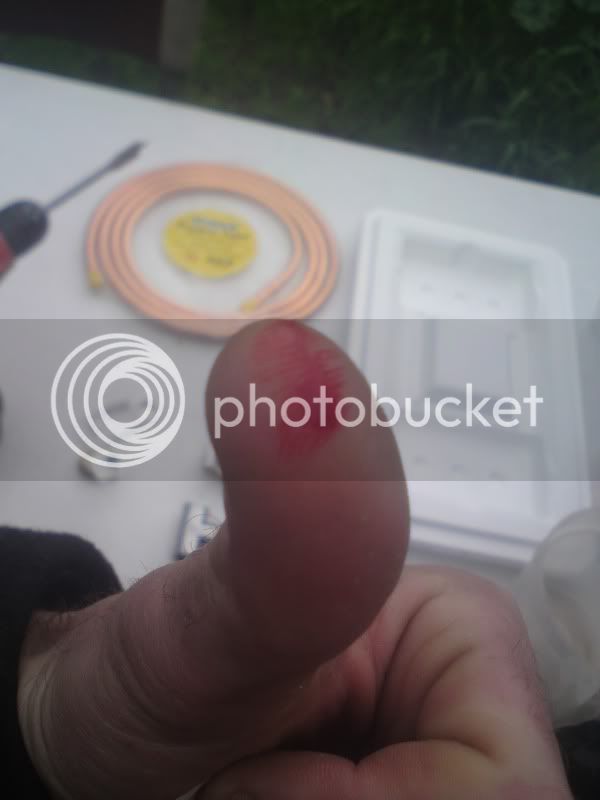
I've been cracking on at this for several weeks. Did my virgin AG when I was half way through using a made-up method that worked surprisingly well until I threw a third of my beautiful wort all over the concrete. I reckon I've made just about every error and cock-up there is so this is not so much a how to as how not to. The only thing I can recommend from my experience is listening to others who've been there before and perserverance. When you encounter a problem, work your way around it. You'd be hard pressed to be more retarded than me.
Some of this has been posted before, some is new.
DISCLAIMER: This is how I did it - it is not necessarily HOW TO DO it. It worked for me but as you will work out from my manifold (ha, manifold, ha) mistakes, there are better alternatives out there.
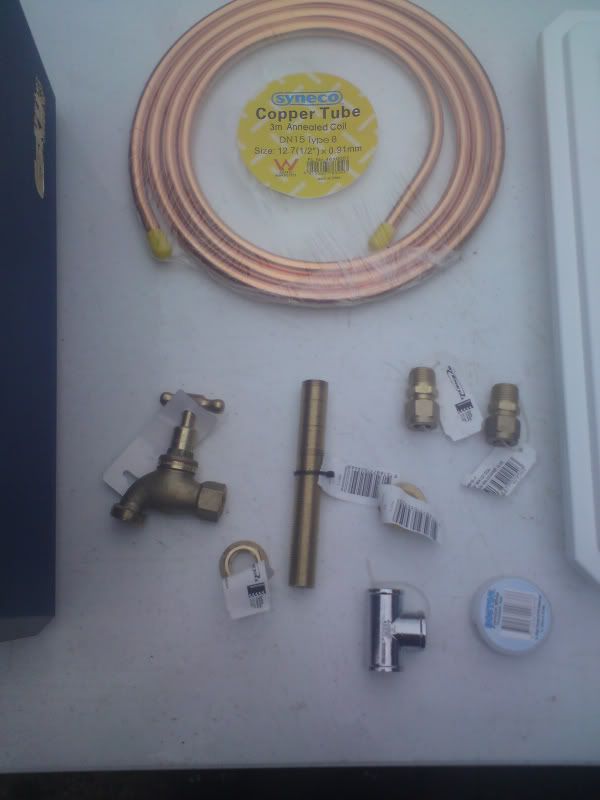
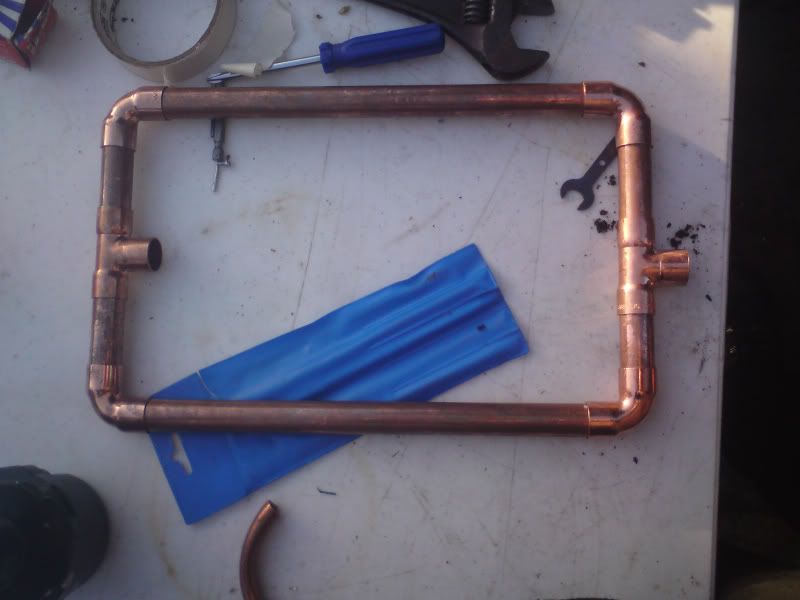
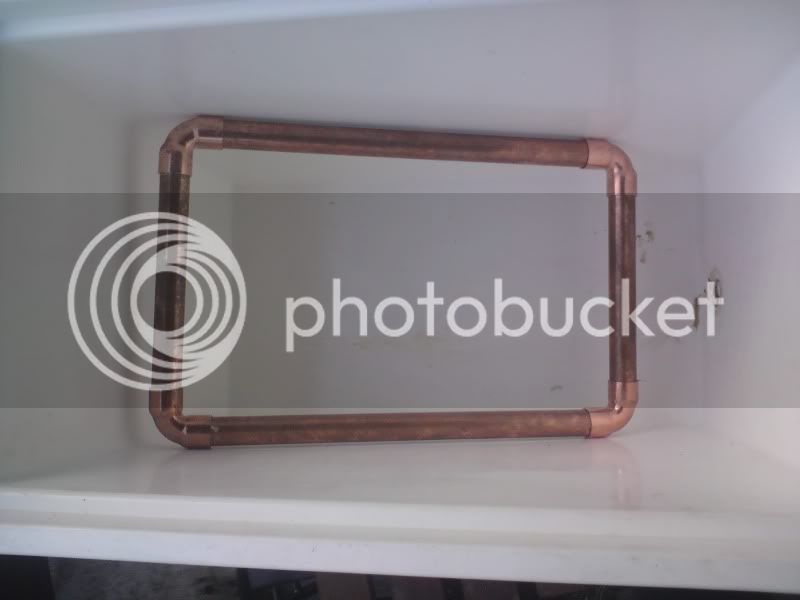
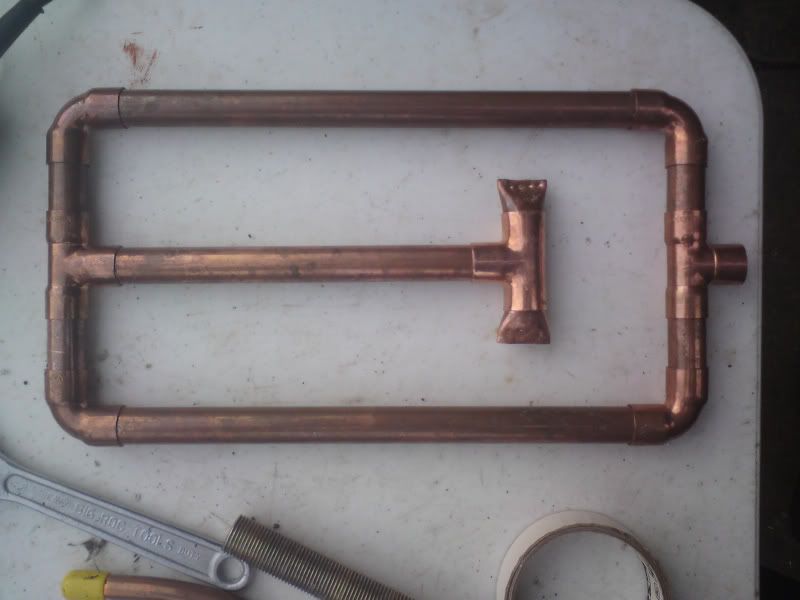
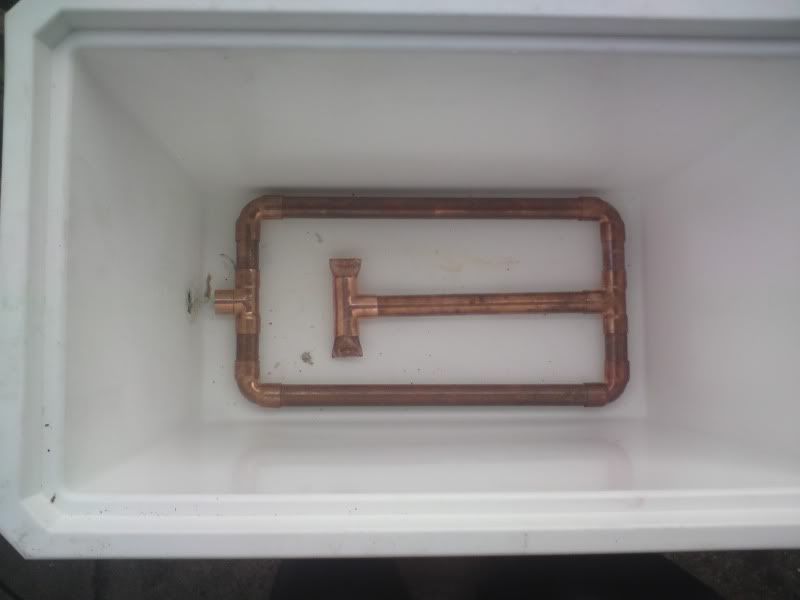
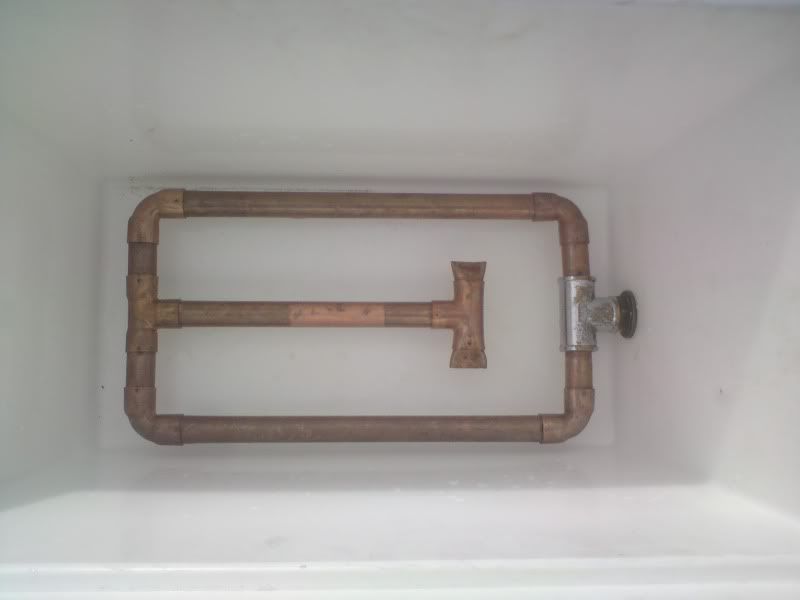
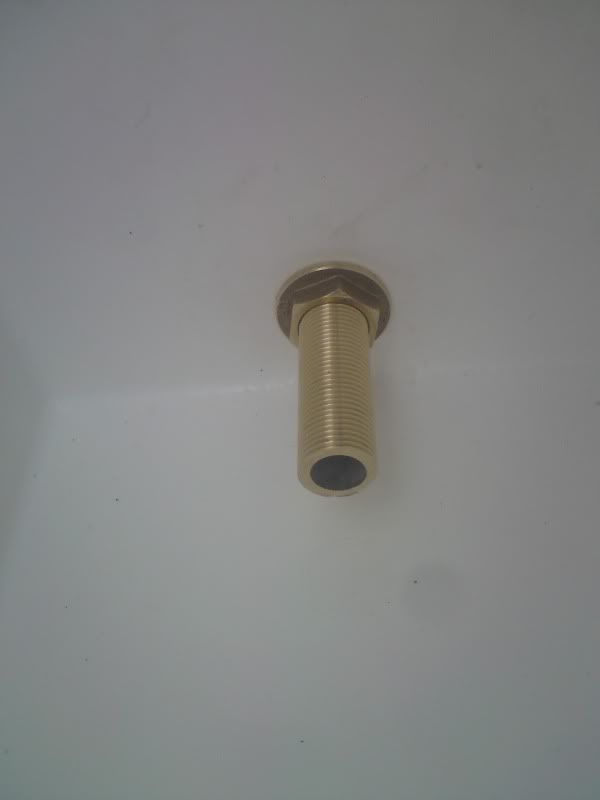
STEP 1. BUILD A MASH TUN
You will need:
An esky (at least 20 - 25 L)
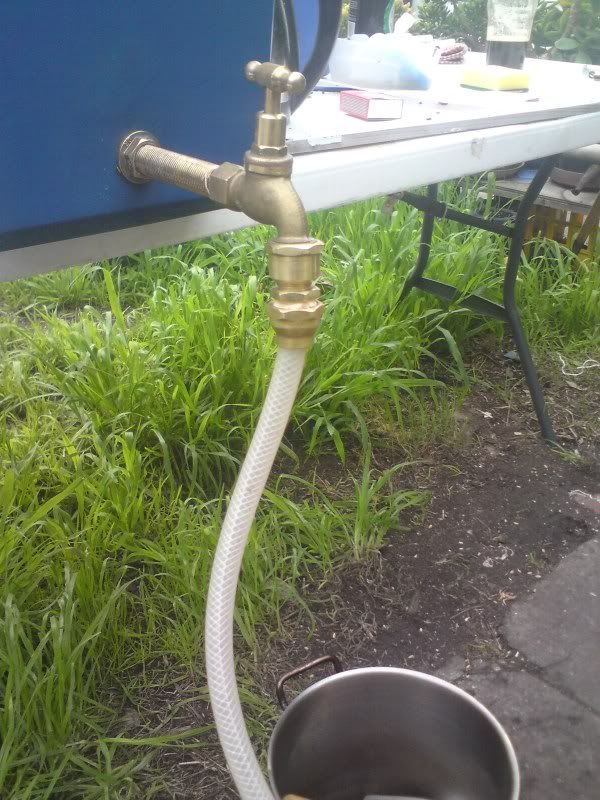
A brass thread
A tap
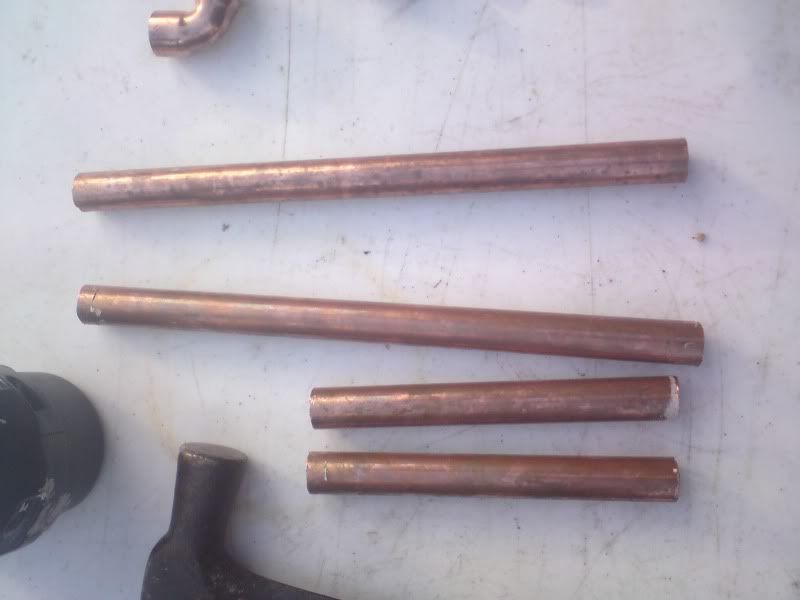
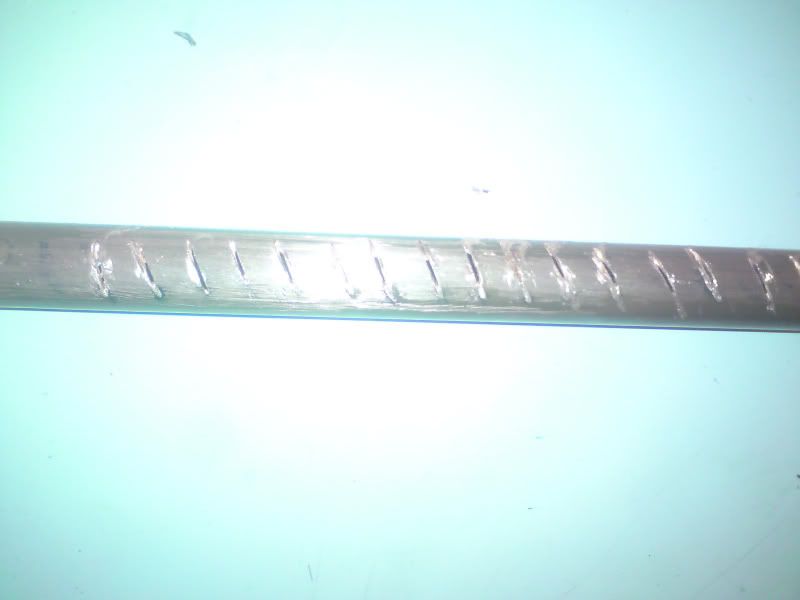
Some copper pipe
A cutting device (dremel, hacksaw or angle grinder)
Thread/plumber's tape
Shifter
file (diamond is good)
Cordless drill
Spade bits
PPE (particularly eye protection)
Elbows and t-pieces
Patience
Willingness to feel stupid
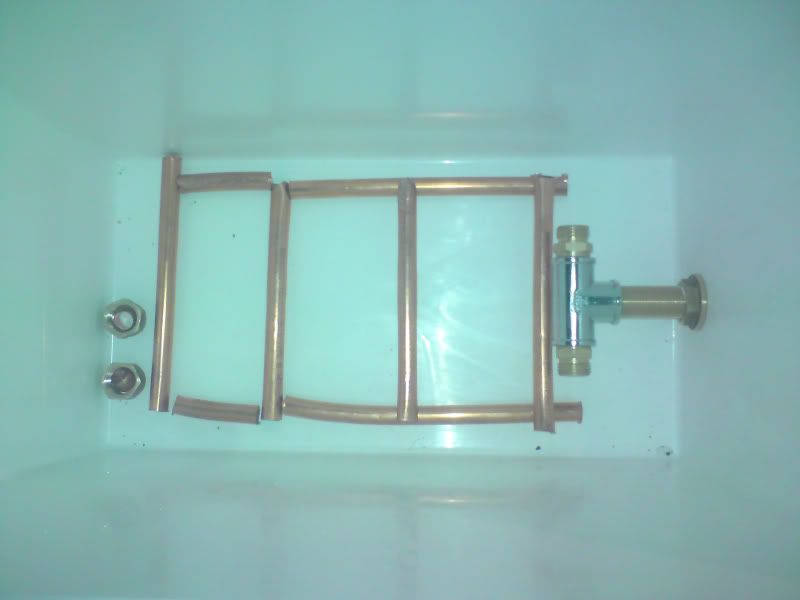
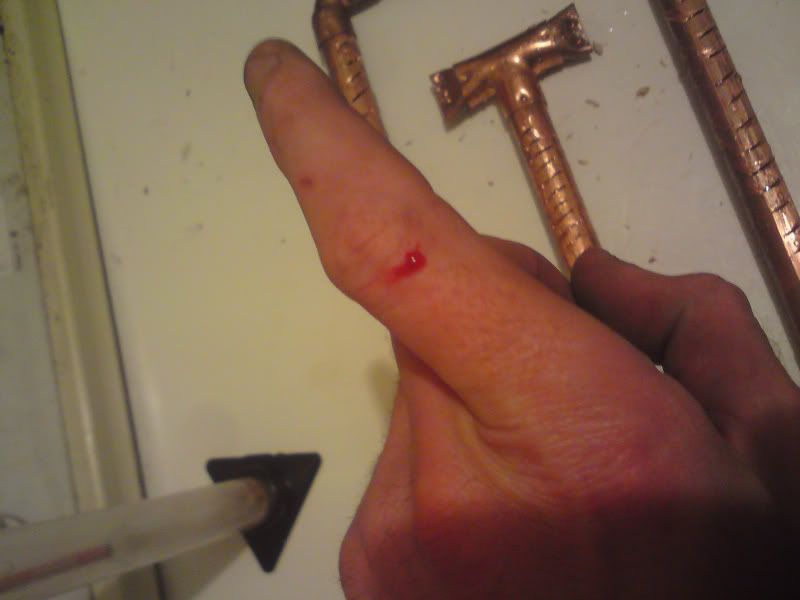
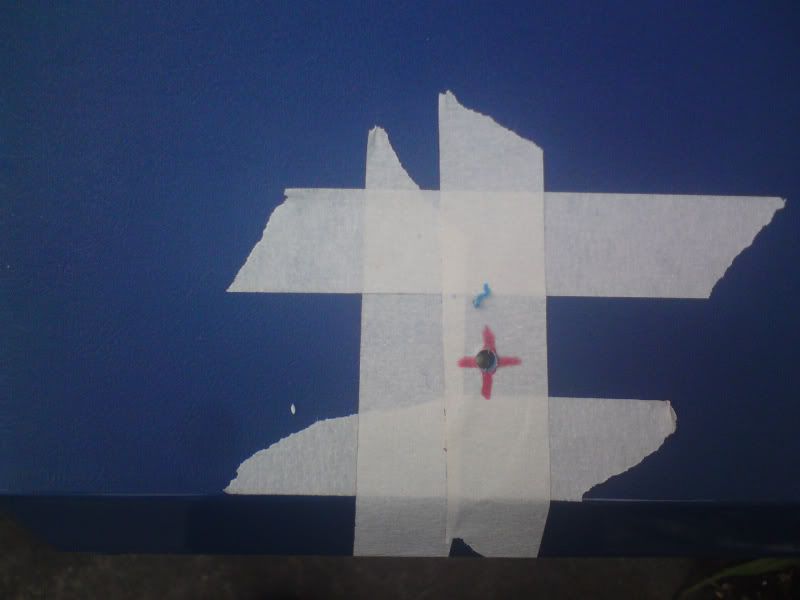
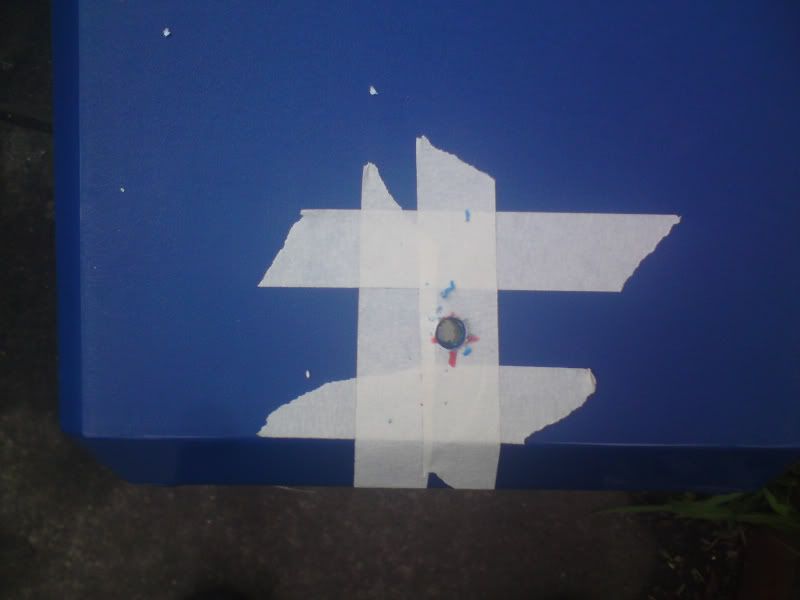
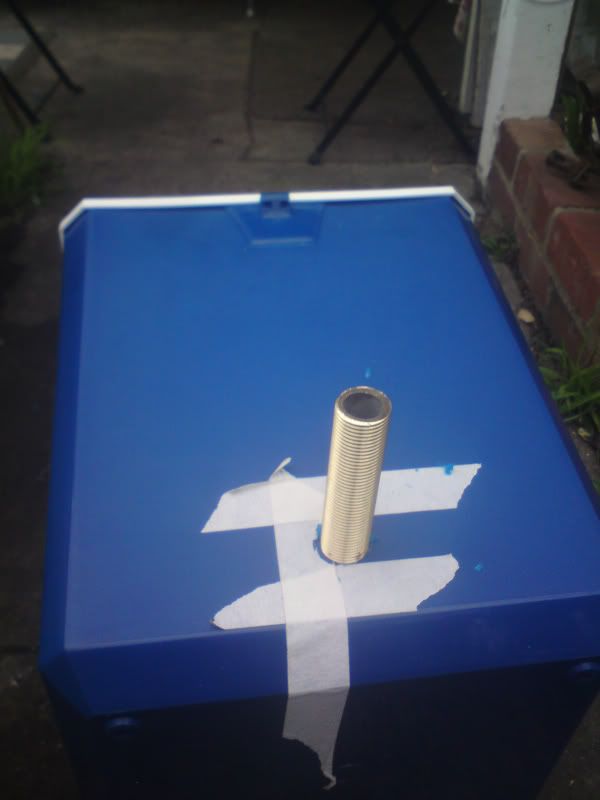
1. Drill out hole on the side of the esky.
Easy. Mark it up, if you're cautious like me, you'll pilot with a drill bit, widen the hole with a bigger drill bit then use the exact size spade bit to make the right hole.
Cheers.
I've been cracking on at this for several weeks. Did my virgin AG when I was half way through using a made-up method that worked surprisingly well until I threw a third of my beautiful wort all over the concrete. I reckon I've made just about every error and cock-up there is so this is not so much a how to as how not to. The only thing I can recommend from my experience is listening to others who've been there before and perserverance. When you encounter a problem, work your way around it. You'd be hard pressed to be more retarded than me.
Some of this has been posted before, some is new.
DISCLAIMER: This is how I did it - it is not necessarily HOW TO DO it. It worked for me but as you will work out from my manifold (ha, manifold, ha) mistakes, there are better alternatives out there.
STEP 1. BUILD A MASH TUN
You will need:
An esky (at least 20 - 25 L)
A brass thread
A tap
Some copper pipe
A cutting device (dremel, hacksaw or angle grinder)
Thread/plumber's tape
Shifter
file (diamond is good)
Cordless drill
Spade bits
PPE (particularly eye protection)
Elbows and t-pieces
Patience
Willingness to feel stupid
1. Drill out hole on the side of the esky.
Easy. Mark it up, if you're cautious like me, you'll pilot with a drill bit, widen the hole with a bigger drill bit then use the exact size spade bit to make the right hole.
- Fit the all thread.
- Fit the washers