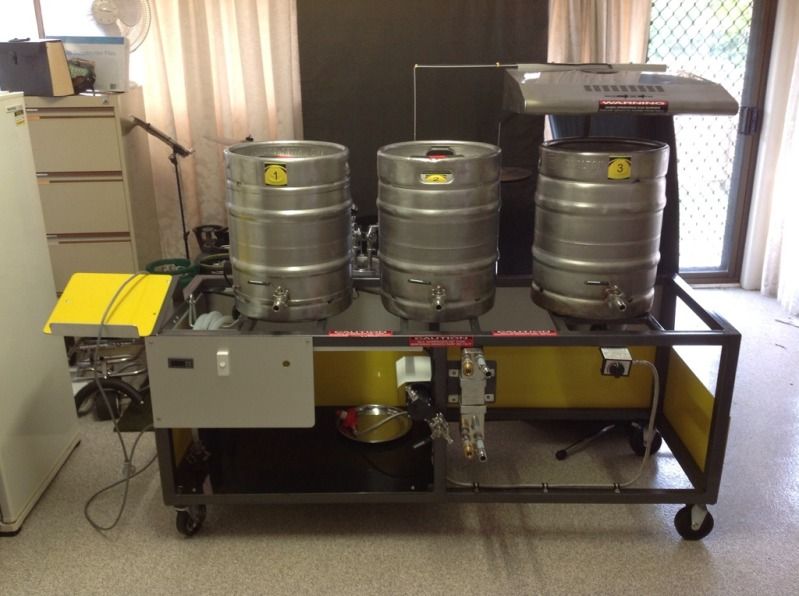
Once again a work in progress, but i thought i would post a few quick pics of my Brau Clone attempt........

.
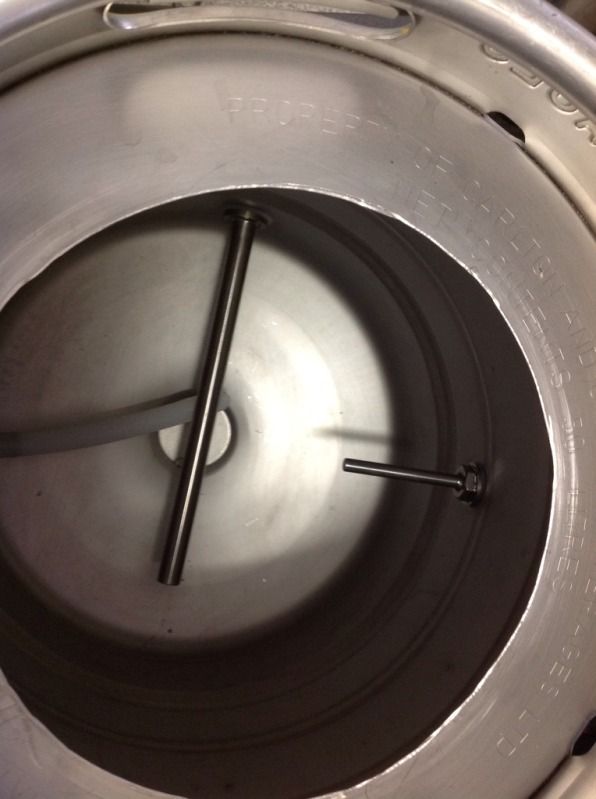
I put my first brew through it last weekend and it ran reasonably smoothly touch wood. Had a small wort fountain as i think the grind was just a bit fine and compacted the mash initially against the top filter plate. (Pic of malt pipe and wort is right at the beginning of the brew and hence not very clear) A pump break of 30 secs every 10 mins for the rest of the brew process corrected this.
As per pics, the controller is not a Matho level set up (this may come in the future) however serves the purpose at this point in time. (uses a STC 1000 type equivalent to manage temp control)
I can't take credit for the fittings to the keg etc which a mate who has the kit to drill / cut / weld stainless took care of and did a fine job of.
Element was fitted by a company on the south side of Brisbane called Helios.
Not included in the pics is the lid. I found that with the low watt density element, unless the lid (with vents) is used, that it struggles to maintain a vigorous boil. (It does boil but very slowly )(Also not pictured is a camping mat for insulation, that i fitted mid way to assist with temp control) (have now also insulated all plumbing underneath from the tun back to the march pump housing.)
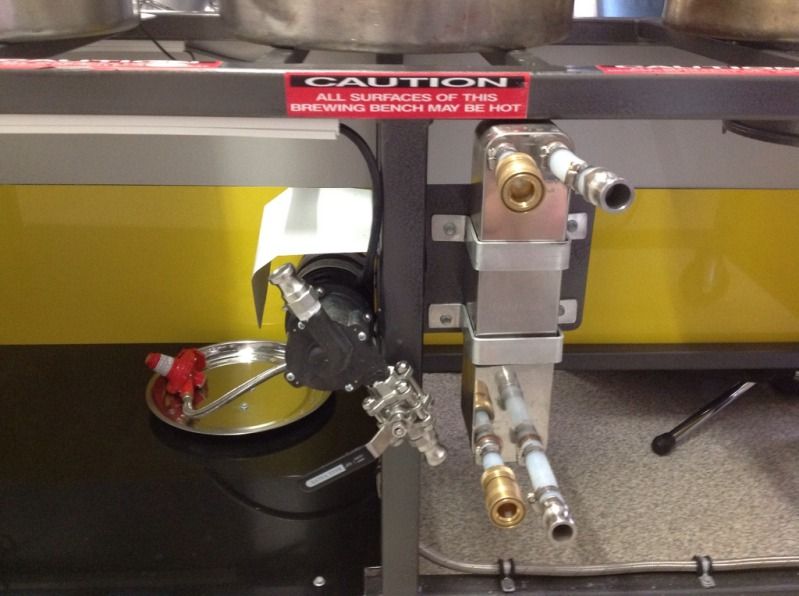
March pump performed excellently for the recirculation and also had no dramas digesting / continuing to work when some particles escaped with the wort fountain to the wrong side of the filter plates. In the plumbing underneath and maybe not clear in the attached photo, i put two taps, one allows the output flow of the pump to be varied and second allows the pump to used to empty the tun under pressure as an alternative to the main tap on the front of the tun.