My Stc-1000 Temperature Controller & Do-up Freezer

Australia & New Zealand Homebrewing Forum

Help Support Australia & New Zealand Homebrewing Forum:

This site may earn a commission from merchant affiliate links, including eBay, Amazon, and others.

ThatKiwiFella

Well-Known Member
Joined
18/11/10
Messages
60
Reaction score
1
My Keezer & Temperature Controller (STC-1000) build

Hi all, this is my first proper post so hang in there and go easy ;) Hopefully there are some useful pointers...
It is fair to say that a lot of the information that I used to achieve building my temp controller came from here, but maybe there will be a couple of things new or different to help people in the future.
Please, use the search function and you’ll have all the info you need – my advice is to read more than one thread and look at multiple wiring diagrams as one may make more sense to you than others – plus you’ll find a consensus on good practices. Mine is not perfect and there are things I would consider changing if I am to make another.
Disclaimer: I am not an electrician! I am electrically minded and have done a few projects for myself in the past. The below info is my best attempt to create a functional and safe tool for assisting my brewing. if you are not confident, cannot read electrical diagrams or don’t understand wiring the please, for the safety of yourself, family & friends, DO NOT attempt any wiring or at the least get a sparky to check your work BEFORE flicking the on switch.

I ordered my STC-1000 off ebay, it arrived after about 2 weeks and then I set about wiring it up.
Jaycar & Bunnings had most of the goods I needed and I have included my shopping list at the bottom of this.


IMAG0065-1.jpg

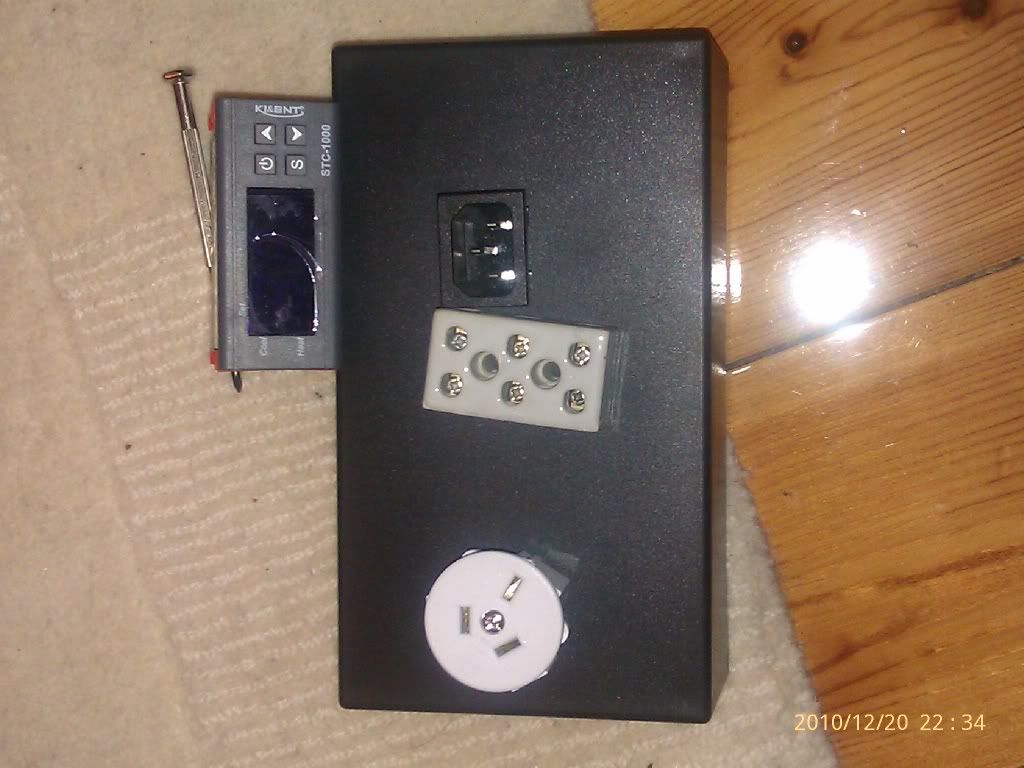
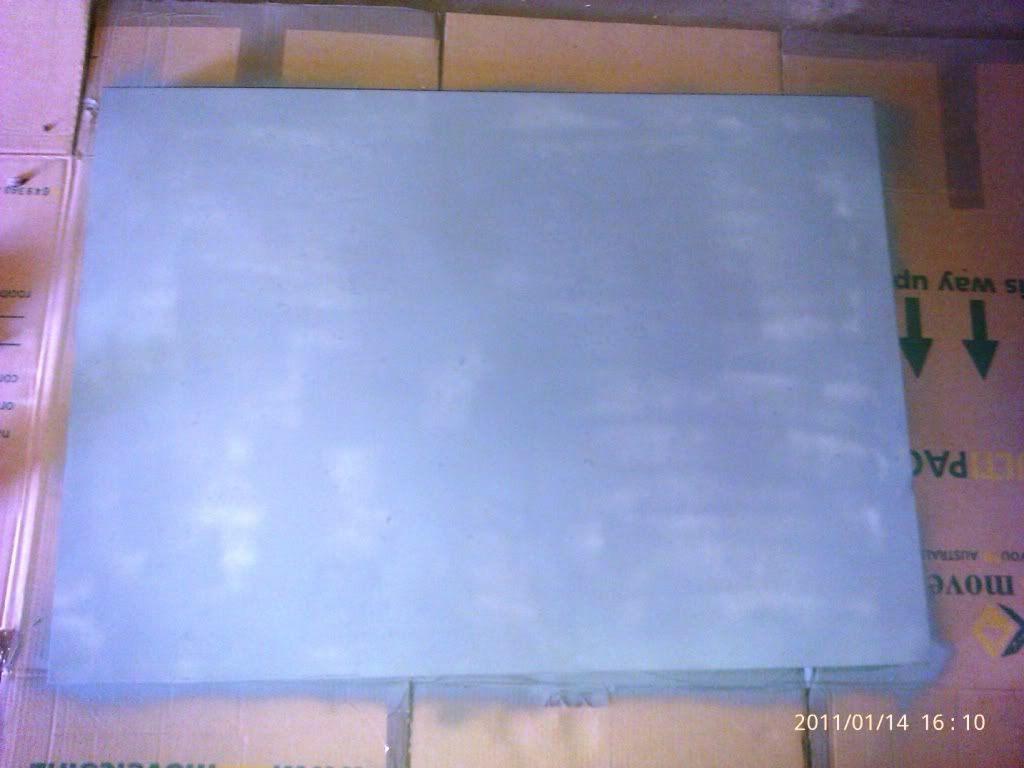
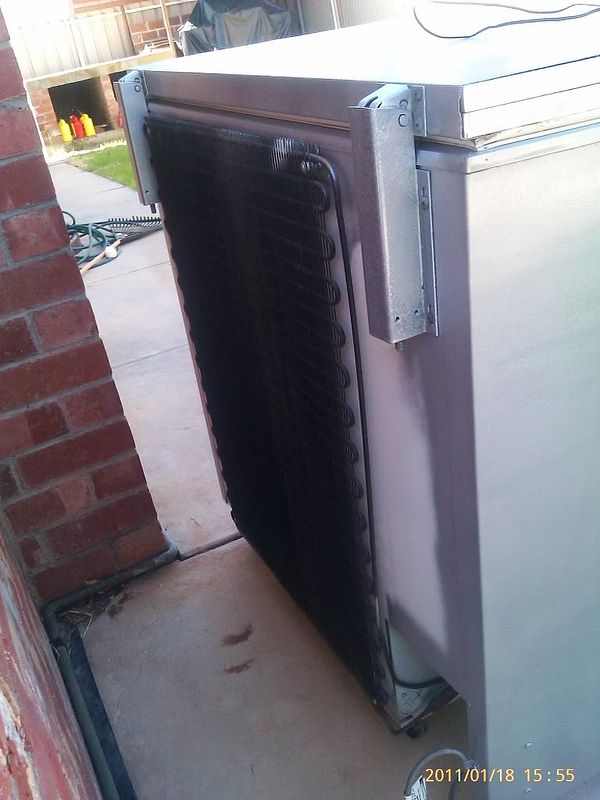
^An idea of what I started with (less a few wires, 1 plug, etc).

IMAG0132.jpg

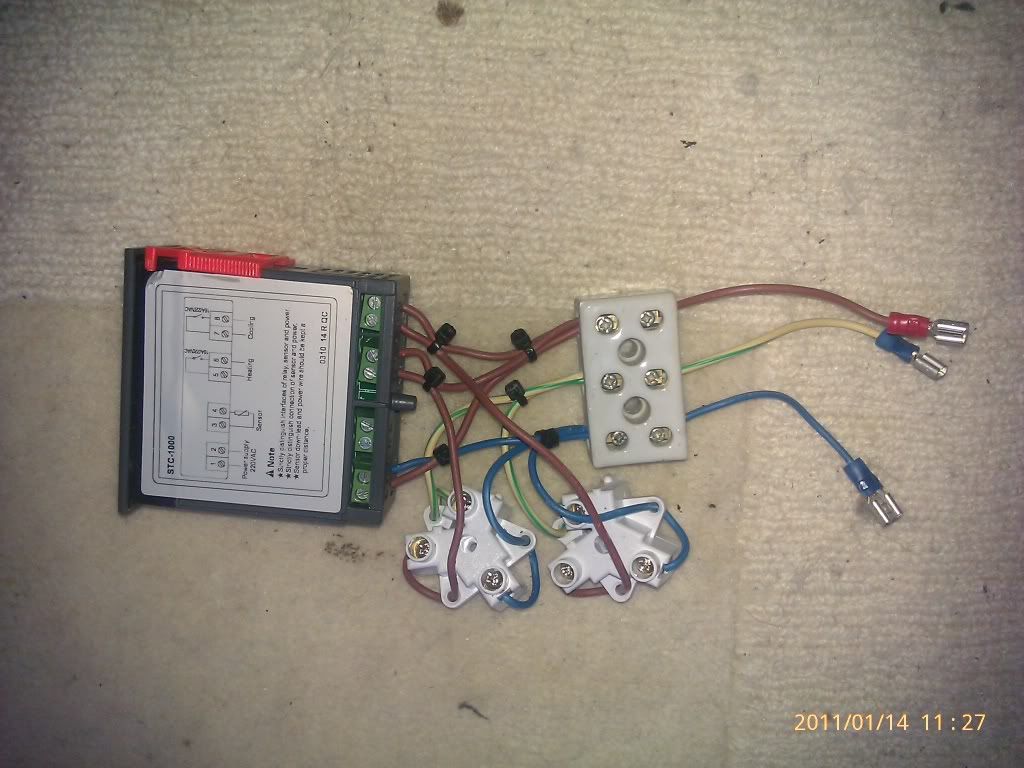
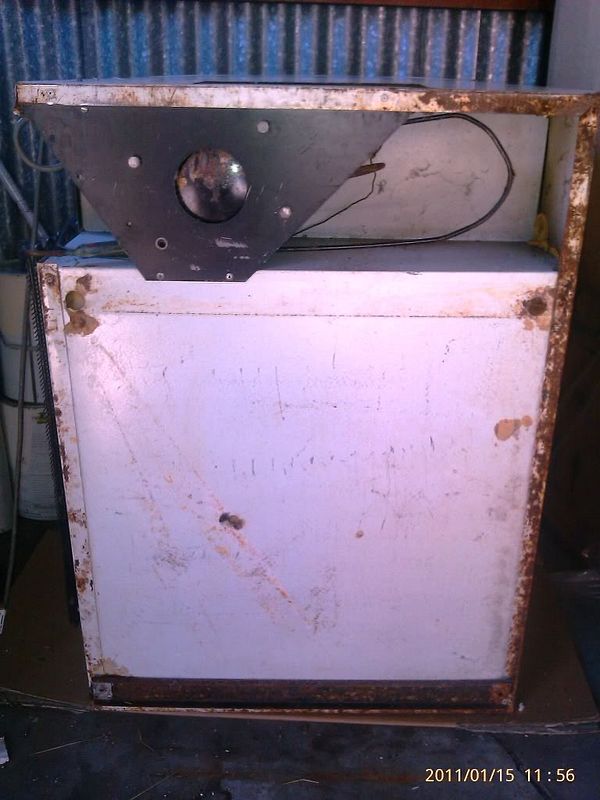
^After wiring I got to here (no probe wired yet). I went for a ceramic 240v joiner, but that is only because jcar were out of plastic ones of a decent ampage.

IMAG0180.jpg

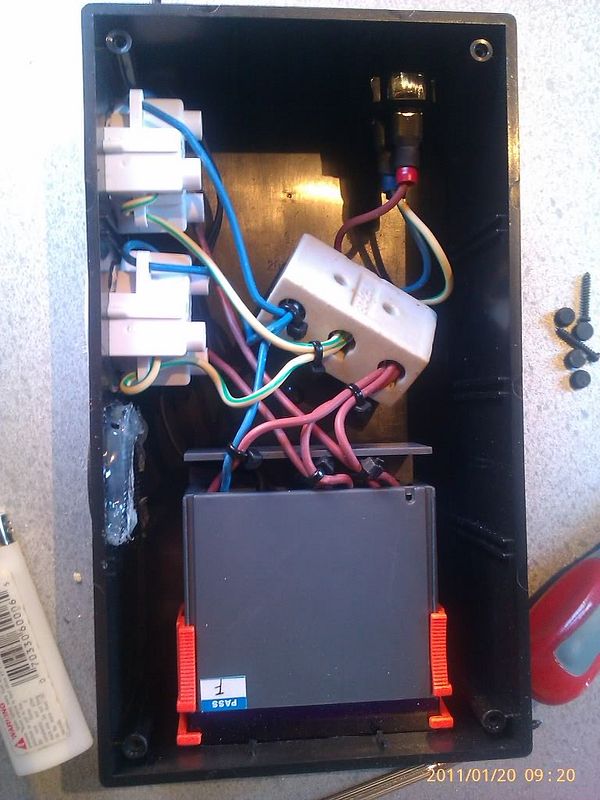
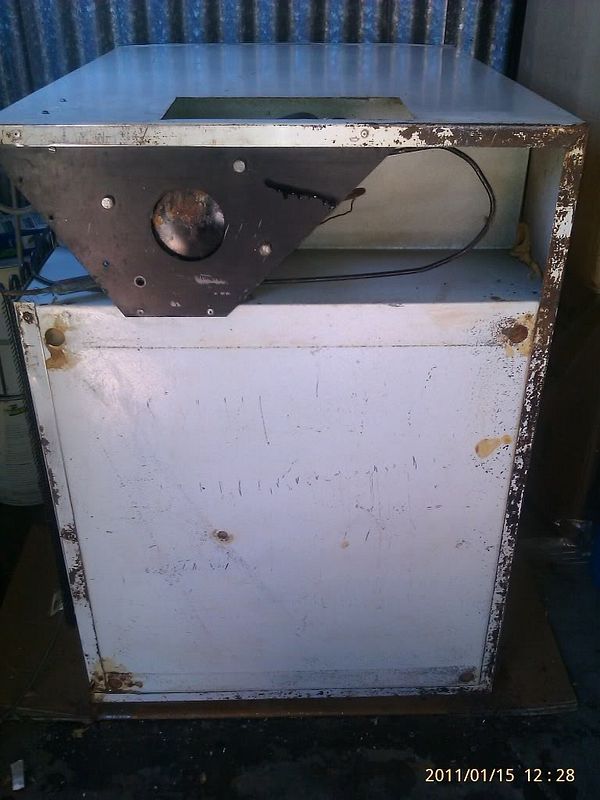
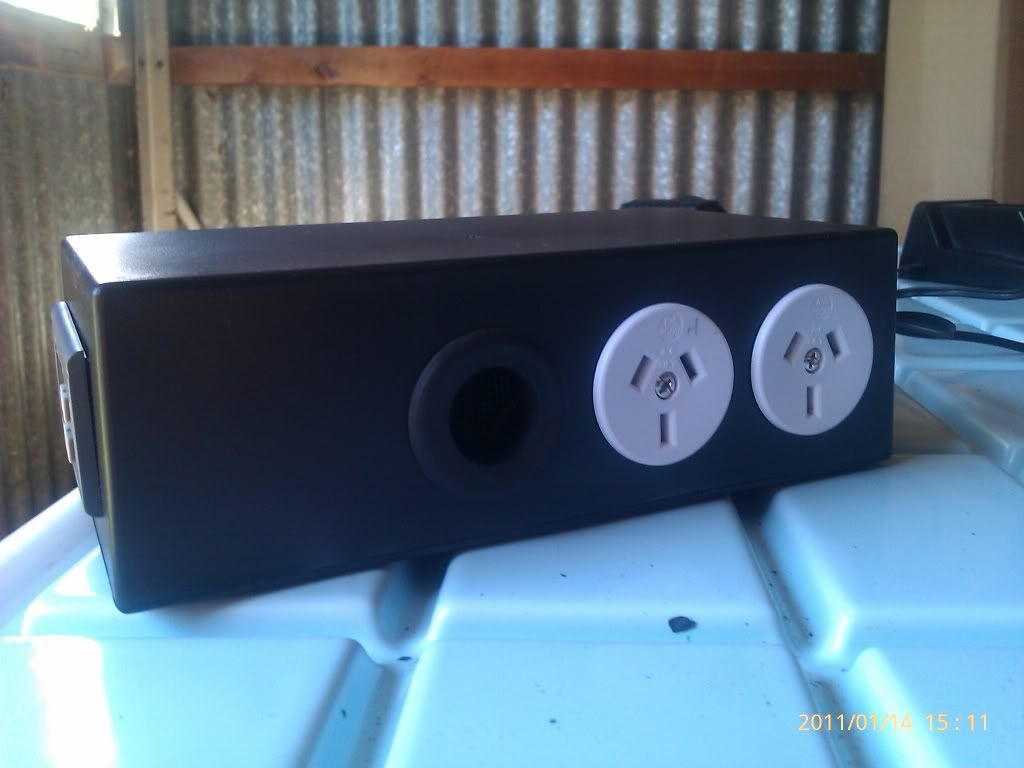
^I used the back plate of the STC as an outline for the hole size and I used a drill to make holes in the corners of the outline for the STC-1000. I then used a Drill Saw bit to cut out the panel (I reckon a hack saw blade might be better...?). I did the same for the rear plug and used a hole saw bit for the Heating and Cooling plugs. The breather hole exists as I drilled too close to the unit to fit a power outlet... A mistake that I think may actually have led to advantages (air flow for lower internal temp levels). I also placed heat shrink over the female connects to the power plug for added insulation. Hot glue holds the fly mesh in place on the grommet.
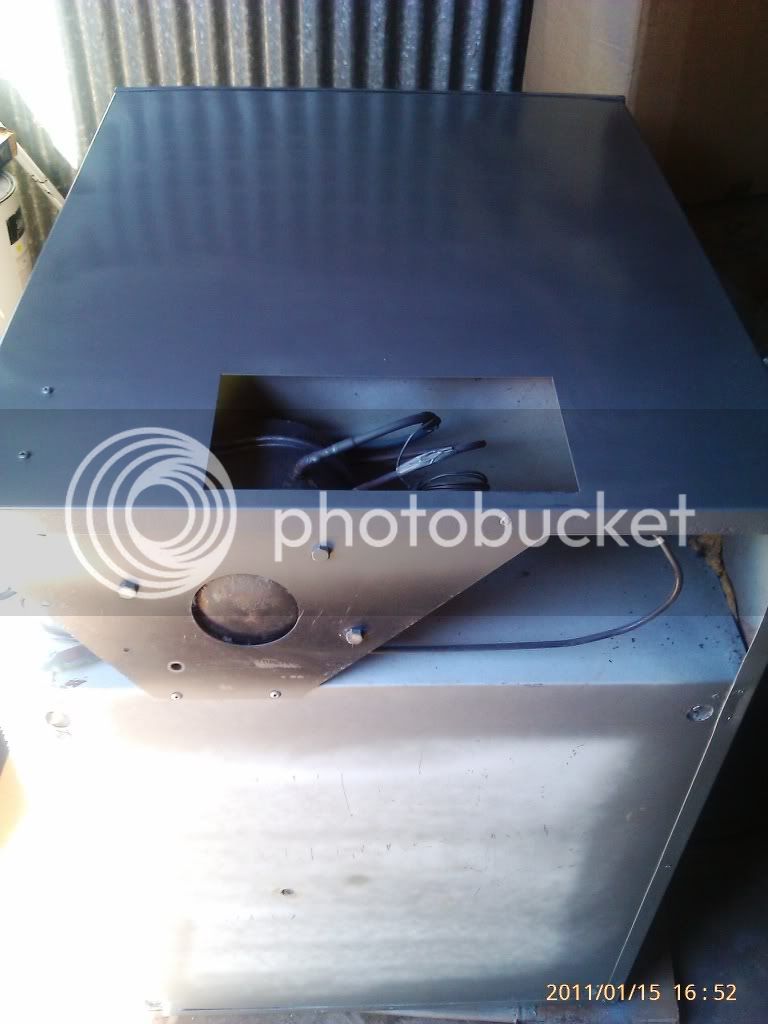
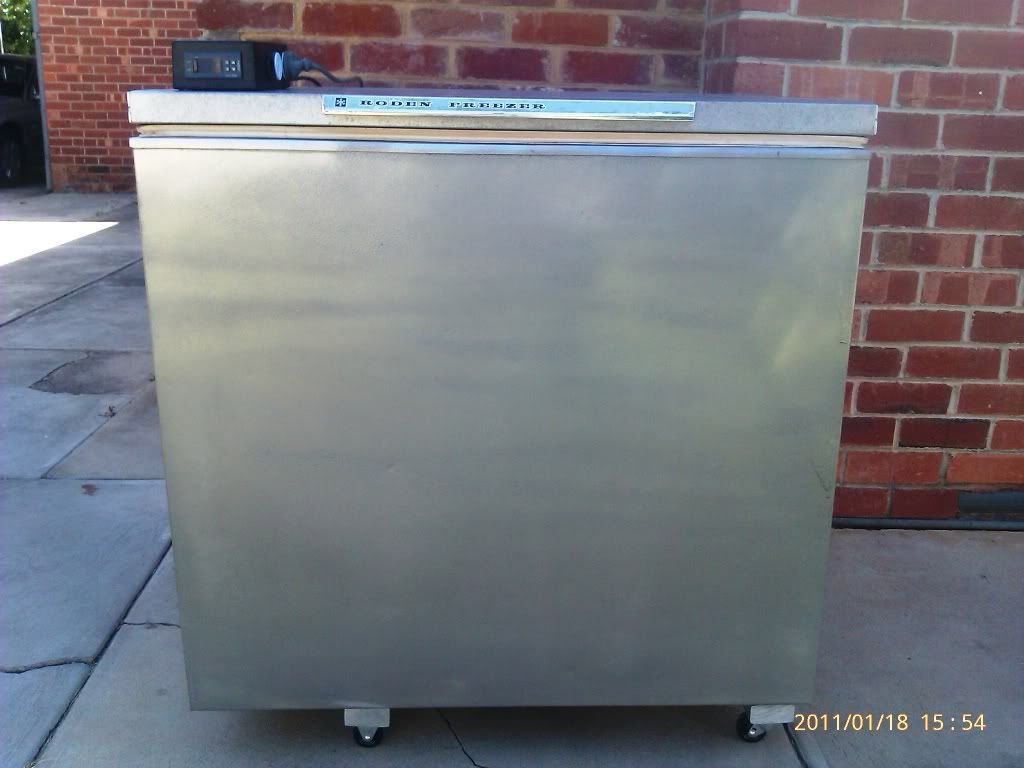
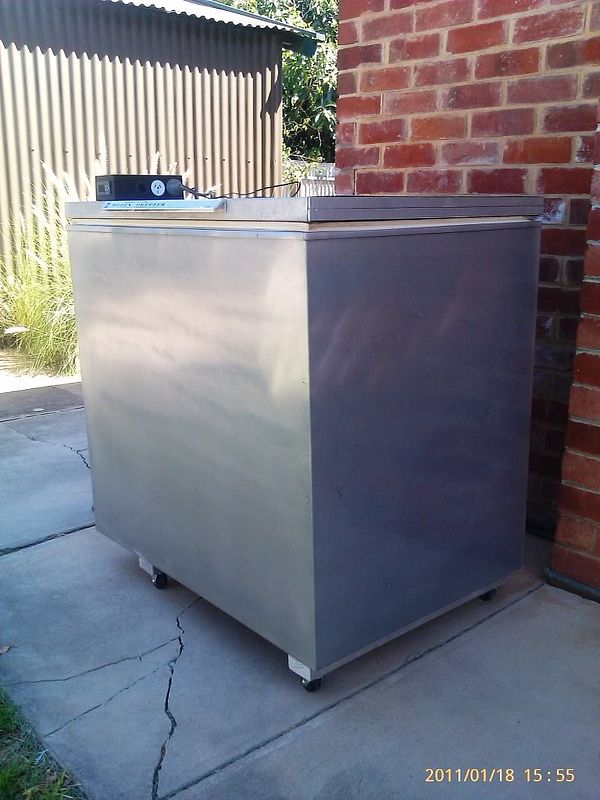
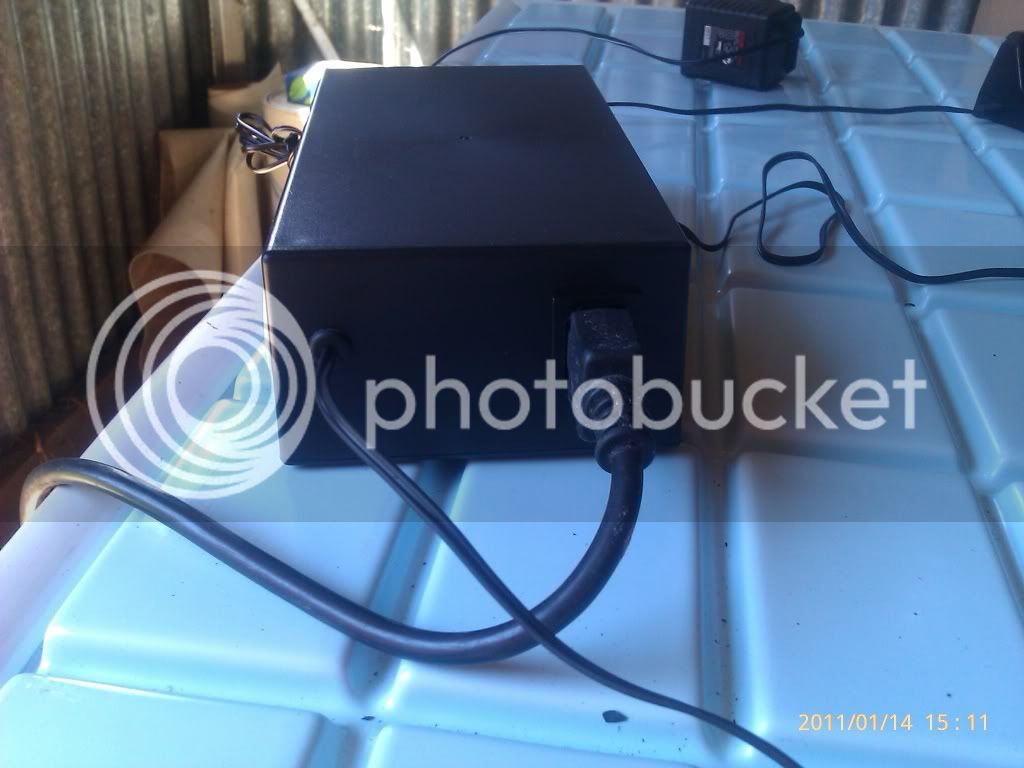
After sealing everything I was left with the below.

IMAG0137.jpg


IMAG0136.jpg


IMAG0138.jpg


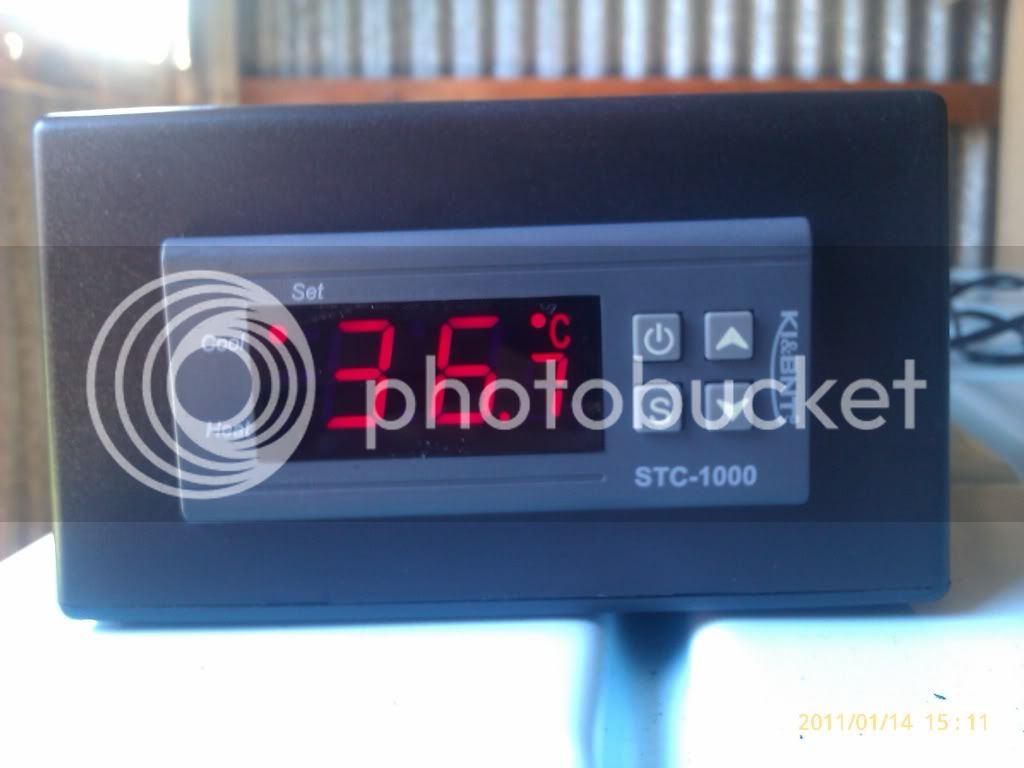
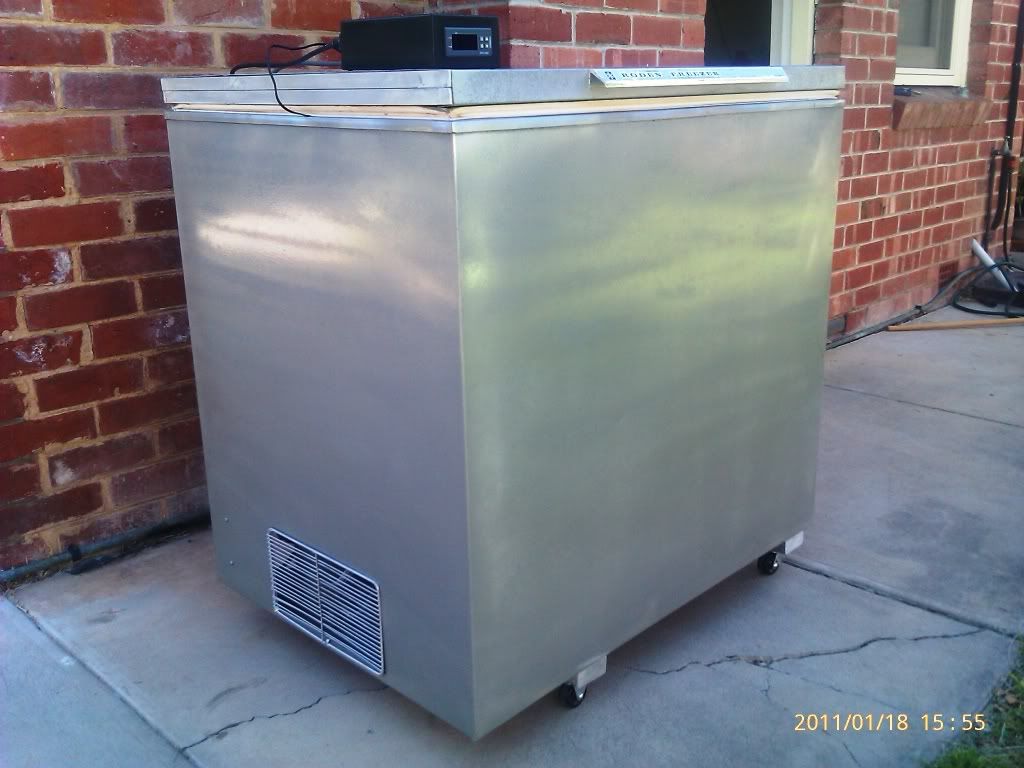
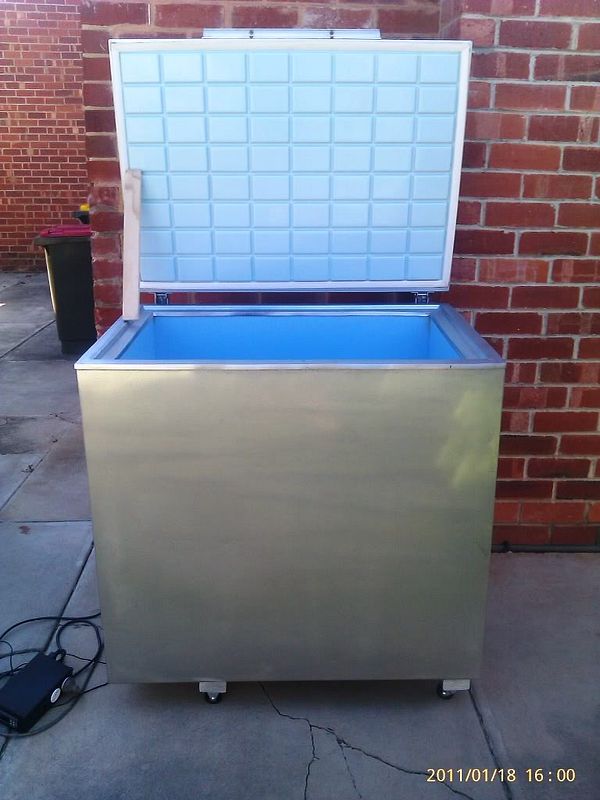
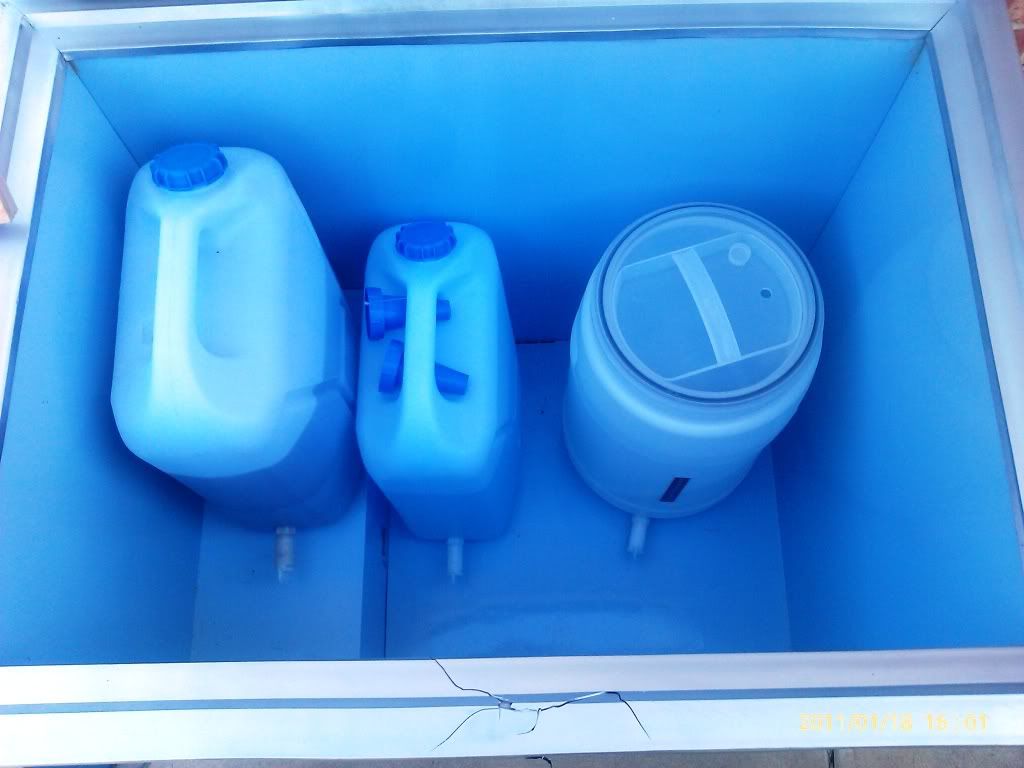
It has been running, in my garage, with my freezer connected for about 3 weeks now, without any problems. I did find there were temp overshoots (not from data logging, just observation, as I set it at 2 degrees C and could walk in and find it at 0.9 degrees C) however after reducing the desired temp to 1 degree it appears to be more stable (even given the 42 degrees outside which makes inside the tin garage a fair bit warmer!).

Edit: damned Autocorrect! ;)
 
The story of the freezer now begins...

I had been looking for a long time thinking an upright freezer would be the go (taps in the door, small footprint, looks the business, might get the Mrs to agree to it living inside bahahahahah, yeah right). However, one never turned up in Adelaide that was within my price range (basically as cheap as possible given I am a student again). So after winning and not completing an incorrectly listed ebay auction I finally found a small add under Office Goods on tradingpost.com.au. It simply stated Freezer $60. Wahoo I thought.
Long story short, after a quick call, I was told it worked when last used 6 months ago and was a little rusty on the surface. A mate kindly offered his ute & manpower and off we went.
It turned out the guy was an ex-tropical fish importer and this was his quarantine freezer for D.O.A fish... No the most pleasant thought... And it was a heck of a lot rustier than he said! Still, after a quick renegotiation and seeing it turn on fine, I had a $40 freezer! Even better I found it had been fitted with a newer thermostat and had an electrical inspection (Jims Electrical services) with a current inspection date range.

IMAG0056-1.jpg


IMAG0119-1.jpg


IMAG0123.jpg


The top was a bit rusty from what I gather was fish tanks sitting and being moved on the top (and age) plus what looked like a UV light, heat lamp or some sort of heat damage to the lid flashings. Over all it was pretty ugly and dirty (inside and out).

The do up...
The following is how I went about doing up the freezer, however as I have just moved here from NZ I have very few tools i.e. no saw, only a drill, bit set, hammer, and a few odds & ends so this would have to be simple and remain somewhat budget given my student status.
I searched online for appliance paint and found White Knight does a few colours of appliance paint in a spray can. I purchased the Satin silver and some 600 grit wet sandpaper and set about removing the rust. I also got some Rust-o-leum grey rust proofing primer so after sanding as much as I could (/ could be bothered) back I used the whole can on double coating the lid and sorting the other rust spots (inc a rather rusty underneath).

IMAG0139.jpg

^Lid after sanding action.

IMAG0140.jpg

^After first coat of primer.

IMAG0143.jpg

^After first coat of White Knight Satin appliance spray paint.

IMAG0141.jpg

^Bottom before sanding. Note the bottom steel brace that looks like it had wheels or feet attached to. The other (top) one was already off.

IMAG0142.jpg

^Bottom after sanding (I was a bit low on energy so only a slight improvement).

IMAG0149.jpg

^After some primer treatment (more followed).

IMAG0150.jpg

^After more primer treatment and the side having being sprayed with Hammer Finish silver by Rust-o-leum.
 
To solve the melted flashing problem I got two lengths of 18mm x 40mm wood (the depth of the length was 38mm, hence the stacked pieces of 18mm). They were cut to length by Bunnings, test fitted (some sanding was required), then primed twice and painted twice to seal the wood as best as possible. The two lengths for each side were glued with liquid nails and coaxed, with a rubber hammer, into place. Note that I had to scrap out some the lid insulation, after prying off the flashing, to be able to fit the depth of the wood (40mm).

IMAG0159.jpg


IMAG0160.jpg

^This is the result. The original plan was to fit some 90 degree aluminium wrapping from the sides and around the front, however this would be expensive for materials and I would have to get someone to bend it for me.


I decided that after all my effort sanding to date I wasn’t going to simply paint the body white as planned so headed back to Bunnings. Here I spoke to a great lady who said not to waste my money (approx $15 a can) on appliance paint and suggested a sliver ‘hammer finish’ spray by Rust-o-leum (as mentioned earlier) instead. Great idea! So after sanding the rest of the body I had one freezer with a satin finish lid and hammer finish silver body.
I also wanted it on wheels so purchased some 90mmx45mm timber lengths, had them cut at Bunnings and got 2 swivel castors and 2 fixed (each has 40kg load rating). I used liquid nails (well, its cheaper cousin) to fix the wood to the body AFTER having primed and painted (cheap silver spray paint, approx $7 a can) the wood to seal it. The castors were screwed into place. If I were to do it again or come into some money in the future I think I will go to larger wheels so it handles cracks, concrete cuts, etc better. But for now it is fine.

IMAG0172.jpg

^Even the compressor grill got a tart-up ;) . Wheels at compressor end are fixed, far end are swivel. Like an old supermarket trolley.

IMAG0178.jpg

^After reinstalling the lid, unfortunately it won’t stay open on its own... I tried tightened the springs of the hinge but they are about as tight as I can get them and I don’t want the lid sitting uneven (front to back). I was considering a gas strut or similar but again, that money is better spent elsewhere.

IMAG0173.jpg

IMAG0171.jpg

IMAG0174.jpg


I have found that whilst you might not be able to polish a turd, you can make it nice and shiny ;)

A few photos follow to show the internal size – I have worked out I can fit 5 kegs (19L) and a cube or maybe two, or alternatively my fermenting barrel. The few cracks you can see on the front edge are in the plastic flashing the lid sits on, it is stepped and beyond the scope of my do-up... unless it really bugs me in the future.

IMAG0179.jpg


IMAG0176.jpg


Shopping List
Jaycar:
1 x HB6012 Black Enclosure (197x113x63mm), $6.95 Ea
2 x PS4094 SKT PNL Mains Aus White, $7.95 Ea
1 x HM3204 Terminal block, $4.95 Ea unavailable so I got HM3185 3 Wire Porcelain Terminal Block - 30 amp
1 x PP4009 Plg Pnl IEC320 Snap In, $4.95 (I should have used the switched and fused version PP4003)
1 x PS4122 3m Mains Lead, $7.95

Clark Rubber had:
1 x Small Grommet for the Probe Lead (sorry, forget the size) ~$0.95
1 x 22/29/2.5 Wiring Grommet for my “breather hole” (*cough* mistake) $2.95

Bunnings:
White Knight Squirts Undercoat Spray $7.75
White Knight Squirts Silver Spray $7.75
Parafix (like liquid nails) $2.20
Zenith Timber Screws (for castors) $3.48
Caulking Gun $1.83
Fixed Castors 50mm x 2 $4.96
Swivel Castors 50mm x 2 $7.00
Pine Shorts 0.9m x 75x35mm, x 2 $2.98
Dressed Pine 1.8m x 42x19mm, x 2 $3.78
Haron Saw Drill Bit $8.73
Rust-o-leum Silver Hammered Finish x 2 $23.50
600G Sandpaper $1.80
Scraper $4.98
Killrust Heavy Duty Primer $10.76
White Knight Fridge & Appliance Spray $13.60

Banner Hardware kindly gave me a small piece of aluminium fly screen for the breather hole.
I apologise for the poor photo quality – I only had my phone to take photos.

There you have it, I do hope that it adds to the community information base as I’ve found heaps of great info here. I am also more than happy to answer any questions.

Cheers,
ThatKiwiFella (Geoff)
 
Future plans: 5 x 19L kegs with a triple font so that I can have 3 beers on tap and two ready to go. It is likely I will do this over time as funds permit. :)
 
Mate, well done...

I have to say you've absolutely excelled..

From the IEC input, to the unswitched GPO outputs...

Everything I've seen in your pics is incredibly well thought out and as far as I can see, AS/NZ 3000 compliant...


Compliments on your workmanship, knowledge and ability!
 
Nice work, Your freezer has come up a treat.

Welcome to our overly sunny city too :D

HC
 
Brown Hound, thanks mate. I appreciate it! As the Mrs will tell you, it wasn't short on research or brain storming and I have to admit I picked up a few tricks and pointers from the good folk here. :)


Housecat, thanks! Am loving Adelaide thus far - even the heat, as it's a heck of a lot drier than back home. Heaps good! ;)
 
Bloody great build thread fella. Glad you got the temp controller all sorted too.

Look forward to catching up for a beer at some stage too.
 
in case the fridge develops a fault,that way it wont be tripping the house breaker..

Fair call...

You'll find though that most faults will exceed the 150-187A required to trip your power circuit, and therefore would trip it anyway.
 
in case the fridge develops a fault,that way it wont be tripping the house breaker..

Sorry for the Hijack matey, just thought a few people could benefit from this.

The most commonly used type of Thermal/Magnetic Circuit Breaker in domestic installations is the ‘C’ Type, which trips at 7.5x its rated current... 20A rating C type will trip within the 0.4 seconds (the required trip time under fault conditions) when current flow is 150A or greater. This is the magnetic side of the CB acting immediately.

A fault of say 20A-50A is not one worth worrying about, unless it is continuous. This in itself is taken care of by the thermal side of the CB at the switchboard also. And will trip after a prolonged period of time, say a couple of hours.

This is sufficient in protecting the attached appliances and wiring. According to Standards Australia.

One thing you have to factor in, particularly for motors, is the starting current... Which is typically 7x the motors current rating (less than or equal to 10A, would translate into a starting current of anything upto 70A)... The starting current can be this high for a few seconds in some circumstances.

Having a quick look at the specs of the breaker you’re thinking about DU, you’re talking a trip in <4 seconds @ 1.5x the rated current ie. 15A.
All you’re going to achieve with an extra inline CB is nuisance tripping rather than greater protection for said appliances/wiring.

A fault of greater than 150A will likely trip the CB back at the board first anyways. (<0.4seconds).


Not slandering your idea mate, just saying it really is not necessary... And trying to save you from a bit of extra work!
 

Latest posts

Back
Top