Fat Bastard
Brew Cvlt Doom
- Joined
- 11/8/11
- Messages
- 914
- Reaction score
- 226
I've been slowly gathering parts to build my rig over the past 6 months or so. I had a pretty specific design breif to make it harder for myself. The rig had to be mobile, had to fit into as small a space as possible and had to utilise my old MLT and Kettle. Most of the parts have been salvaged from the scrap bin at work with the blessing of management. The major purchase was a couple of pumps, a couple of elements & other small elecrical bits and some valves and fittings. I haven't kept tabs on what it's cost, but it wasn't terribly expensive. It's certainly not as flash or pro looking as some of the rigs posted up of late, but I'm pretty pleased with it.
This is what it looks like:

I've used a mix of hard plumbed stainless tube with tri-clovers, and silicone tubing, the theory being the hard pluming will hold the vessels in place when pushing it in and out of the shed. The HLT holds 80l and the two up top are 36l, for a brew length of 23l. During the comissioning process I found that the electronic speed controls I have for modulating the pumps are next to useless, and I'll now need to plumb in a couple of valves to control the recirc and transfer. The third pump is for a powered whirlpool, and eventually will pump through a hop rocket of my own design. The stand is another scrap bin job, and required a fair bit of mucking around with to make suitable for use. Looks ok in the pics, but is a bit tatty in real life, and has quite a few unwanted holes etc.
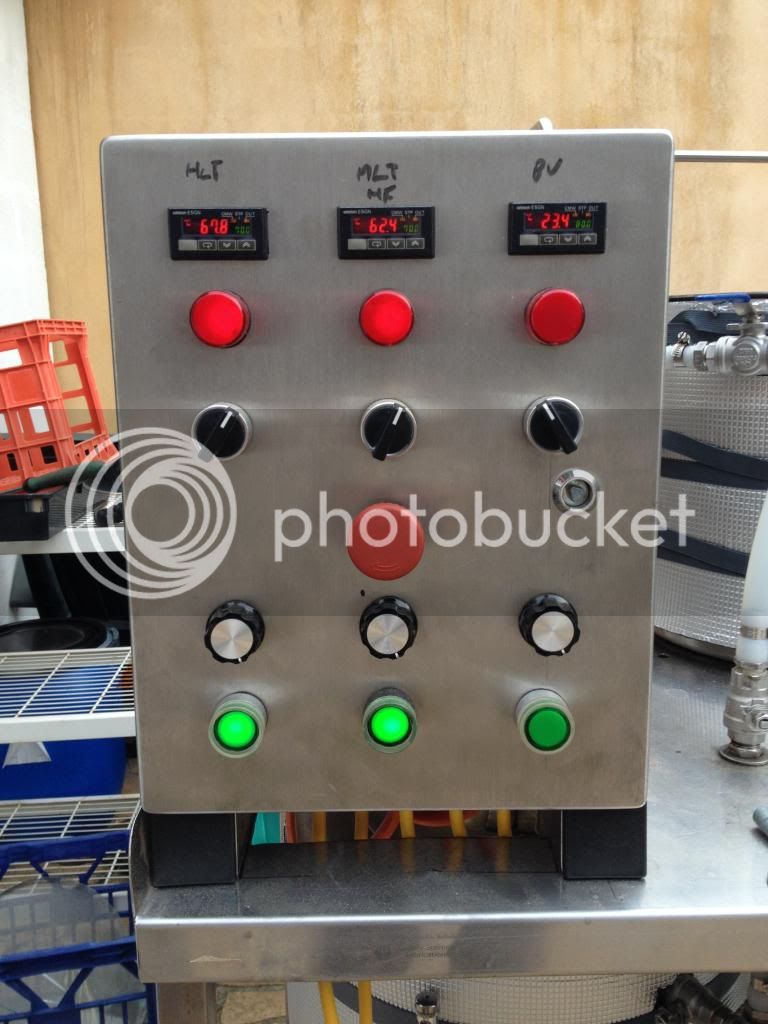
Close up of the control box. I need to tidy this up a bit with some nice labels for everything. The black dot near the middle knob is the point at which the recirc pump starts to work. At this point it runs too fast for sparging, but should be ok for recirculating. Need to do a bit more work here, but a couple of valves will get me going. All electrical components bar the speed control were salvaged, as was the box itself, hence the slightly off-centre hole array, which utilises the holes that were in it when I found it. The rest I cut myself using a hydraulic sheet metal punch.
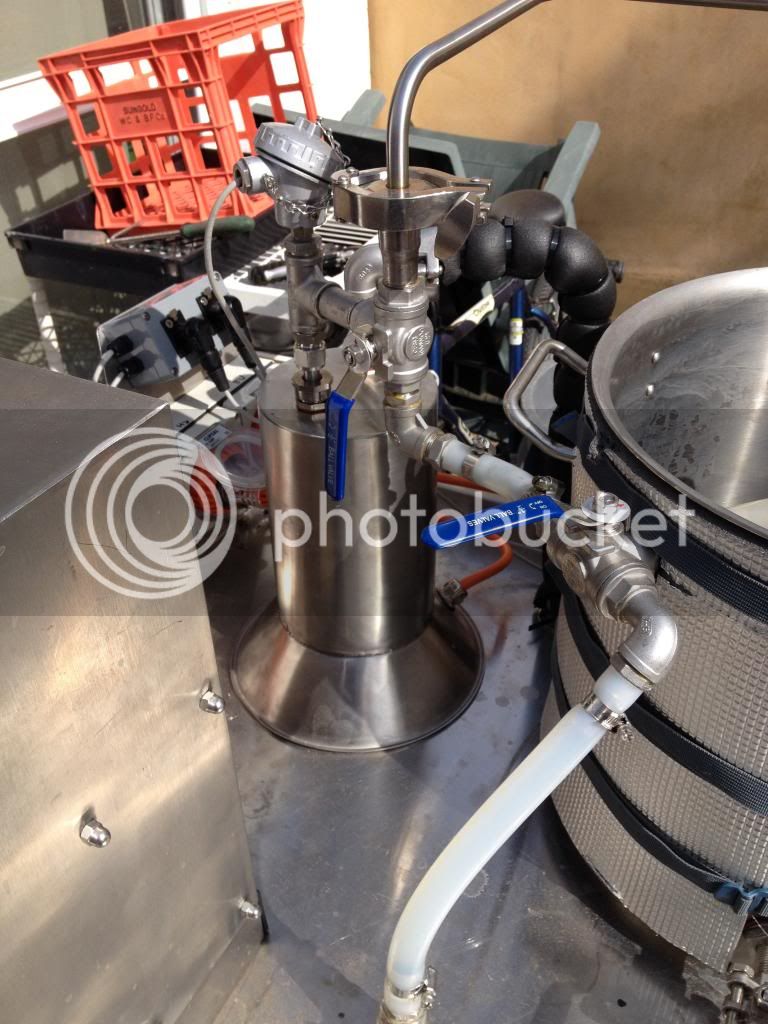
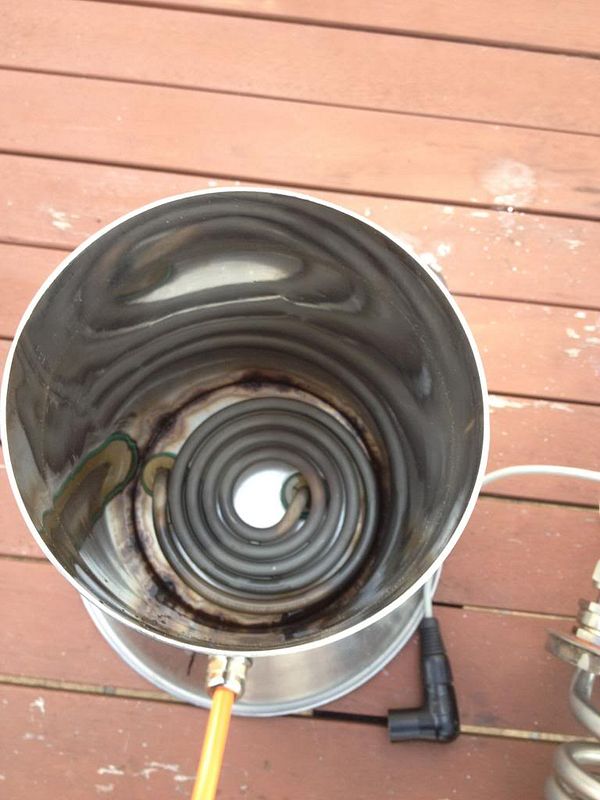
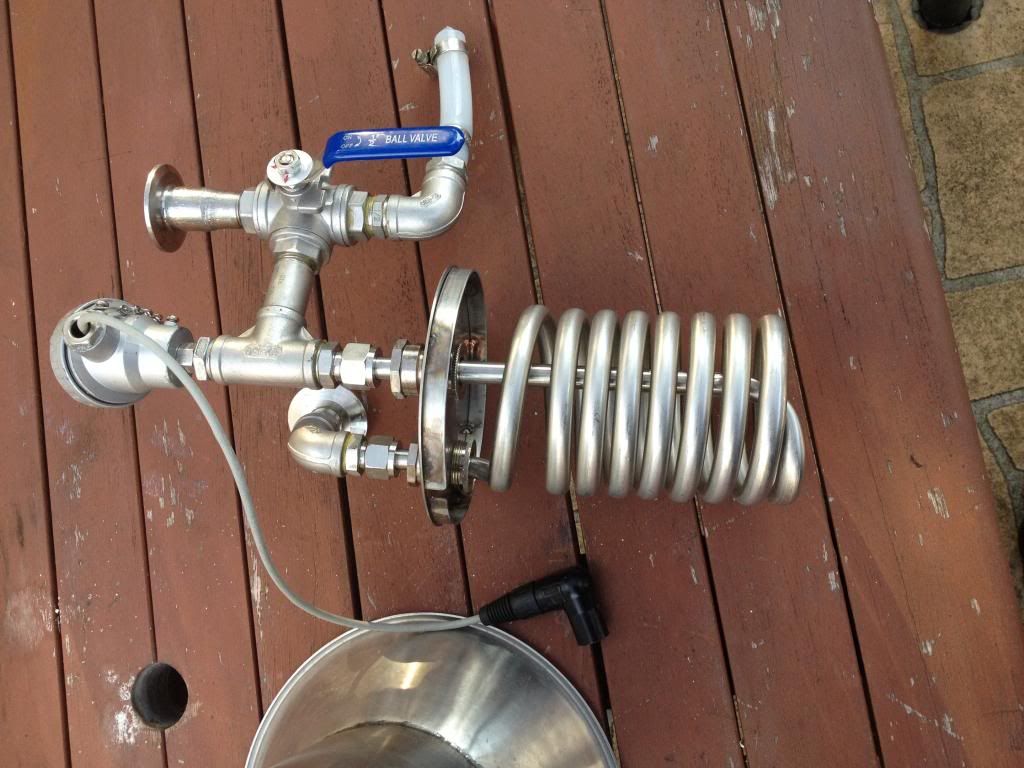
The HX nestles in behind the control box and utilises a HERM-IT coil and a custom made element from Istra Elements of Caringbah NSW. Under 100 bucks for a custom element is astounding value. They also did the element in my kettle ages ago. IF you need an element, give em a call!
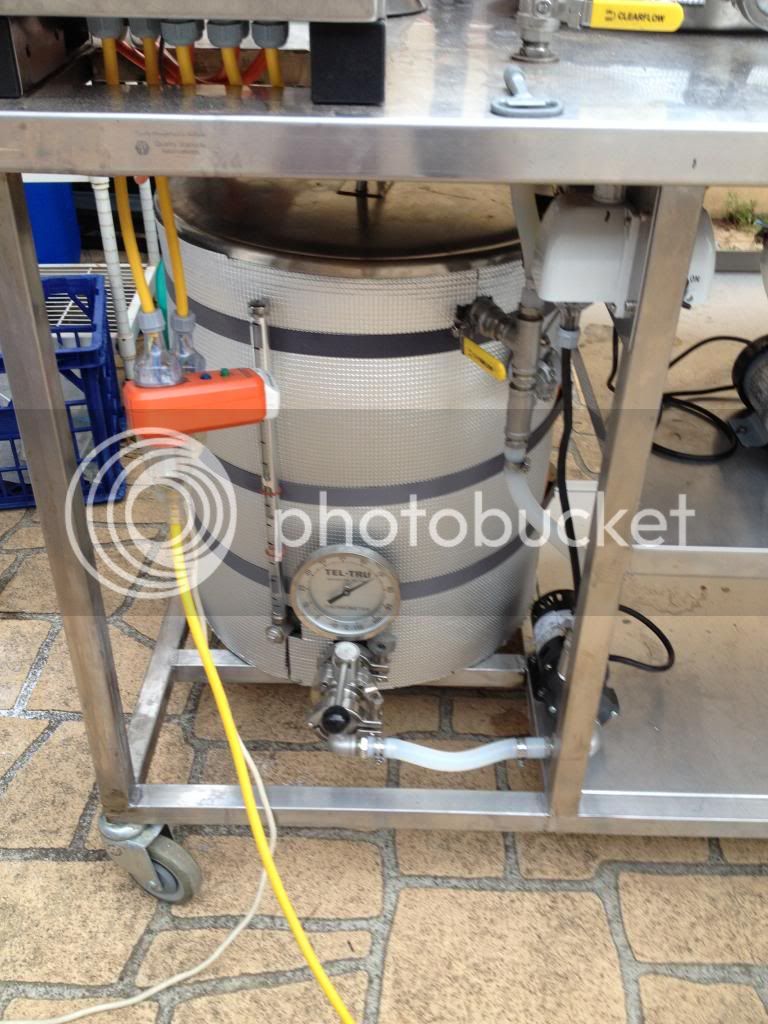
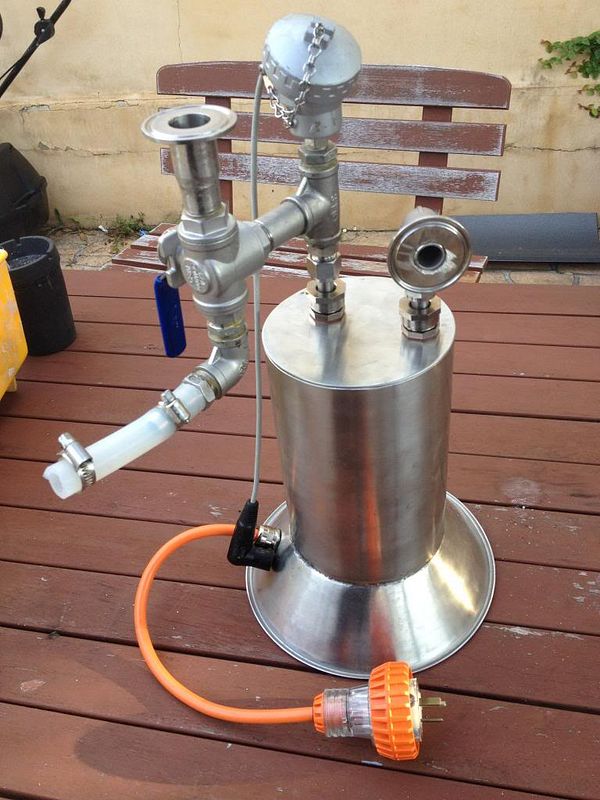
The HLT recirculates and features a large Tel Tru dial thermometer, because it looks good, and I had it lying around. This vessel was also a scrap bin find and looks vastly improved by the insulation! I wanted a large HLT so I could heat a large volume of water to cover the mash and sparge and then have some left over to recirc through the MLT while the boil is happening. Should shorten my brew day a little. The intention is to treat the whole volume to obtain the correct water profile.
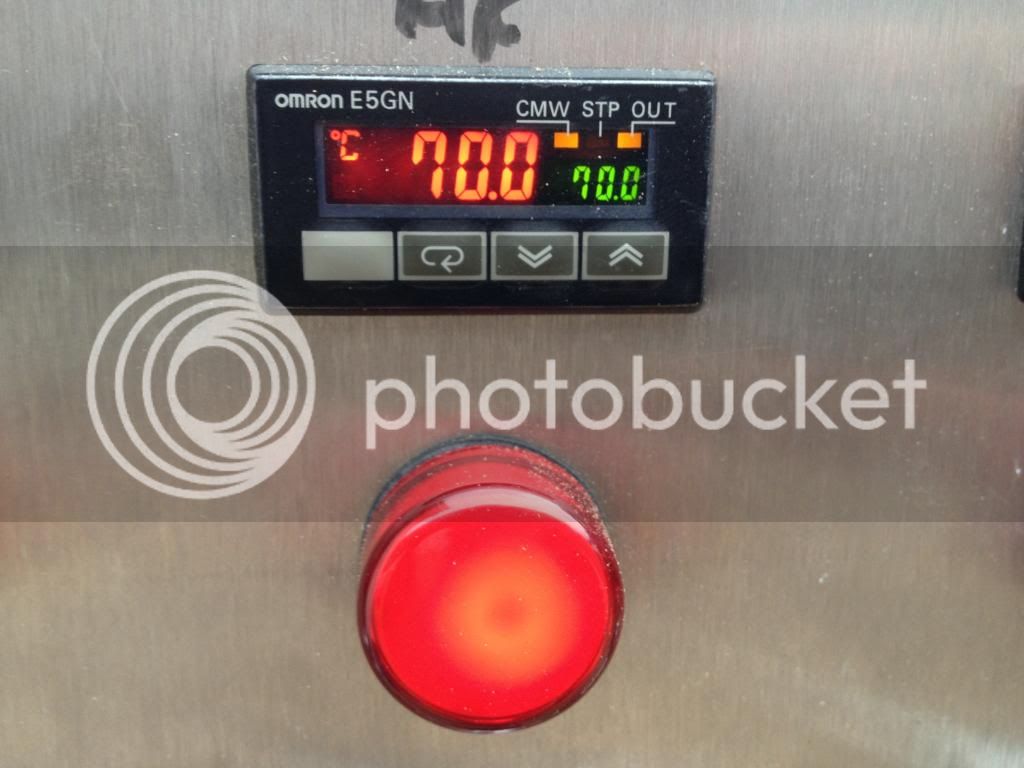
Close up of one of the controllers and indicator lamp. These Omrons are tiny and offer full PID control. The manual is huge and they can do things I don't even understand, let alone want them to do. Full PID control with auto and self tuning.
Well thats it at the moment. I need to put a couple of valves in to control the recirc/sparge/transfer but I'll be brewing on it in a couple of weeks. It should be clean, I recirculated strong PBW through it at 70 degrees for about 6 hours and then strong starsan for another 6 on Saturday. Only discovered about half a dozen leaks too! It still needs some tidying up to be complete, but first I need to actually do a brew on it, I've been waiting too long!
Cheers for the inspiration and assistance!
FB.
This is what it looks like:
I've used a mix of hard plumbed stainless tube with tri-clovers, and silicone tubing, the theory being the hard pluming will hold the vessels in place when pushing it in and out of the shed. The HLT holds 80l and the two up top are 36l, for a brew length of 23l. During the comissioning process I found that the electronic speed controls I have for modulating the pumps are next to useless, and I'll now need to plumb in a couple of valves to control the recirc and transfer. The third pump is for a powered whirlpool, and eventually will pump through a hop rocket of my own design. The stand is another scrap bin job, and required a fair bit of mucking around with to make suitable for use. Looks ok in the pics, but is a bit tatty in real life, and has quite a few unwanted holes etc.
Close up of the control box. I need to tidy this up a bit with some nice labels for everything. The black dot near the middle knob is the point at which the recirc pump starts to work. At this point it runs too fast for sparging, but should be ok for recirculating. Need to do a bit more work here, but a couple of valves will get me going. All electrical components bar the speed control were salvaged, as was the box itself, hence the slightly off-centre hole array, which utilises the holes that were in it when I found it. The rest I cut myself using a hydraulic sheet metal punch.
The HX nestles in behind the control box and utilises a HERM-IT coil and a custom made element from Istra Elements of Caringbah NSW. Under 100 bucks for a custom element is astounding value. They also did the element in my kettle ages ago. IF you need an element, give em a call!
The HLT recirculates and features a large Tel Tru dial thermometer, because it looks good, and I had it lying around. This vessel was also a scrap bin find and looks vastly improved by the insulation! I wanted a large HLT so I could heat a large volume of water to cover the mash and sparge and then have some left over to recirc through the MLT while the boil is happening. Should shorten my brew day a little. The intention is to treat the whole volume to obtain the correct water profile.
Close up of one of the controllers and indicator lamp. These Omrons are tiny and offer full PID control. The manual is huge and they can do things I don't even understand, let alone want them to do. Full PID control with auto and self tuning.
Well thats it at the moment. I need to put a couple of valves in to control the recirc/sparge/transfer but I'll be brewing on it in a couple of weeks. It should be clean, I recirculated strong PBW through it at 70 degrees for about 6 hours and then strong starsan for another 6 on Saturday. Only discovered about half a dozen leaks too!
It still needs some tidying up to be complete, but first I need to actually do a brew on it, I've been waiting too long!Cheers for the inspiration and assistance!
FB.