


iralosavic
Well-Known Member
- Joined
- 17/10/11
- Messages
- 1,131
- Reaction score
- 21
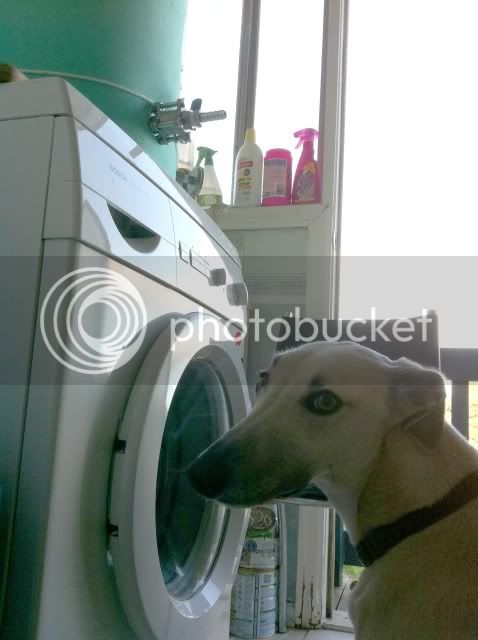
Decided to Christen my e-Biab rig with a Dr Smurto Golden Ale today. I have not finished the false bottom, so I worked around it.
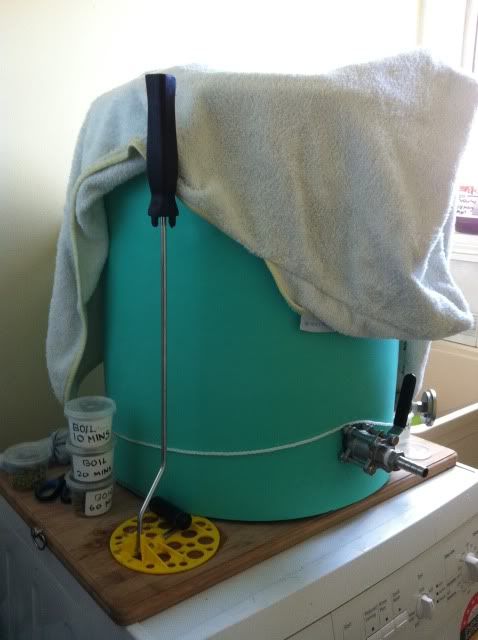
In the first photo I have just doughed in, mashed the grain until evenly soaked and clump-free, added my water chemical additions, put the glass lid on and covered it with towels. "Struck" in at 69c and hit target of 66c after stirring. After 30 minutes, the temp had dropped by 1c and by 40 minutes it was down to 64c, so I raised the grain bag off the element and tightened the draw string so that it would remain elevated - the grains were all still submerged. This allowed me to raise back to 66c while stirring and keep it there until mashout at 78c.
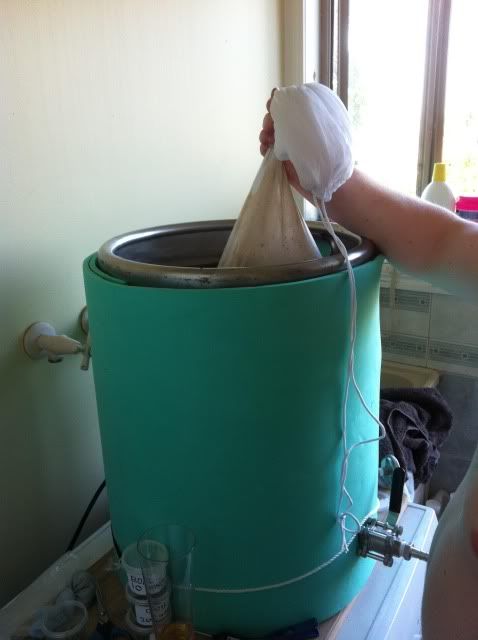
With nothing overhead to hang a rope, I opted for the next best thing - baker's arm. From the same family as the motorised crane, but with additional thermal resistance, the baker's arm held the bag during the entire "sparging" process.
Time for a couple of beers from the keggerator - no good wasting them baker's arms!
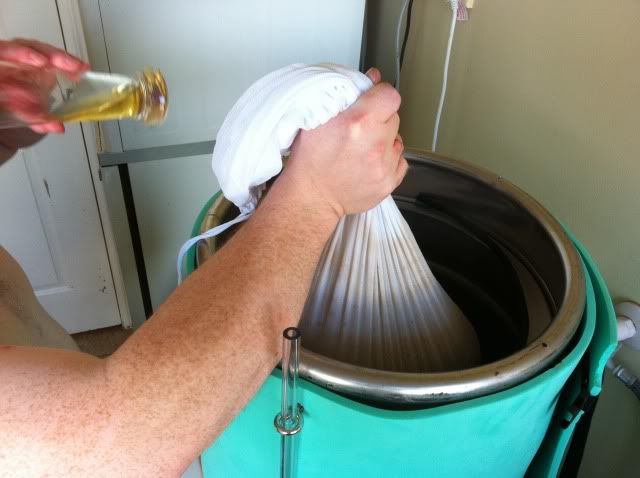
After I put my non-baker-hand gloves on, I squeezed every last ml of wort out of the bag. Things were going great. Time to test out my new hop spider.
Obviously poly-pipe is NOT made out of bakers' arm! Pity my pick-up tube has no filter! Hops in the boil was not planned and my final volume was consequently affected. Steel hop spider upgrade will be next on my list.
Brew-dog keeps an eye on the thermometer for me. Meanwhile I measure the SG of a cooled pre-boil sample: 1.0477. Smack bang on target. This is where I forget to note the pre-boil volume. Oh well.
Rolling boil! (Thanks Thirstyboy for the float tip)
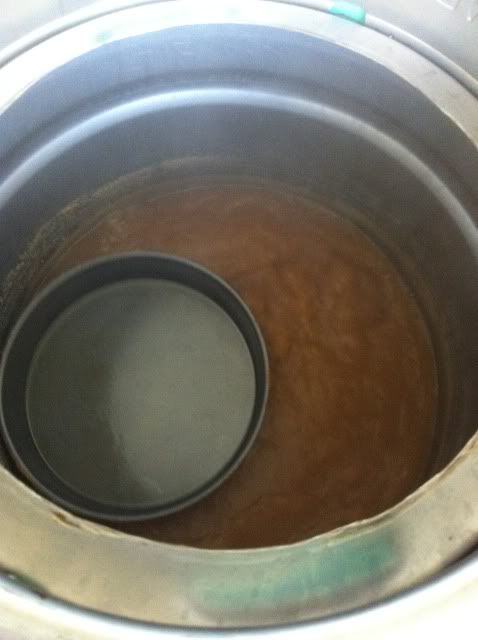
60 Minutes and a few hop additions later, time to remove the insulation (at least partially) and prepare to whirlpool with pictured kitchen utensil.

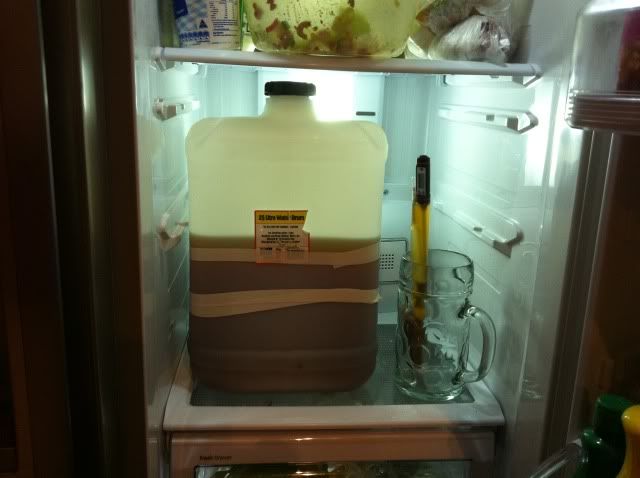
Let's skip the draining of wort to cube and me getting disappointed at 3x the predicted losses to trub (due to imminent tap blockage) and jump straight to how I used my family fridge to chill the cube. No threats nor sardonic rhetoric from the wife this time. Hmm pretty good brew day so far!
Could only guess the final volume - I should really measure out and mark my cubes, but it looks enough to fill a keg and my OG of 1.055 was above expectations, so I'm happy.
Not much else to add - just thought it'd be entertaining for myself and (some) others to have a squiz at my maiden e-biab brewday. Feel free to chime in with hints/tips/random commentary. Cheers
In the first photo I have just doughed in, mashed the grain until evenly soaked and clump-free, added my water chemical additions, put the glass lid on and covered it with towels. "Struck" in at 69c and hit target of 66c after stirring. After 30 minutes, the temp had dropped by 1c and by 40 minutes it was down to 64c, so I raised the grain bag off the element and tightened the draw string so that it would remain elevated - the grains were all still submerged. This allowed me to raise back to 66c while stirring and keep it there until mashout at 78c.
With nothing overhead to hang a rope, I opted for the next best thing - baker's arm. From the same family as the motorised crane, but with additional thermal resistance, the baker's arm held the bag during the entire "sparging" process.
Time for a couple of beers from the keggerator - no good wasting them baker's arms!
After I put my non-baker-hand gloves on, I squeezed every last ml of wort out of the bag. Things were going great. Time to test out my new hop spider.
Obviously poly-pipe is NOT made out of bakers' arm! Pity my pick-up tube has no filter! Hops in the boil was not planned and my final volume was consequently affected. Steel hop spider upgrade will be next on my list.
Brew-dog keeps an eye on the thermometer for me. Meanwhile I measure the SG of a cooled pre-boil sample: 1.0477. Smack bang on target. This is where I forget to note the pre-boil volume. Oh well.
Rolling boil! (Thanks Thirstyboy for the float tip)
60 Minutes and a few hop additions later, time to remove the insulation (at least partially) and prepare to whirlpool with pictured kitchen utensil.
Let's skip the draining of wort to cube and me getting disappointed at 3x the predicted losses to trub (due to imminent tap blockage) and jump straight to how I used my family fridge to chill the cube. No threats nor sardonic rhetoric from the wife this time. Hmm pretty good brew day so far!
Could only guess the final volume - I should really measure out and mark my cubes, but it looks enough to fill a keg and my OG of 1.055 was above expectations, so I'm happy.
Not much else to add - just thought it'd be entertaining for myself and (some) others to have a squiz at my maiden e-biab brewday. Feel free to chime in with hints/tips/random commentary. Cheers