Bread ****

Australia & New Zealand Homebrewing Forum

Help Support Australia & New Zealand Homebrewing Forum:

This site may earn a commission from merchant affiliate links, including eBay, Amazon, and others.
Would love to make ciabatta. What's your recipe mate?

Got myself a bench mixer after deciding part of the reason i struggle with my sourdough loaves is the lack of kneading. After 2-3 mins i am bored and stop but can now leave it in the machine for 15 mins and then a 2 min hand knead.

Also need to get myself some proper tins to allow me to prove the bread in the same container rather than having to take it out and knocking most of the air out of it. My sourdough is just too dense for my liking.

I'll dig the recipe up for you at home tonight. Its the one out of Dough (Richard Bertinet). You basically make up a dough that you let ferment overnight (though I find 24 hours works better) then mix that into a second dough which you then rise and shape into the loaves. The 24 hour fermented dough gives you a massive rise and the open structure that chibata is famous for (provided you don't treat it too roughly and knock all the air out when forming the loaves). Takes 2 days to make but well worth it.

I'll give you quantities etc when I look it up tonight.

If your loaves are collapsing when you handle them after proving it means they have risen too much for the gluten structure to support. Two reasons for that - not enough kneading or you just let them rise too much. Its really easy to over rise bread. If you keep them in the same container to stop collapse and they are over risen, you won't get any lift in the oven. Better than collapsing but still not what you want.

Cheers
Dave
 
These were from Sunday. First attempt. A plain white, and a white with sun dried capsicum and Italian herbs. Great flavour with the herbs.

Some questions though. The bread was very heavy and dense, which the day after fell apart when on a sandwich. How do I fix this to make it light and soft? More kneading?

Cheers.

007.JPG

008.JPG
 
Could be a number of things duff.

First the recipe needs to be tried and true (or at least a good one)

Secondly the dough mixture needs to be the right proportions. It should have enough water so that all ingredients mix together but enough flour so that nothing sticks to the sides of the mixing bowl when first mixed in. Even the best recipe requires adjustment and I always found it easier to reserve a little of the water despite what the recipe calls for. Better to mix a bit drier and add extra water than try and come back from too wet a mix. Kepp plenty of flour handy. Some of the water can be replaced by olive oil or even unsalted butter for a lovely rich smooth bread.

Then it needs to be kneaded (don't we all) until it's smooth and tight but not overkneaded till it's a rock. It is hard to overknead bread by hand at this point but it is possible. Basically you should be able to pull off a small ball of dough, roll it into a ball and it should look nice and smooth. If pressed there should be some resistance and some elasticity (tenency to return to shape). Good kneading should take in excess of ten minutes (dependent on the size of the dough - it's a feel/visual thing more than a time thing but be prepared to put in the time).

Then it should be allowed to prove in a warm (not hot) place, preferably covered with glad wrap, until about twice the size. Don't let it overprove.

Then it should be knocked down (punched, squashed etc until the air comes out- only requires one or two 'punhes' and it's not your mother in law) then kneaded lightly for a few minutes again. This time it's crucial not to overknead. You'll feel it tighten up pretty quick.

Shape it or roll it out VERY LIGHTLY at this point and place it in whatever greased/oiled baking dish you are using. Too much force here will result in a possibly tough, flat bread. Dust it with flour and allow it to prove again - either uncovered or covered with a clean cloth until it's equal to or just risen above the level of the baking dish.

Brush on some olive oil and sprinkle on some sea salt then put in a moderate/moderatley hot oven and bake until golden brown. The bread should have a hard surface (not super hard) and a slightly hollow sound when tapped gently. Skewers will tell you if it's cooked if you can't tell otherwise but tapping is better (keeps in the air and heat).

Allow to cool for just a few minutes then gently shake out of the baking dish. You need to be super gentle here but with practice you can do it straight into a tea towel then place it immediately right side up onto a clean cooling rack. If you work as a chef/baker/cook for a while or have another reason to have burned most of the nerve endings in the ends of your fingers you won't even need the teatowel. Still be gentle though.

Place the cooling rack in the oven for another few minutes just to lightly brown and dry the bottom (it may still be soggy and doughy despite the broness of the top). Remove the bread from the oven and let it cool at ambient temps on the cooling rack. If you cut it while it's hot you may get dough lines as the bread continues to cook inside despite being removed from the oven.

When it's cool it should be good to go, provided your oven (unlike mine) is good and seals properly.
 
OK Ciabatta recipe (apologies for the delay)

For the ferment -

355g bread flour
185g water
1/2tsp yeast

Mix into a rough dough. Place in bowl. Cover with gladwrap and leave for 24 hours.

For the bread

455g bread flour
10g yeast
340g water
5 tablespoons olive oil
20g salt
The ferment from step 1.

Put the flour in a bowl. Add the ferment, water, oil and salt. Work into a dough.
Turn out and knead until sufficiently kneaded.
Lightly oil a bowl and put the dough in it to rest for 1 1/2 hours covered with a cloth. It should rise and look bubbly and light.
Generously flour your work surface.
Turn the dough out of the bowl in one piece. Flour the top.
Press the dough down lightly (and I mean lightly... any heavy handedness here will cause you to lose the open structure) by dimpling it with your fingers.
Divide the dough into 4 equal strips.
Fold each strip into three (fold one side into the middle, then the other side into the middle then in half lengthways)
Place the dough on a well floured cloth. Cover with another cloth and let rise for 30-45 mins.
Flour a peel. Pick up one chibbata at a time, turn it over and place it on the peel giving it a little stretch as you do it. This gives it the Ciabatta shape.
Place into a really hot oven (250C or as hot as it will go) preferably on a heavy baking stone. Use whatever method you normally use to raise humidity (water spray, tray, whatever).
Once all the Ciabatta are in the oven, turn heat down to 220 and bake for 18-20 mins.

Have fun.

Cheers
Dave
 
Then it should be knocked down (punched, squashed etc until the air comes out- only requires one or two 'punhes' and it's not your mother in law) then kneaded lightly for a few minutes again. This time it's crucial not to overknead. You'll feel it tighten up pretty quick.

Ahh... now here lies the crucial difference between the English and French bread methods. In the French method you don't knock it down and re-knead. You divide the dough and shape by folding very gently which gives the bread strength without knocking the air out and making it heavy.

My bread has been so much lighter since I stopped re-kneading after proving.

Cheers
Dave
 
My bread was never heavy and sometimes it involved pain.

C'etait un bon mot.
 
OK Ciabatta recipe (apologies for the delay)

For the ferment -

355g bread flour
185g water
1/2tsp yeast

Mix into a rough dough. Place in bowl. Cover with gladwrap and leave for 24 hours.

For the bread

455g bread flour
10g yeast
340g water
5 tablespoons olive oil
20g salt
The ferment from step 1.

Put the flour in a bowl. Add the ferment, water, oil and salt. Work into a dough.
Turn out and knead until sufficiently kneaded.
Lightly oil a bowl and put the dough in it to rest for 1 1/2 hours covered with a cloth. It should rise and look bubbly and light.
Generously flour your work surface.
Turn the dough out of the bowl in one piece. Flour the top.
Press the dough down lightly (and I mean lightly... any heavy handedness here will cause you to lose the open structure) by dimpling it with your fingers.
Divide the dough into 4 equal strips.
Fold each strip into three (fold one side into the middle, then the other side into the middle then in half lengthways)
Place the dough on a well floured cloth. Cover with another cloth and let rise for 30-45 mins.
Flour a peel. Pick up one chibbata at a time, turn it over and place it on the peel giving it a little stretch as you do it. This gives it the Ciabatta shape.
Place into a really hot oven (250C or as hot as it will go) preferably on a heavy baking stone. Use whatever method you normally use to raise humidity (water spray, tray, whatever).
Once all the Ciabatta are in the oven, turn heat down to 220 and bake for 18-20 mins.

Have fun.

Cheers
Dave

Champion!

One (probably stupid) question.

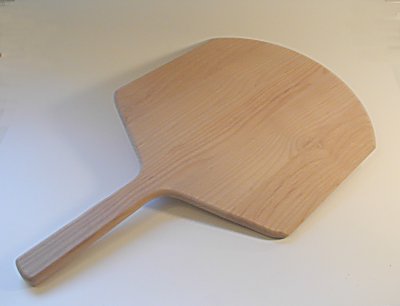
Flour a peel? What is a peel?
 
Champion!

One (probably stupid) question.

Flour a peel? What is a peel?

One of those flat wooden or metal thingies you use to put bread in an oven -

peel1.jpg
 
For a standar2 white loaf, flour/water ratio is 1:.69 approx....ie 1kg flour, 690ml water
 
These were from Sunday. First attempt. A plain white, and a white with sun dried capsicum and Italian herbs. Great flavour with the herbs.

Some questions though. The bread was very heavy and dense, which the day after fell apart when on a sandwich. How do I fix this to make it light and soft? More kneading?

Cheers.


Shape it or roll it out VERY LIGHTLY at this point and place it in whatever greased/oiled baking dish you are using. Too much force here will result in a possibly tough, flat bread. Dust it with flour and allow it to prove again - either uncovered or covered with a clean cloth until it's equal to or just risen above the level of the baking dish.

If I am making a loaf of bread, I roll my dough out flat and then roll it up with the seam at the bottom before placing in the tin and proving.

Have a look at chapter 6 here. http://books.google.com.au/books?id=qQsSTI...;q=&f=false

This the method I use and the crumb is always fantastic for a basic loaf.

Make sure you are using a strong flour, also a longer fermentation increases the life of the loaf.
 
Thanks for the tips. That bread was from Lloydie's post somewhere which was a 68% mix with 20gm salt and 10gm sugar.
 
Another orgy of baking last weekend-

Flatbread
Salt and Rosemary

small_IMG_1209.jpg

and Sesame

small_IMG_1210.jpg

12 Spelt Baguettes (using a 2 stage process where half the dough is fermented for 24 hours before being added to the second part of the dough... absolutely amazing results)

small_IMG_1212.jpg

And everything together (including a no knead loaf as documented in the no knead thread)-

small_IMG_1213.jpg
 
And one of the Baguettes as served for lunch today with turkey, cranberry sauce and blue cheese...

small_IMG_1230.jpg
 
Rye bread this weekend.

With Caraway seeds and oats

small_IMG_1232.jpg

Rolls topped with oatmeal

small_IMG_1231.jpg

Look on my works, ye Mighty, and despair!

small_IMG_1233.jpg
 
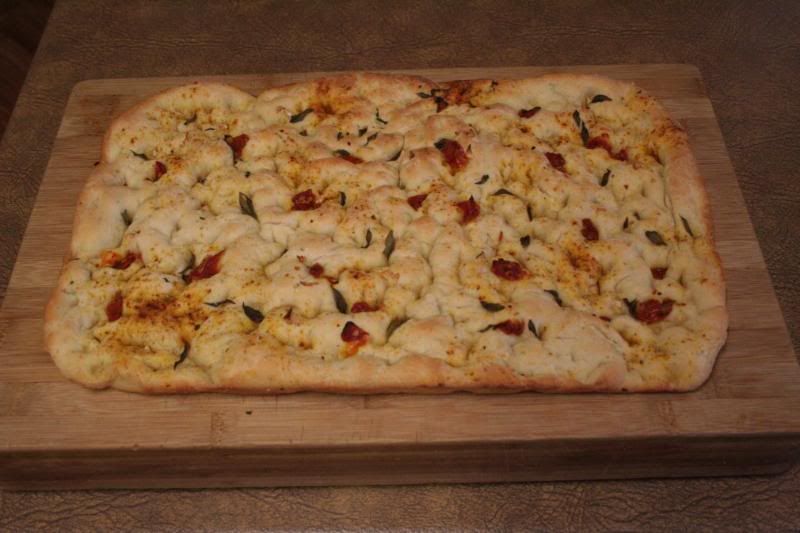
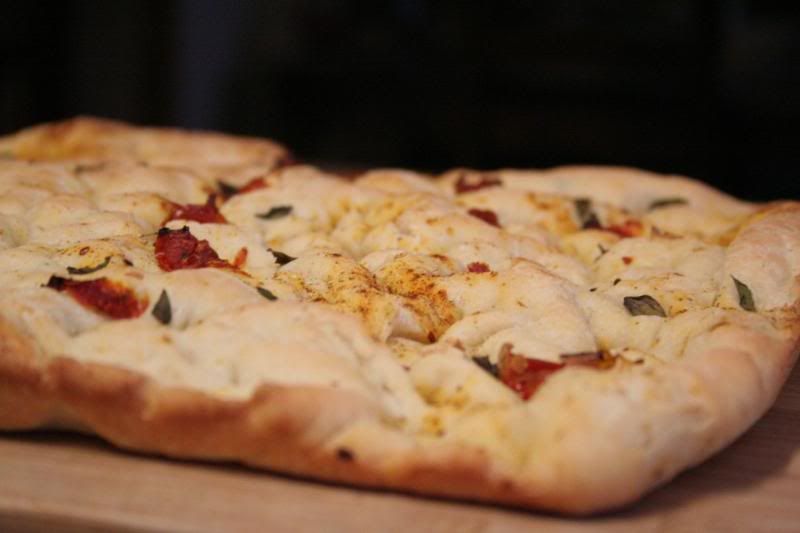
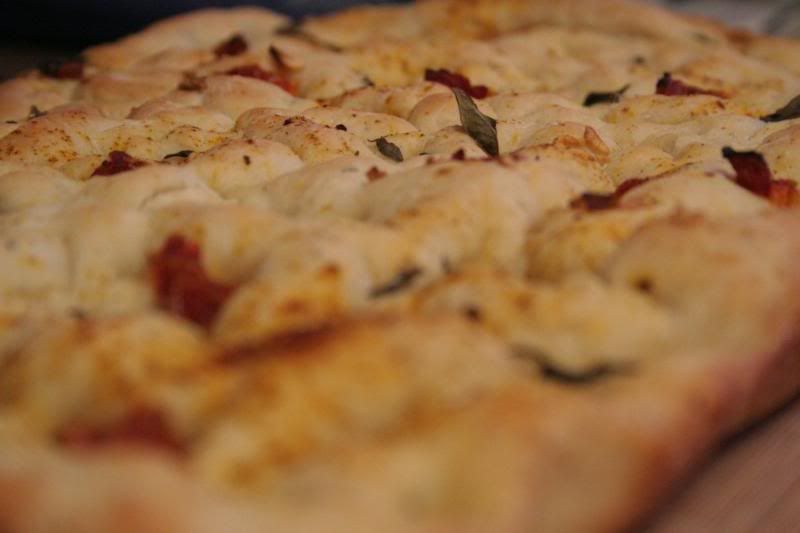
Foccatia.

Garlic, basil, Sundried tomato, olive oil and sea salt.

i only had crap quality flour and it didnt rise very well. Gunna get some good flour ASAP.

IMG_6284.jpg


IMG_6285.jpg


IMG_6287.jpg
 
Looks kinda like tilt shift photography there tony. Did you shop this? looks tasty BTW. ;)

na mate..... just got down low, set the camera to 1600 ISO, opened the aperture right up and focused on the middle.

Easy!

I will also use more tomato next time!

cheers
 
Go to the supermarket and try to get the 10kg calico sack of Laucke flour..Will cost you $20 best value you can get without having to haggle with a bread shop..

Its a standard white breadmaking flour....and its damn good....

http://www.laucke.com.au/

If you search thru their site, they make a heap of speciality flours like rye etc
 
Back
Top