Arduino Development Thread

Australia & New Zealand Homebrewing Forum

Help Support Australia & New Zealand Homebrewing Forum:

This site may earn a commission from merchant affiliate links, including eBay, Amazon, and others.
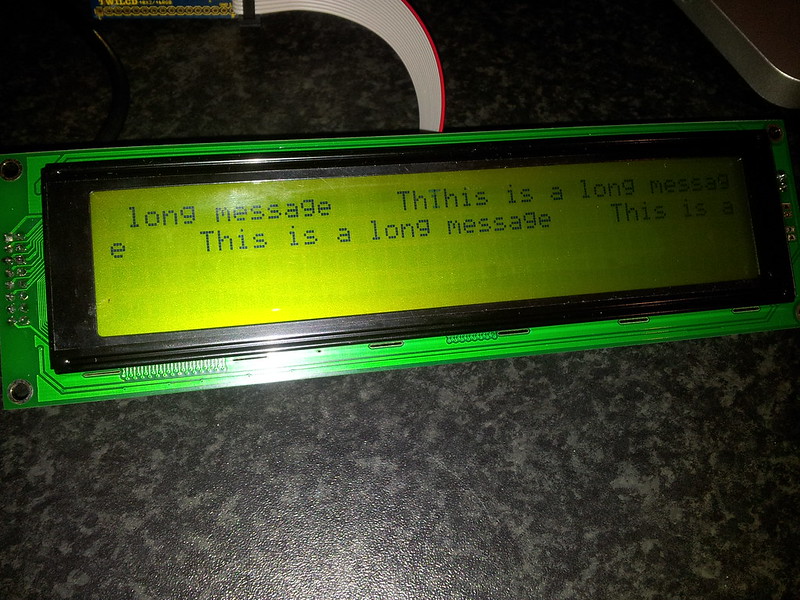
I know you just want to big-note yourself in this thread, and you're probably deliberately missing the point, but if you are using a 16x2 LCD to display text you are probably using strings.

Like this:

https://github.com/mathoaus/braumiser-contr...duino2.pde#L368

or this:

https://github.com/mathoaus/braumiser-contr...uduino2.pde#L86

The ezLCD is no different - if not, more efficient.

Anyway the arduino LCD lib adds ~2kB to the binary size. Which is a fair amount of strings for menus etc. for ezLCD before you get to the equivalent binary size.

And I think you ment storing not sending is inefficient. But as you already pointed out, it is well known and easy to fix.

Hey Zizzle I think you missed my point.

I totally agree that the LCD you were talking about is a good idea. You say to use only characters for the graphic LCD, which is great. If you use a 16x2 then you need to send strings. I was trying to further your point by saying that Strings are bad, admittedly I was not clear about this.

Your point about using 2k for the driver is a bit misleading though, because the graphic LCD uses the Serial library, which uses 1.3k of flash.

Thanks for flaming me though, much appreciated.

Vortex,
I2C displays are great! If you have any trouble getting it to work with the LiquidCrystal_I2C driver let me know because I personally had to make a change to it to get it to work for mine, possibly because I bought a cheap eBay display from China and their documentation was wrong. If you are using a regular 5V Arduino you will be alright, but if you have a 3.3V Arduino, like some of the Pro minis you will have problems with the I2C backpack because they expect different signal levels.

Thanks Edak. I'll them setup over the weekend, I'll be testing with one of the Uno's I have, so 5v won't be a problem.
 
Soldered up the Akafugu backpack and the LCD, glad I put pins on each and used a ribbon cable to connect them. I'm reasonably certain the pinouts are different, as only 1/2 the display works indicating one one of the Enable lines is correct, and the other is incorrect... I had to crimp the IDC connectors the wrong way around as Pin 1 is on the wrong side of the connector - but I could have also got the wrong IDC plugs! Assuming "pin 1" is in the same spot on each connector and everything lines up, it's just a straight connection so I'm not sure if any of that matter or not really, but it's entirely likely the pins are flipped. Having said that, I wouldn't have thought even 1/2 the display would work then...

About to lookup the LCD pinout and compare it to the Akafugu backpack pinout to see if I can resolve the problem. Shouldn't be a huge issue :)


4x40 Display by auvortex, on Flickr
 
Hmm. Pinouts are identical. Made a new ribbon cable to eliminate that, too. Could solder up some veroboard and connect directly to test with the LiquidCrystal440 library...
 
Hmm. Pinouts are identical. Made a new ribbon cable to eliminate that, too. Could solder up some veroboard and connect directly to test with the LiquidCrystal440 library...
Did you define your display size correctly? What code have you used?
 
Silly me :) I forgot I still needed to set cursor locations :) I was assuming because the example script didn't do it, that it wasn't required with this backpack for some reason. But, as soon as I throw those in, all OK :)
I'm using the TWILiquidCrystal library, which is a version of the Arduino LiquidCrystal library designed to work over I2C/TWI, just by changing the library it uses.


ArduFerm Display by auvortex, on Flickr

Library: https://github.com/akafugu/twilcd/tree/mast...WILiquidCrystal
Backpack: http://store.akafugu.jp/products/33
Displays: http://www.ebay.com.au/itm/200545027053?ss...#ht_3788wt_1097
Niiiice!

Looking good now vortex :)
 
Silly me :) I forgot I still needed to set cursor locations :) I was assuming because the example script didn't do it, that it wasn't required with this backpack for some reason. But, as soon as I throw those in, all OK :)
I'm using the TWILiquidCrystal library, which is a version of the Arduino LiquidCrystal library designed to work over I2C/TWI, just by changing the library it uses.


ArduFerm Display by auvortex, on Flickr

Library: https://github.com/akafugu/twilcd/tree/mast...WILiquidCrystal
Backpack: http://store.akafugu.jp/products/33
Displays: http://www.ebay.com.au/itm/200545027053?ss...#ht_3788wt_1097
That is one massive LCD!
 
You think he's over-compensating?

It's not the size of your LCD that matters, it's the amount useful information you display on it. :p
 
Hey Guys,
Save me reading 30 odd pages, has anyone worked on a Fermentation cabinet heating / cooling setup with PID? I have a large fridge I need to control and if someone has started this or knows of code it will save me heaps of time. I have not found any source with both heating and cooling.
Cheers
Jono
Hey Jono

I don't know of anyone that has done both heating and cooling with PID. I assume you understand the problem with PID controlling something that you can't turn on and off quickly (without risking compressor damage), but adding an additional PID instance to an existing piece of code shouldn't be too hard. The other alternative is to use a single PID instance, and activate the heater when the PID output is positive, and the cooling when output is negative.

Another way to do it might be setpoint on/off cooling, with a compressor saving feature similar to a fridgemate, and PID heating. So the PID heating will compensate for the cooling overshoot.

You can see my PID HERMS controller code at: https://github.com/Bonj/HERMS_rv2
 
There is an Arduino PID library at: http://www.arduino.cc/playground/Code/PIDLibrary I haven't used it yet, my controller isn't up and running yet and to keep things simple to start with im simply checking if(temp > target) enableCooling() else if(temp < target) enableHeating() (pseudocode obviously). I have a 0.5c buffer built in to the temp checking, and a cooling compressor delay.

I'm replacing an STC1000 and that's all it does, I'm not sure a fermentation controller needs PID control (though I'm nearly out of space so may struggle to include the library!)
 
Hey Jono

I don't know of anyone that has done both heating and cooling with PID. I assume you understand the problem with PID controlling something that you can't turn on and off quickly (without risking compressor damage), but adding an additional PID instance to an existing piece of code shouldn't be too hard. The other alternative is to use a single PID instance, and activate the heater when the PID output is positive, and the cooling when output is negative.

You can see my PID HERMS controller code at: https://github.com/Bonj/HERMS_rv2

Thanks Bonj,

Yeah with compressor delays it makes the PID difficult. Ill have to look into it further, the weather down here is bloody erratic to say the least. Forecast 27c mon - 10c tues makes it hard to keep the yeast happy.

Cheers.
 
Thanks Bonj,

Yeah with compressor delays it makes the PID difficult. Ill have to look into it further, the weather down here is bloody erratic to say the least. Forecast 27c mon - 10c tues makes it hard to keep the yeast happy.

Cheers.
Erratic all times of the year from what I've seen. We spent a week camping in Port Fairy over the xmas holidays and we had 36 one day, 15 the next. Rain, wind (lots and lots of wind), heat...
 
Erratic all times of the year from what I've seen. We spent a week camping in Port Fairy over the xmas holidays and we had 36 one day, 15 the next. Rain, wind (lots and lots of wind), heat...

4 seasons in a day..
Only 40mins away , come down for a beer next time mate.
 
hi Jonathon,


I haven't managed to test mine yet but have written some code (read: bastardised matho's) to pid control the heater, but control cooling on offset and deadband.

I also added a setpoint rate of change calc to enable temp ramping at a set rate. I can post the code when I get home tomorrow night if you like.


Cheers


Dan
 
Sounds awesome dmac. I like the rate of change calc idea. That's awesome.
 
Sounds awesome dmac. I like the rate of change calc idea. That's awesome.


Thanks bonj,


The rate of change was the main reason I wrote it, I wanted to be able to punch in a final setpoint (say, to ramp up a couple of degrees and the end of a lager ferment) and have it ramp there at my desired rate, to keep the yeasties happy.
 

Latest posts

Back
Top